I’ve been doing this lathe thing for a while now and I get occasional questions about wood turning and especially about working with resin. So I thought some people might find it useful if I put together some of the things I’ve learned over the last couple of years.
I am not an expert on this stuff, but I’ve learned a lot about working with resin since I started this, especially about why things go wrong. I wish I’d run into an article like this when I first started out. It would have prevented a lot of problems, saved me a lot of money and kept me from wasting a lot of time.
This first part is going to be mostly stuff about chemistry, curing, bubbles, mixing and stuff that a lot of you probably know already and is going to be as boring as watching paint dry, but be patient because I’m aiming this at newcomers who may not know any of this stuff. Things will get more interesting in the second part when I actually make something, and I’ll cover that step by step from the initial design process to the finished product. I’m going to make it in “real time”, so to speak, writing up every step, along with photos and, hopefully, videos, as I actually do the work.
If you have any questions please feel free to ask in the comment section or at old.grouchyfarmer@gmail.com
What The Heck Is This Stuff Anyway?

The resin I’m talking about is a liquid plastic that comes in two parts, the resin itself and a hardener or catalyst which is mixed with it. After they are mixed together it is poured into a mold of some type and over a period of time a chemical reaction takes place which causes the liquid to turn into a solid material.
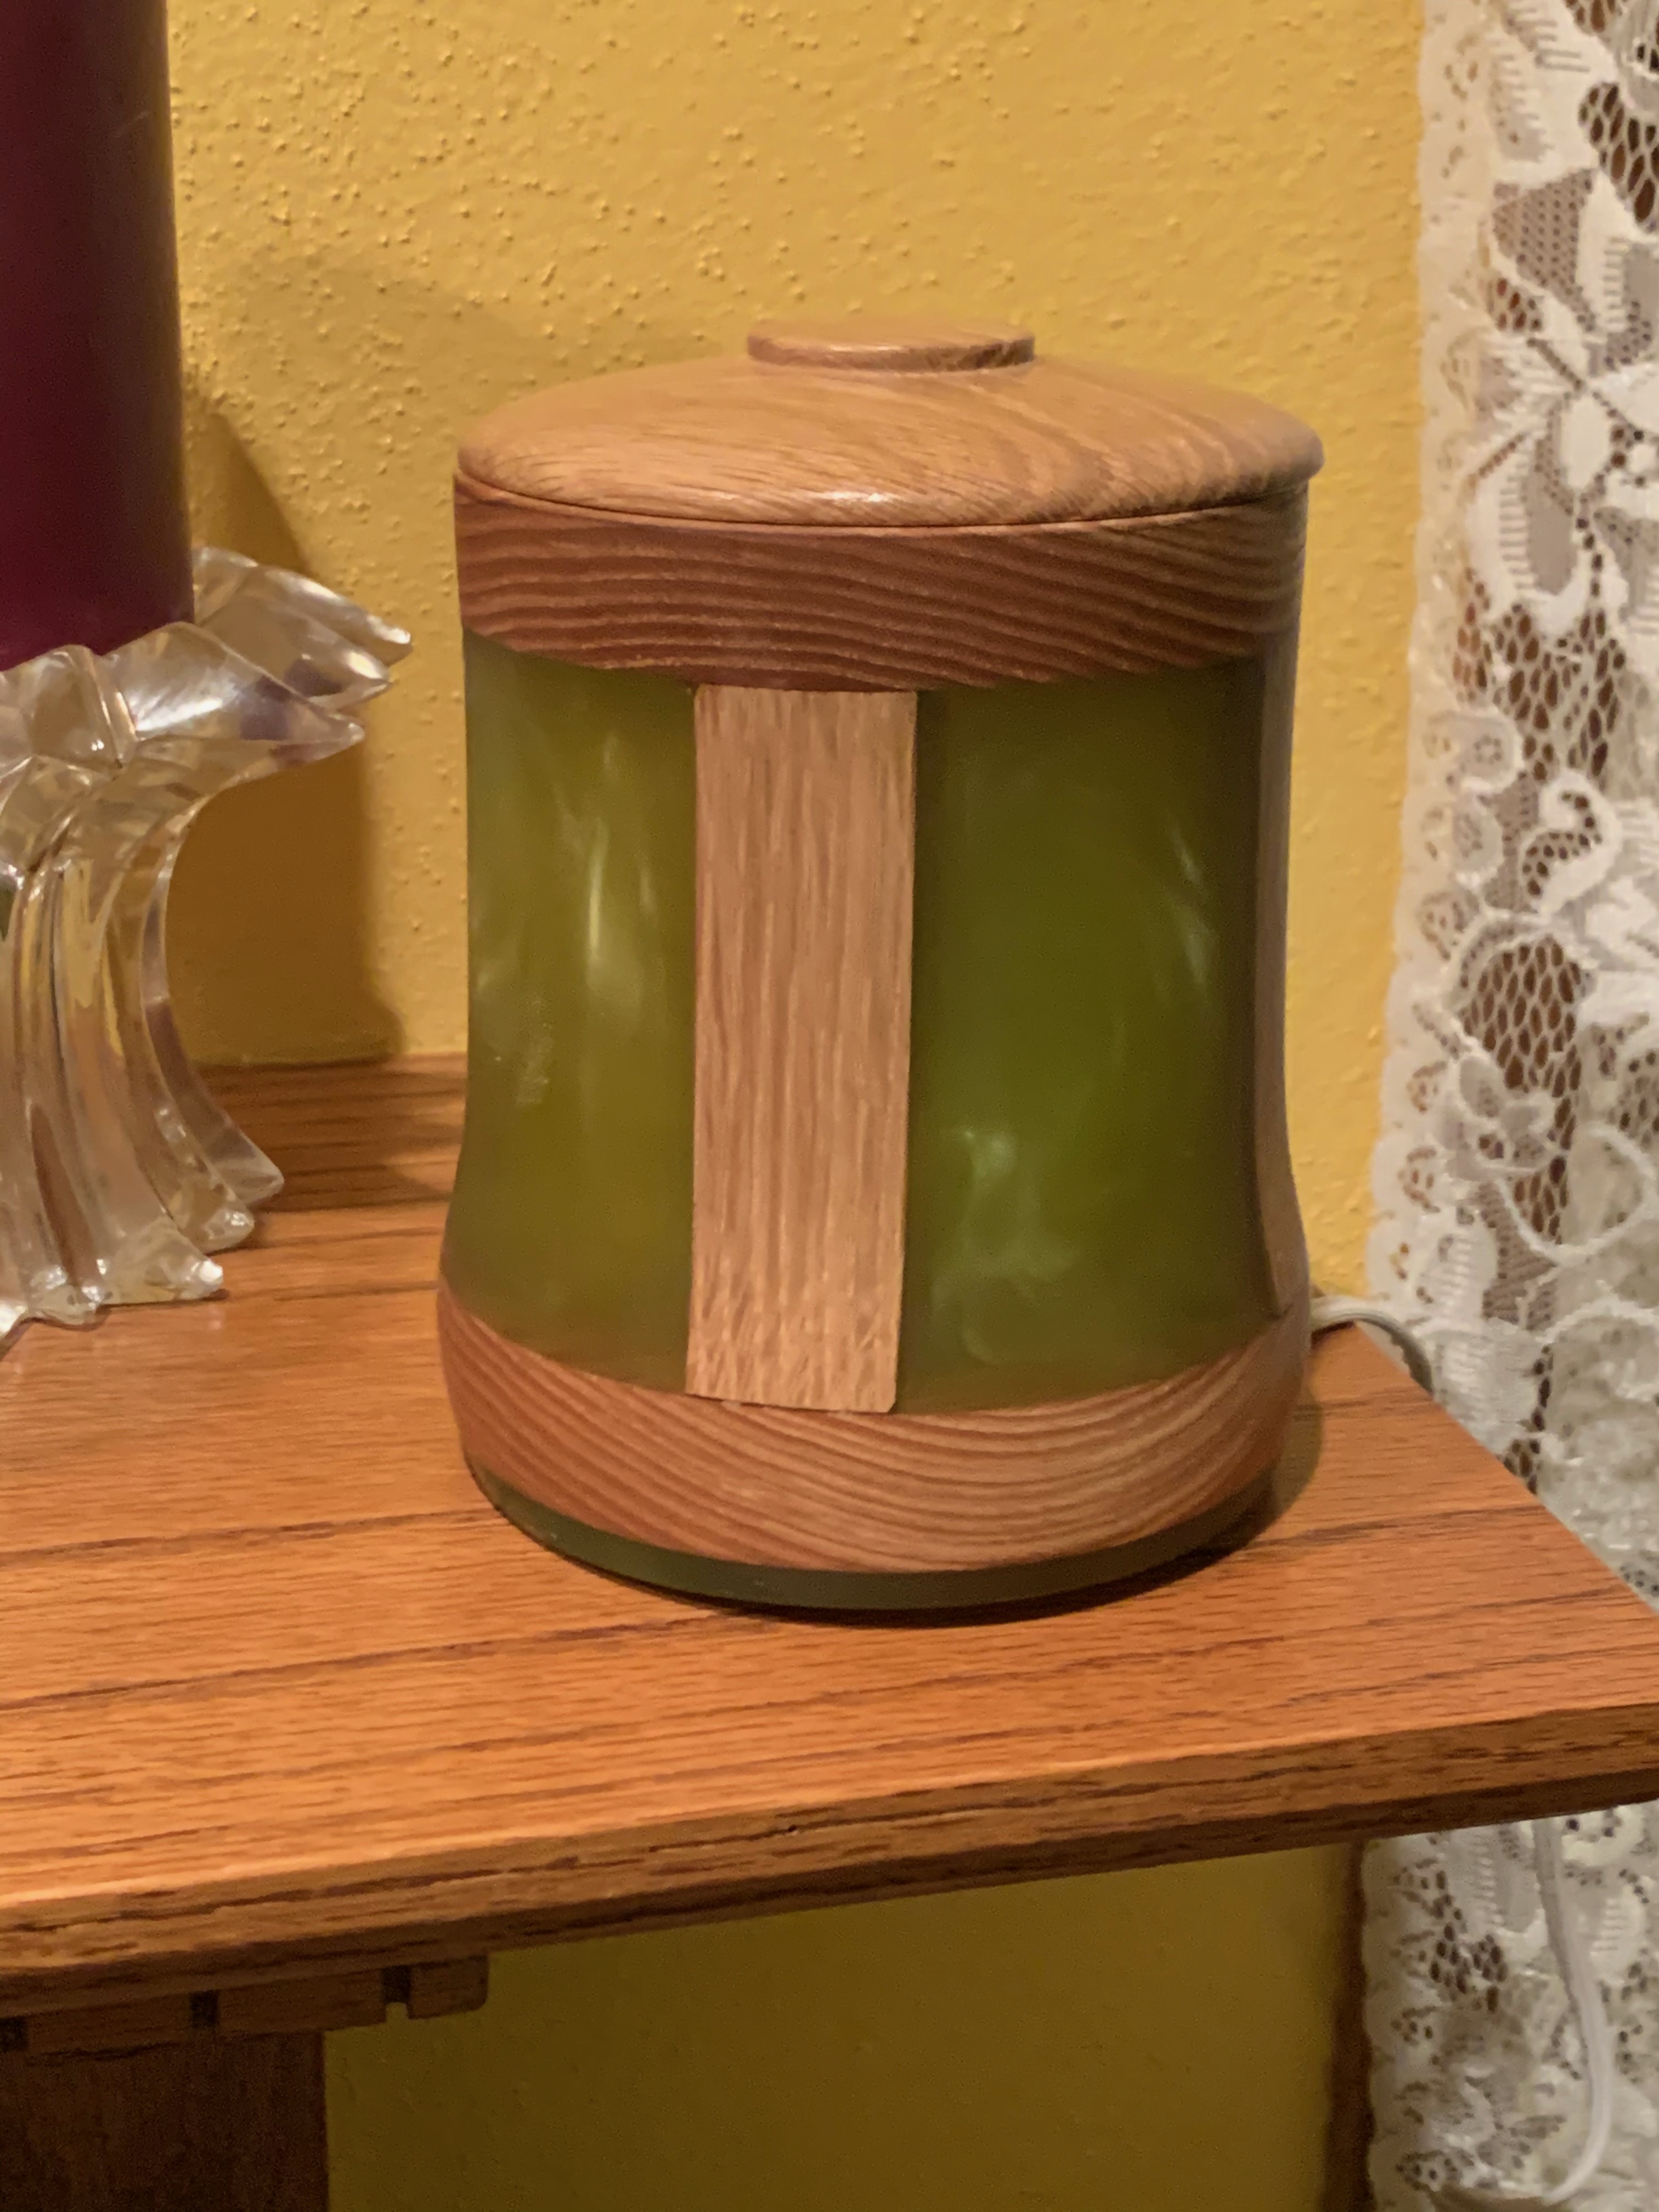
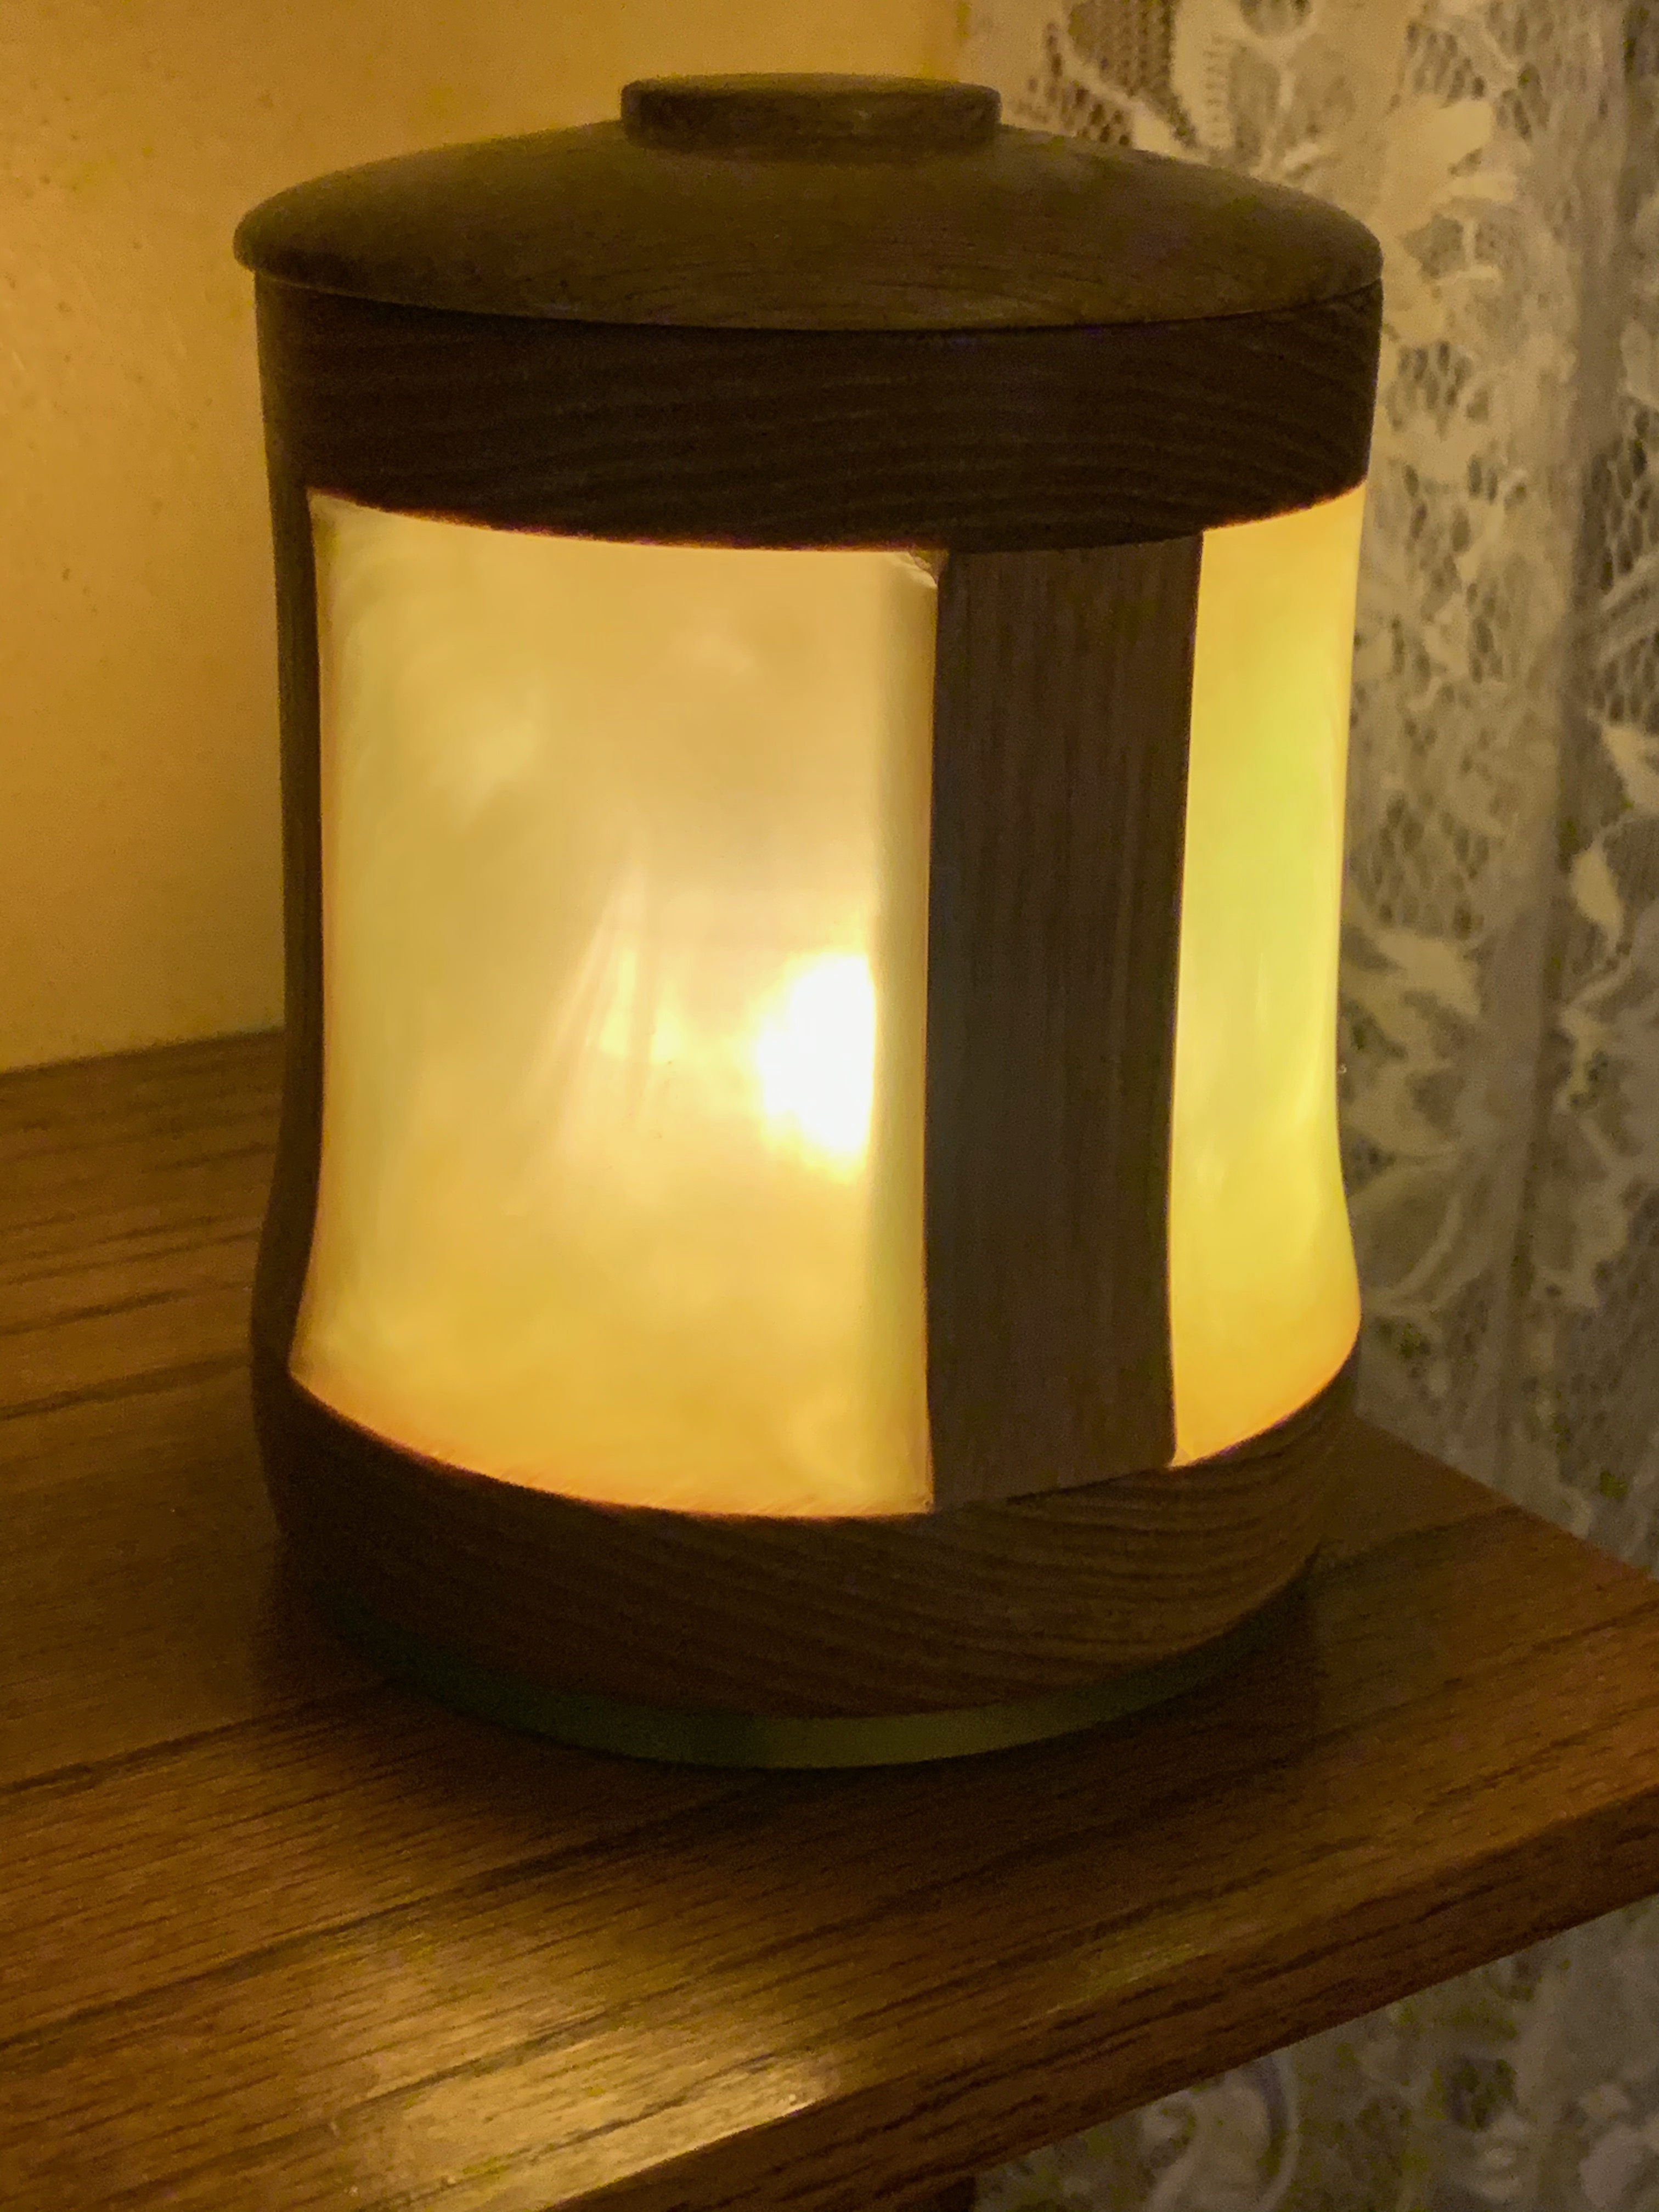
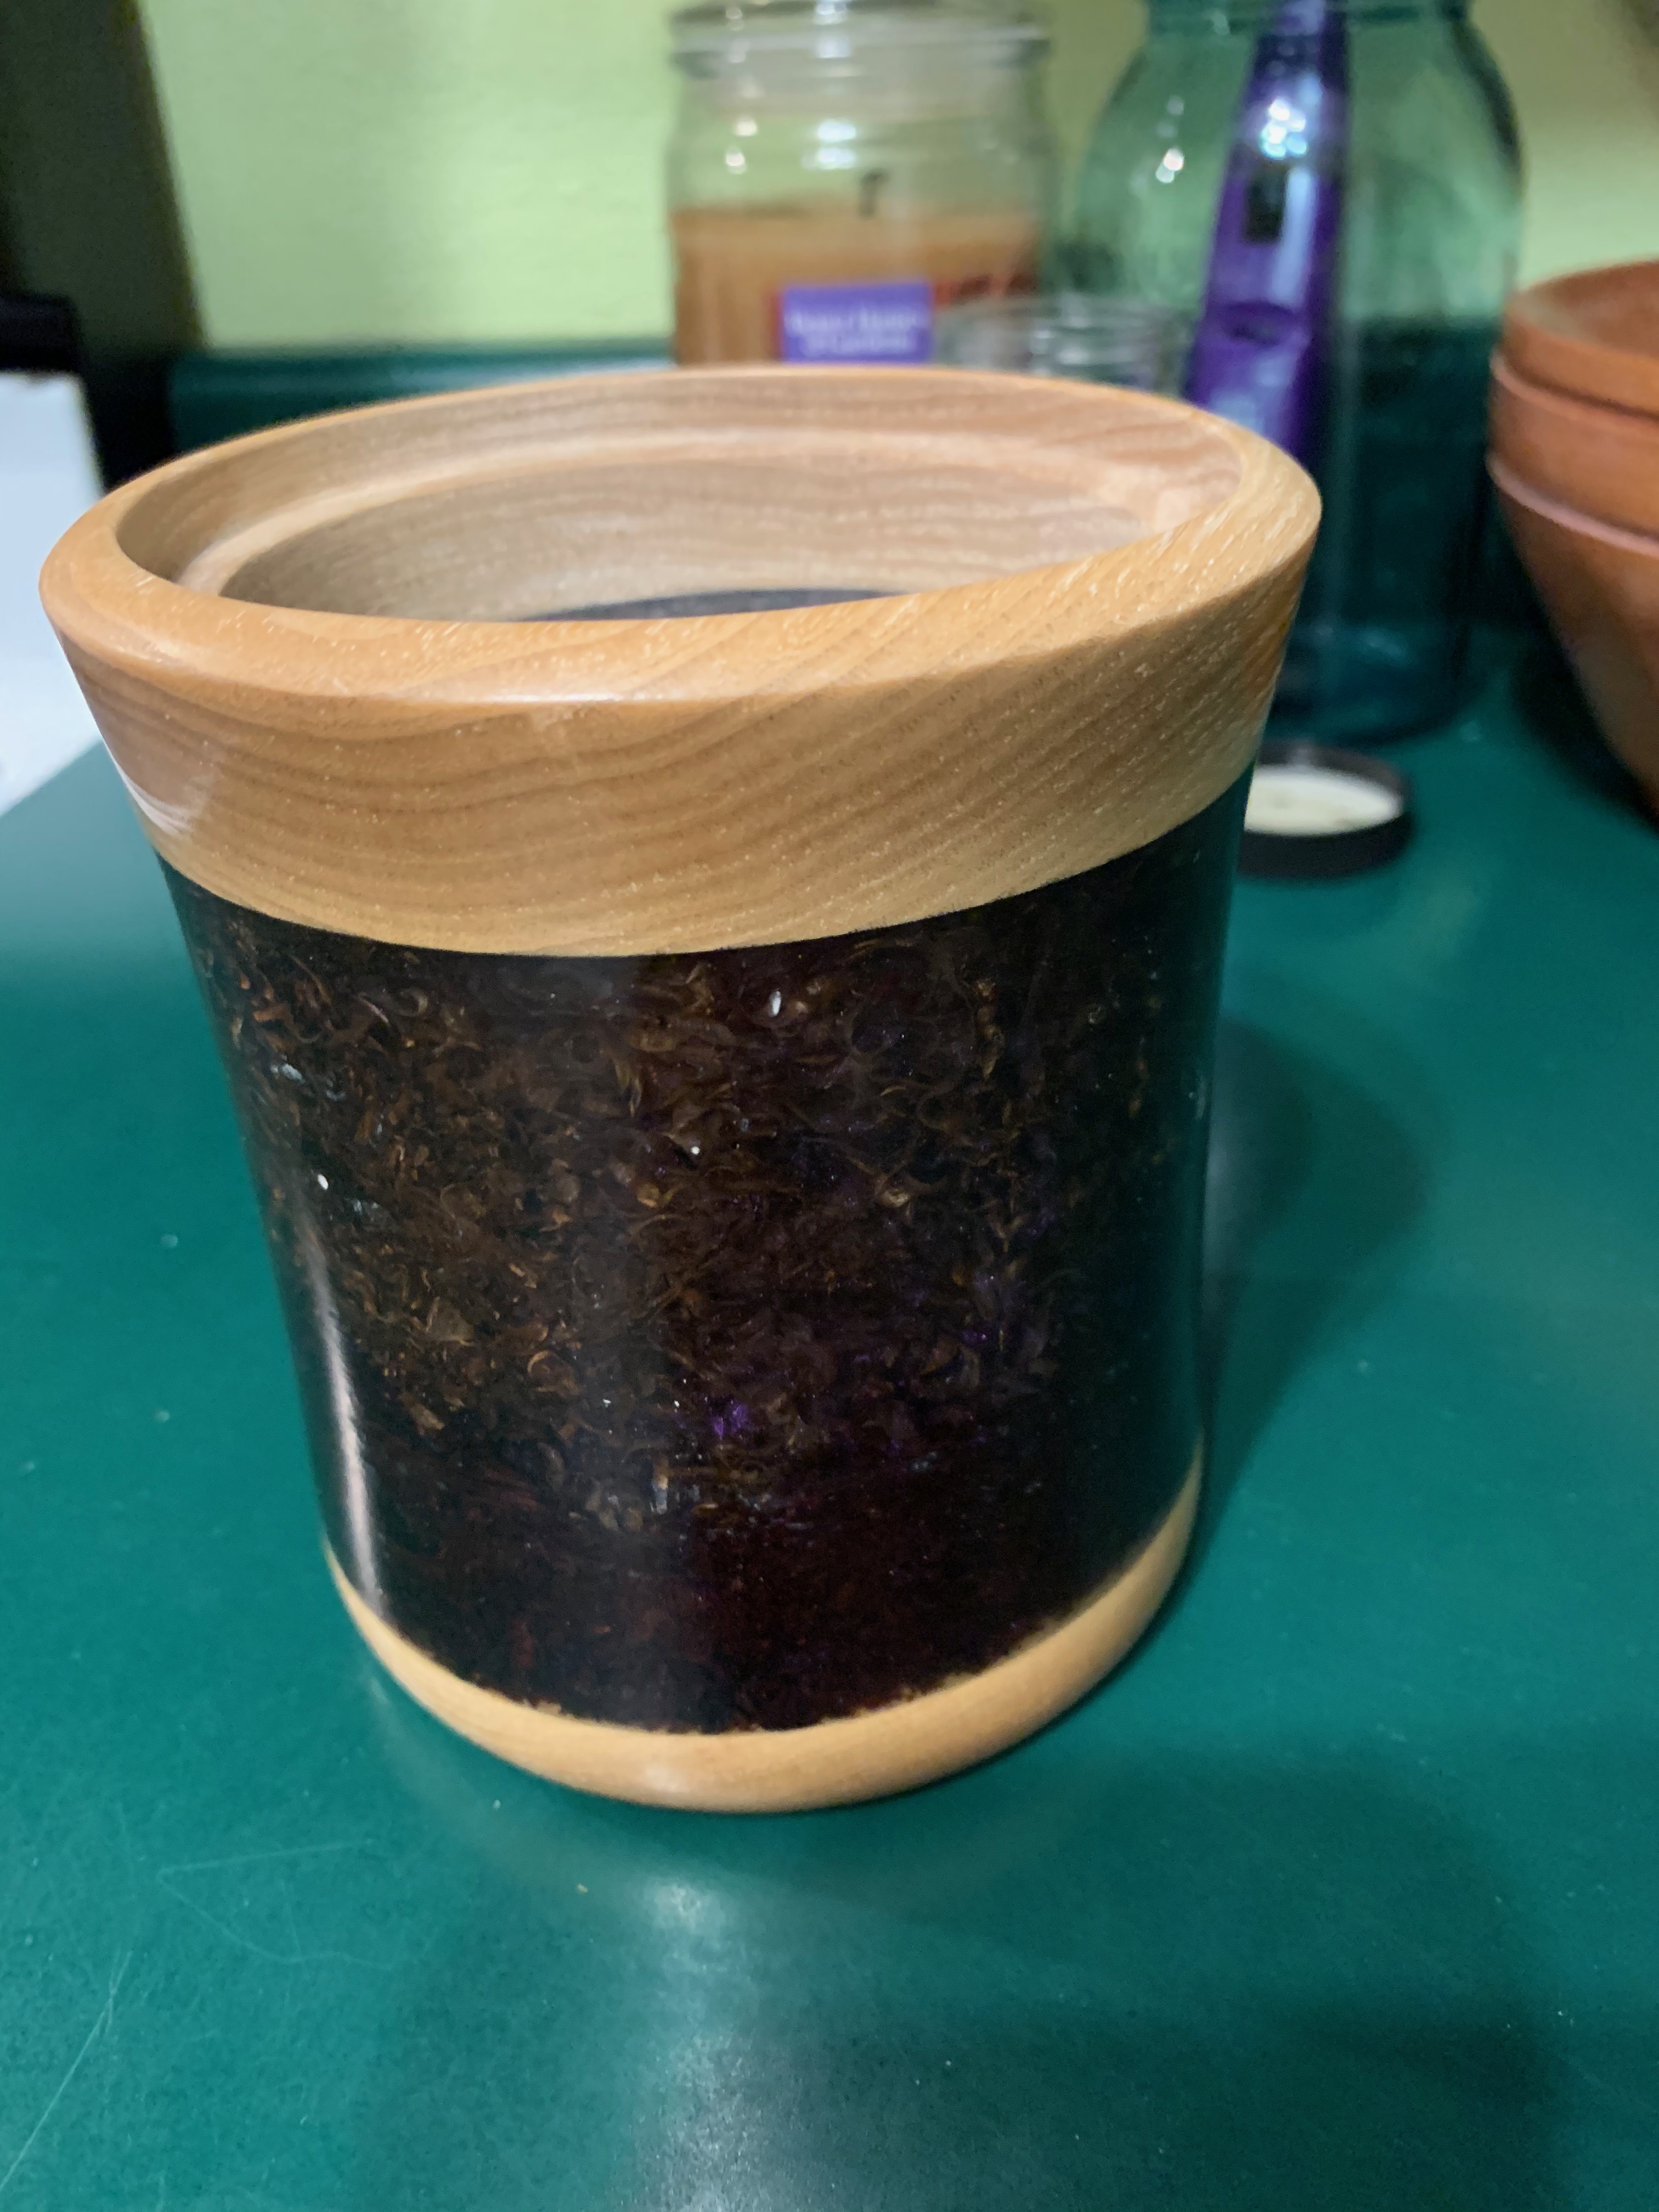
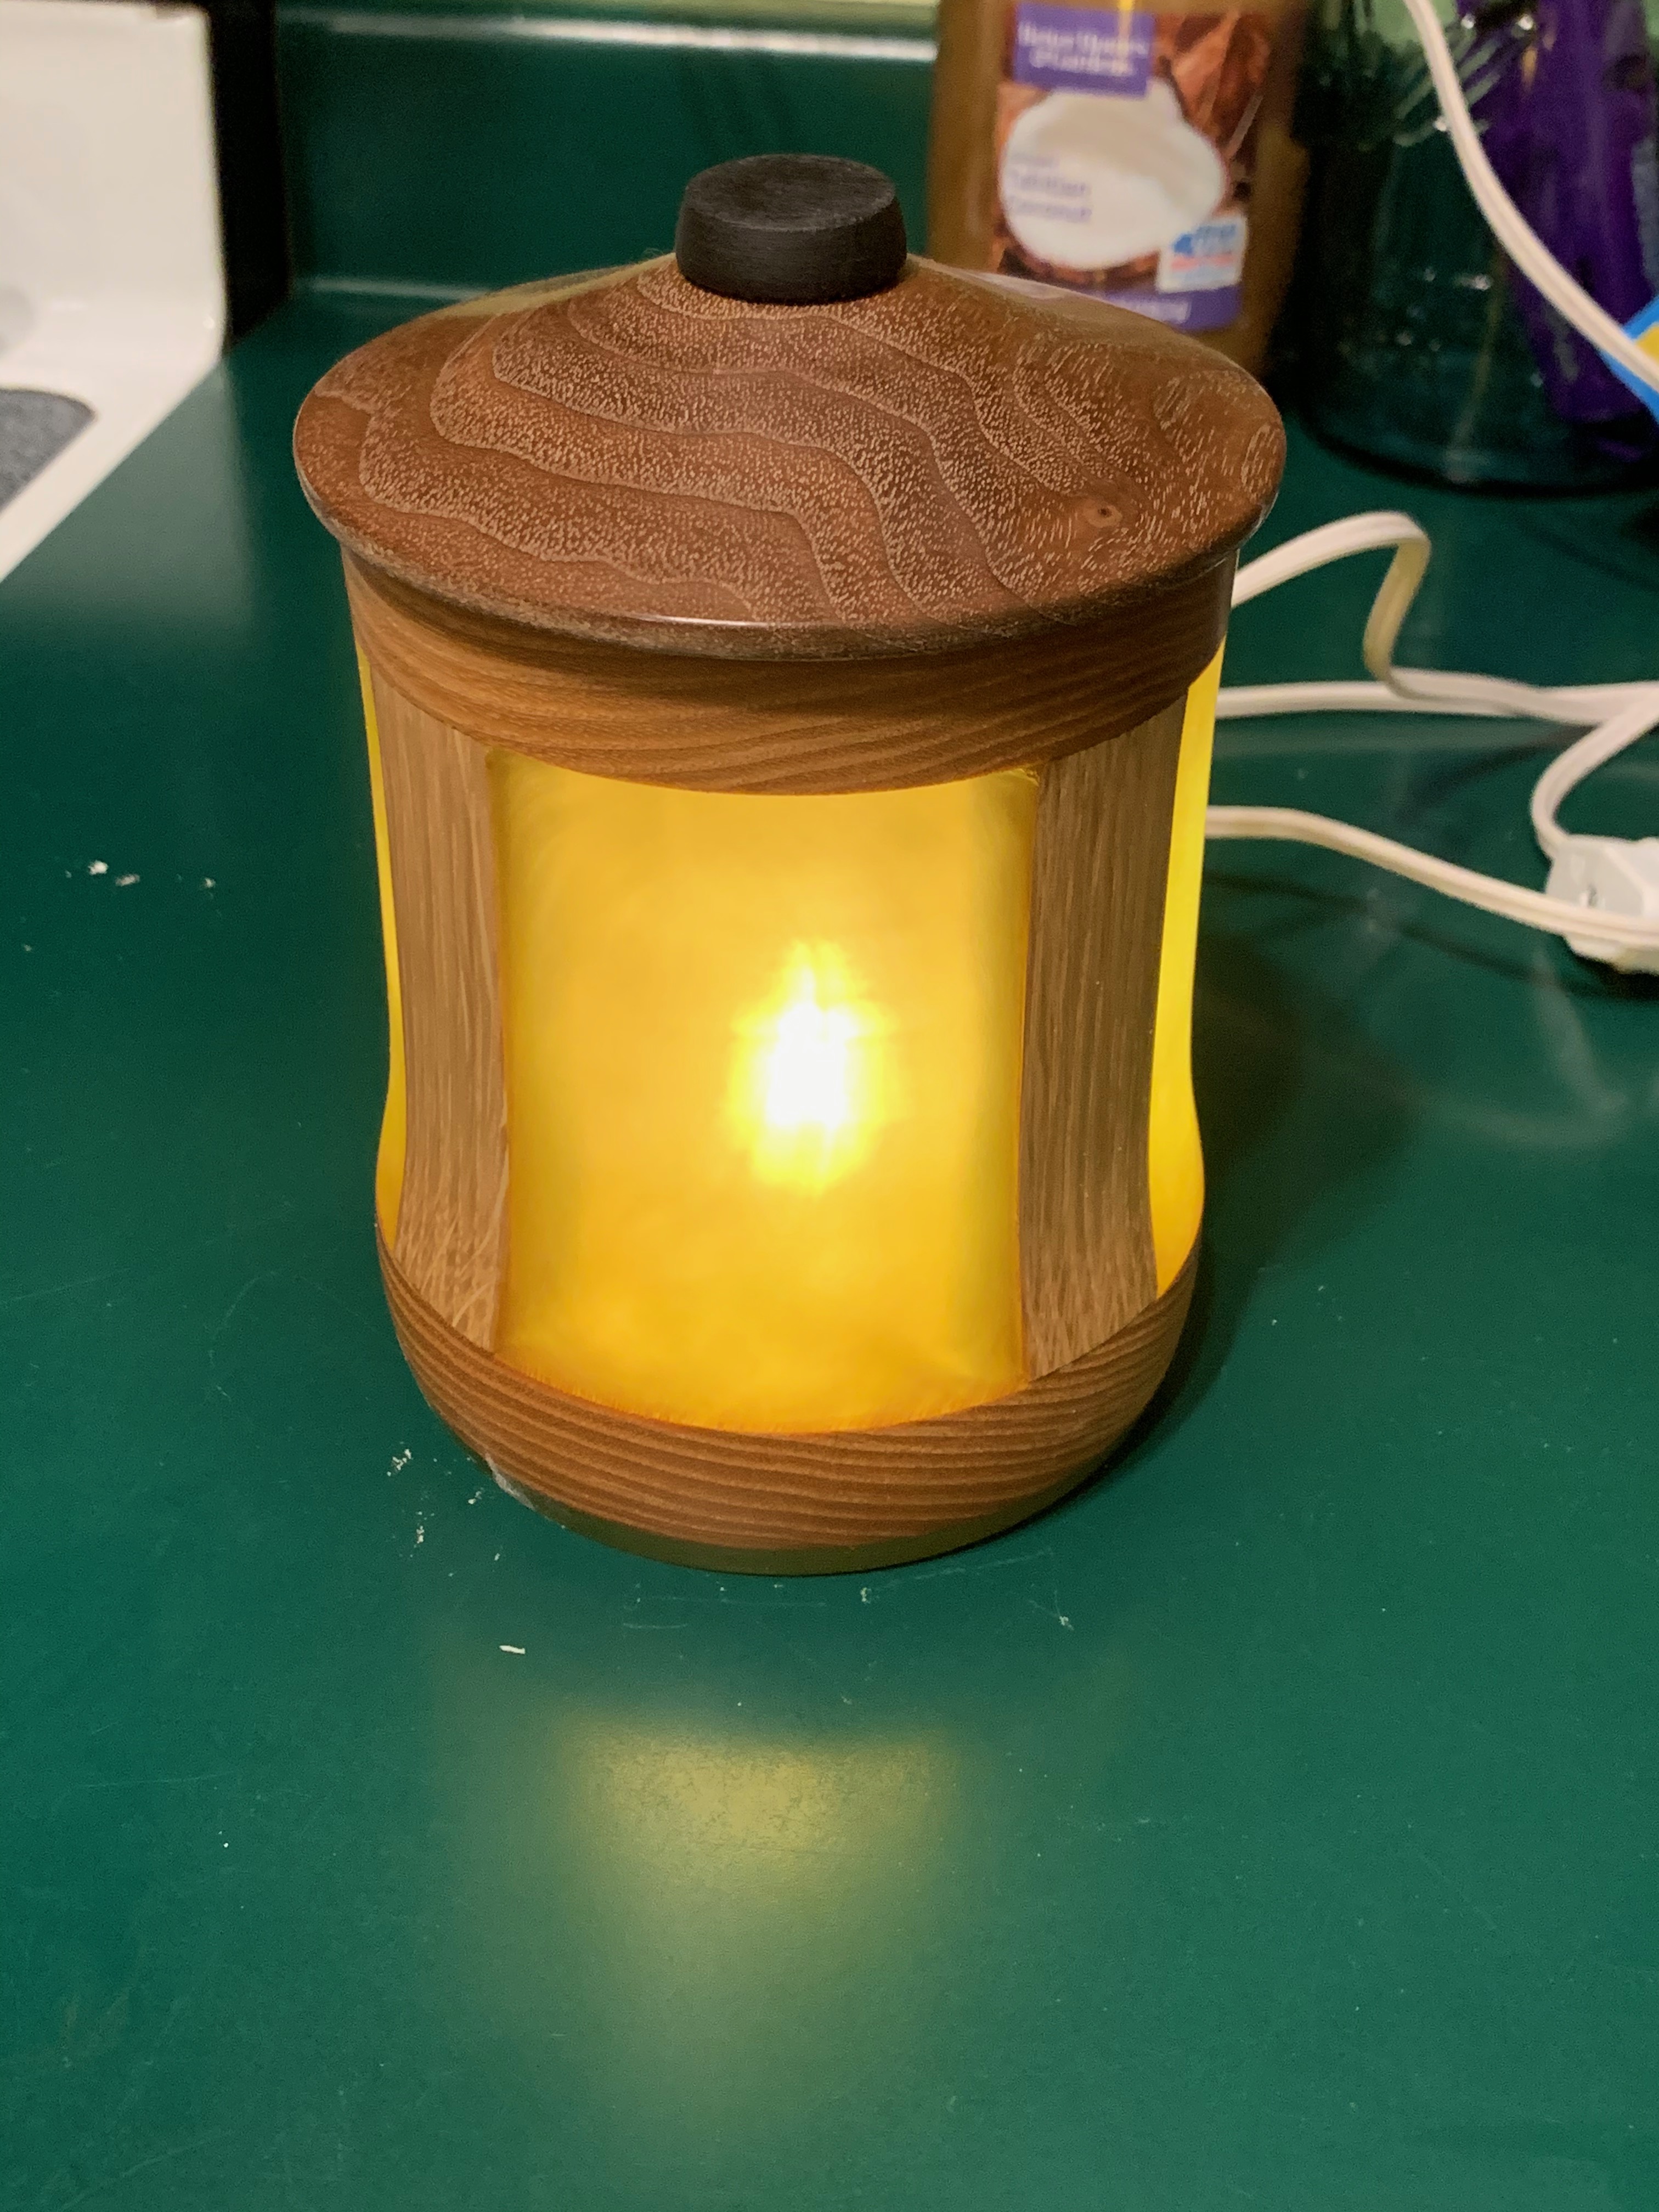
Once cured it is generally crystal clear, but you can add dyes, coloring agents, glitter, iridescent powders and other things to enhance its appearance. That tea light in the lead photo has emerald and gold iridescent powders mixed into it.
One of the neat things about this stuff is that with these resins you can cut and shape it with standard woodworking tools once it is cured. You can use your steel or carbide gouges, skews and other turning tools, as well as normal sandpaper. Although if you want a really high polish and high gloss finish you’re going to need use much finer sandpapers and polishing agents in the final finishing than you would with wood. But I’ll come to that later.
Time To Get Out Your Wallet
Let’s get this out of the way right off the bat. This stuff ain’t cheap. Which is why I don’t do resin projects as often as I’d like to. The material I use most often, Naked Fusion Deep Pour, is currently selling for about $160 for a one and a half gallon kit (1 gal resin, 1/2 gal hardener). That works out to about $0.83 per ounce. Other brands and types get even more expensive and can cost you as much as $1.50 per ounce.
Eighty three cents per ounce doesn’t sound like much, but projects can use up a lot of material. That little tea light in the lead photo at the top of the page isn’t very big, but there is probably about $20 worth of resin in it. I’ve done a lot of projects that used 40 – 60 ounces so I can have a lot of money sunk into a project in just resin before I even get it on the lathe. For me this is a hobby and I can afford to splurge once in a while. But if you’re planning on selling your projects or you’re on a tight budget you really need to keep costs under control. So remember quality resin is a bit expensive and a single project can use a lot of the stuff.
What to Buy? It’s All In The Chemistry
There is a bewildering variety of different resins out there from a large number of different companies and they all have different uses and different characteristics. If you buy the wrong one for your application you’re going to have a real mess on your hands. First you need to consider:
Depth of Pour
Depth of pour is one of the most important characteristics of the resin you buy. We’re concerned with the volume and overall thickness of the object being made. Resins are generally classified as thin pour and deep pour varieties. To make things more interesting the definition of what those two terms means seems to vary wildly. Always read the instructions carefully before you buy a product because what the manufacturer means by the terms “thin” and “deep” may not be what you think they mean.
Thin pour resins are designed for very thin applications, generally under an inch thick, sometimes even less. A lot of these are intended for use only as coatings on table or bar tops, or for trinkets like key fobs and small ornaments.
Deep pour resins are intended for larger objects. Almost all of the projects I do have a resin volume that is greater than 2 inches deep and wide, and a lot of them are much larger than that, so that’s what I use and probably what you’ll want as well unless you want to make small ornaments or pens.
What happens if you use the wrong type of resin? You can have a real mess on your hands. You can end up with resin that won’t cure properly, will only partly cure, be too brittle to work with, or even end up with a runaway exothermic reaction that will generate so much heat that it’ll melt your mold. So always make sure the resin you’re using is suitable for your application. Always read the instructions carefully before you buy a product.
Viscosity
Another thing you may want to consider is the resin’s viscosity, or how thick it is when it is poured. Viscosity also varies widely, ranging from rather thin, like warm table syrup, to very thick and more like the consistency of cold molasses.
There are two reasons why viscosity is important here. The first is when it comes to releasing bubbles. Generally the thinner the resin, the more easily bubbles can float to the surface. (I’ll talk about bubbles specifically a bit later.)

The second reason is that I embed pieces of wood in the resin when I pour it, and sometimes those have complex shapes. A thinner resin is going to flow into all of the little nooks and crannies more easily preventing voids that can cause problems later. That ugly little object over there on the right was one of the first experiments I did with resin. I basically just chucked a bunch of wood scraps into a mold and filled it with resin. This one didn’t turn out too bad because I used a rather thin resin here. I did one (since consigned to the fireplace in the backyard) where I used a very thick resin and I ended up with a lot of voids because it couldn’t flow into all of the small spaces and because I didn’t provide a way for air to escape from those voids.
Cure Time
This is the amount of time it takes for the resin to turn into a solid after it is mixed with the catalyst. This can vary wildly depending on the chemistry the manufacturer uses. (Other things like ambient temperature and the volume of resin used can have an effect on the cure time as well but the most important is the chemistry of the product.)
Some products cure so quickly that the moment you get it mixed up you have to rush to get it poured into your mold and into your pressure tank (if you use one) before it begins to harden. Others can take literally days to fully cure. Which one you use is entirely up to you. Some people are impatient and want results right now. They’re going to prefer the fast curing types.
Personally I prefer the slower curing ones. The Naked Fusion resin I use can take 36 – 48 hours to fully cure. Why would I want to put up with that? First of all I’m in no hurry. I generally have a lot of other stuff going on so I’m not exactly sitting around watching the clock. The second reason I like the longer curing variety is that I believe the longer the material remains liquid the better the chance any bubbles in it will be released. Thirdly I don’t have to rush to get it mixed up, add colorings, and get it into the mold and then into the pressure tank.
Temperatures
All resins have recommended temperature ranges for storage and curing included with the instructions. Please pay attention to those because they are important. Most resins are pretty liberal when it comes to storage temperatures. As long as you store the unmixed resin in an environment that you are comfortable in, it’s probably going to be just fine. But I do have a specialty product that has to be stored above 55 F. If it gets colder than that it can start to crystalize.
Ambient temperature during the curing process is important as well. The temperature can affect how quickly or slowly the resin cures after it is mixed. Once again generally if you are in an environment where you are physically comfortable, it isn’t going to be much of an issue, but pay attention to the manufacturer’s instructions and try to adhere to the recommended temperature ranges.
Safety
Always, always read the instructions and safety warnings carefully when you work with resins. Some of these products are seriously nasty. Follow the manufacturer’s safety instructions to the letter. Some give off toxic fumes, especially during the mixing and curing process. Some can potentially generate a lot of heat during the curing process. The thing I am always concerned with when working with any kind of chemicals is the production of potentially dangerous gasses that can cause neurological damage, lung damage, etc. Some of these products may require the use of special respirators and venting and should never, ever be used inside of a home. Some are relatively benign. Before you buy any resin read the safety data carefully and make sure you understand the potential dangers and that you can deal with those dangers before you buy the product.
The stuff I work with, Naked Fusion, is one of the more benign ones. It gives off no VOCs and emits virtually no fumes. But even so I still take precautions. I always wear nitrile gloves and always wear a full face shield to protect against splashes when I’m mixing and pouring the stuff.
Dealing With Bubbles
There are times you want bubbles, like in a nice glass of beer. But you do not want bubbles in your finished resin project, especially in a project like a tealight or lamp where light shining through the resin is going to make defects glaringly obvious. I’m not concerned about bubbles on the surface the way someone making a river table would be. For most of us bubbles on the surface aren’t going to be a problem because the surface layer is going to be cut or sanded off anyway when the object is shaped on the lathe. The problem we have is bubbles embedded in the body of the resin project itself.
Liquids like water release bubbles very easily and quickly. Resin, however, is much thicker, and its specific gravity may be such that bubbles are not buoyant enough to float to the surface.
The most commonly used method to eliminate or at least dramatically reduce the amount of visible bubbles in a resin project is to put it in a pressure tank and put it under pressure and leave it there until the resin is cured.
Sidenote: Some people recommend using a vacuum tank. I do not. Putting it in a vacuum tank can cause foaming as air is drawn out of the wood that is embedded in the resin. In theory that foam comes to the top, but in actual practice it often doesn’t. So a vacuum tank can actually increase the amount of bubbles you get. Also when in a low pressure environment bubbles actually get bigger and more noticeable. Being in a vacuum tank doesn’t necessarily mean the bubbles will rise to the surface, either. That is going to depend more on the viscosity and specific gravity of the resin. From the research I’ve done putting your project in a vacuum tank can actually make bubble problems worse, not better.
So let’s talk about pressure tanks. We find pressure tanks useful because putting a resin casting under pressure while the resin is still liquid will cause the bubbles to shrink dramatically in size, and even seem to disappear entirely.

The usual procedure is that after you’ve poured the resin into the mold, you put the mold in your pressure tank and use an air compressor to pump it up to about 40 – 50 PSI, and then leave it under pressure until the resin has hardened.
Now you can buy pressure tanks that are designed specifically for this kind of thing, specially certified by safety organizations and all that stuff. But they are very expensive, often a lot more money than most of us would like to spend for something like this. So what most woodturners use aren’t actual pressure tanks but pressurized paint pots used for spray painting that were never intended to be used for this purpose. But they are very attractive because some of them are pretty cheap.
You can get one of these paint pots from everybody’s favorite purveyor of cheap knock off tools, Harbor Freight, as well as from some other vendors, for about $100. They won’t work as-is, they have to be modified. But the modifications aren’t difficult to do and the parts needed are easy to find and cheap. So a lot of people who work with resin use these cheap pots because the alternative is spending several hundred dollars on a piece of equipment they might only need only occasionally.
Now there are probably thousands of these cheap pots in use out there, and almost no one has issues with them. But (you knew there was a “but” coming, didn’t you?) I have seen enough reports of these cheap pots failing, sometimes catastrophically, that they scare the hell out of me. Just run some searches on Google about Harbor Freight paint pot failure and you’ll see what I mean So if you do use one of these cheap modified paint pots as a pressure tank, be very, very careful. Always keep the pressure well under the manufacturer’s maximum PSI rating. Always secure the lid properly, etc.
Enough of that, though. Let’s get on with this and move on to…
Molds

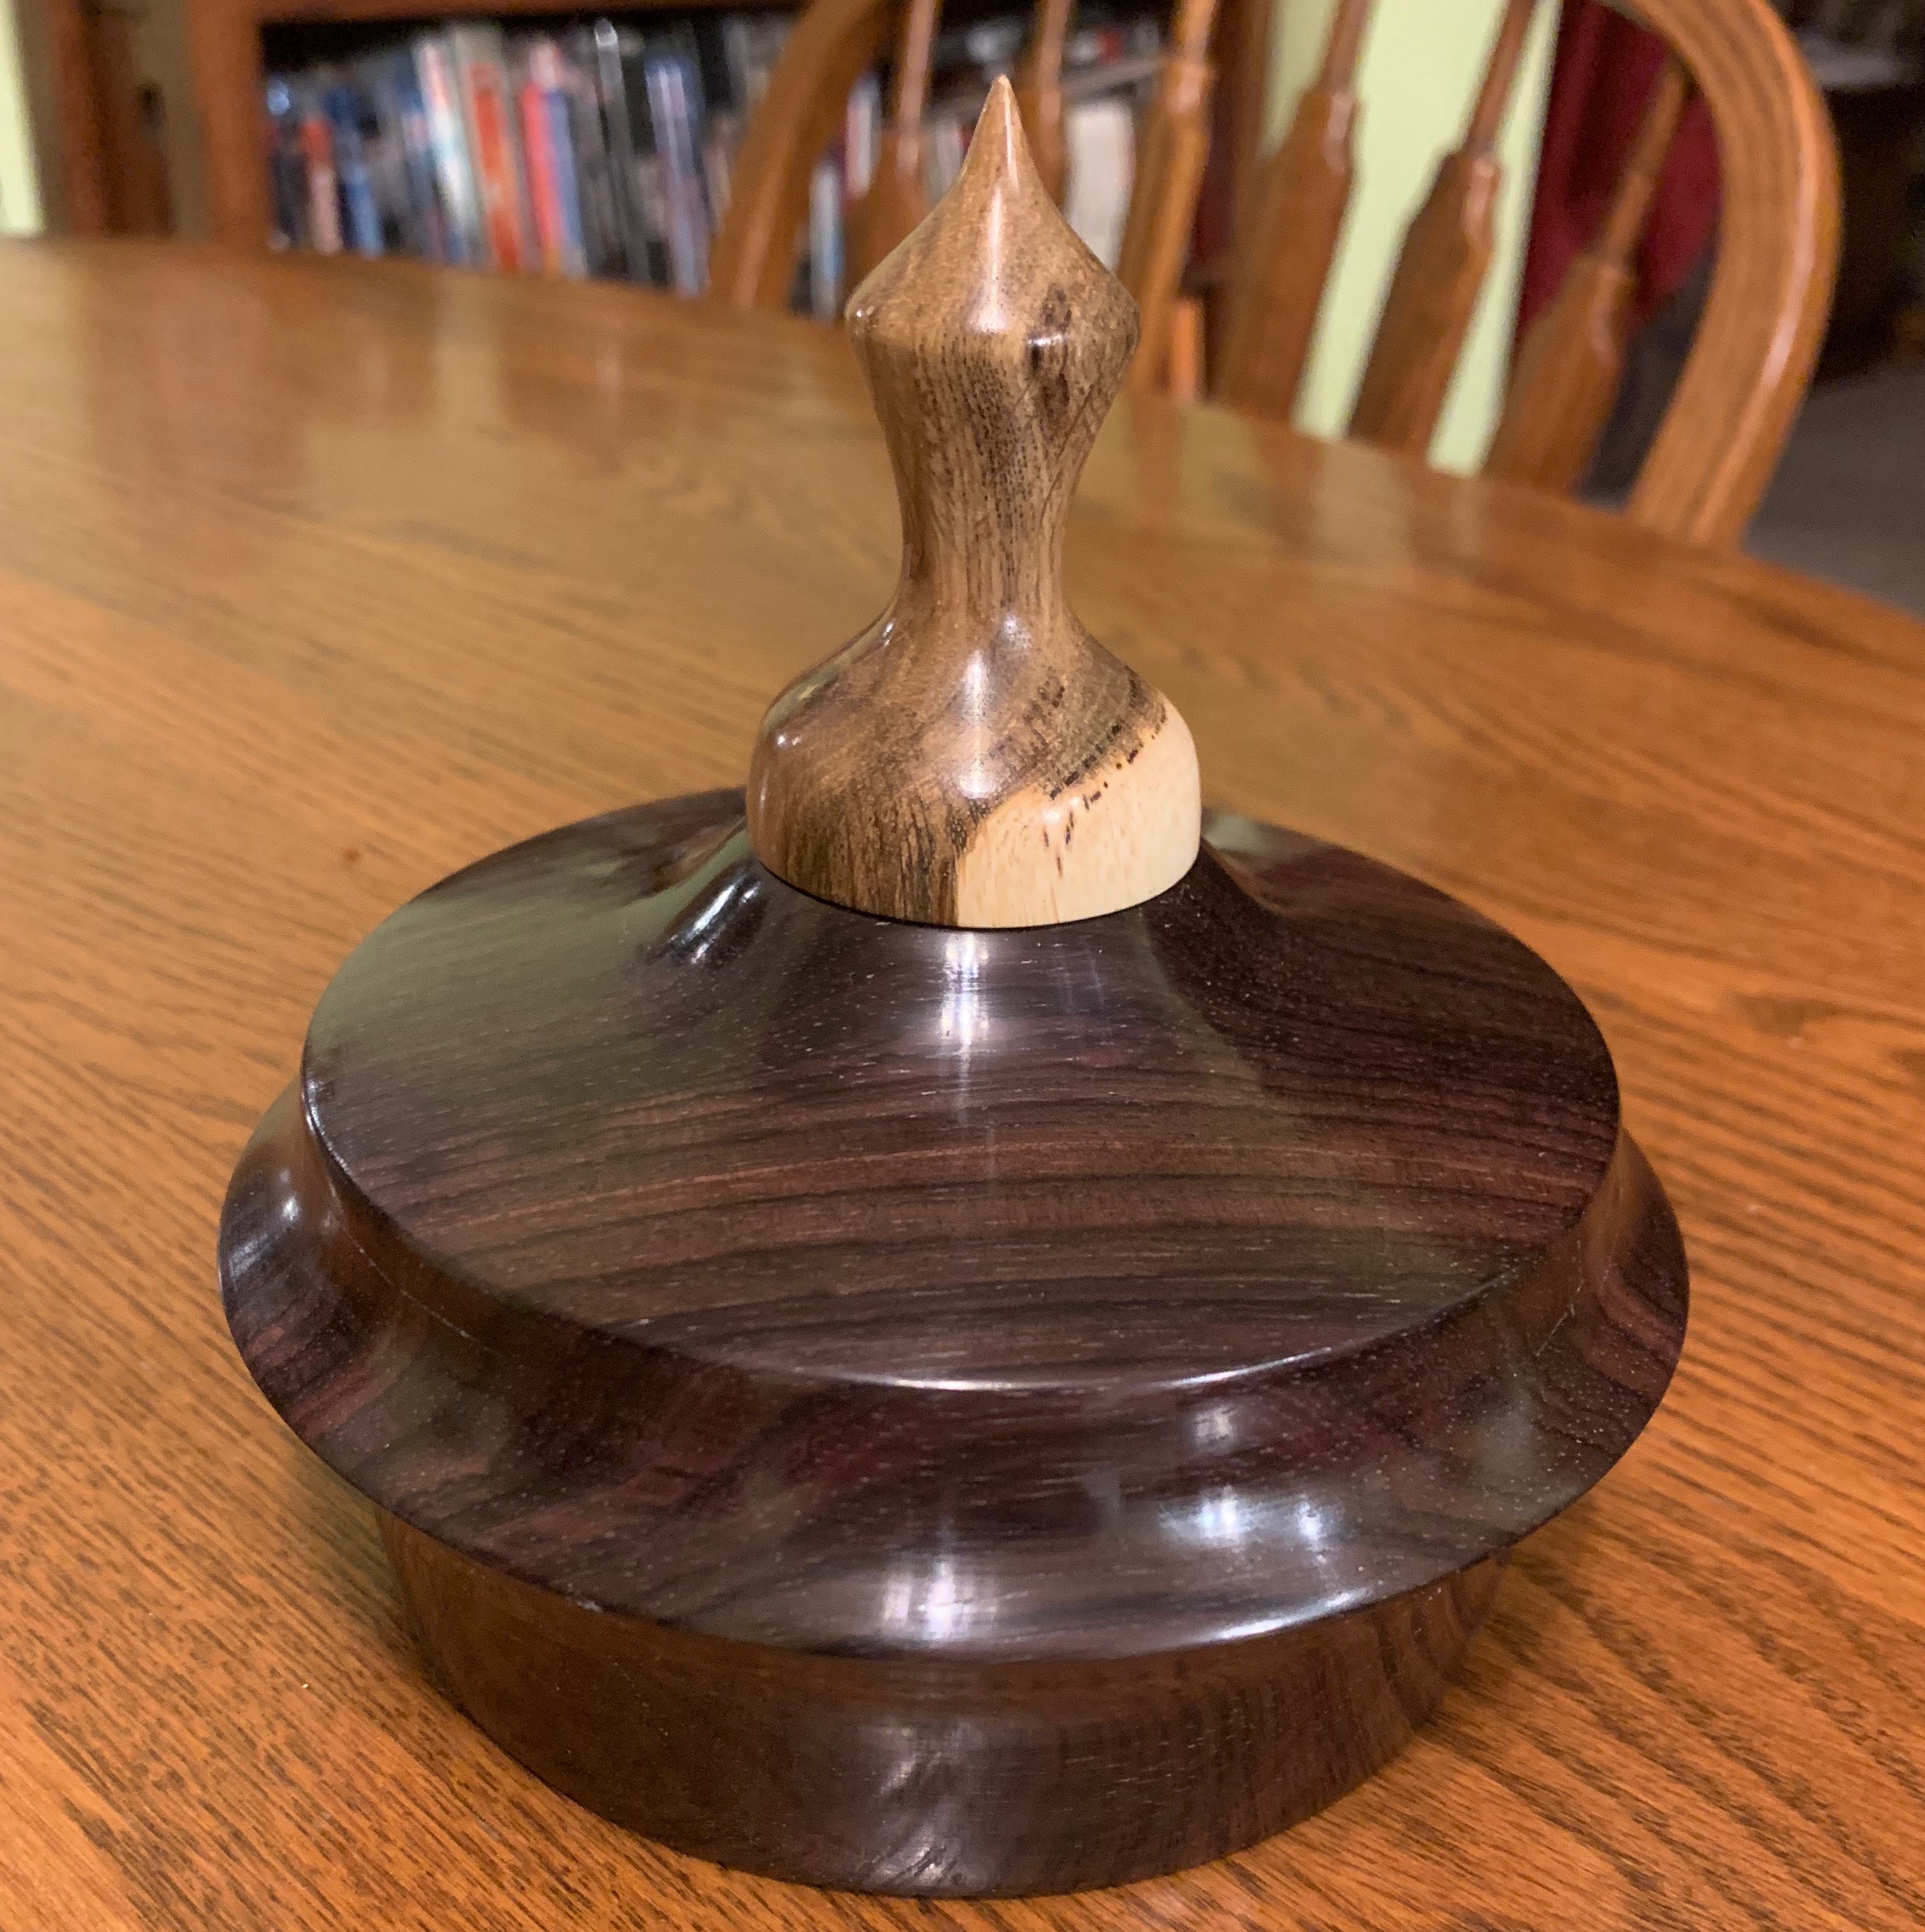
A mold is a simple thing, basically just a container to hold the liquid resin and whatever you might be embedding in it until it solidifies. I mostly use disposable plastic paint mixing containers like the one in the photo over there on the right that I buy in bulk. (Remember that tea light in the very first photo? That’s it before it was machined on the lathe.) They’re cheap, available in a wide variety of sizes, and are printed with a variety of different markings to make it easier to measure out resin quantities.
But people also use just about anything as a mold. Food containers like cottage cheese containers and similar items work well after they’ve been thoroughly cleaned. I’ve used “Cool Whip” frozen topping containers and things like that with good results. If you’re doing a large project those 5 quart plastic ice cream pails work well. There’s no need to use mold release or anything like that because if it doesn’t come out of the mold, well, the mold didn’t cost you anything in the first place so just cut it apart or even chuck the whole thing on the lathe and peel it off with a gouge.
You can make your own molds rather easily for special purposes using silicone caulk or hot glue, and sheets of plastic. Just about anything that will hold a liquid can be used as a mold. But always remember that you have to be able to get your project out of that mold, so avoid using things like glass and metal.
One word of advice: If you’re using a pressure tank, line it with a small sheet of plastic just in case your mold leaks or overflows. Trying to clean hardened resin out of one of those things is a pain in the neck. The better ones are lined with Teflon but even so it can still be hard to clean them out if there’s an accidental spill.
Mixing
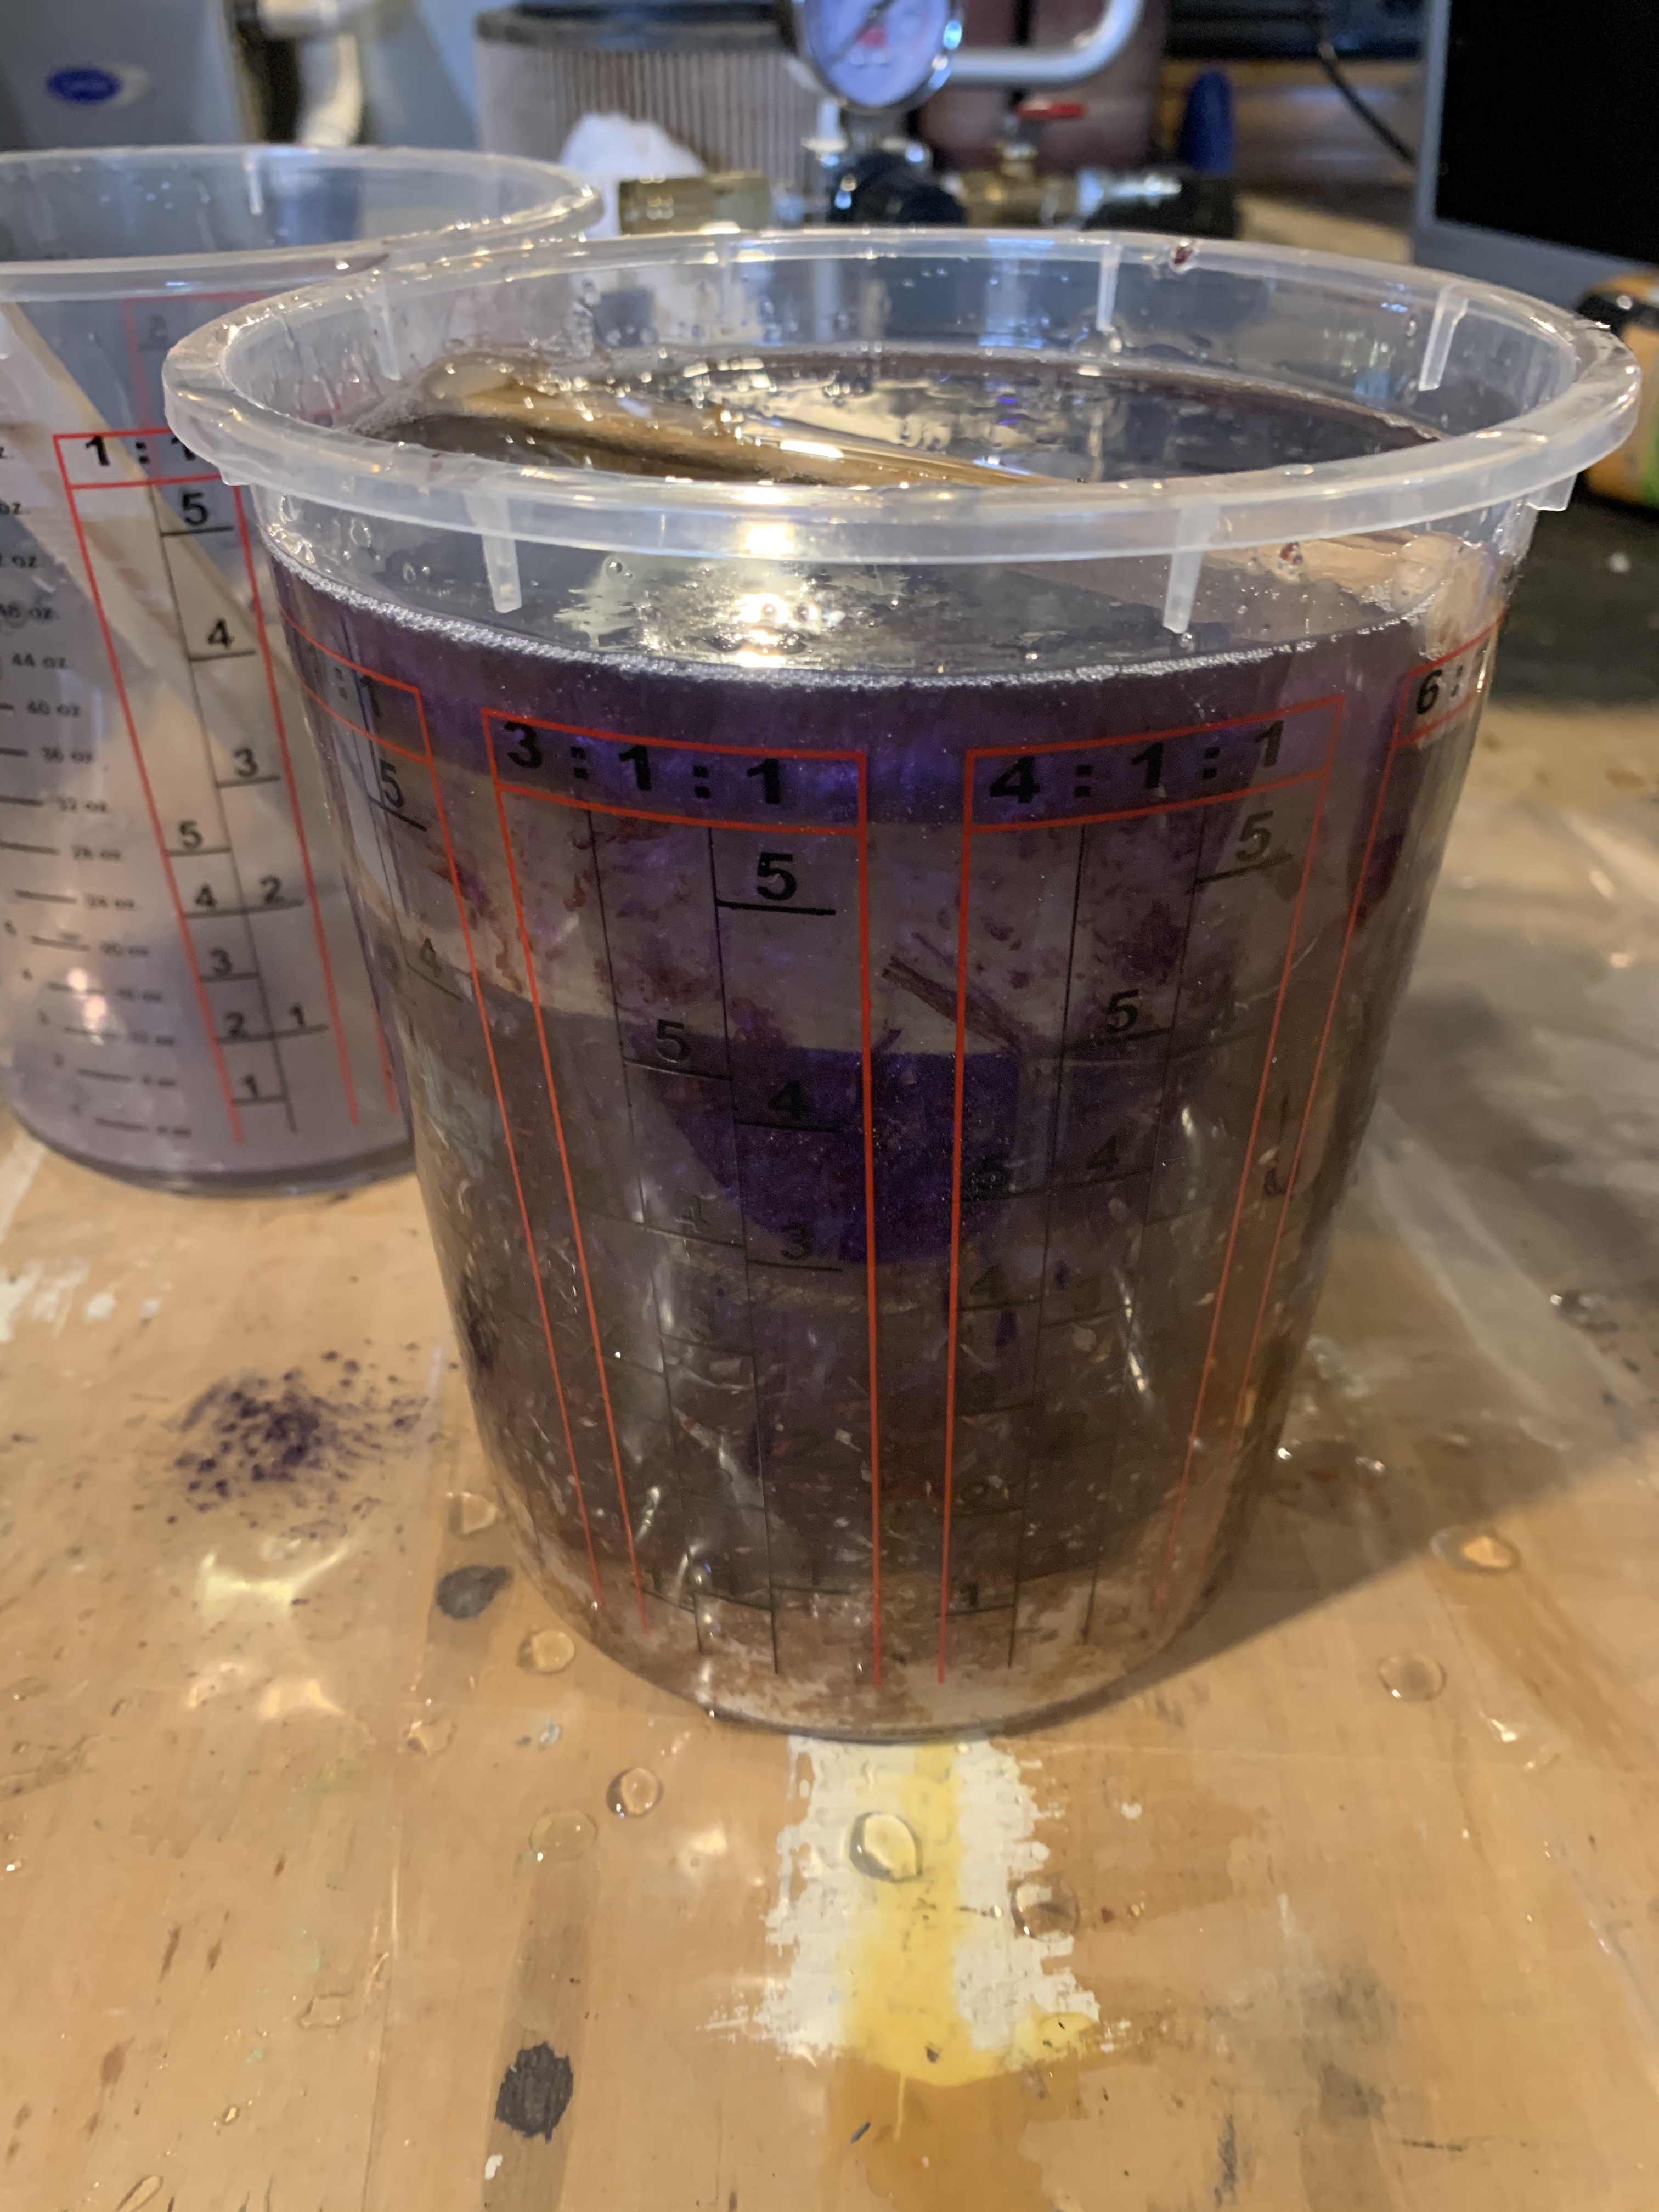
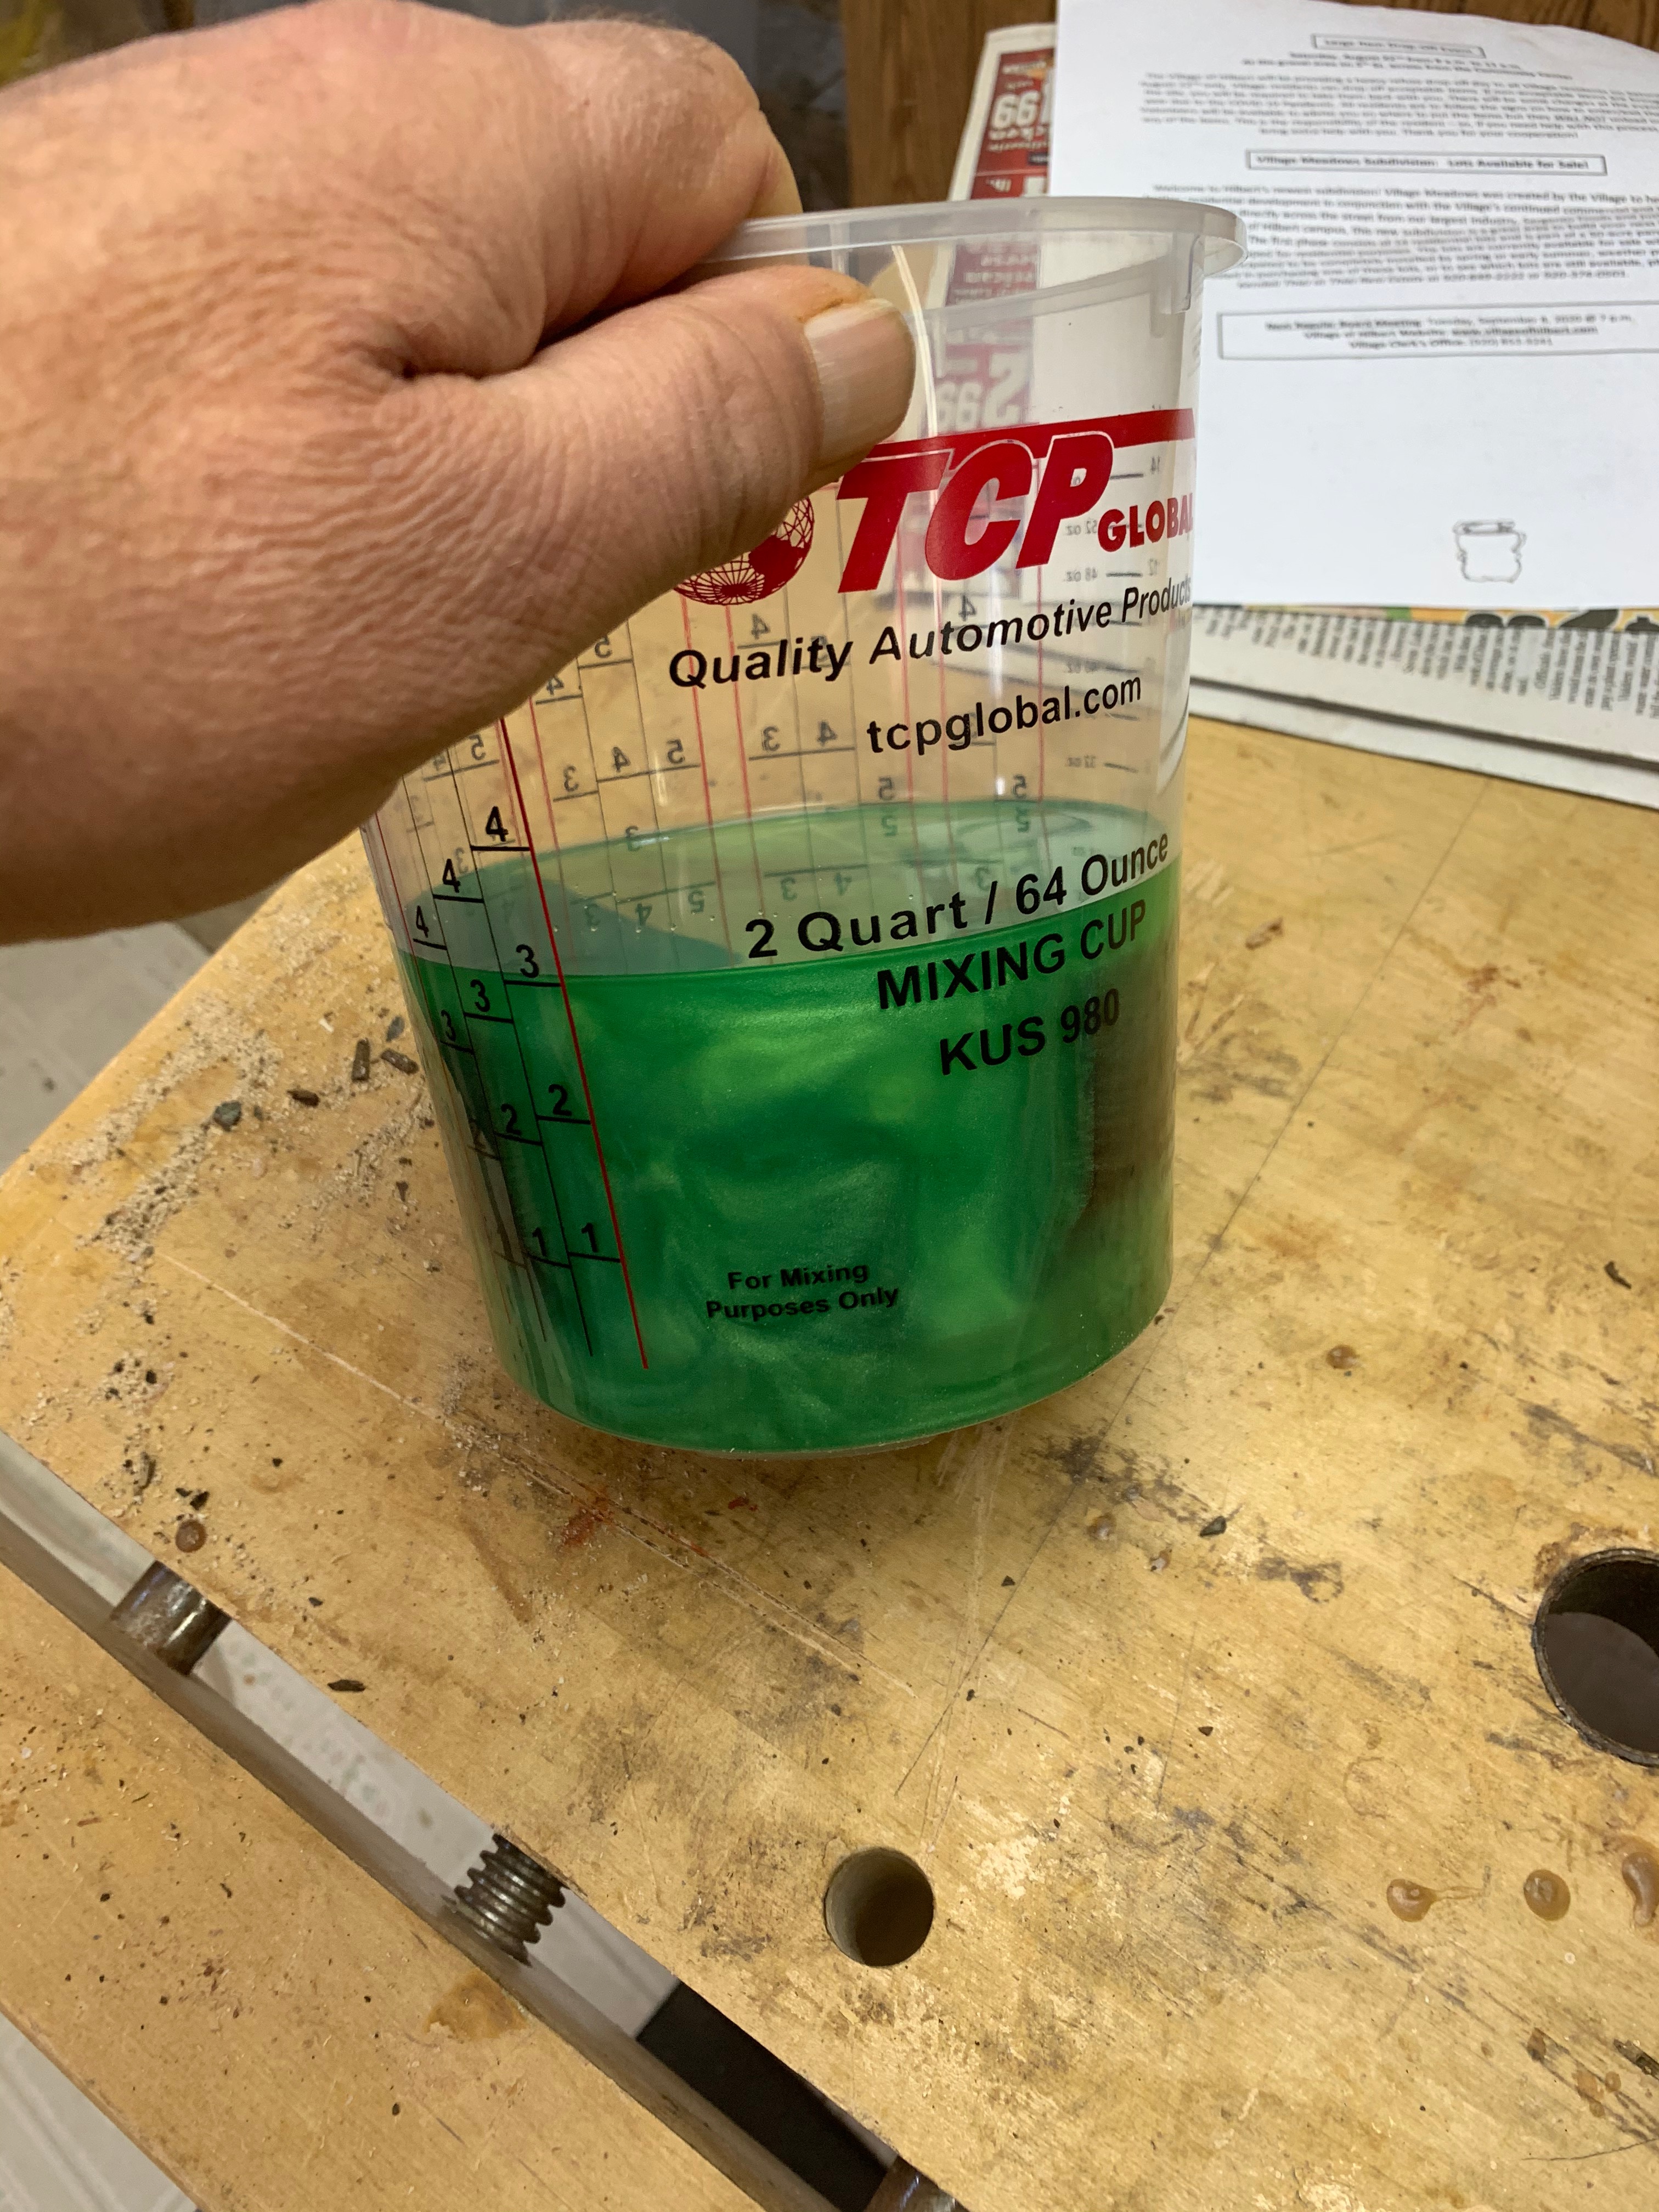
Resin has to be mixed with a hardener or catalyst. You need to follow the manufacturer’s instructions exactly. If you get the proportions wrong, bad things will happen. So always read the instructions carefully and follow them exactly. A lot of resins are mixed by volume, like Naked Fusion, the stuff I use. I mix two parts resin with one part hardener. But the exact amounts may vary depending on the resin you’re using. I have one brand/type of resin that mixes at a 1:1 ratio. Supposedly some of the resins out there tell you to measure quantities by weight, not volume. That seems a bit odd to me, but whatever the manufacturer tells you to do, do it.
At some point you are probably going to want to mix some kind of coloring agent in with the resin. Again, follow the manufacturer’s instructions, if any. Sometimes the maker will not have specific instructions for mixing in coloring agents. What I do with Naked Fusion is mix the coloring, dye or whatever in with the resin, and then mix in the hardener. That’s worked quite well for me. But if your product has specific instructions, follow them.
The hardener needs to be thoroughly incorporated into the resin. If it isn’t you can get pockets of uncured resin in your project or other problems can crop up. Again, follow the manufacturer’s instructions for mixing the product. A lot of guys use those paint mixers that chuck into an electric drill. If you’re mixing up a large quantity those things can be useful. Especially if you’re working with a resin that cures rapidly. You want to mix it as fast as possible and get it into the mold before it starts to set up. But also be aware of the fact that using a power mixer like that can incorporate bubbles into the resin, which you do not want.
I use good old fashioned disposable paint stirring sticks. The resin I use cures slowly so I’m not in a rush. I’ve had good results this way. The sticks are cheap. I get ’em for about $20 for 200 of them off Amazon.
Sidenote: Those disposable paint mixing sticks also make great markers for gardening. They’re big enough that I can write on them with a Sharpie to label stuff out in the gardens.
Dyes and Coloring Materials
As I said before most resins are crystal clear when fully cured and you can turn out some really, really beautiful stuff using nothing but clear resin. This is especially true if you’re trying to emphasize the object you have embedded in the resin. But a lot of us are looking to make things that are colorful and eye catching so we resort to using various coloring agents and iridescent powders.
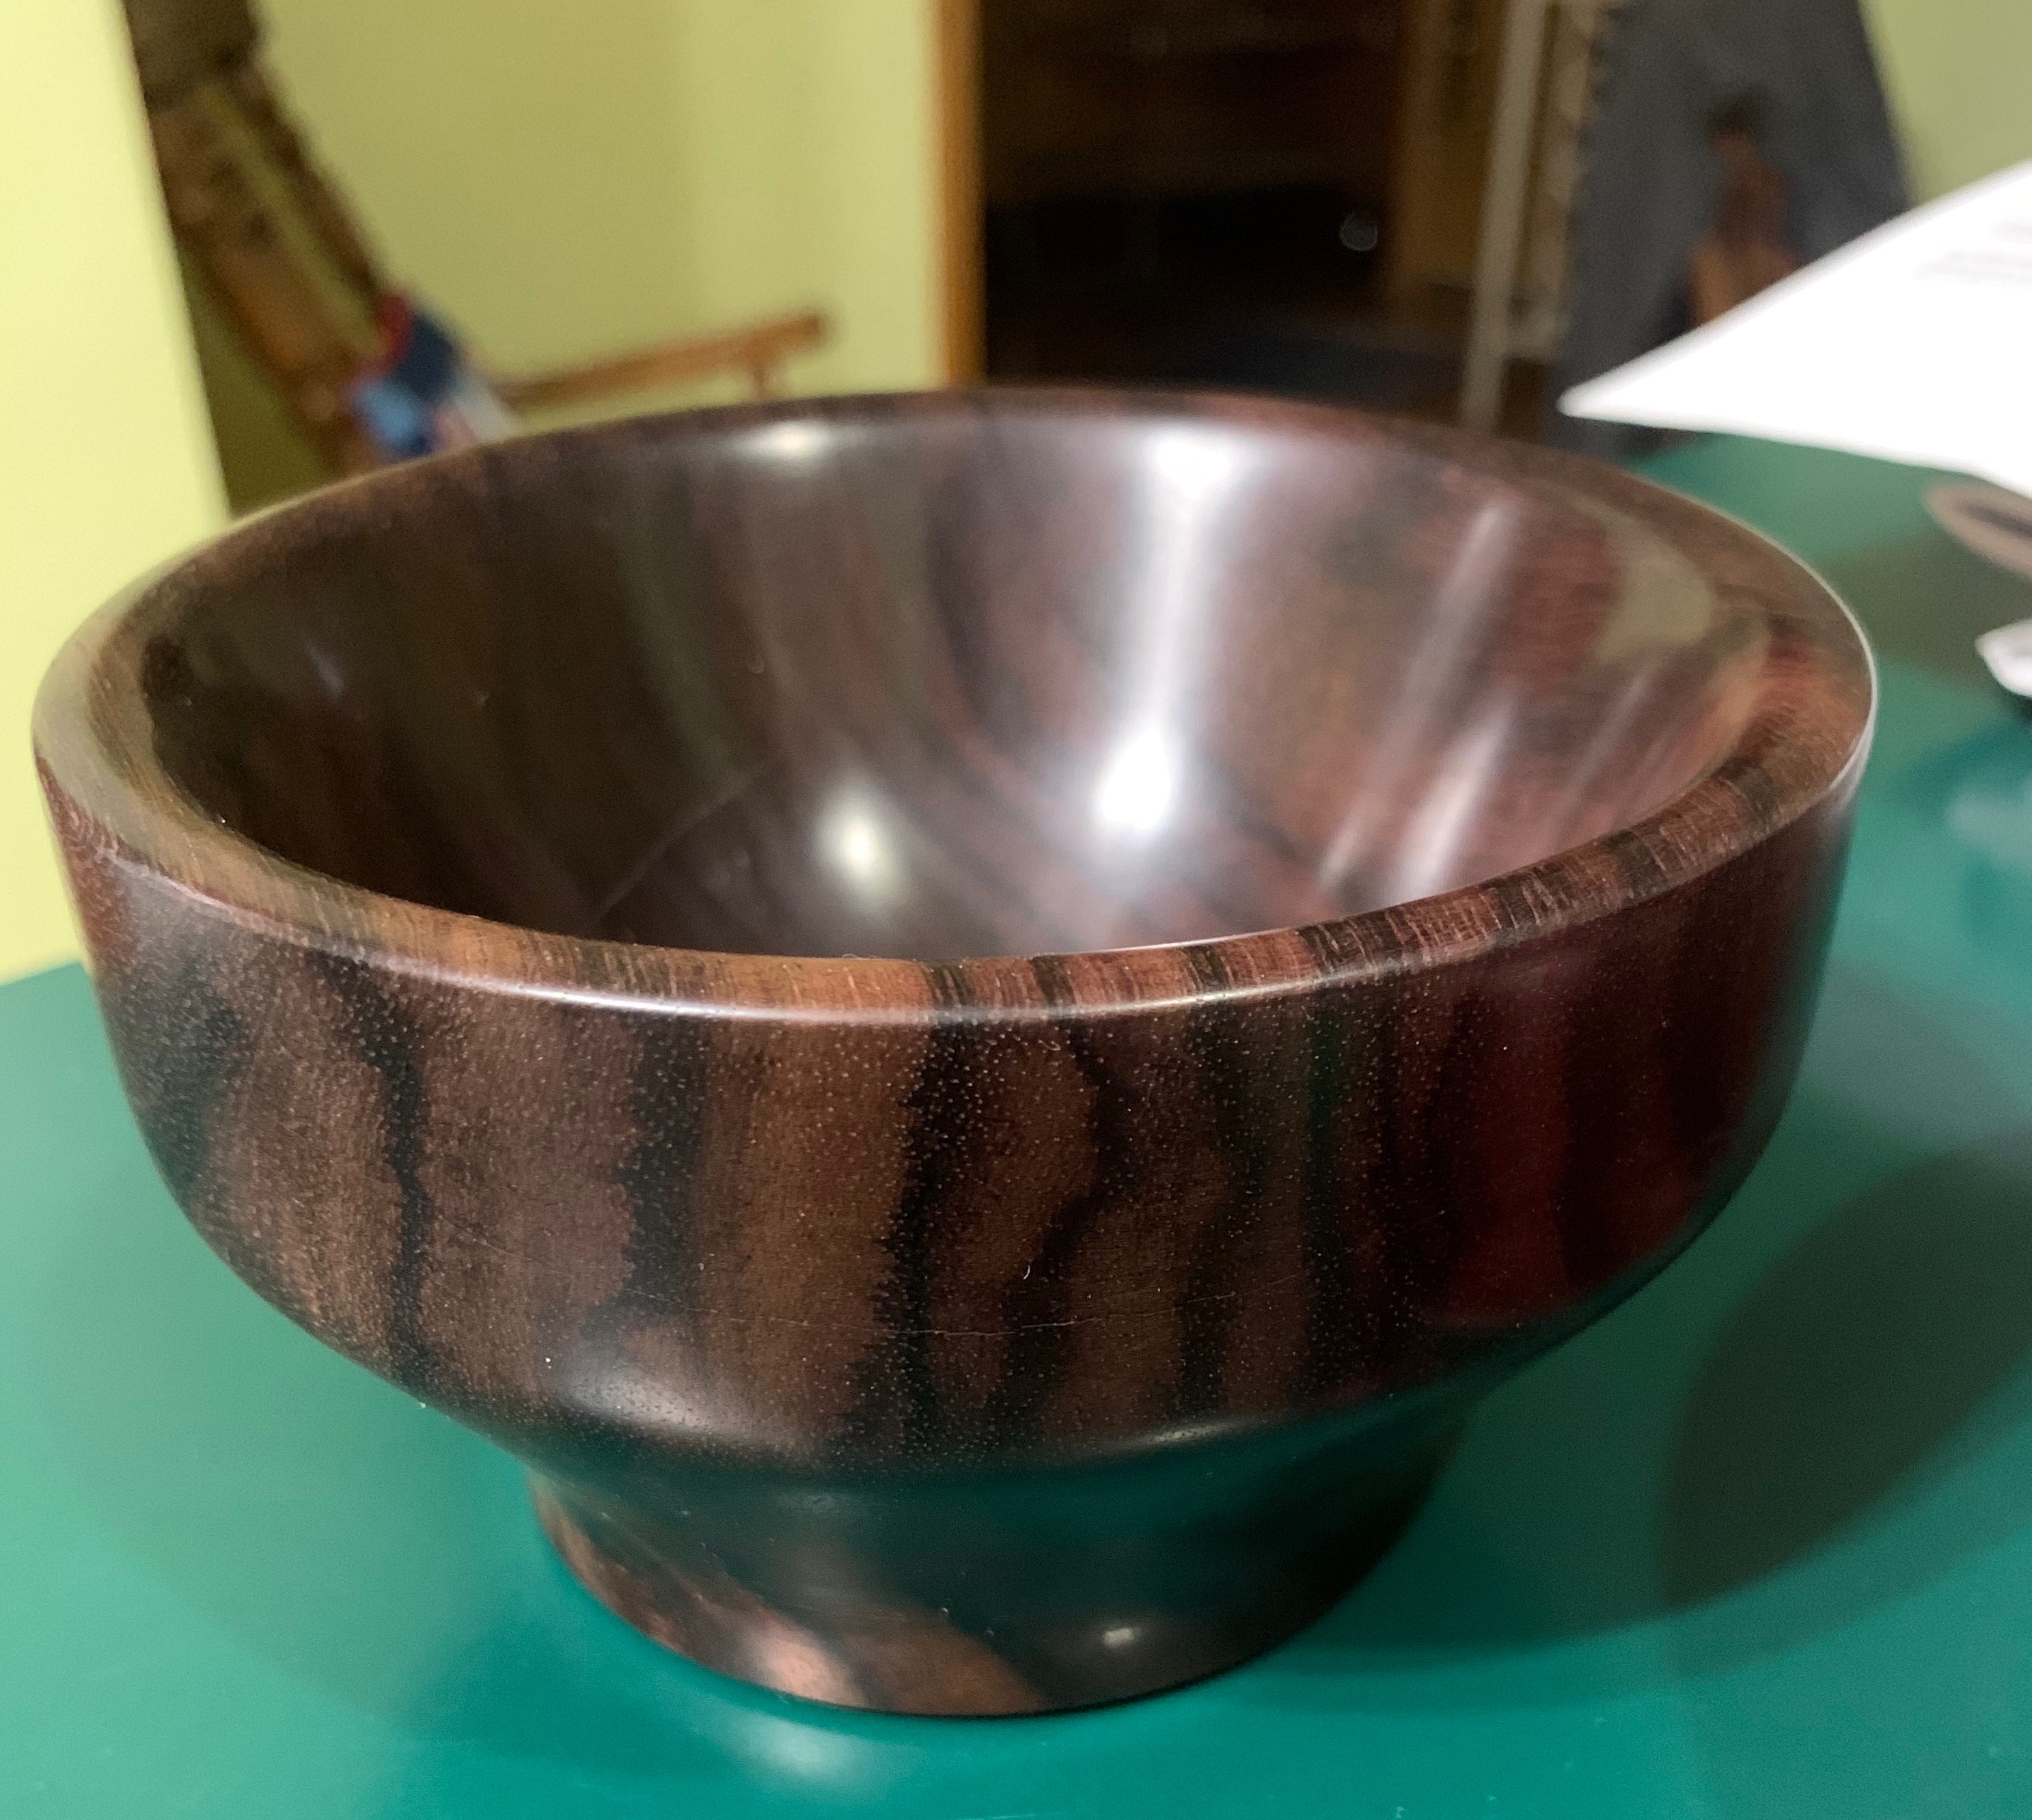
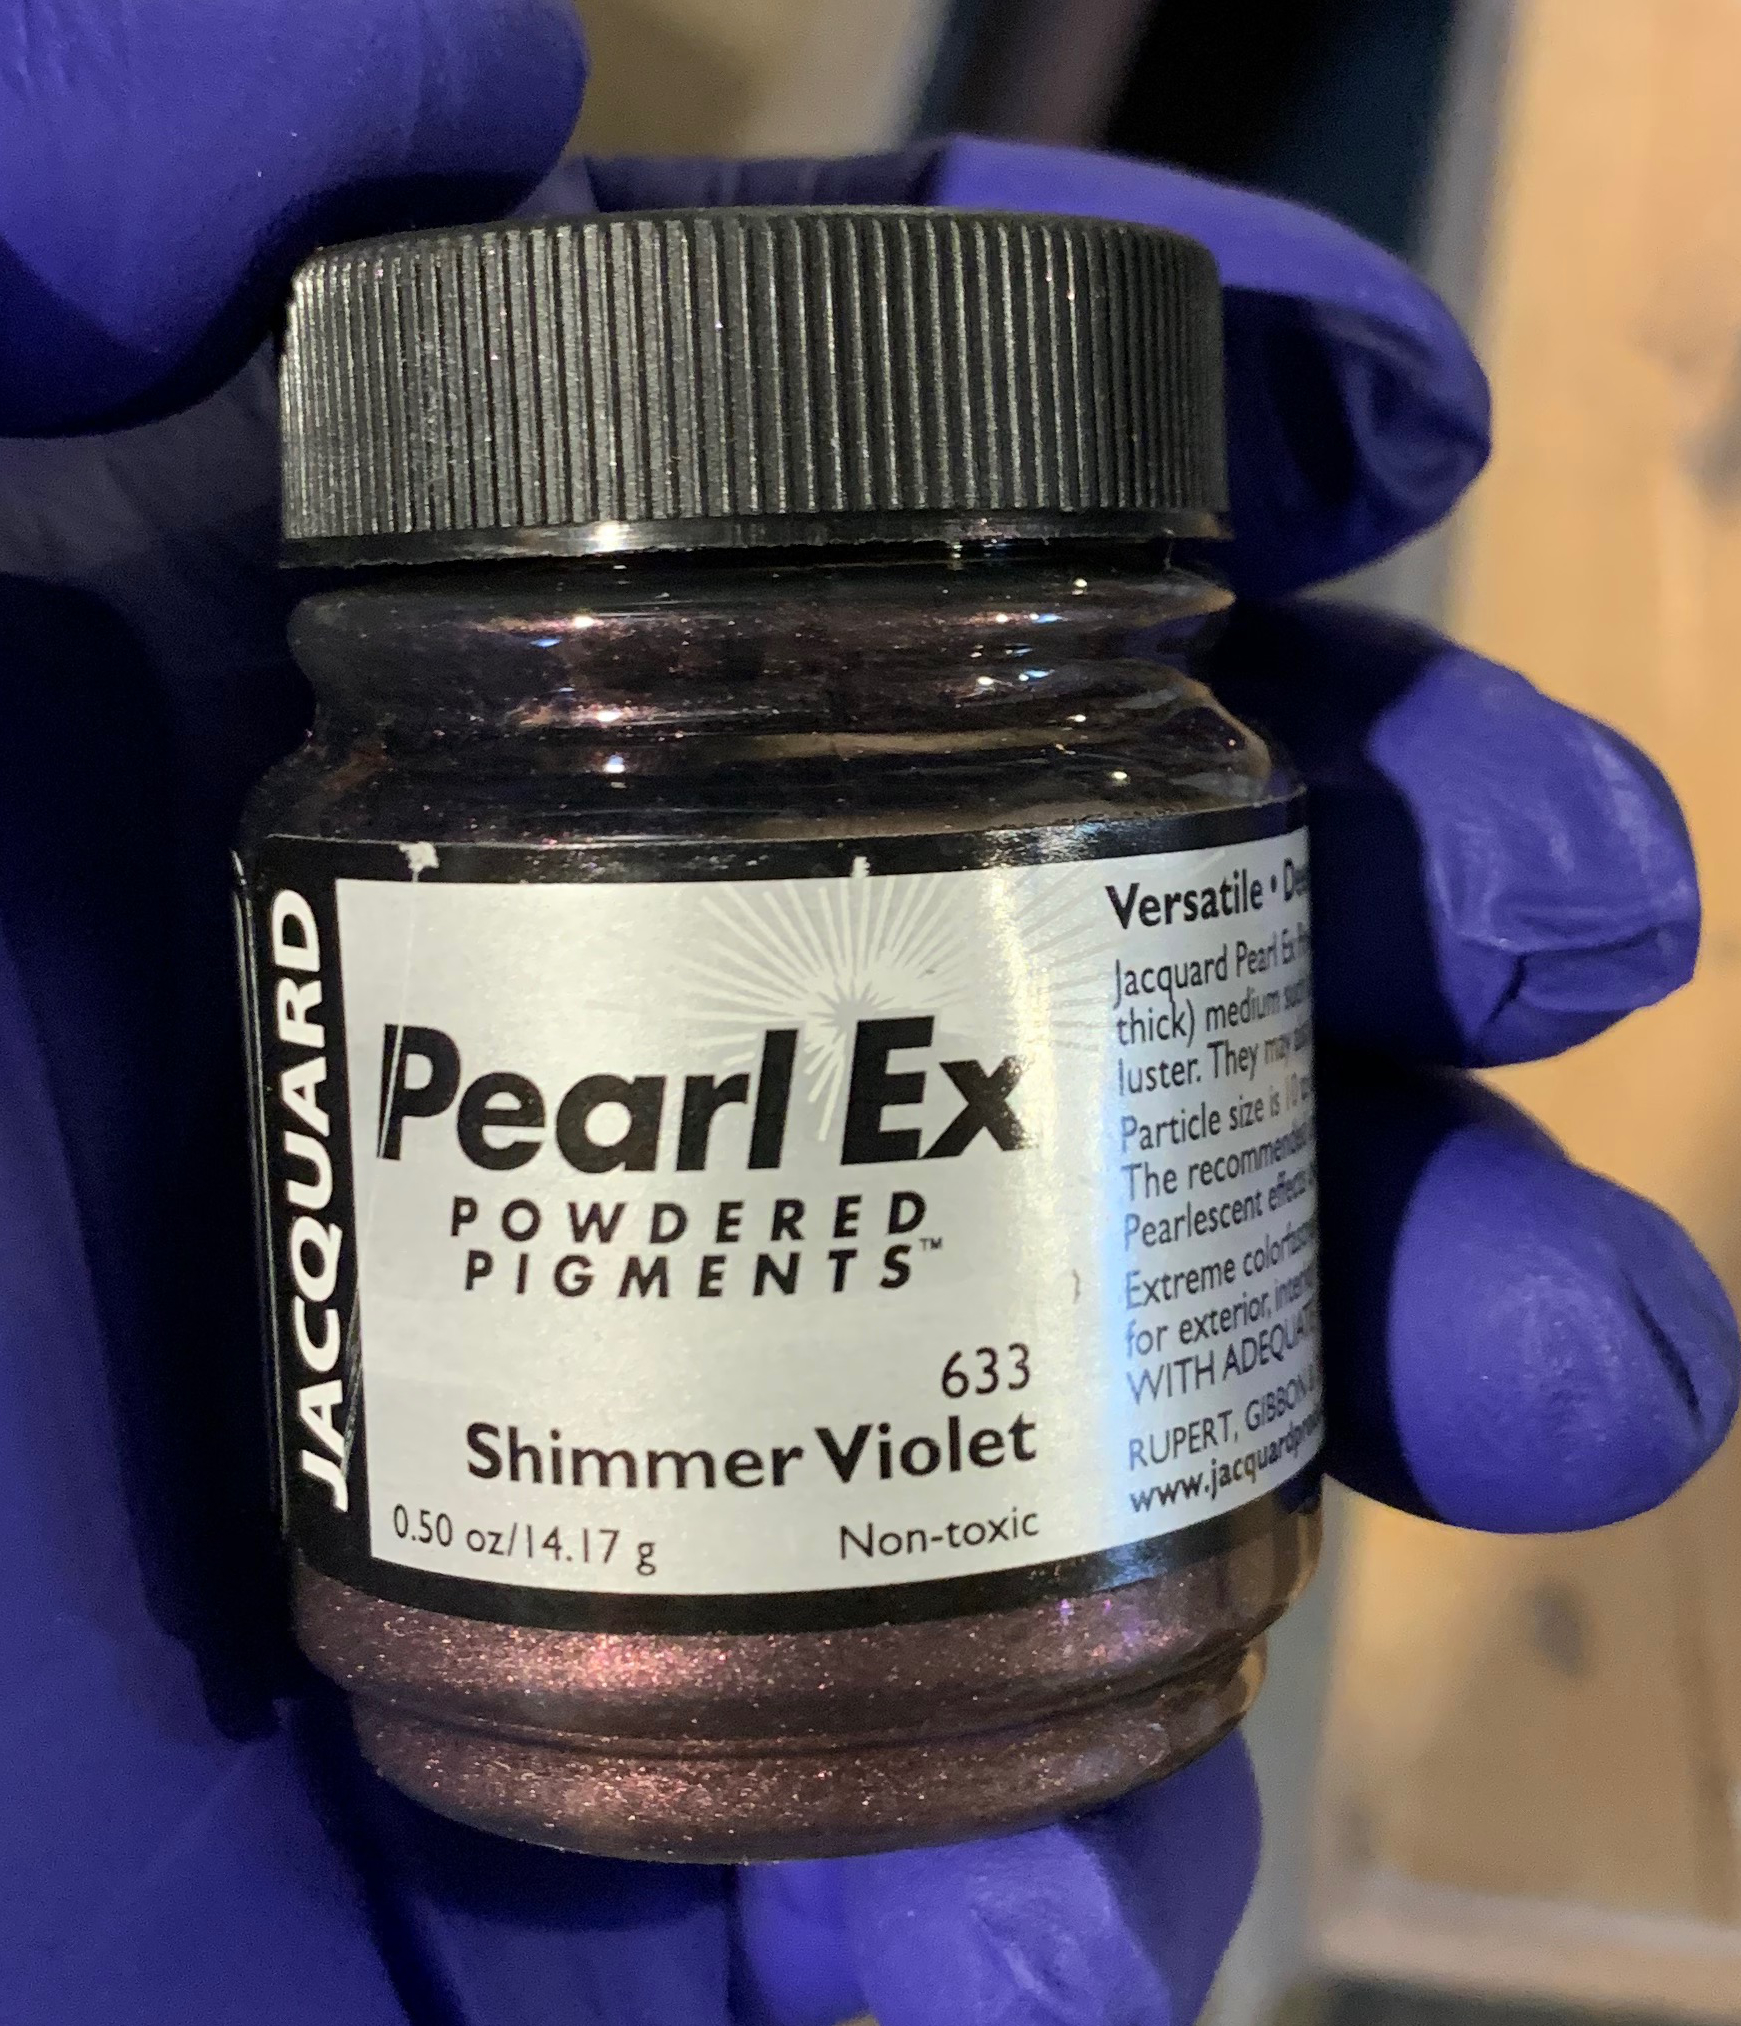
Personally I stick with additives that are specifically designed to be mixed into resin. There are a huge number of dyes, coloring powders, iridescent materials, glitter and I don’t know what all else made specifically for use in resin. Basically you can get just about any kind of look you want. Most of them aren’t super expensive, and you don’t need a lot of the stuff. Over there on the right is a remarkably bad photo of a decorative lamp I made. (It looked much, much better in real life. Seriously.) That resin had two different Pearl Ex powdered pigments in it, emerald green and gold. And despite how it looks in that picture it turned out quite nice.
I’ve seen people use all kinds of weird stuff to try to achieve various colors and special effects with resin. They’ve used things like various types of ground spices, inks, you name it. I saw one guy try ground up Cheetos. Seriously. Yeah, it didn’t work very good.
My advice is to stick with additives that are specifically designed to work with resin.
Working With The Stuff
Once you have your resin project cured, you can work with it as if it were a piece of wood. Sort of. Kinda. I’ll be going into that in more detail in the second part of this when I actually make a resin project and have you follow along.
First of all, safety.
Yes, here I go again with the safety warnings, but you only have one set of lungs, one face, one pair of eyes. Wearing respirators, face shields and other protective gear is inconvenient, yes, but it’s better than losing an eye, suffering from face lacerations, or ending up with lung disease. I put up a video of me working on the lathe recently and you can see dust and wood chips flying up and bouncing off my face shield. That face shield I’m wearing costs less than $30 and not only has it kept dust and chips out of my eyes, it’s kept me out of the ER a couple of times now when things have gone very, very wrong. The first thing I do when I even so much as walk into my shop is put on my respirator and that shield.
Attaching It To A Lathe
You can attach a resin object to a lathe just about any way you want, but one word of advice about the use of faceplates. You don’t want to run screws into just the resin itself. Resin doesn’t have the strength and resilience that wood has, and it can be brittle. If you attach the faceplate with the screws anchored only into the resin, the vibration of the lathe can cause the resin holding the screws in place to disintegrate. So avoid using screws driven into just resin. When I use a faceplate I either have wood embedded in the resin itself as part of the project that the screws can bite into, or a sacrificial wood disk embedded in the resin that I can later cut off during the machining process.
It is going to be a mess. A serious mess
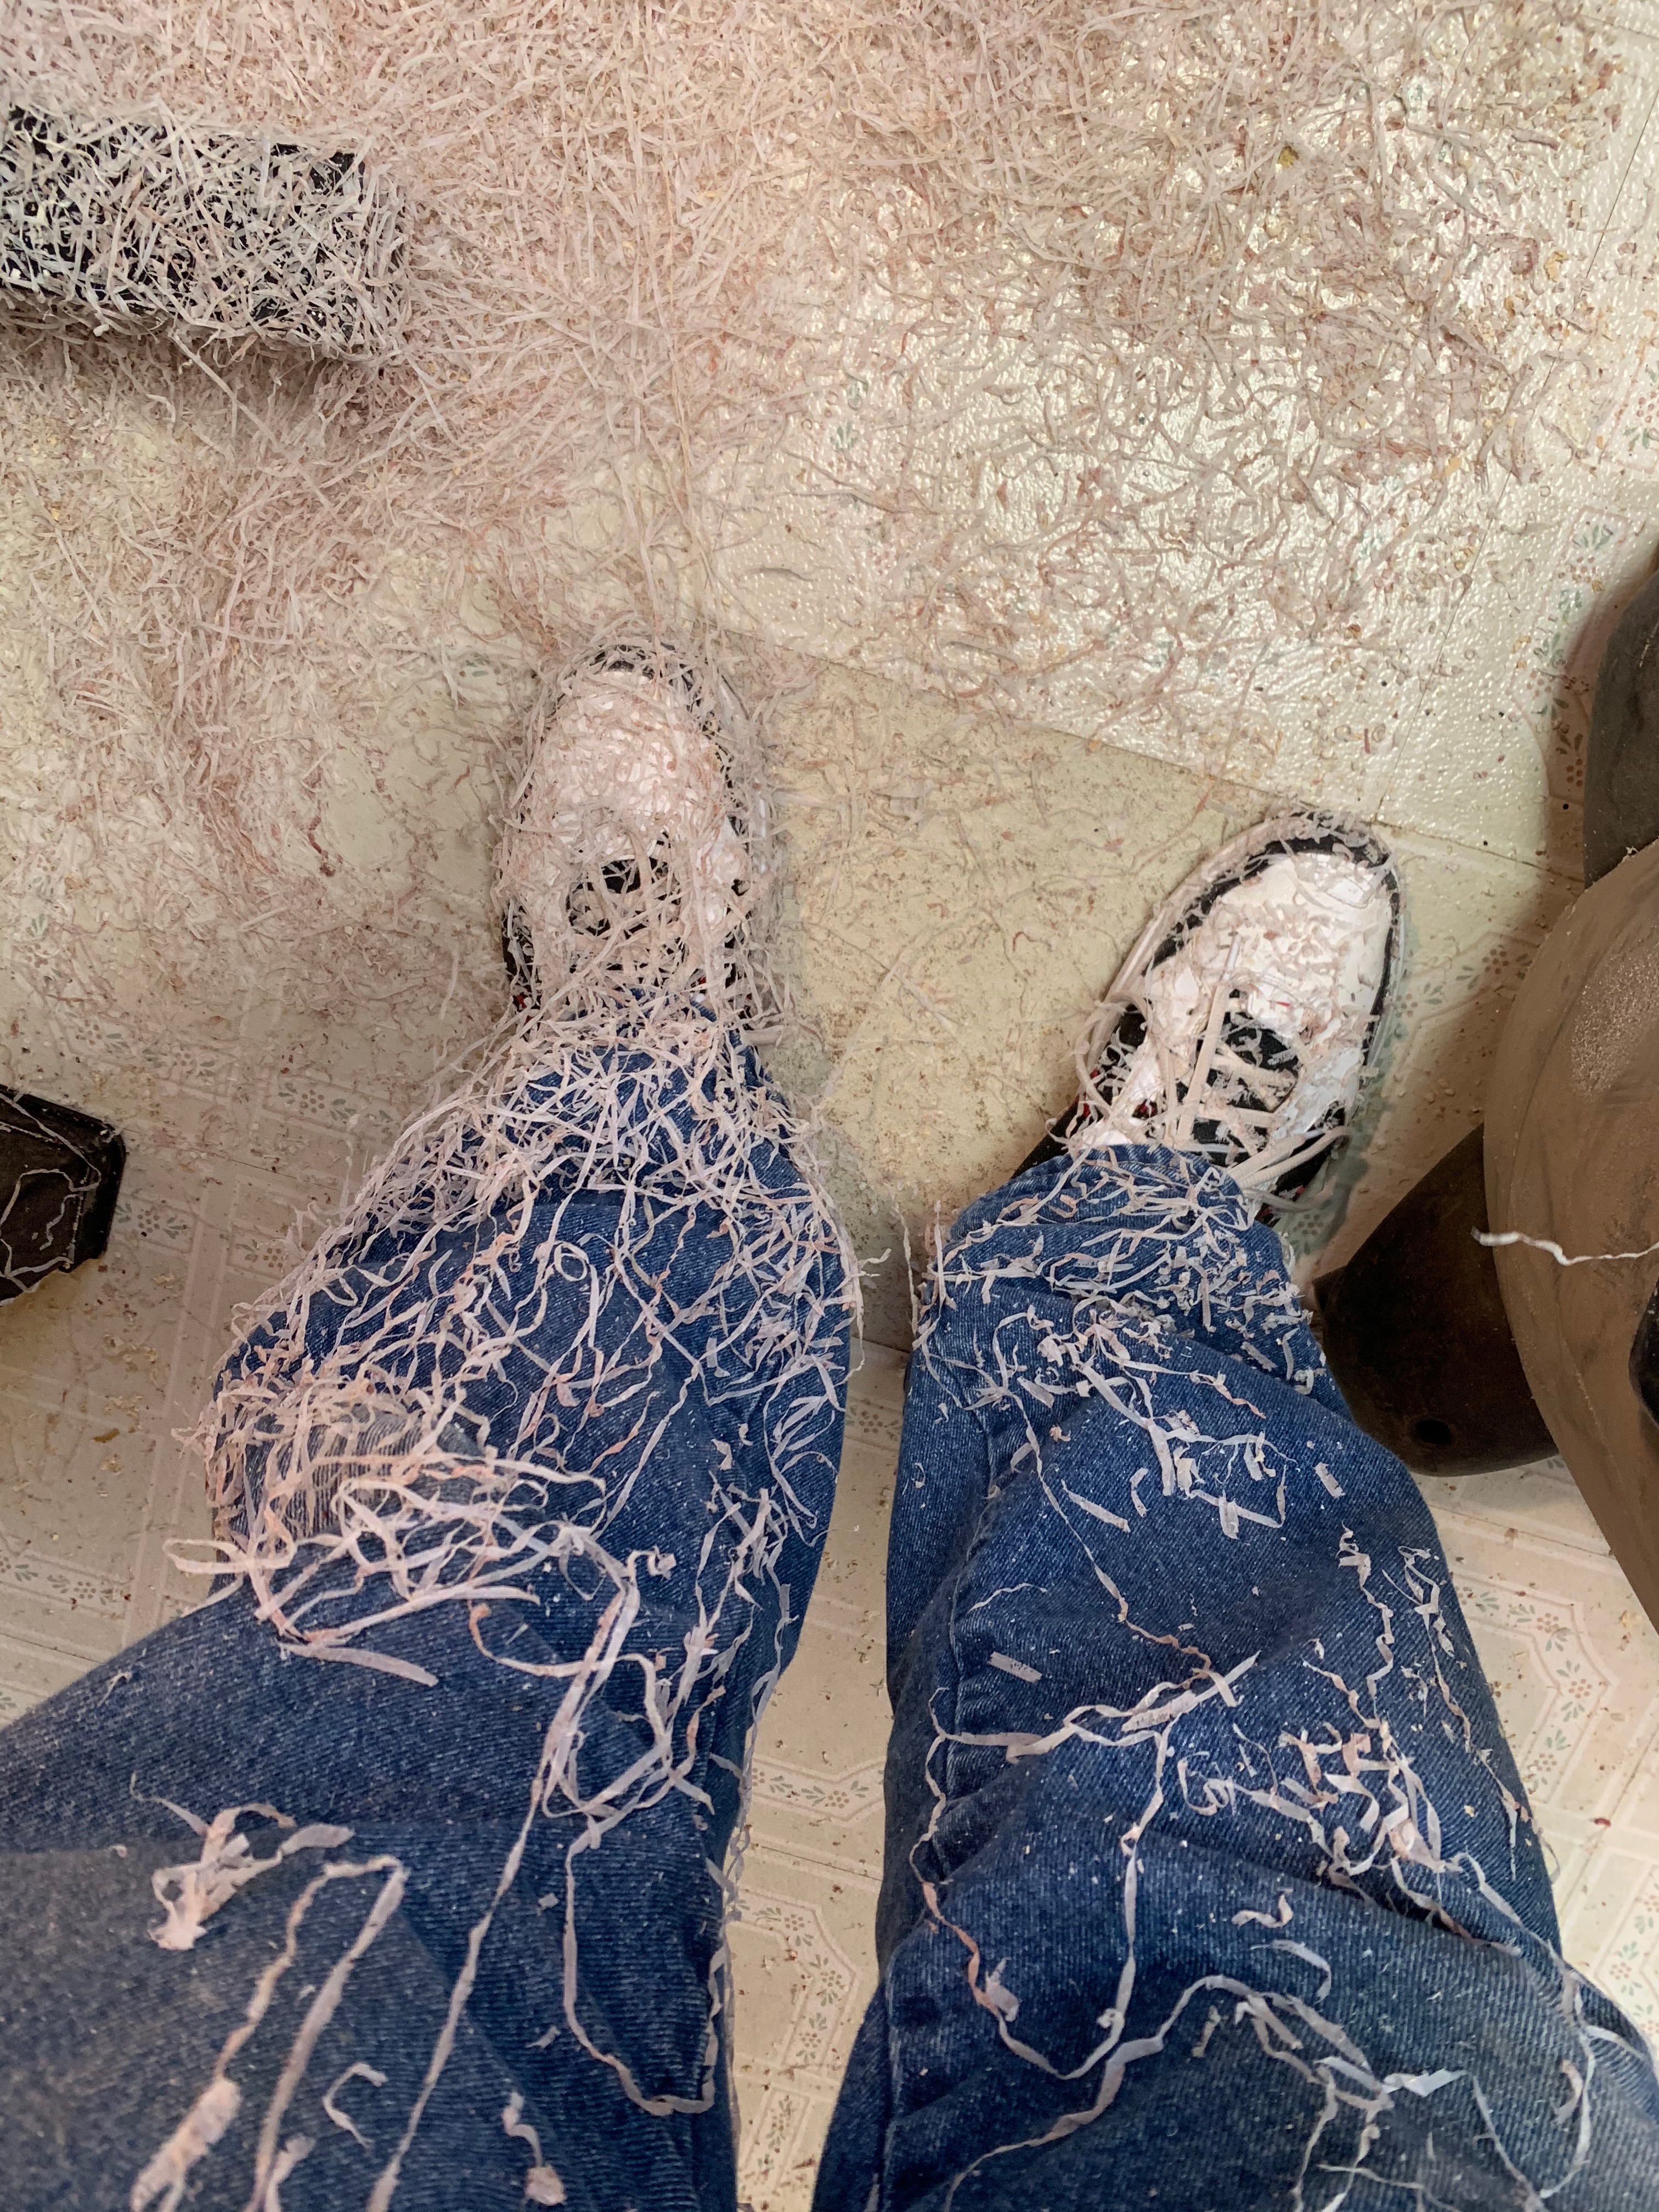
Resin is plastic. It might be soft enough to cut with wood working tools, but that is where the similarities end. You aren’t going to end up with nice shavings. You are going to have long strings of half melted plastic coming off your tool that will stick to everything.


See what I mean? And that up there isn’t even all that bad. I took those photos when I’d just started rounding off a project. The really serious mess didn’t start until after I took those pictures.
The stuff will get everywhere, on your tools, on you, on your clothes, all over your shop, it will wind around your lathe…
Wear a hat. Seriously. Trying to get that stuff out of your hair is not fun. I also wear a high necked woodturner’s smock that fits tight around my neck to keep the stuff from going down inside of my clothes. You’re probably going to have to stop frequently to clean the stuff off of your face shield so you can see and off your lathe. The long strings will get twisted around your project so you’ll have to stop to clean that off.
Tools
You don’t need any special tools to work with resin. Just about all your normal woodturning tools, whether steel or carbide, will work with resin. Just be careful until you get used to the different ‘feel’ of working with the stuff. Your tools need to be sharp to avoid chipping.
Resin can also be brittle. Be cautious when you work with the stuff. Do not be overly aggressive. Make only light, shallow cuts at least until you get a feel for how the stuff behaves. Different resins have different machining characteristics. Some are more brittle and chip easily, others are more malleable.
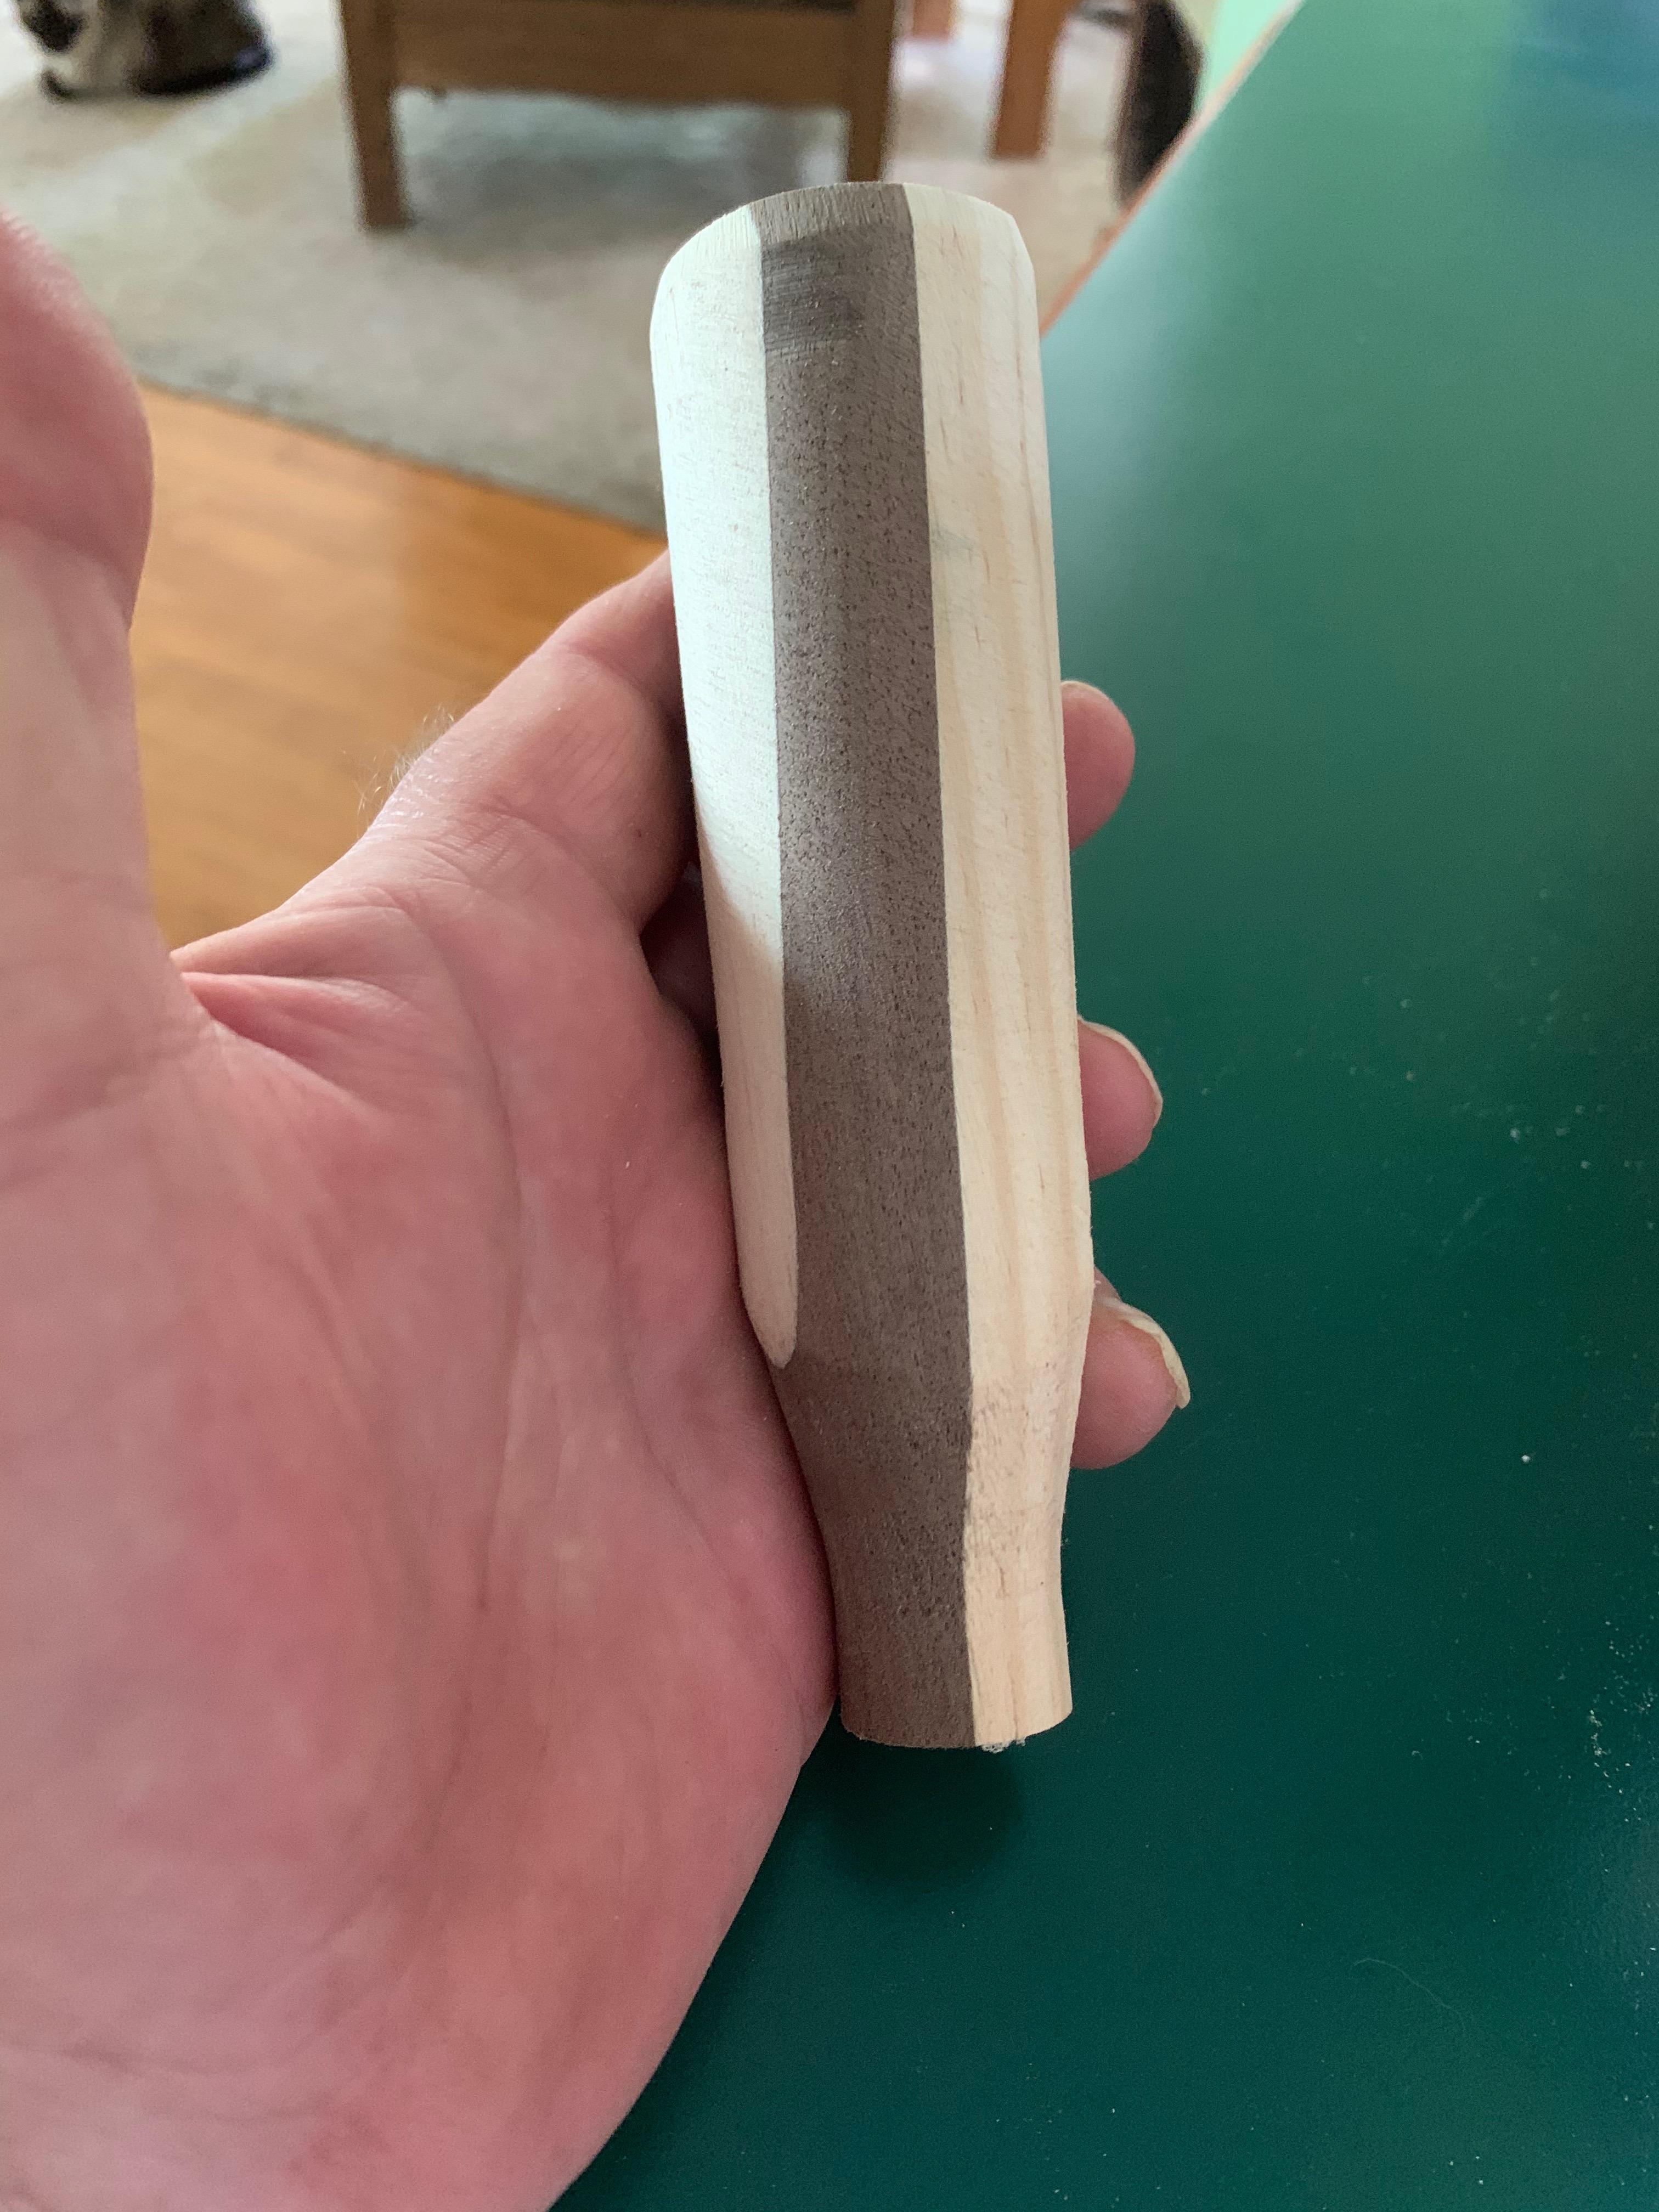
Sanding
Sanding resin is a pain in the ass. Remember we’re working with plastic here, not wood. Plastic melts at relatively low temperatures and sanding causes a lot of friction which generates heat. If you try to sand resin as aggressively as you’d sand wood you’re going to end up with the plastic melting and clogging up your sandpaper. Keep the lathe speed down and don’t try to rush things.
And wear a N95 rated respirator and use some kind of dust collection and air filtration system. You do not want to inhale the dust from this stuff!
I’ve seen guys resort to wet sanding in order to avoid problems with the plastic clogging up their abrasives. That will work of course, but dear lord it’s a mess. I used to do auto body work a long, long time ago and I wet sanded a lot of cars and it is something I would rather avoid. If you use a light touch, relatively low lathe speed and are relatively cautious, you should be able to avoid having to resort to wet sanding. But if you need to get into the higher grits like up beyond 600 grit sandpaper, you might have to. If you do try wet sanding, get that cheap plastic sheeting painters use for drop clothes and cover everything within about 10 feet of your lathe, including your lathe itself. Wear a rain coat, face shield, etc. It gets seriously messy sometimes. You’ll be amazed at how far a spinning object can fling water droplets.
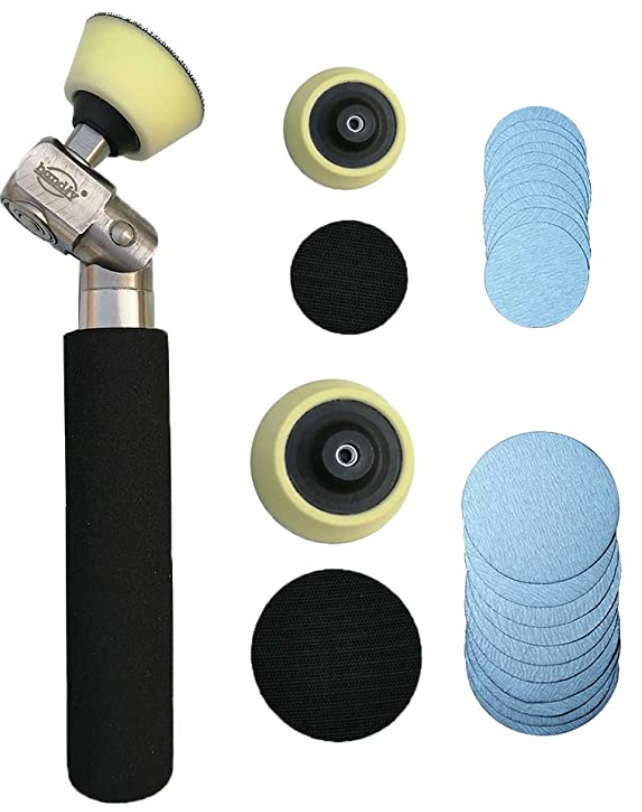
You might want to consider getting a tool like the one over there on the right. That’s a hand held bowl sander with a variety of different padded heads. 2 or 3 inch sanding discs attach by velcro to the head. The pad is attached to a free spinning bearing. I’ve got one of those and I’ve found it well worth the $50 it cost me. When held against an object spinning on the lathe, the head of the tool holding the sandpaper also spins around. You get an effect similar to a powered orbital sander which makes marks left by the sanding process less noticeable.
Sanding is a tedious process. The first step is to use a relatively coarse abrasive to remove any tool marks left from the initial shaping. After that first step, what you’re trying to remove aren’t took marks, but scratches left from the previous sanding. So if I sand with 80 grit first, sanding with 120 removes the marks left by the 80 grit. Then sanding with 220 removes the scratches left by the 120. Sanding with 400 removes the marks from the 220… You get the idea. Sanding is always going to leave scratches. Always. The idea is to end up using a grit that is so fine that the scratches are invisible to the human eye and to us it appears to be completely smooth.
Now with wood I almost never sand beyond 4o0 or 600 grit. With resin I generally take it to even higher grits. That’s when you might be tempted to try wet sanding because otherwise that fine sandpaper clogs up fast.

If I want a really smooth, high gloss surface, the last thing I’ll do is use a sanding paste. This is a very, very fine abrasive suspended in a carrier of some sort similar to the texture of car polish. Well, basically that’s what it is. When I was doing autobody work the last step we did was use polishes that were actually extremely fine abrasives suspended in a paste like carrier, along with a random orbital buffer to apply it.
I do the same with lathe projects. I’ve been using Pita’s for a while now with good results but there are a lot of others that work just as well. I just rub it in with a bit of paper towel, and then buff it up with a clean, lint free rag.
Finishes
You’re going to want to put some kind of final finish on to bring the project up to a high gloss and to protect any exposed wood. I’ve used straight carnauba wax, but that gets a bit tricky for me at least. I have to be very, very careful or it gets kind of ‘streaky’ looking on resin. I’ve had good results with good old home made “OB shine juice” made with shellac, linseed oil and alcohol. Personally I’d avoid lacquer because lacquer thinner can react badly with some types of plastic.
Before you put on a final finish, though, you should apply some kind of sealer to any exposed wood. Unsealed wood can absorb whatever finish apply over time and cause splotching and dull spots.
Embedding Stuff in Resin
I stick bits of wood into resin to make stuff, and that’s probably what you want to do also or you wouldn’t be reading this. You can embed anything in resin, of course, but I’m going to stick with wood because wood and resin seem to get along with each other pretty well.
I haven’t had any problems with any of the various species of wood that I’ve embedded in resin. At least none that I’ve noticed. But all of the projects I’ve done so far have used wood that is already on the dry side, at 10% moisture or less according to my meter. I don’t know what would happen if you took a piece of wet wood straight off a tree and encased it in resin. If you want to try that you’re on your own.
(I get these weird ideas I’d like to experiment with. Like embedding a Big Mac in resin just to see what would happen to it over time.)
If you go scrounging around YouTube you’ll find people embedding all kinds of weird sh*t in resin and chucking it up on a lathe, including golf balls, roofing nails (seriously, roofing nails), various bits of food, and just about anything else they had laying around, with varying degrees of success and quite a few utterly spectacular failures and quite a few personal injuries. If you wish to continue this tradition of insanity feel free to do so, but you’re on your own there.
Dealing With Failure

Stuff goes wrong. It just does. Things are going to go bad and you’re going to end up with a project that is an utter failure or, as occasionally happens to me, so ugly you sneak it out into the firepit in the backyard in the middle of the night before anyone else can see it. That’s what happened to the project over there on the left. Dear lord, the color that thing turned out to be… (Shudder) That was supposed to be a lamp but just about everything was just – just nasty when it was done.
Sometimes things just don’t work. You figure out what went wrong, correct the problems and move on. I’m a pretty good furniture maker and my house has tables, chairs, bookcases, etc. that I cranked out myself and turned out pretty darn nice. But what people don’t see is all of the mistakes, screwups, disasters and other things that happened while I was in the process of acquiring the knowledge and skills I needed. Same is true with woodturning. Things are going to go wrong.
Don’t be afraid to challenge yourself. If you don’t stretch yourself, if you don’t experiment, if you don’t try to acquire new skills, well life would be pretty darn dull, wouldn’t it? Don’t be afraid to screw up. We all do it. That’s how we learn and grow.
And if you do screw up spectacularly, well, bring the remains over to my place and we’ll consign it to the firepit in the backyard and have a coffee or a beer and I’ll tell you about all of the massive screwups I’ve had.
Let’s Wrap This Up
I’ve been babbling along here far too long already so let’s finish this part up. I hope this has been helpful. Feel free to ask questions and I’ll do my best to answer them.
They say that the best way to learn how to do something is to actually do it. So that’s what I’m going to do in the next part of this. I’m going to make a decorative lamp from resin and wood. I’ll cover the whole process from the initial design phase right through to the finished product.
I’m not sure exactly when I’ll get that posted here because I don’t even have a basic design in mind yet. Anyway, stay tuned…