(Sidenote: It’s Feb. 15 as I type this and it’s 50(F) degrees outside. It hit 52 yesterday and tomorrow is supposed to be just as warm. 50 degrees in the middle of February? In Wisconsin? This just ain’t right. Normal temperatures for us should be in the 25 – 30 range.)
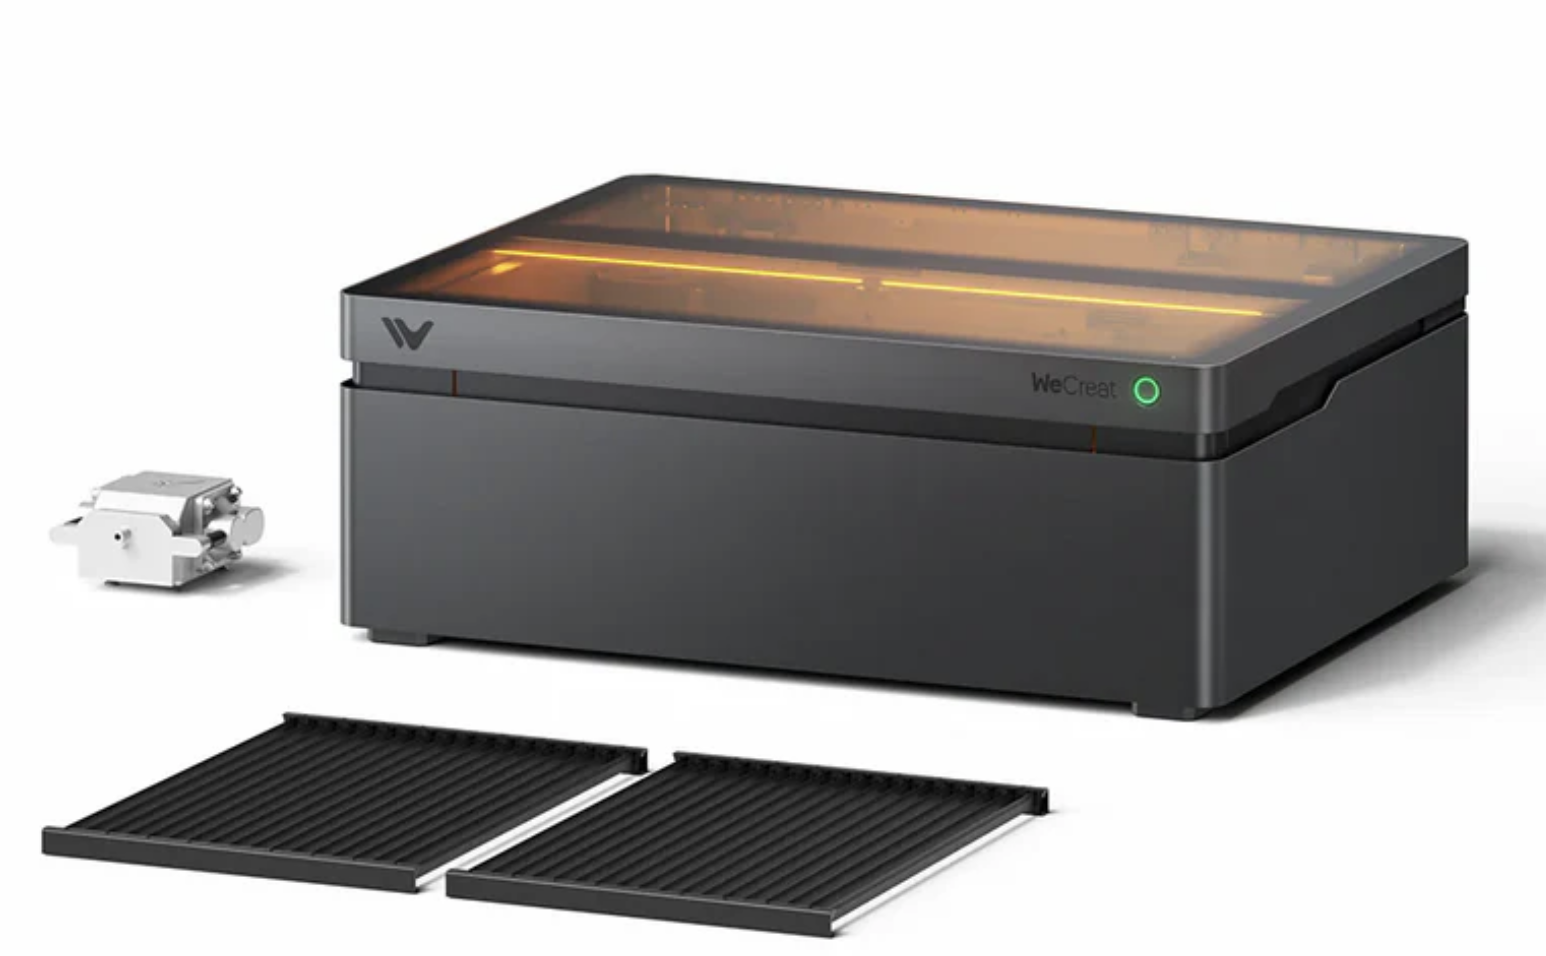
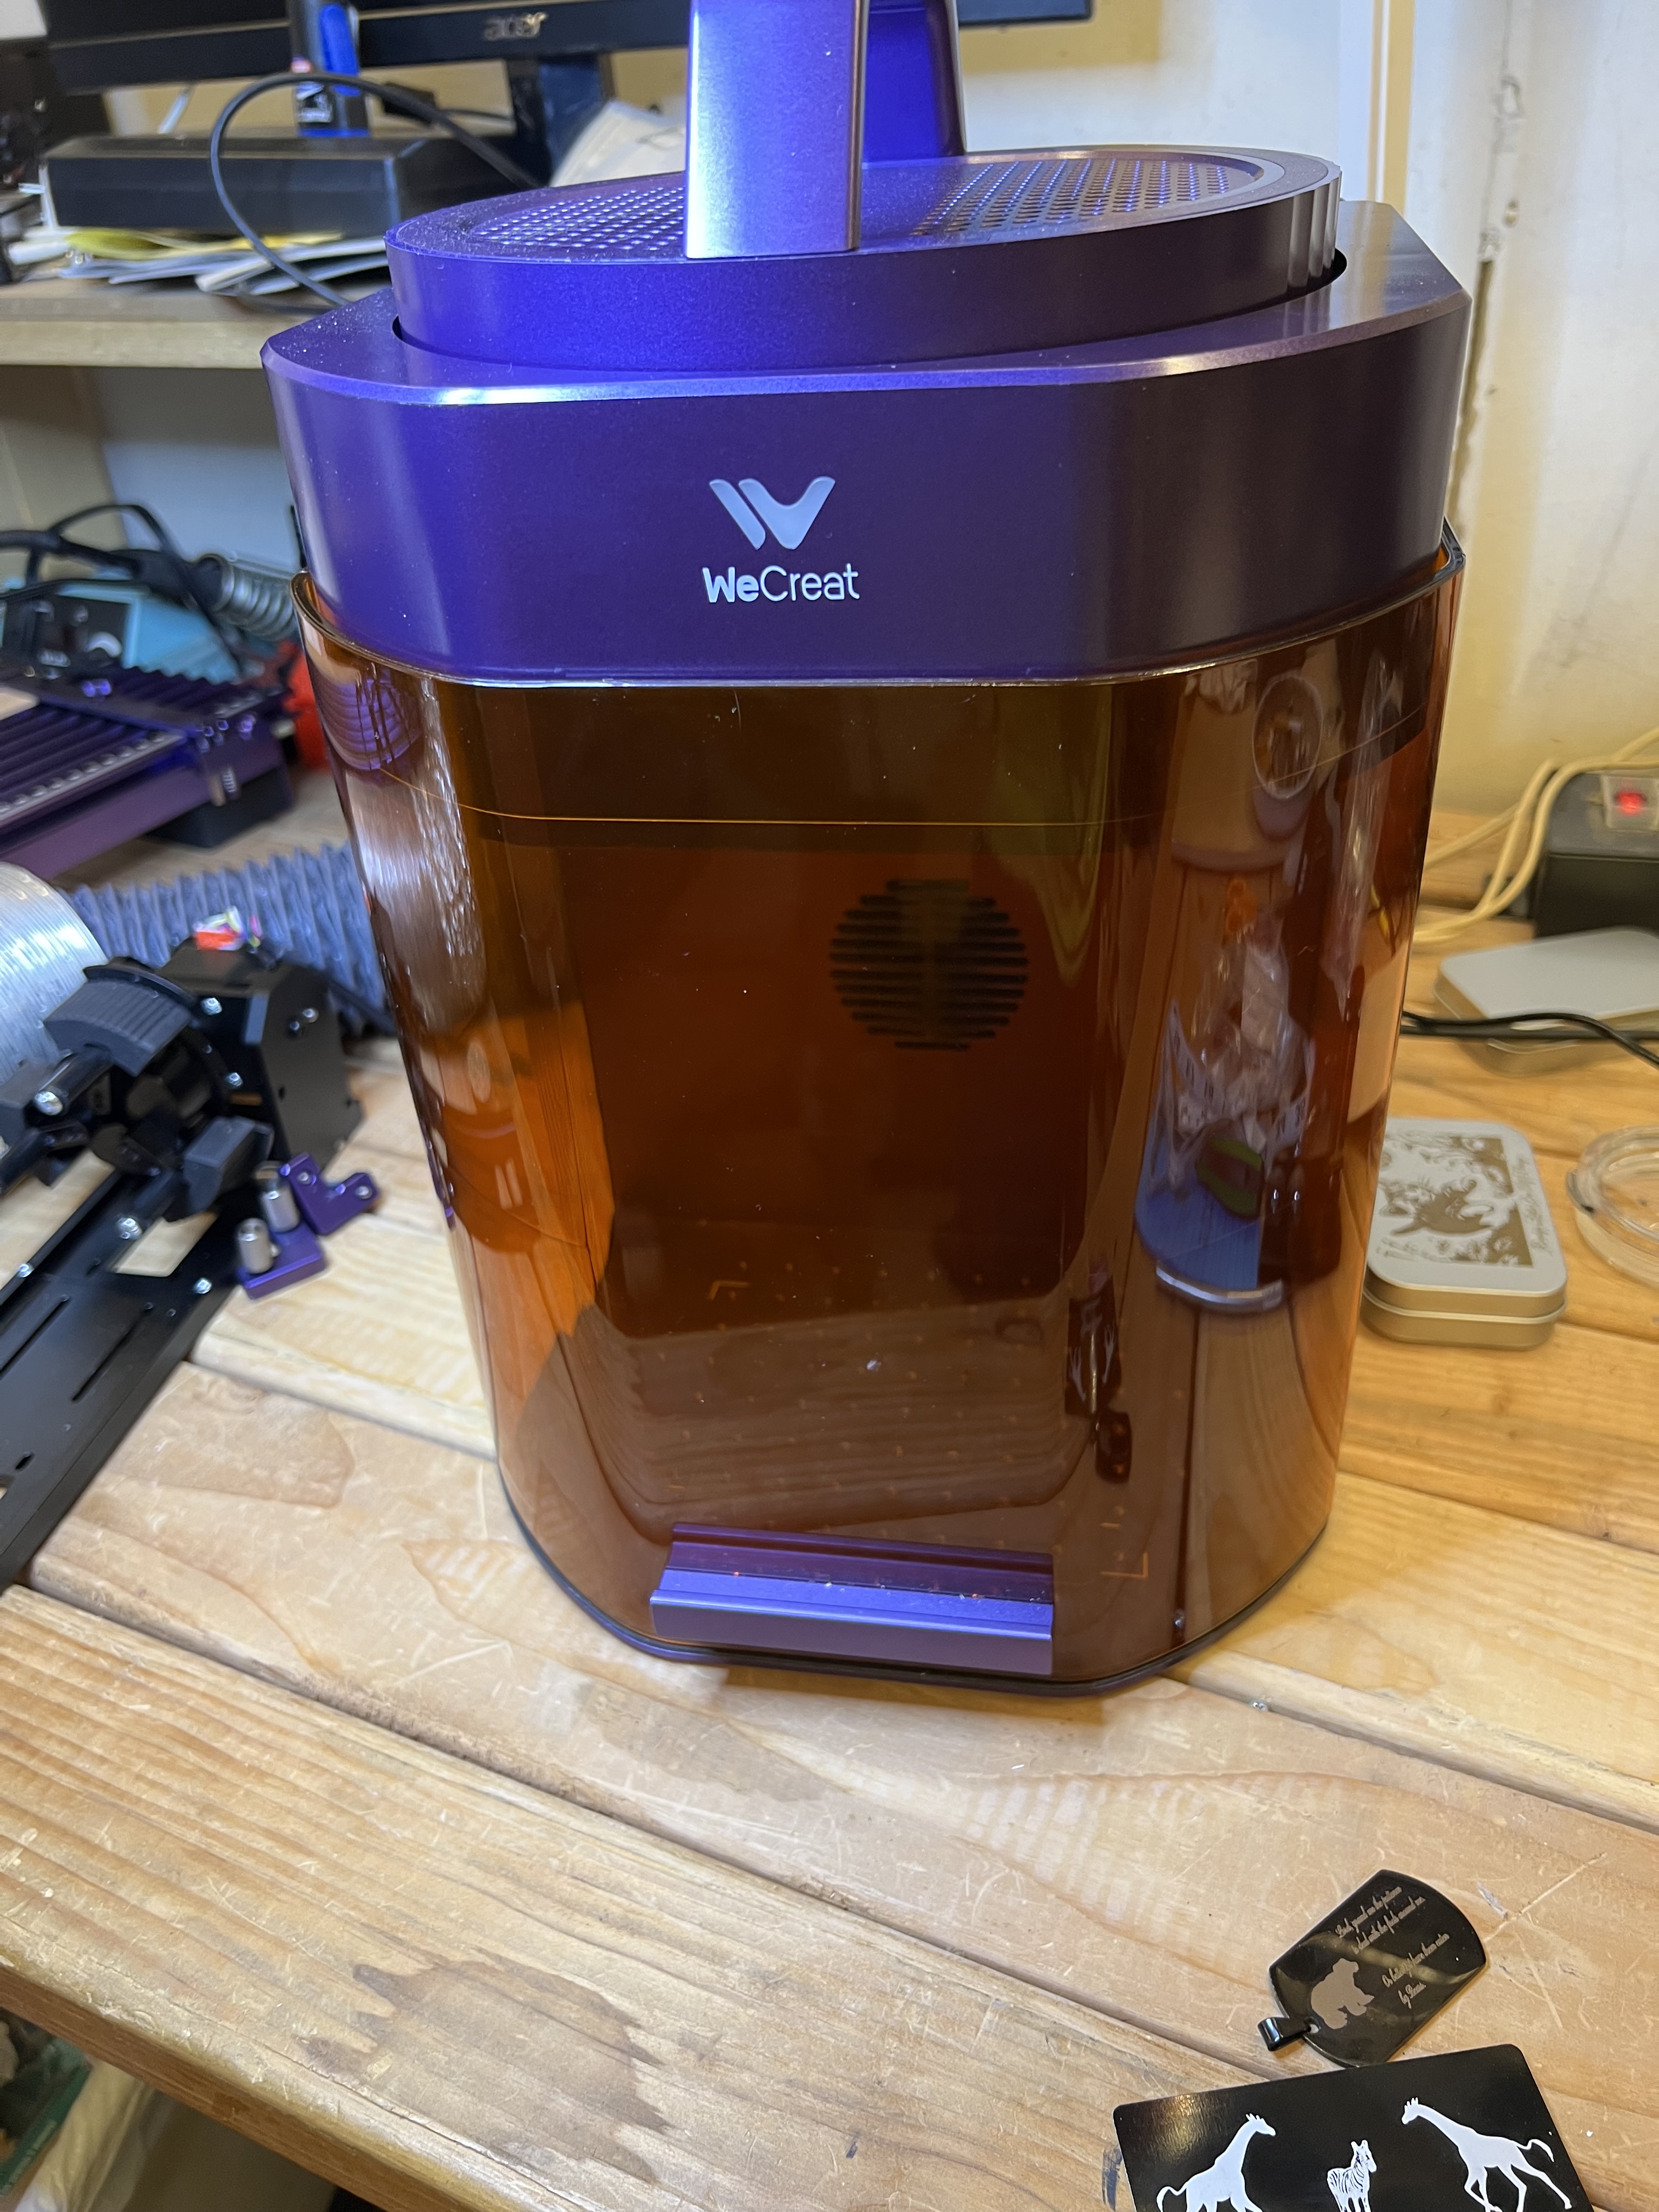
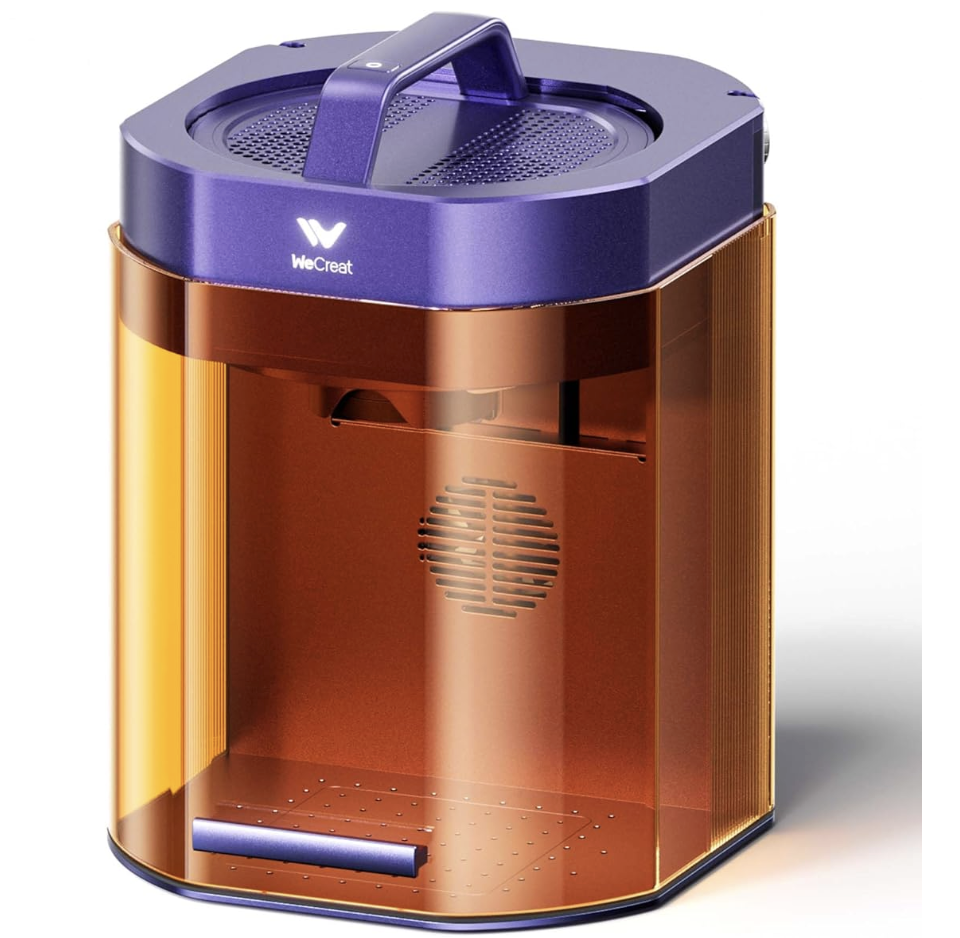
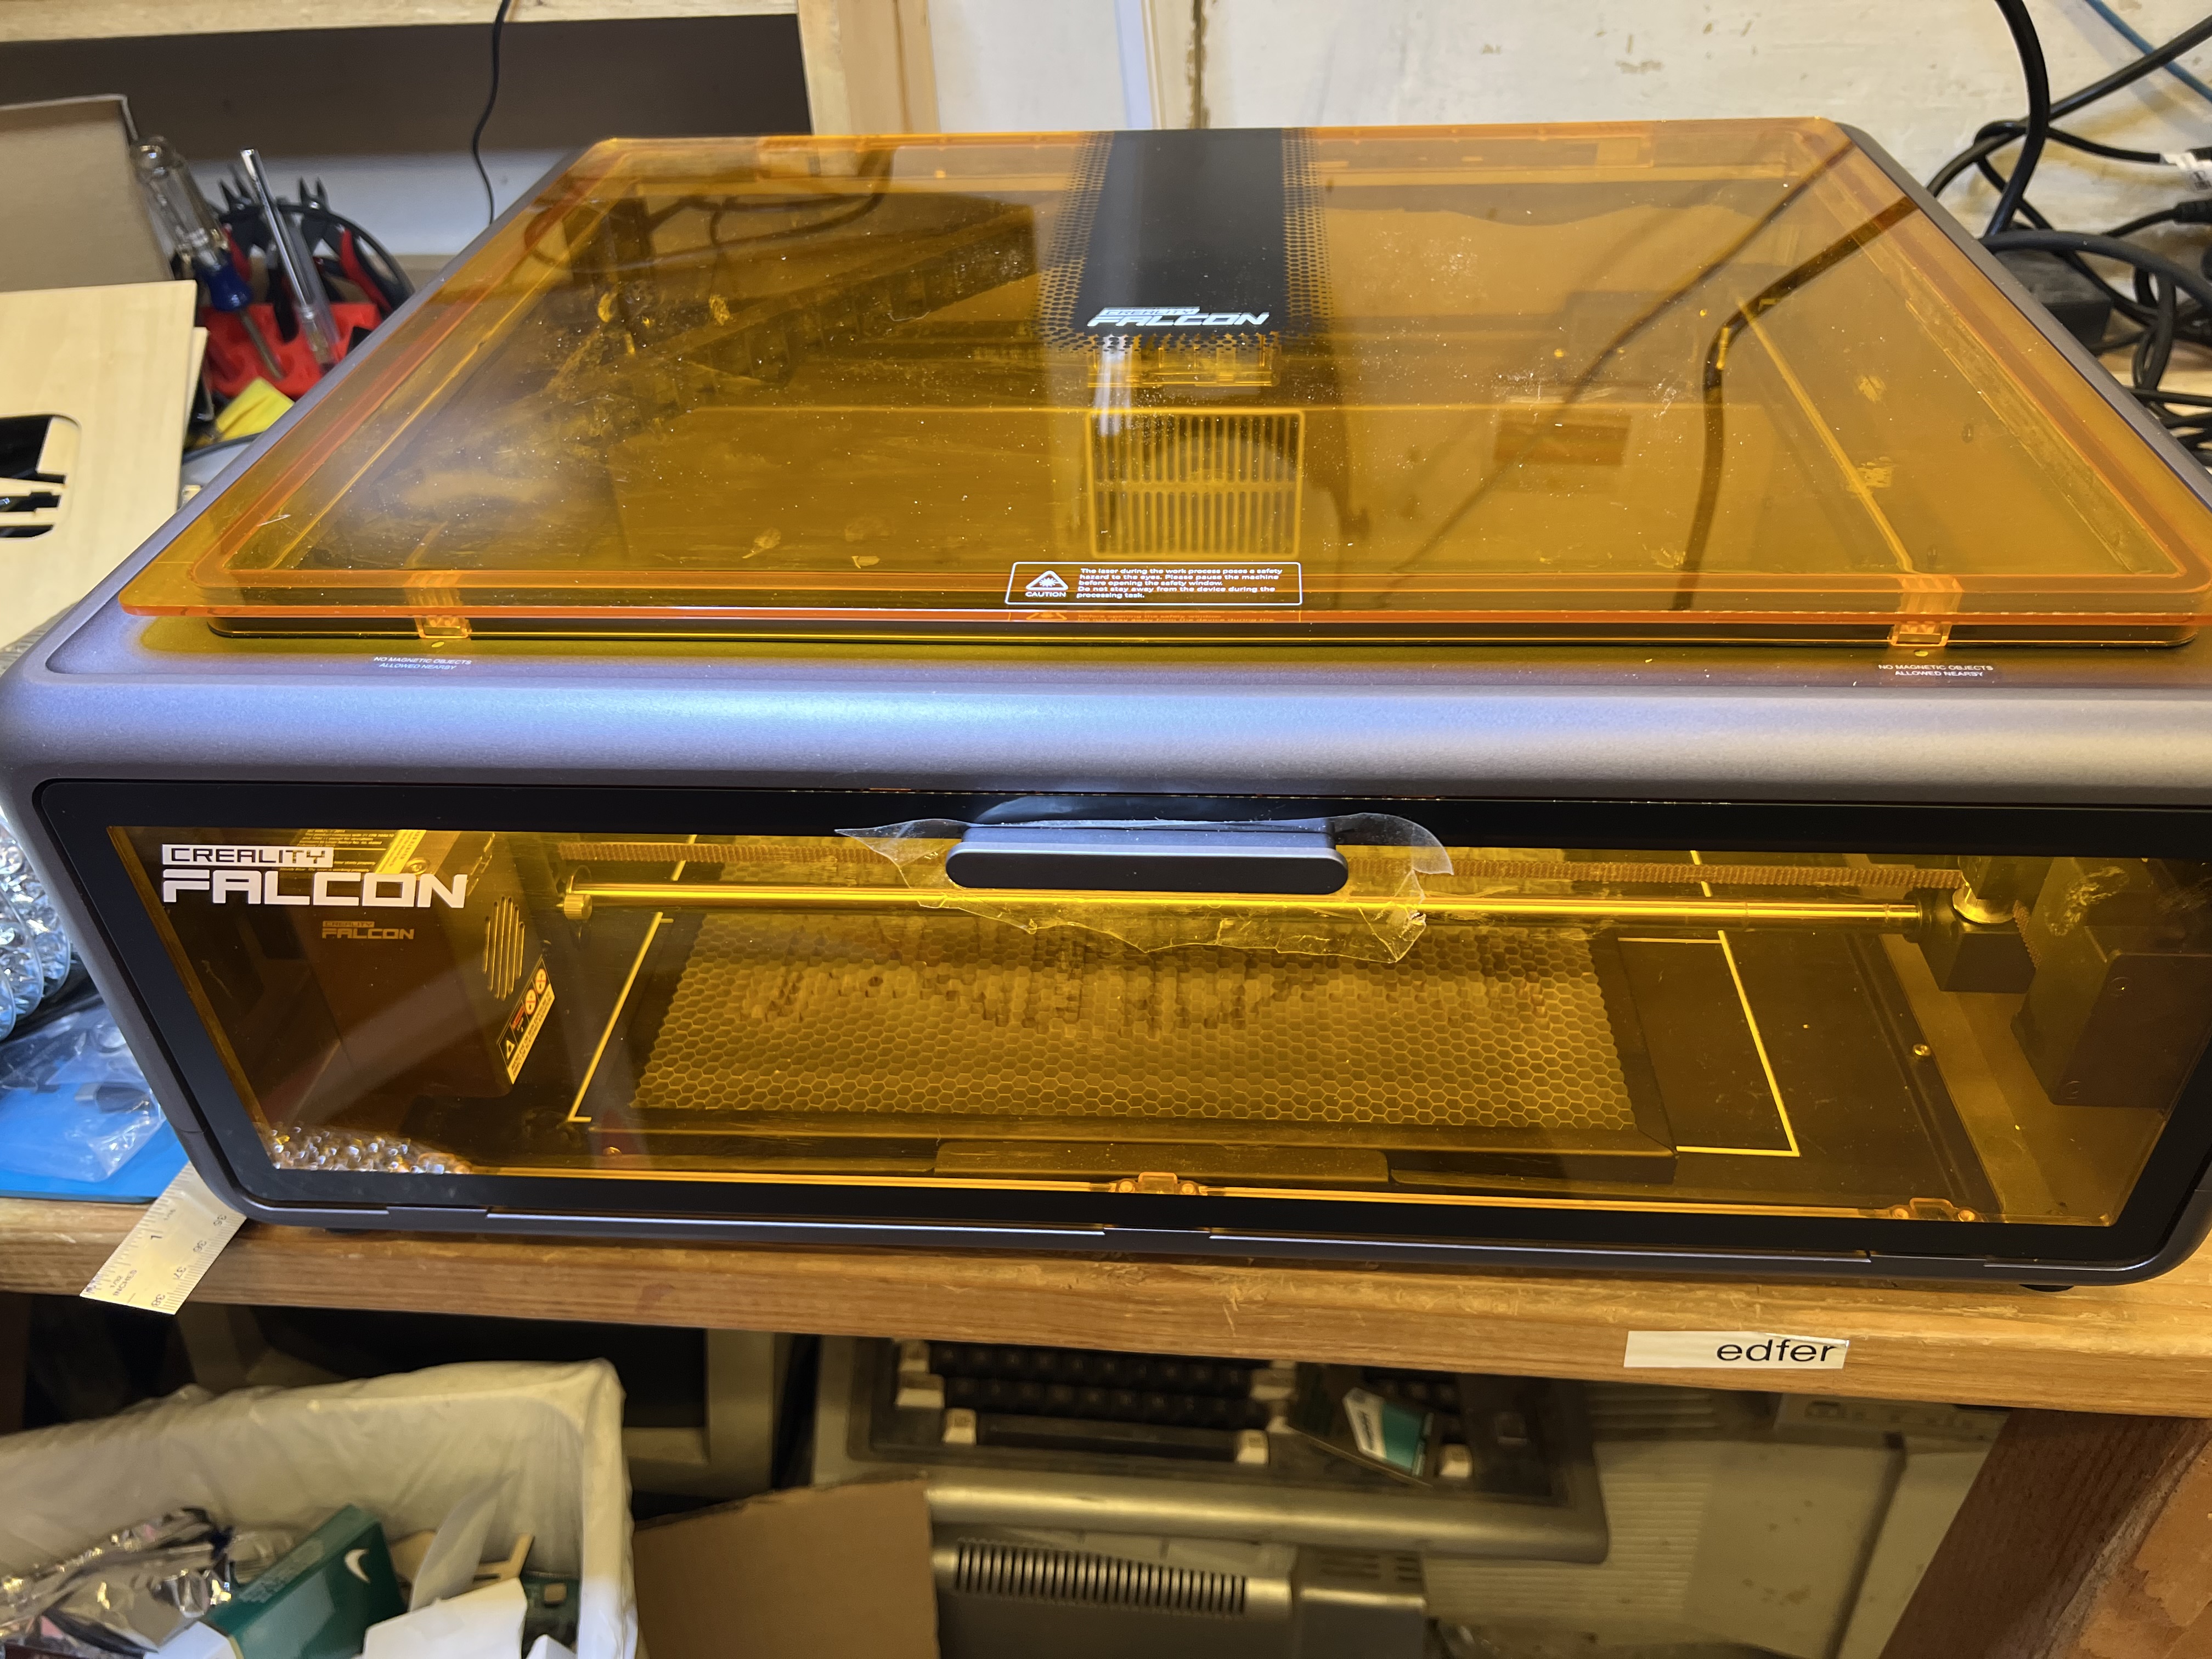
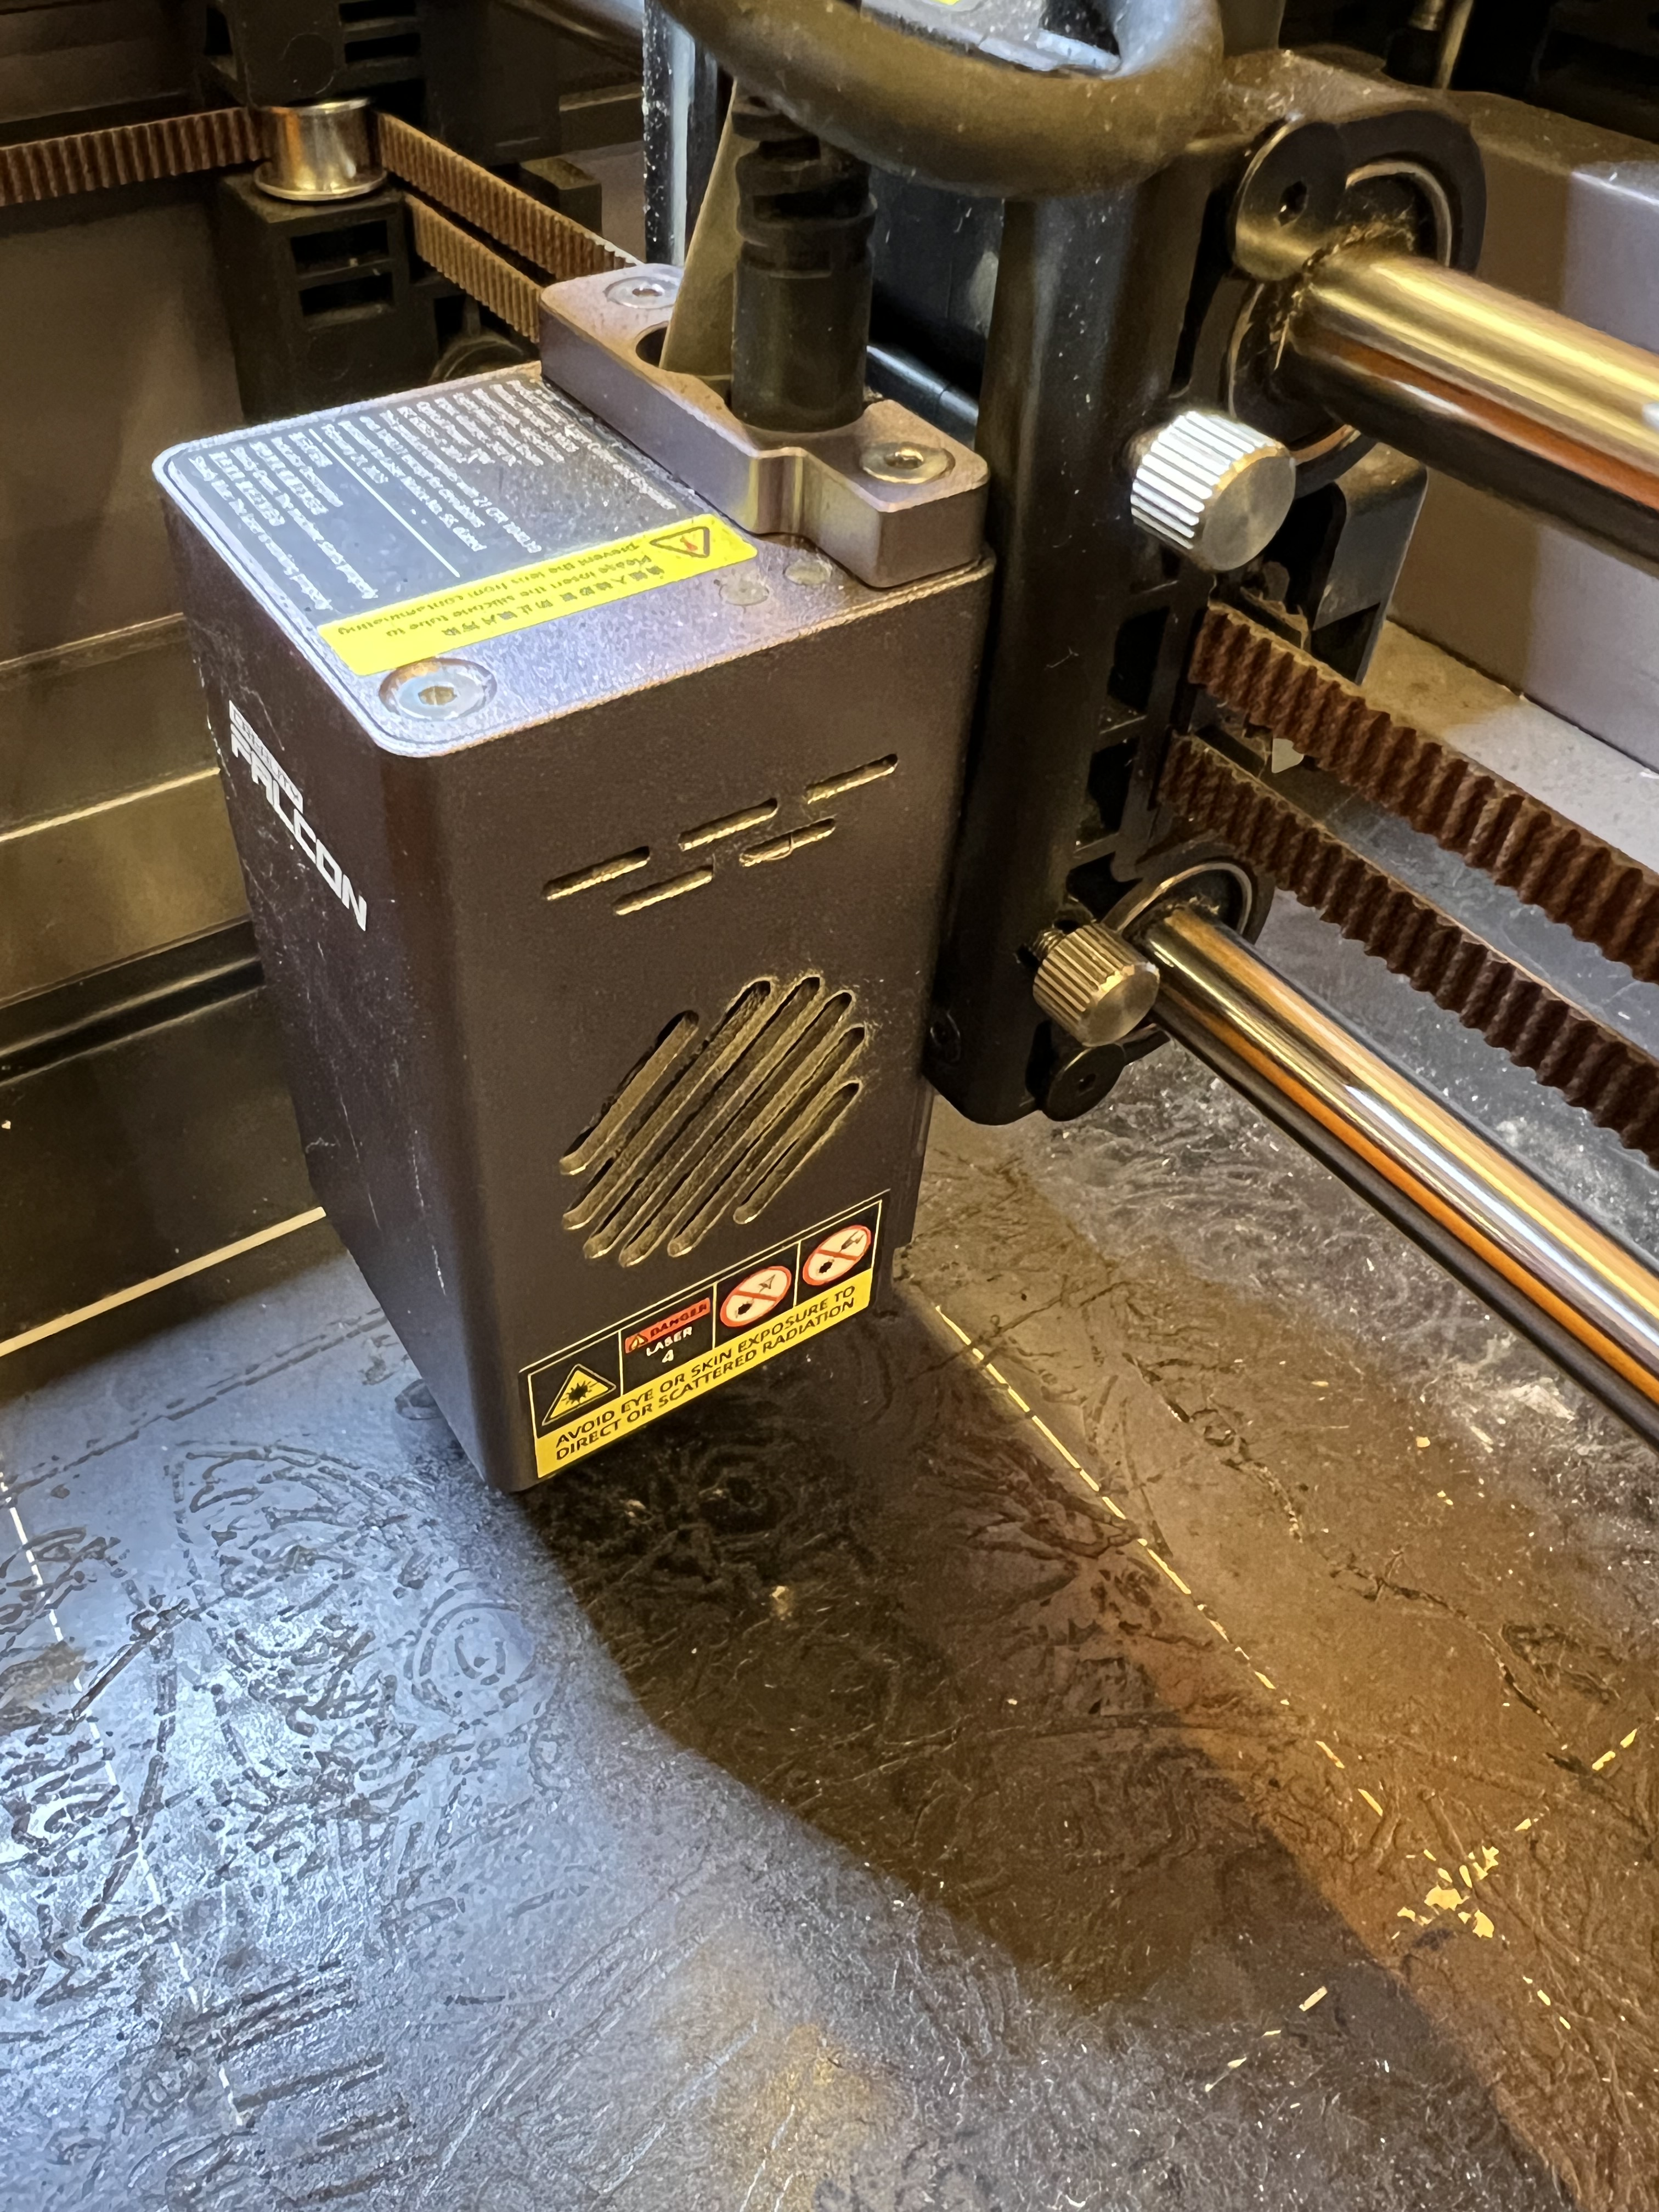
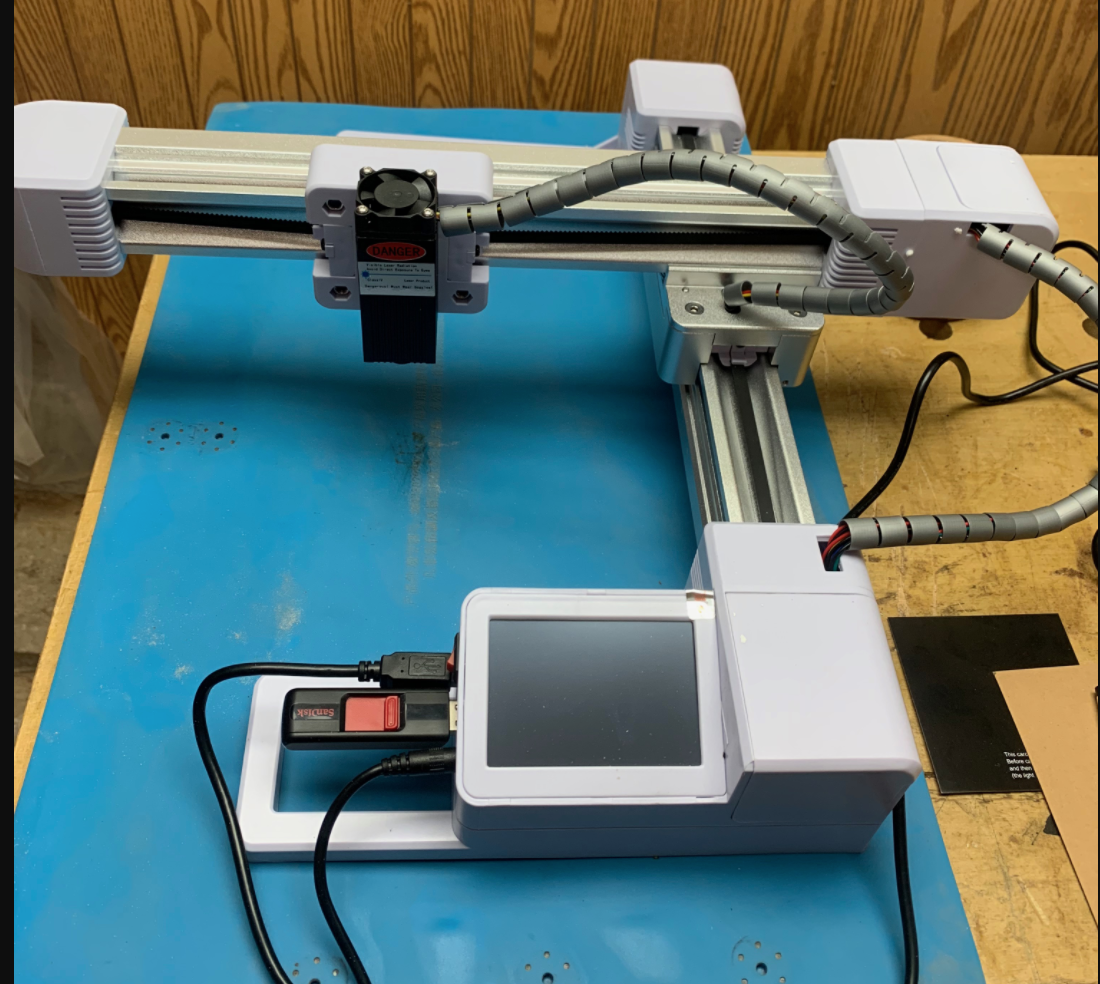
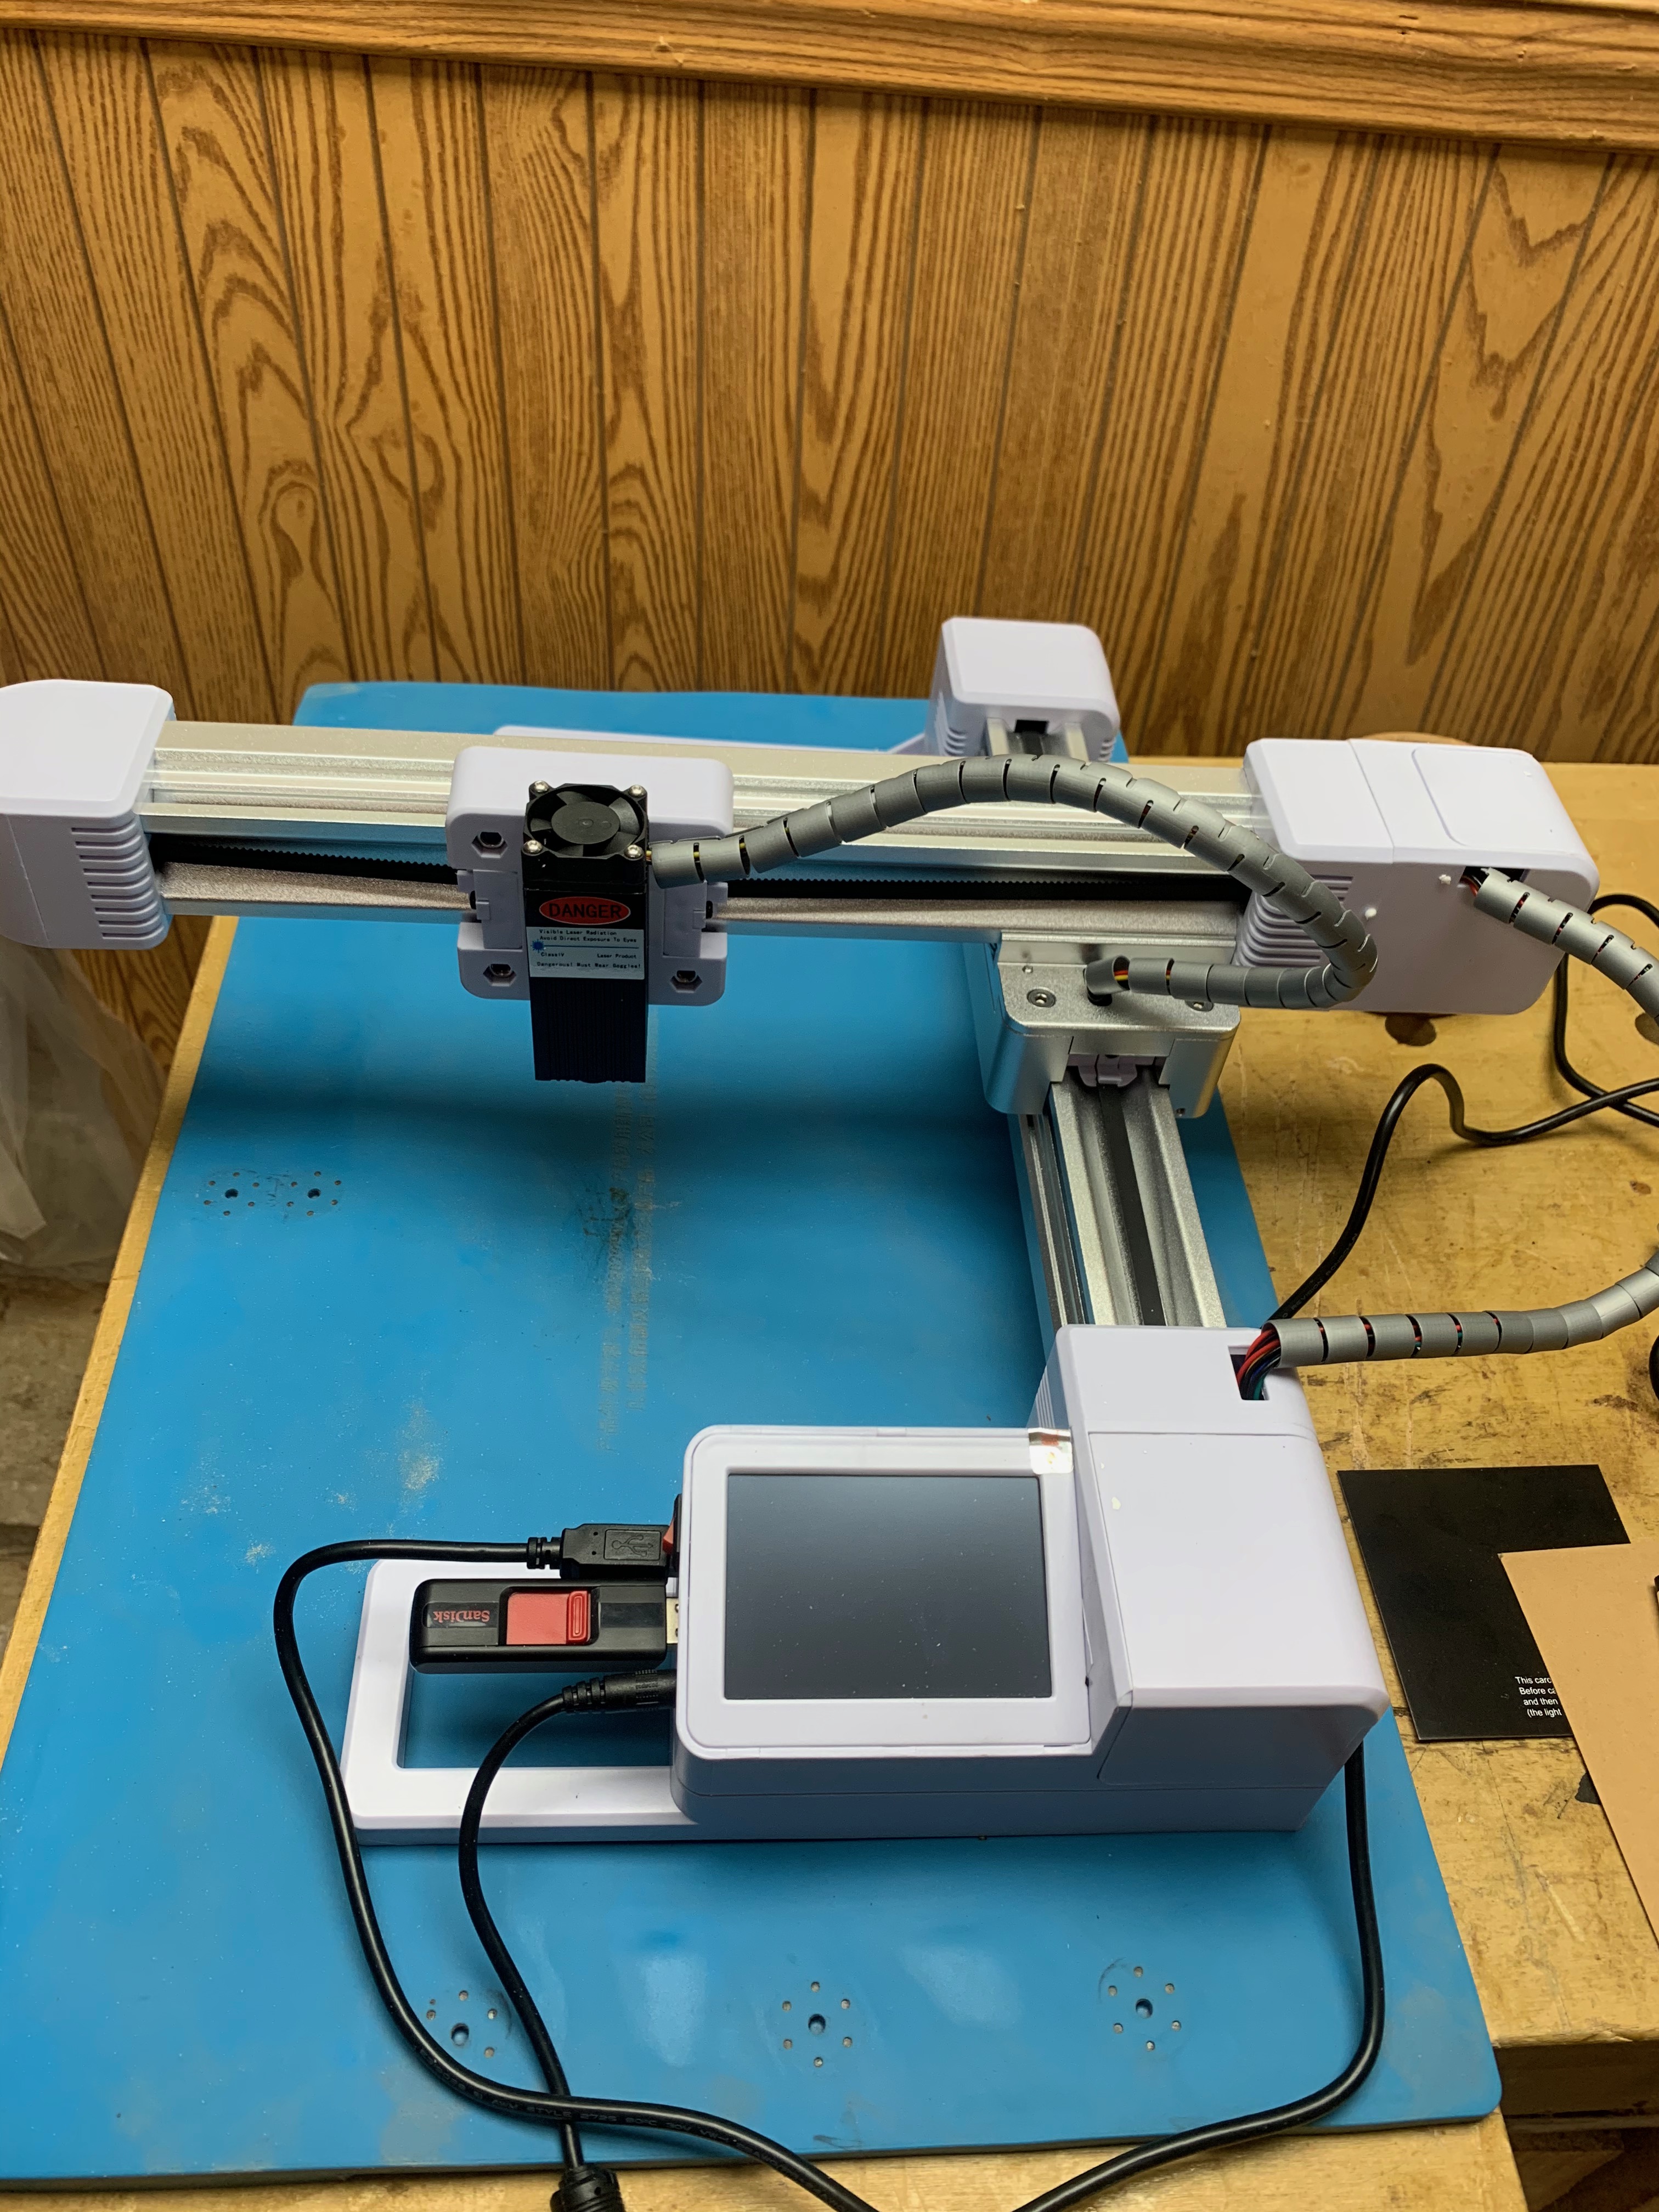
That beastie up there is the Vision Pro 45W laser from Wecreat and it’s been living on my workbench for about three weeks now. Since I already have the Falcon and the Lumos, why would I need another one? This was not an impulse purchase on my part. The Lumos is excellent for what it does, but it is more of a specialty tool. The Falcon is an excellent introductory level laser at a reasonable price and would be good for someone new to this or who only needs to do engravings occasionally and is only going to be cutting 3mm plywood. But I’ve reached the point where I needed a tool with much greater capability.
Specifically I wanted to be able to work with much thicker wood and much larger pieces of wood and after a lot of research the Vision Pro was what I ended up with. The Vision up there has an optional pass-thru roller feeder that allows it to work with boards up to 130″ long and up to 15″ wide. It’s going to let me work with lumber in the same dimensions that I use for my traditional woodworking projects, and that’s exactly what I was looking for. I don’t have the roller feed yet because I’m going to have to do some major rearranging in my woodshop where this thing is eventually going to live, so there’s room for the passthru feeder. At the moment I have way, way too much junk packed into my little woodshop. Some major house cleaning needs to get done in there. I really, really need to get the lasers out of my electronics/radio work area where they’ve been occupying the space that normally was used for my soldering station and test equipment.
Anyway I’m not going to do a review of the Vision because there are dozens and dozens of them already out there. But I do want to talk about what it’s like in actual use over an extended period of time, which is something you almost never get with these so-called reviews you find on Youtube and places like that.
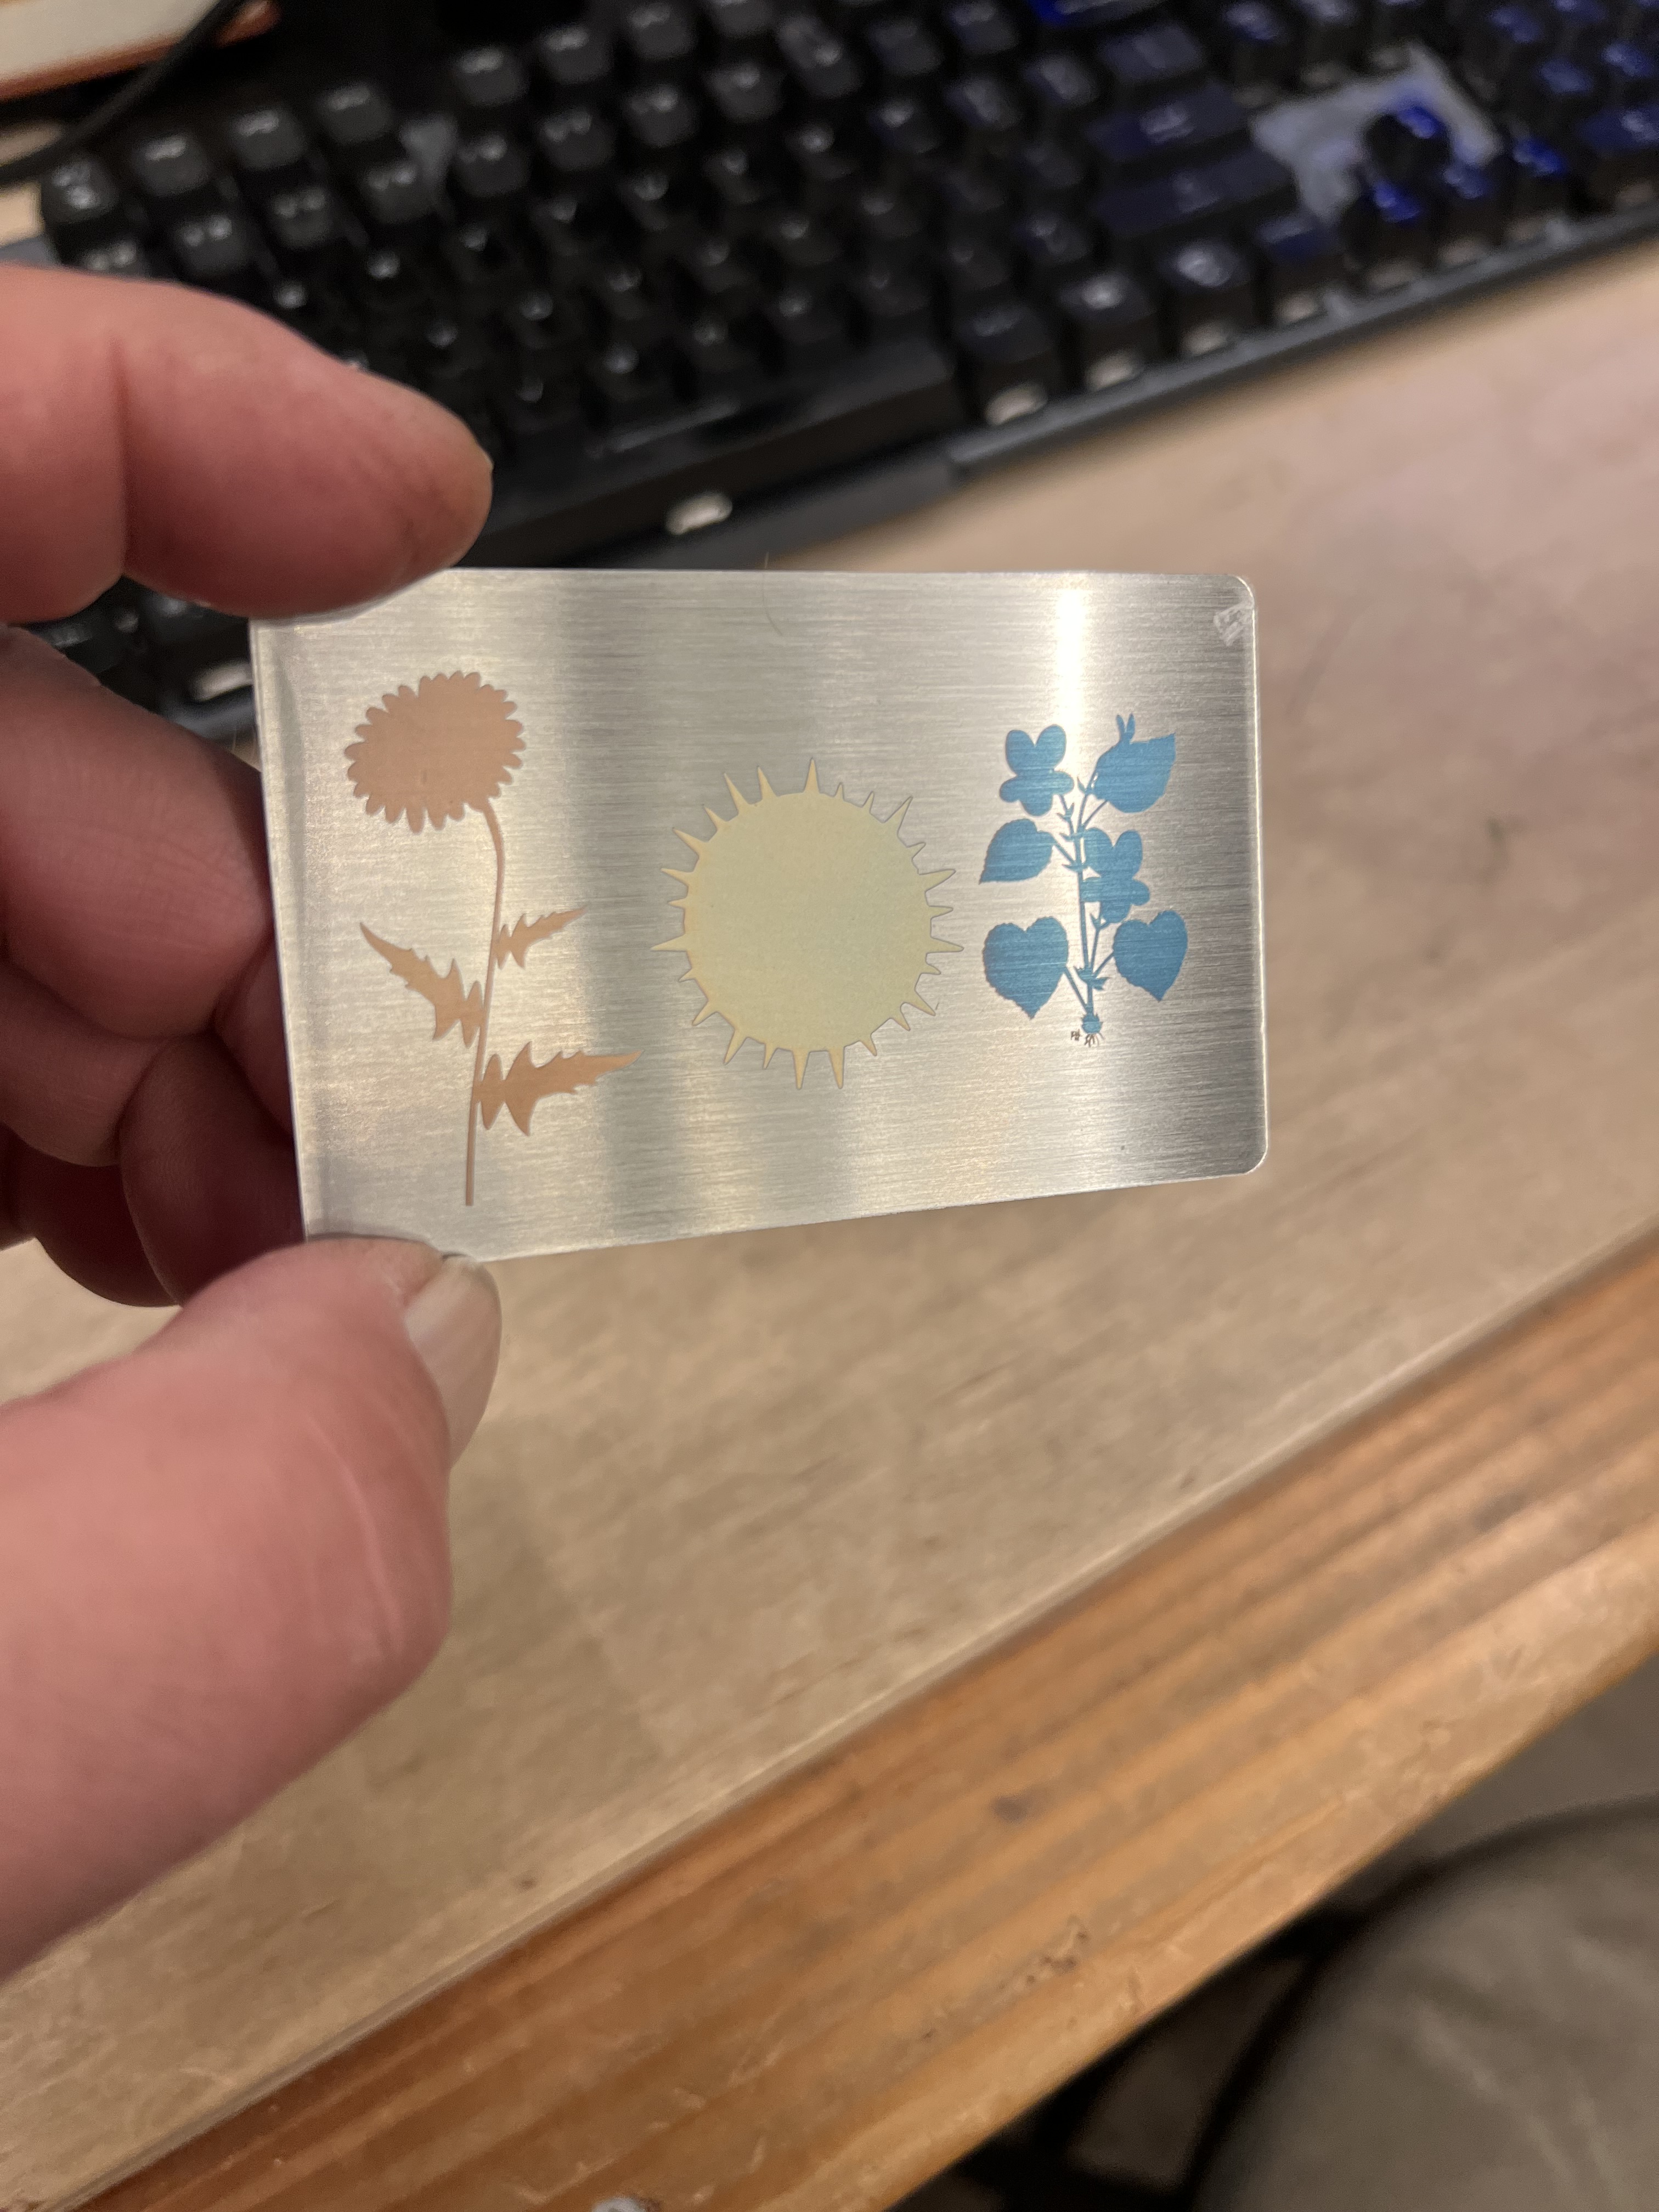
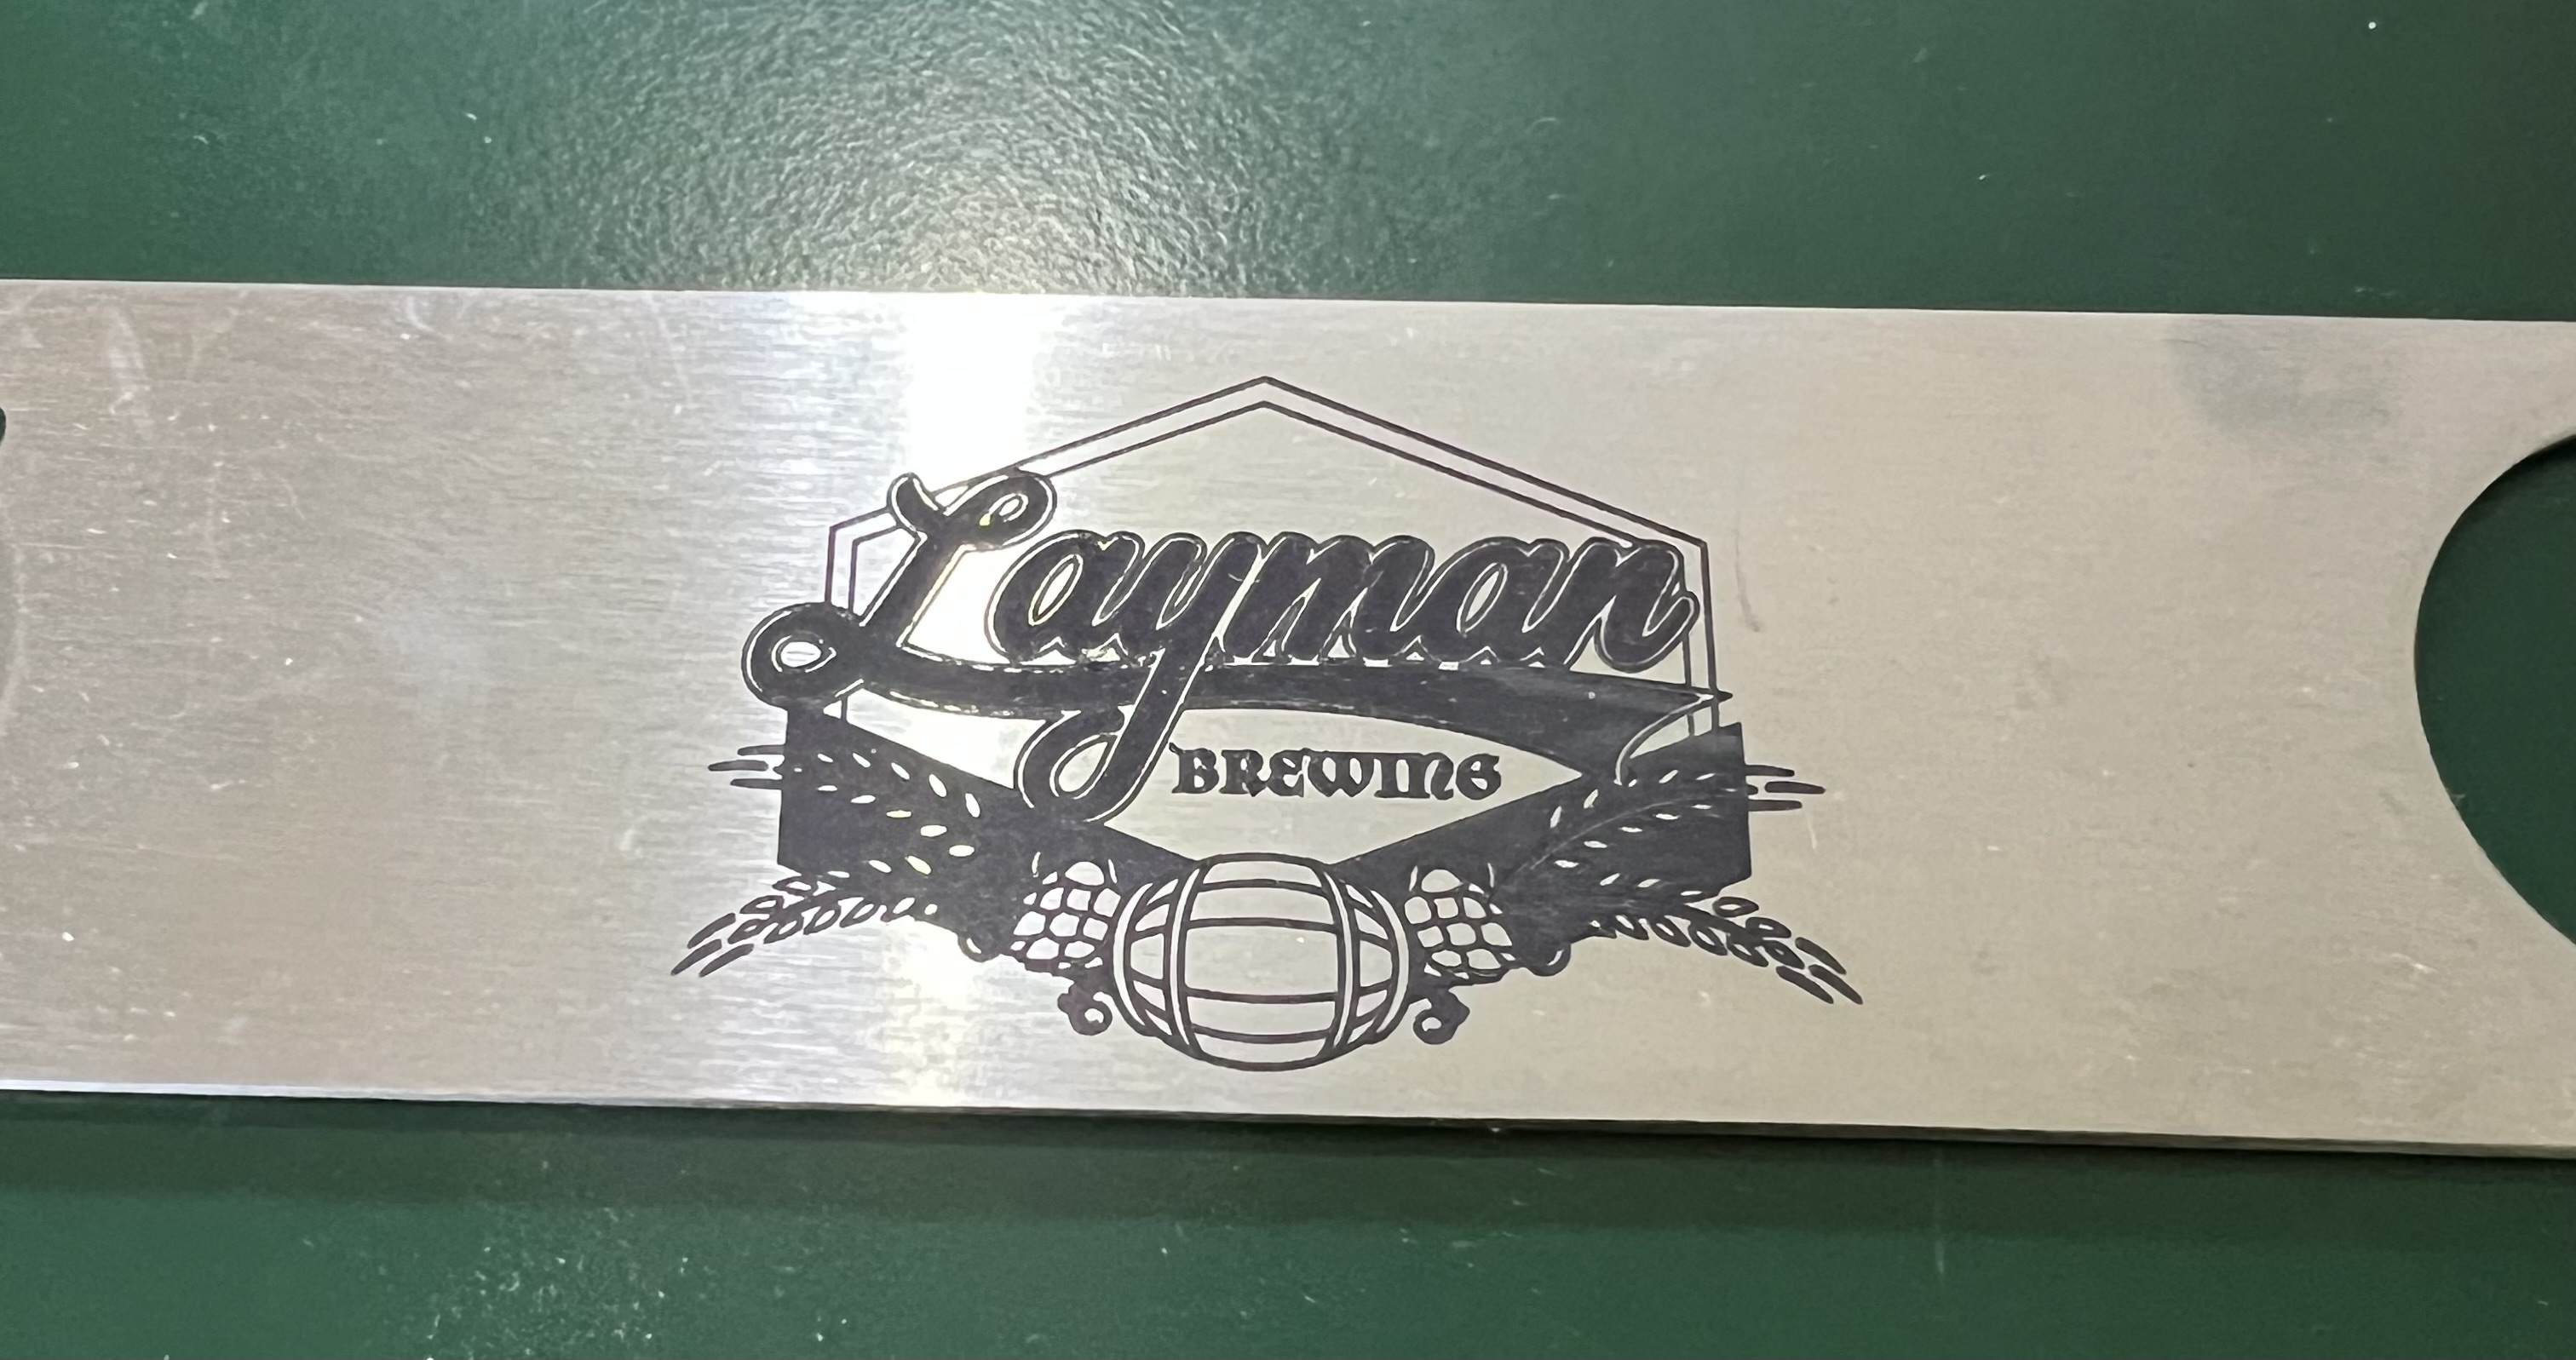
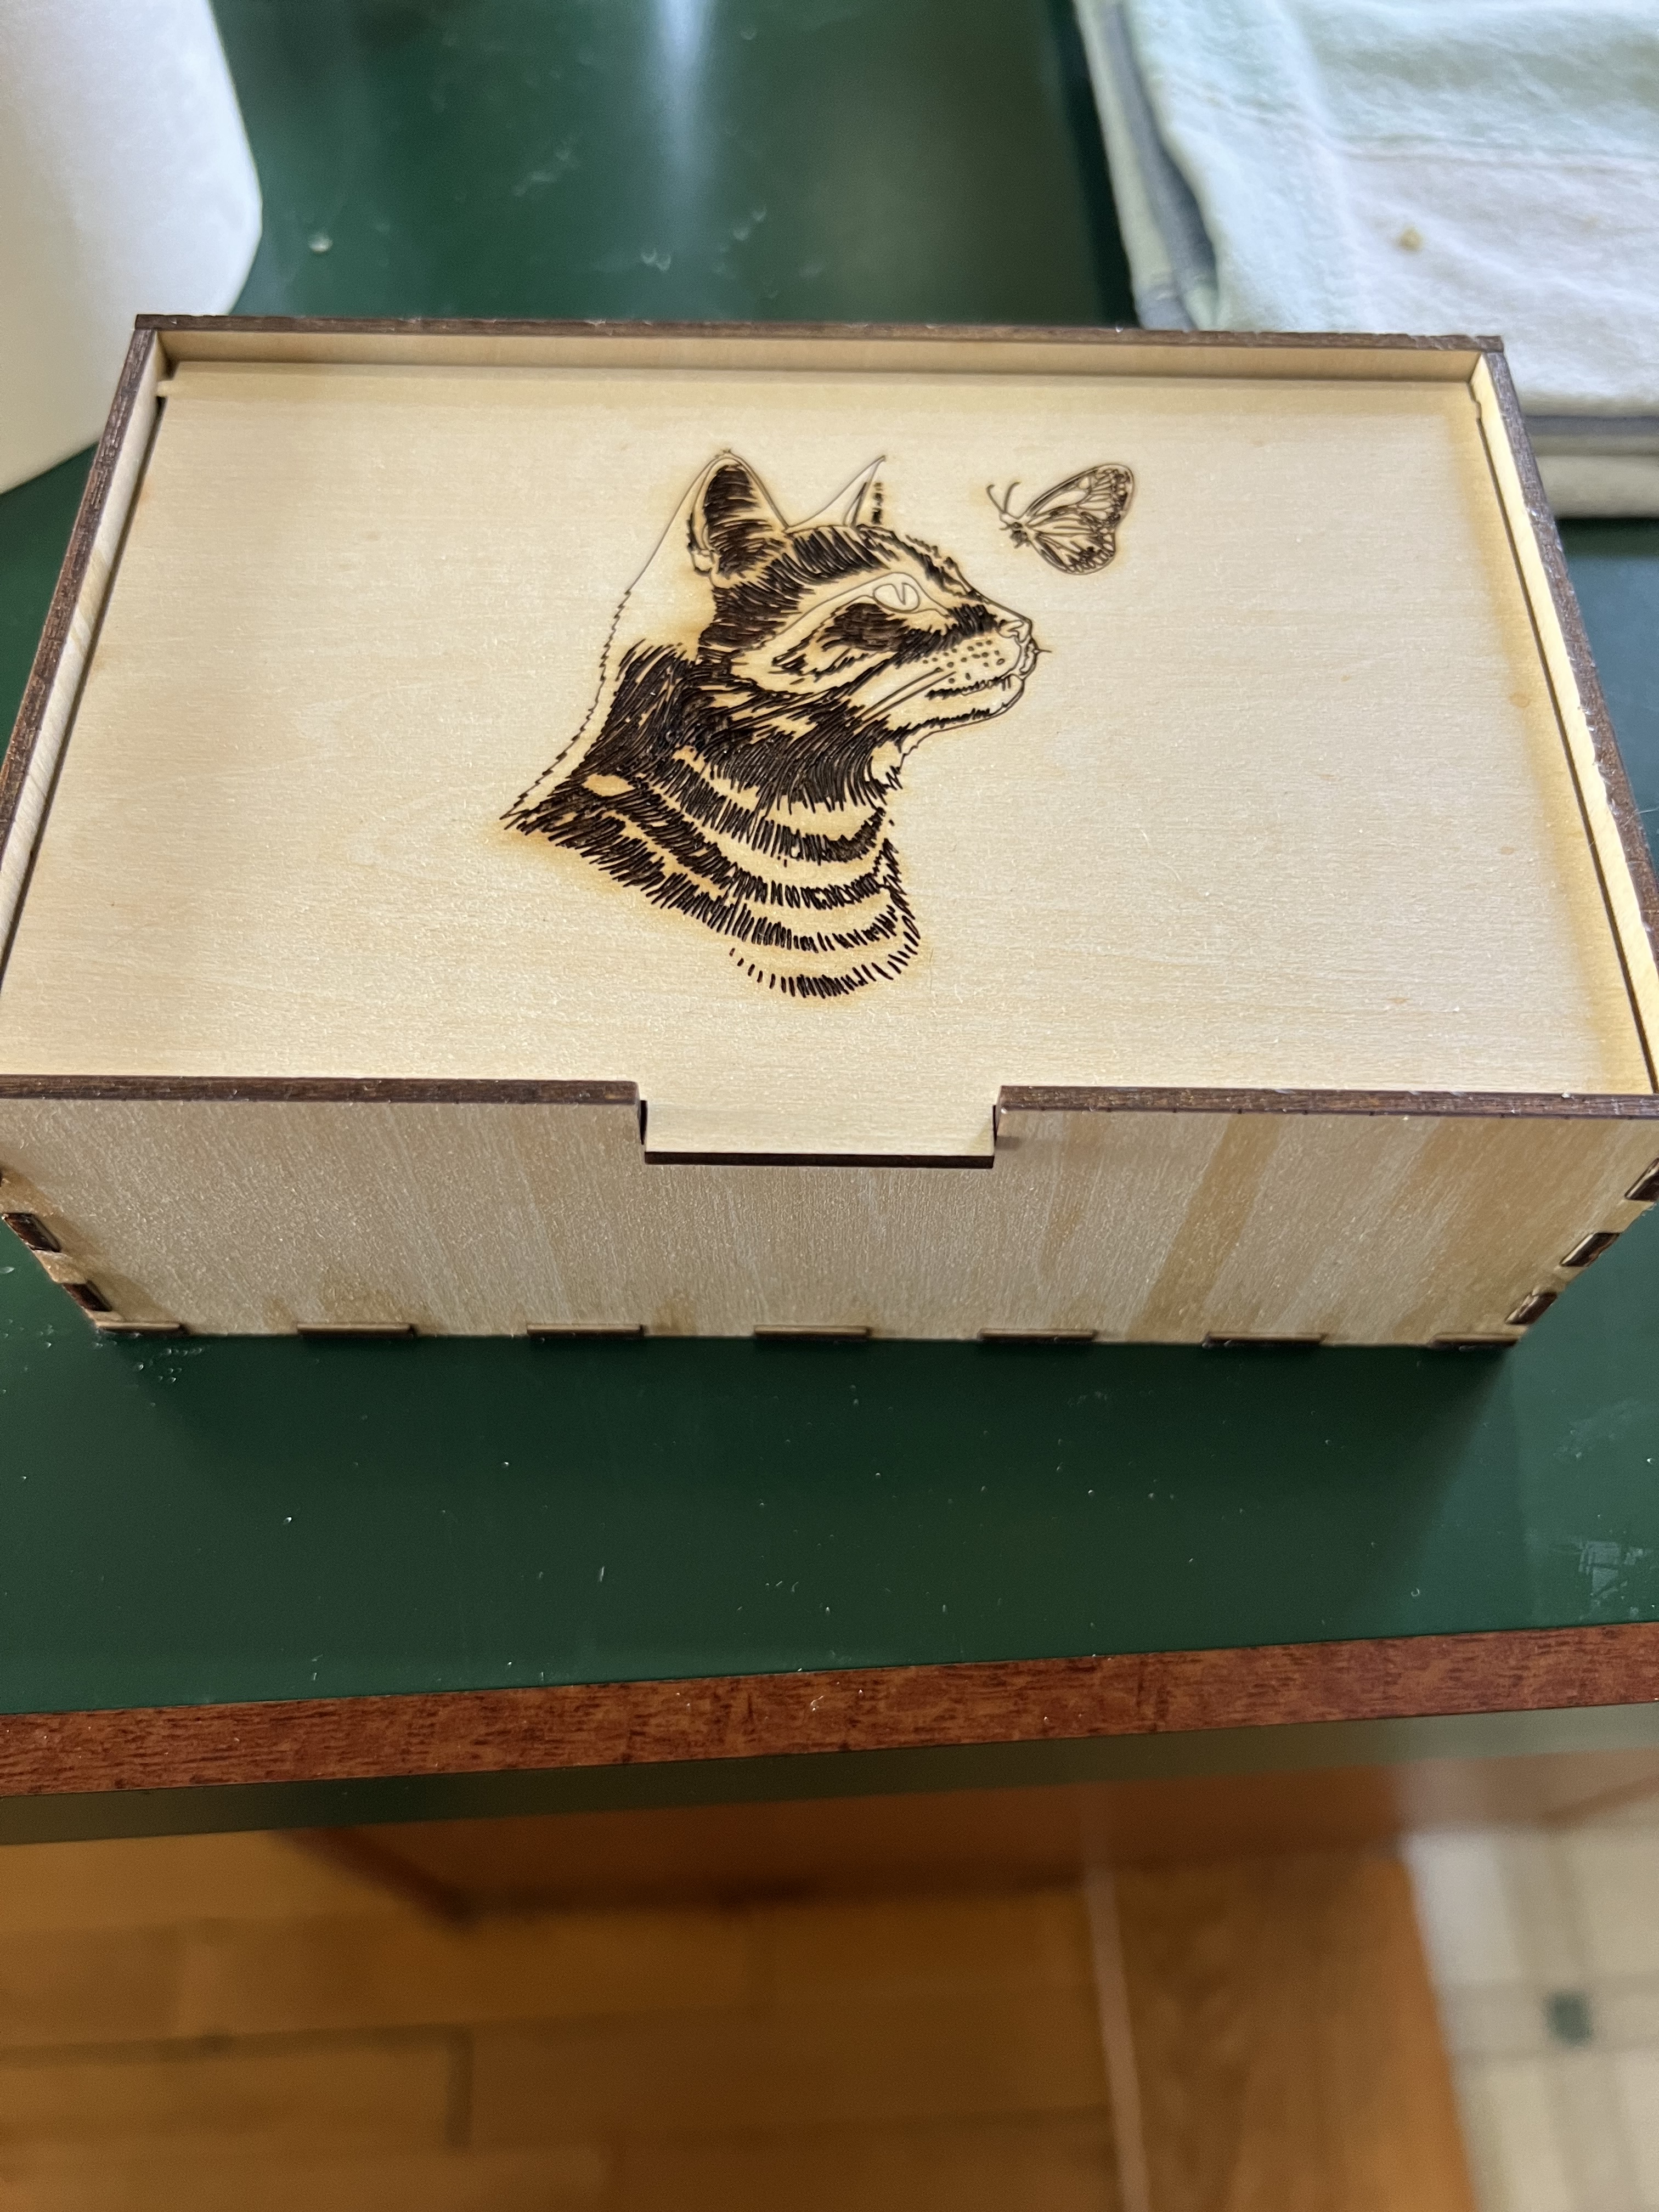
So far I really like this thing. It’s pretty much exceeded my expectations as far as it’s capabilities as a laser are concerned. I picked it up primarily for cutting material. I use this thing more like a sort of CNC machine than a laser engraver. If I want to do engraving I’ll turn to the Lumos which has a much higher resolution and is many times faster, and if it’s something that will fit in the Lumos restricted working area. Doing engraving with a gantry style laser takes a long, long time. Something like one of those coasters I do that takes maybe 2 – 4 minutes with the Lumous would take 15 or 20 minutes on the Vision or Falcon.
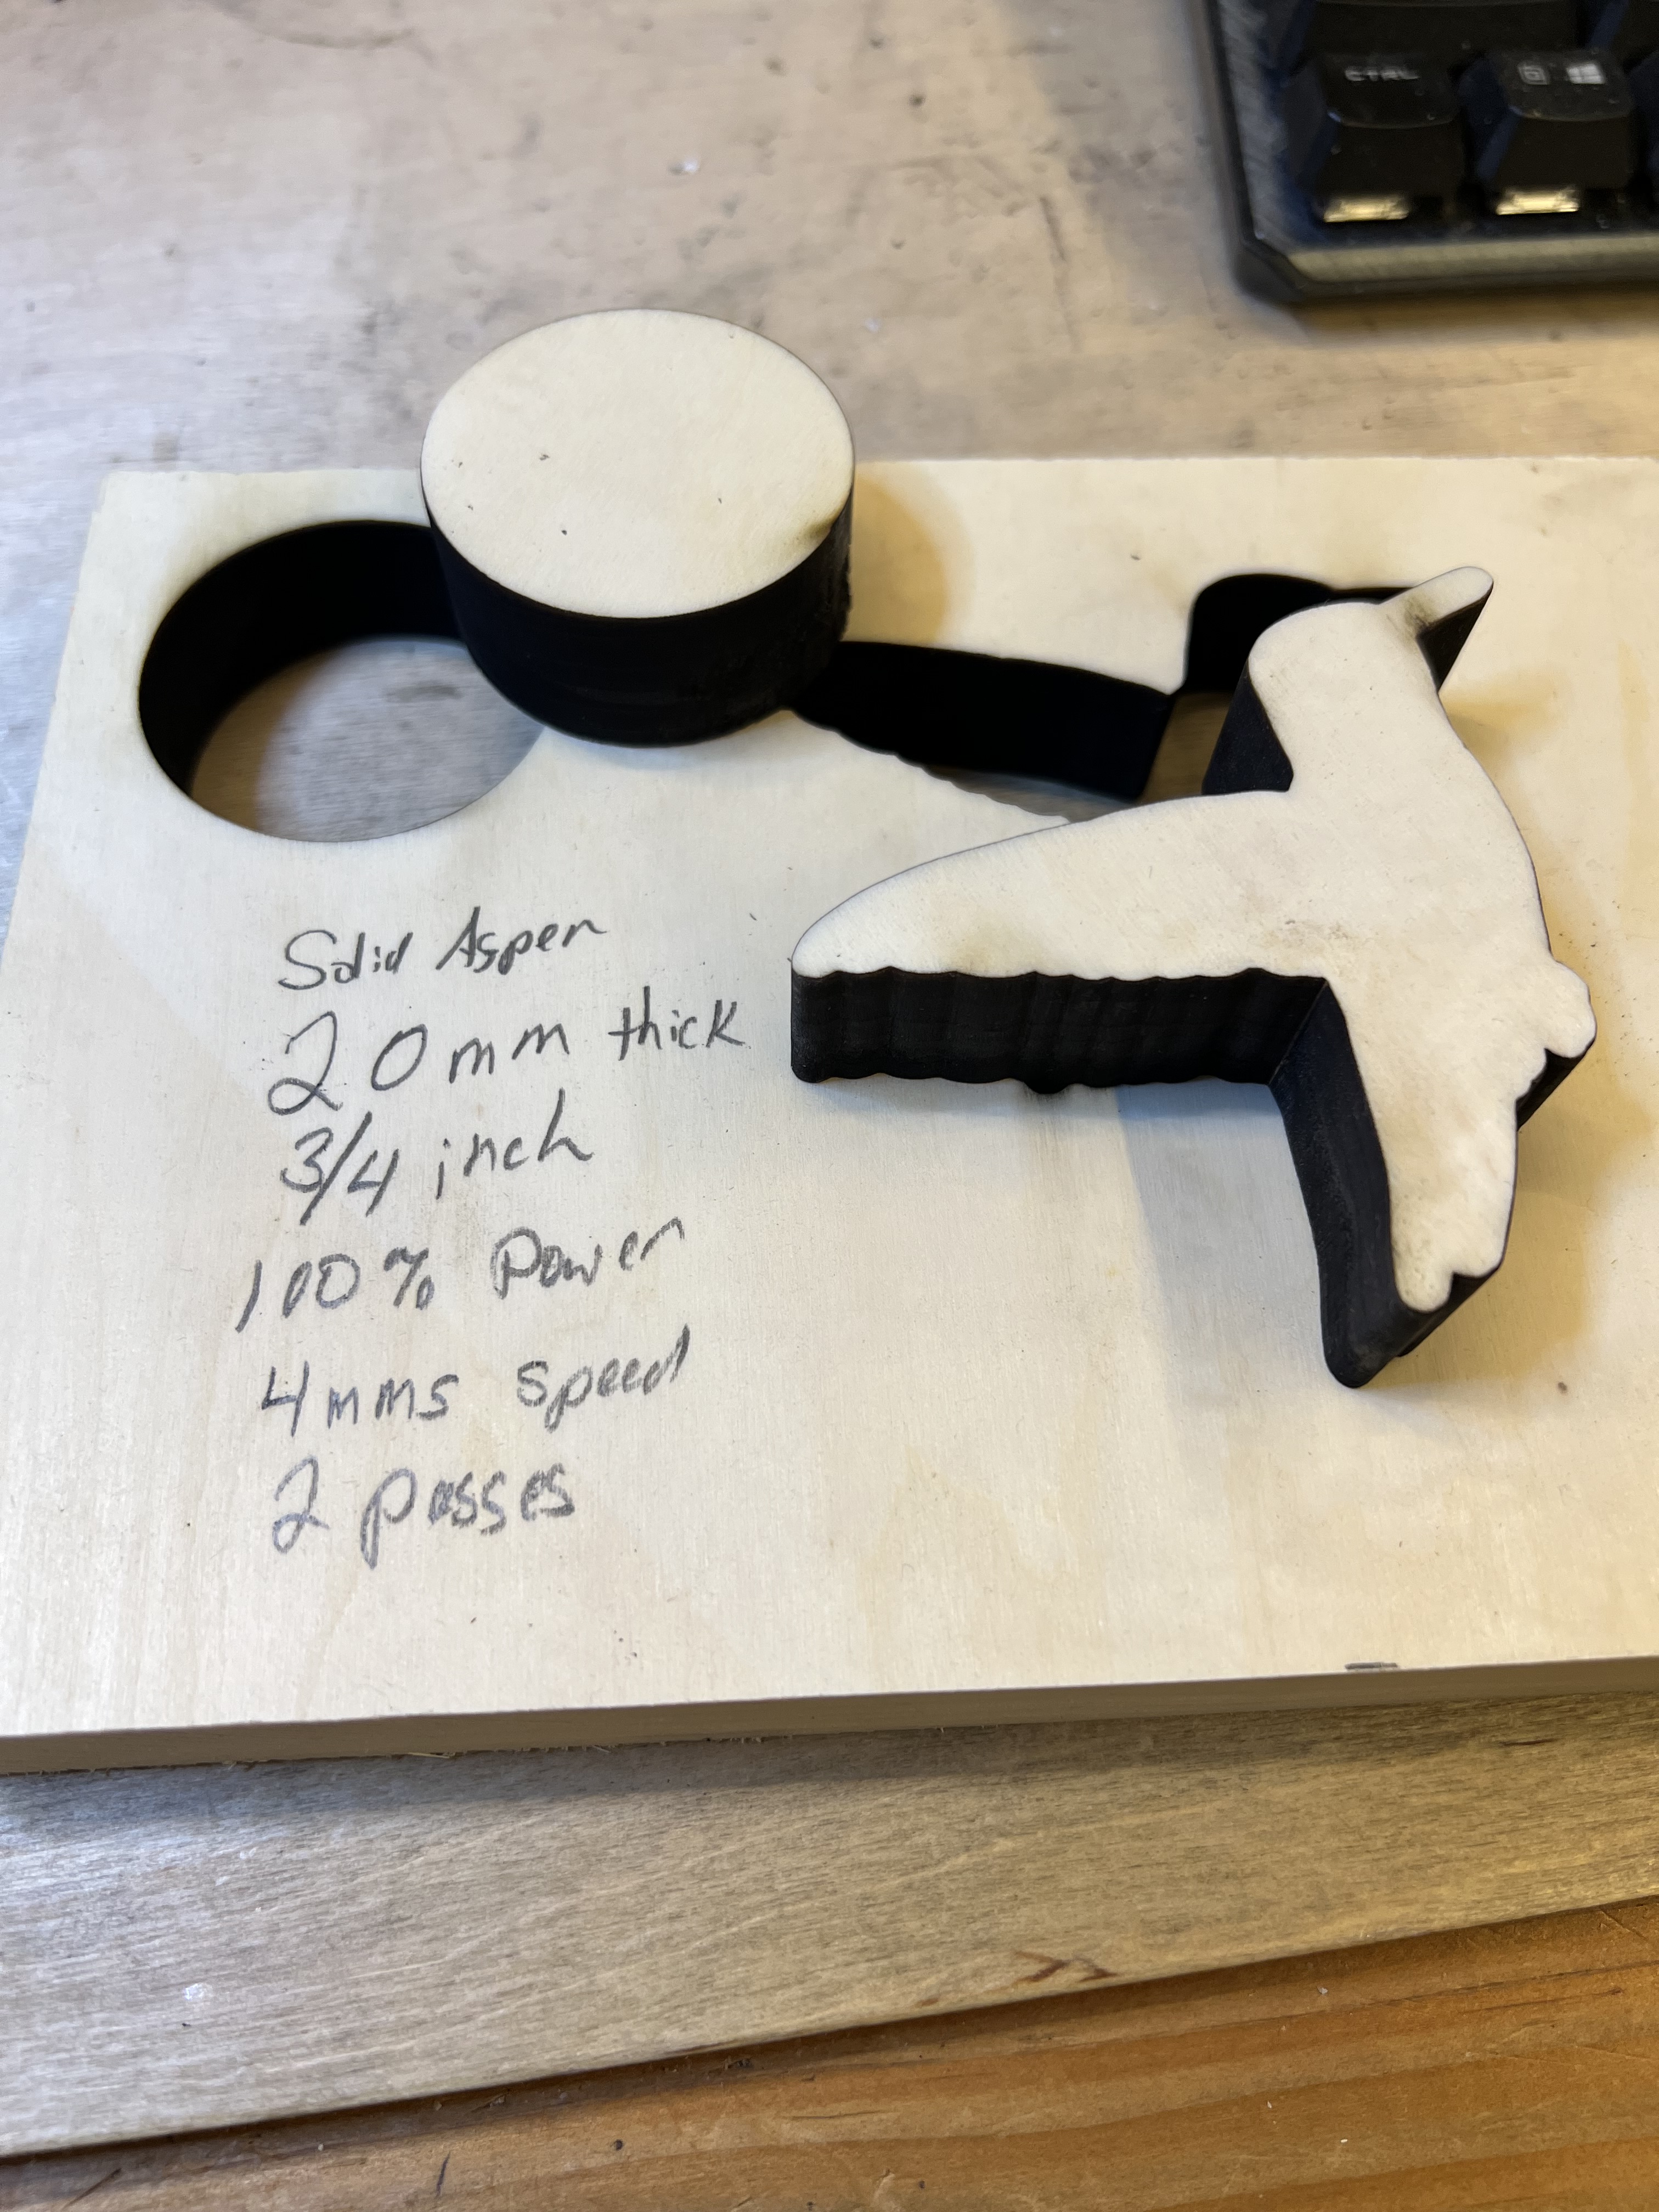
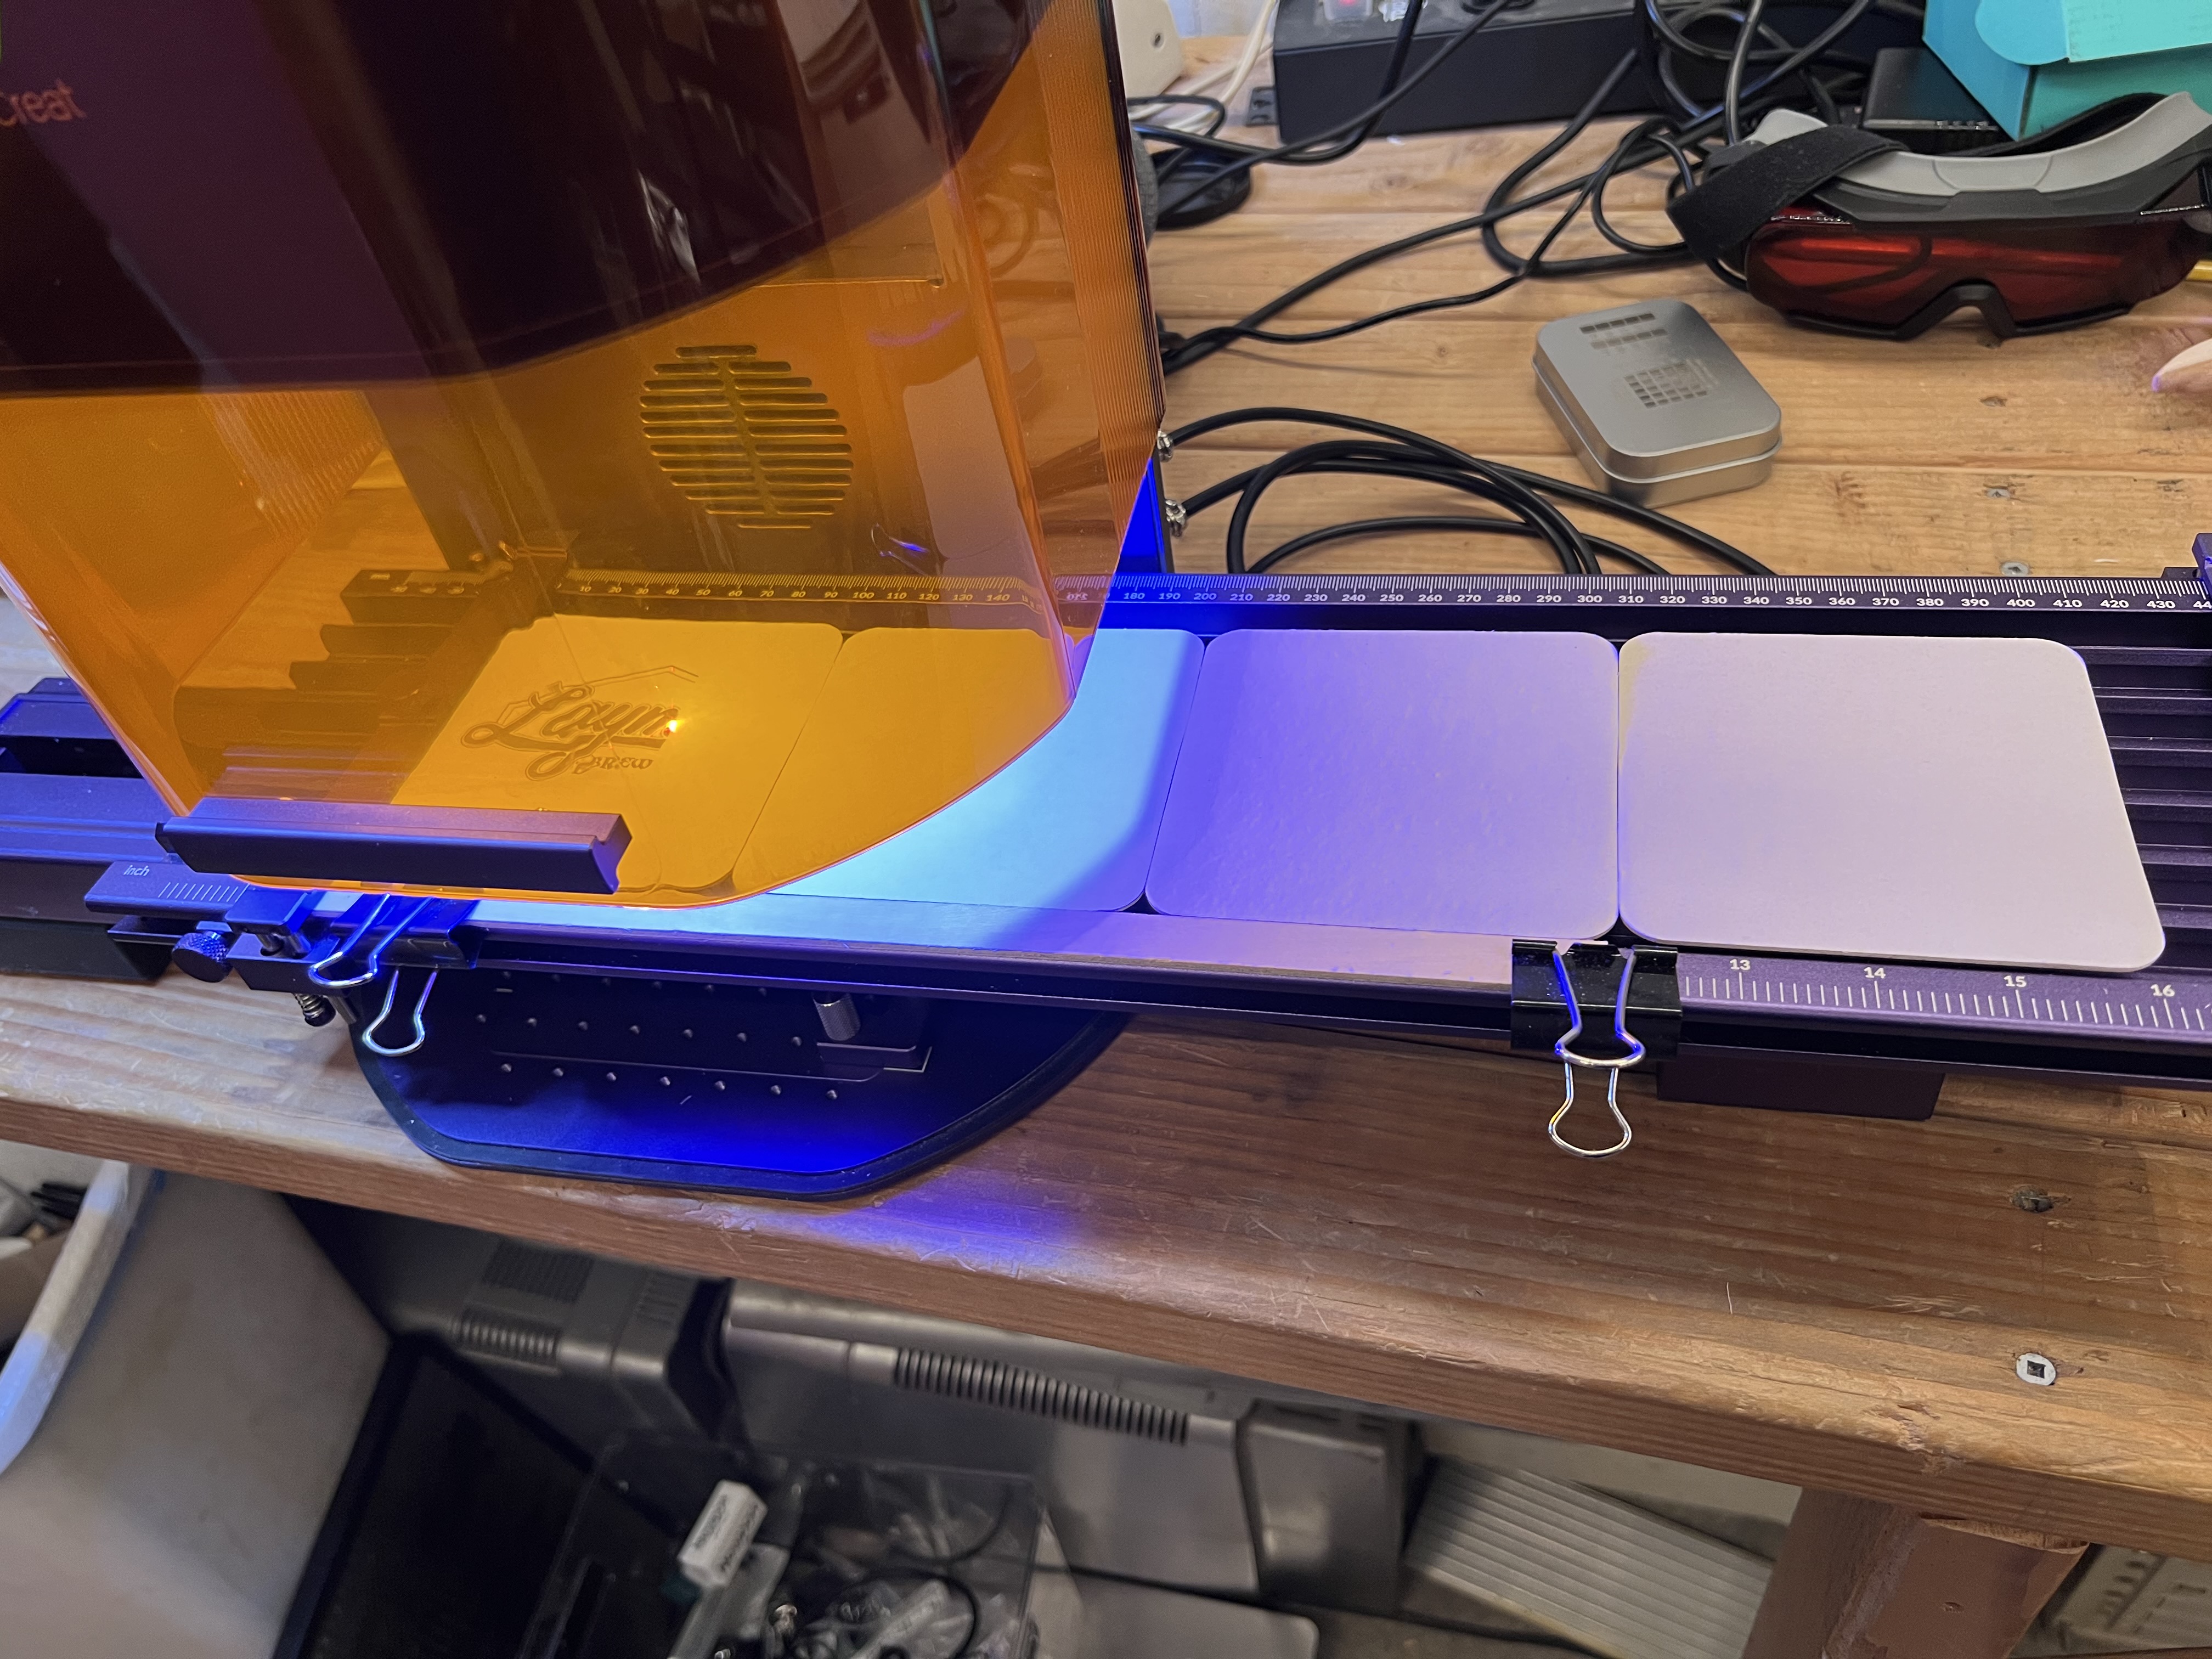
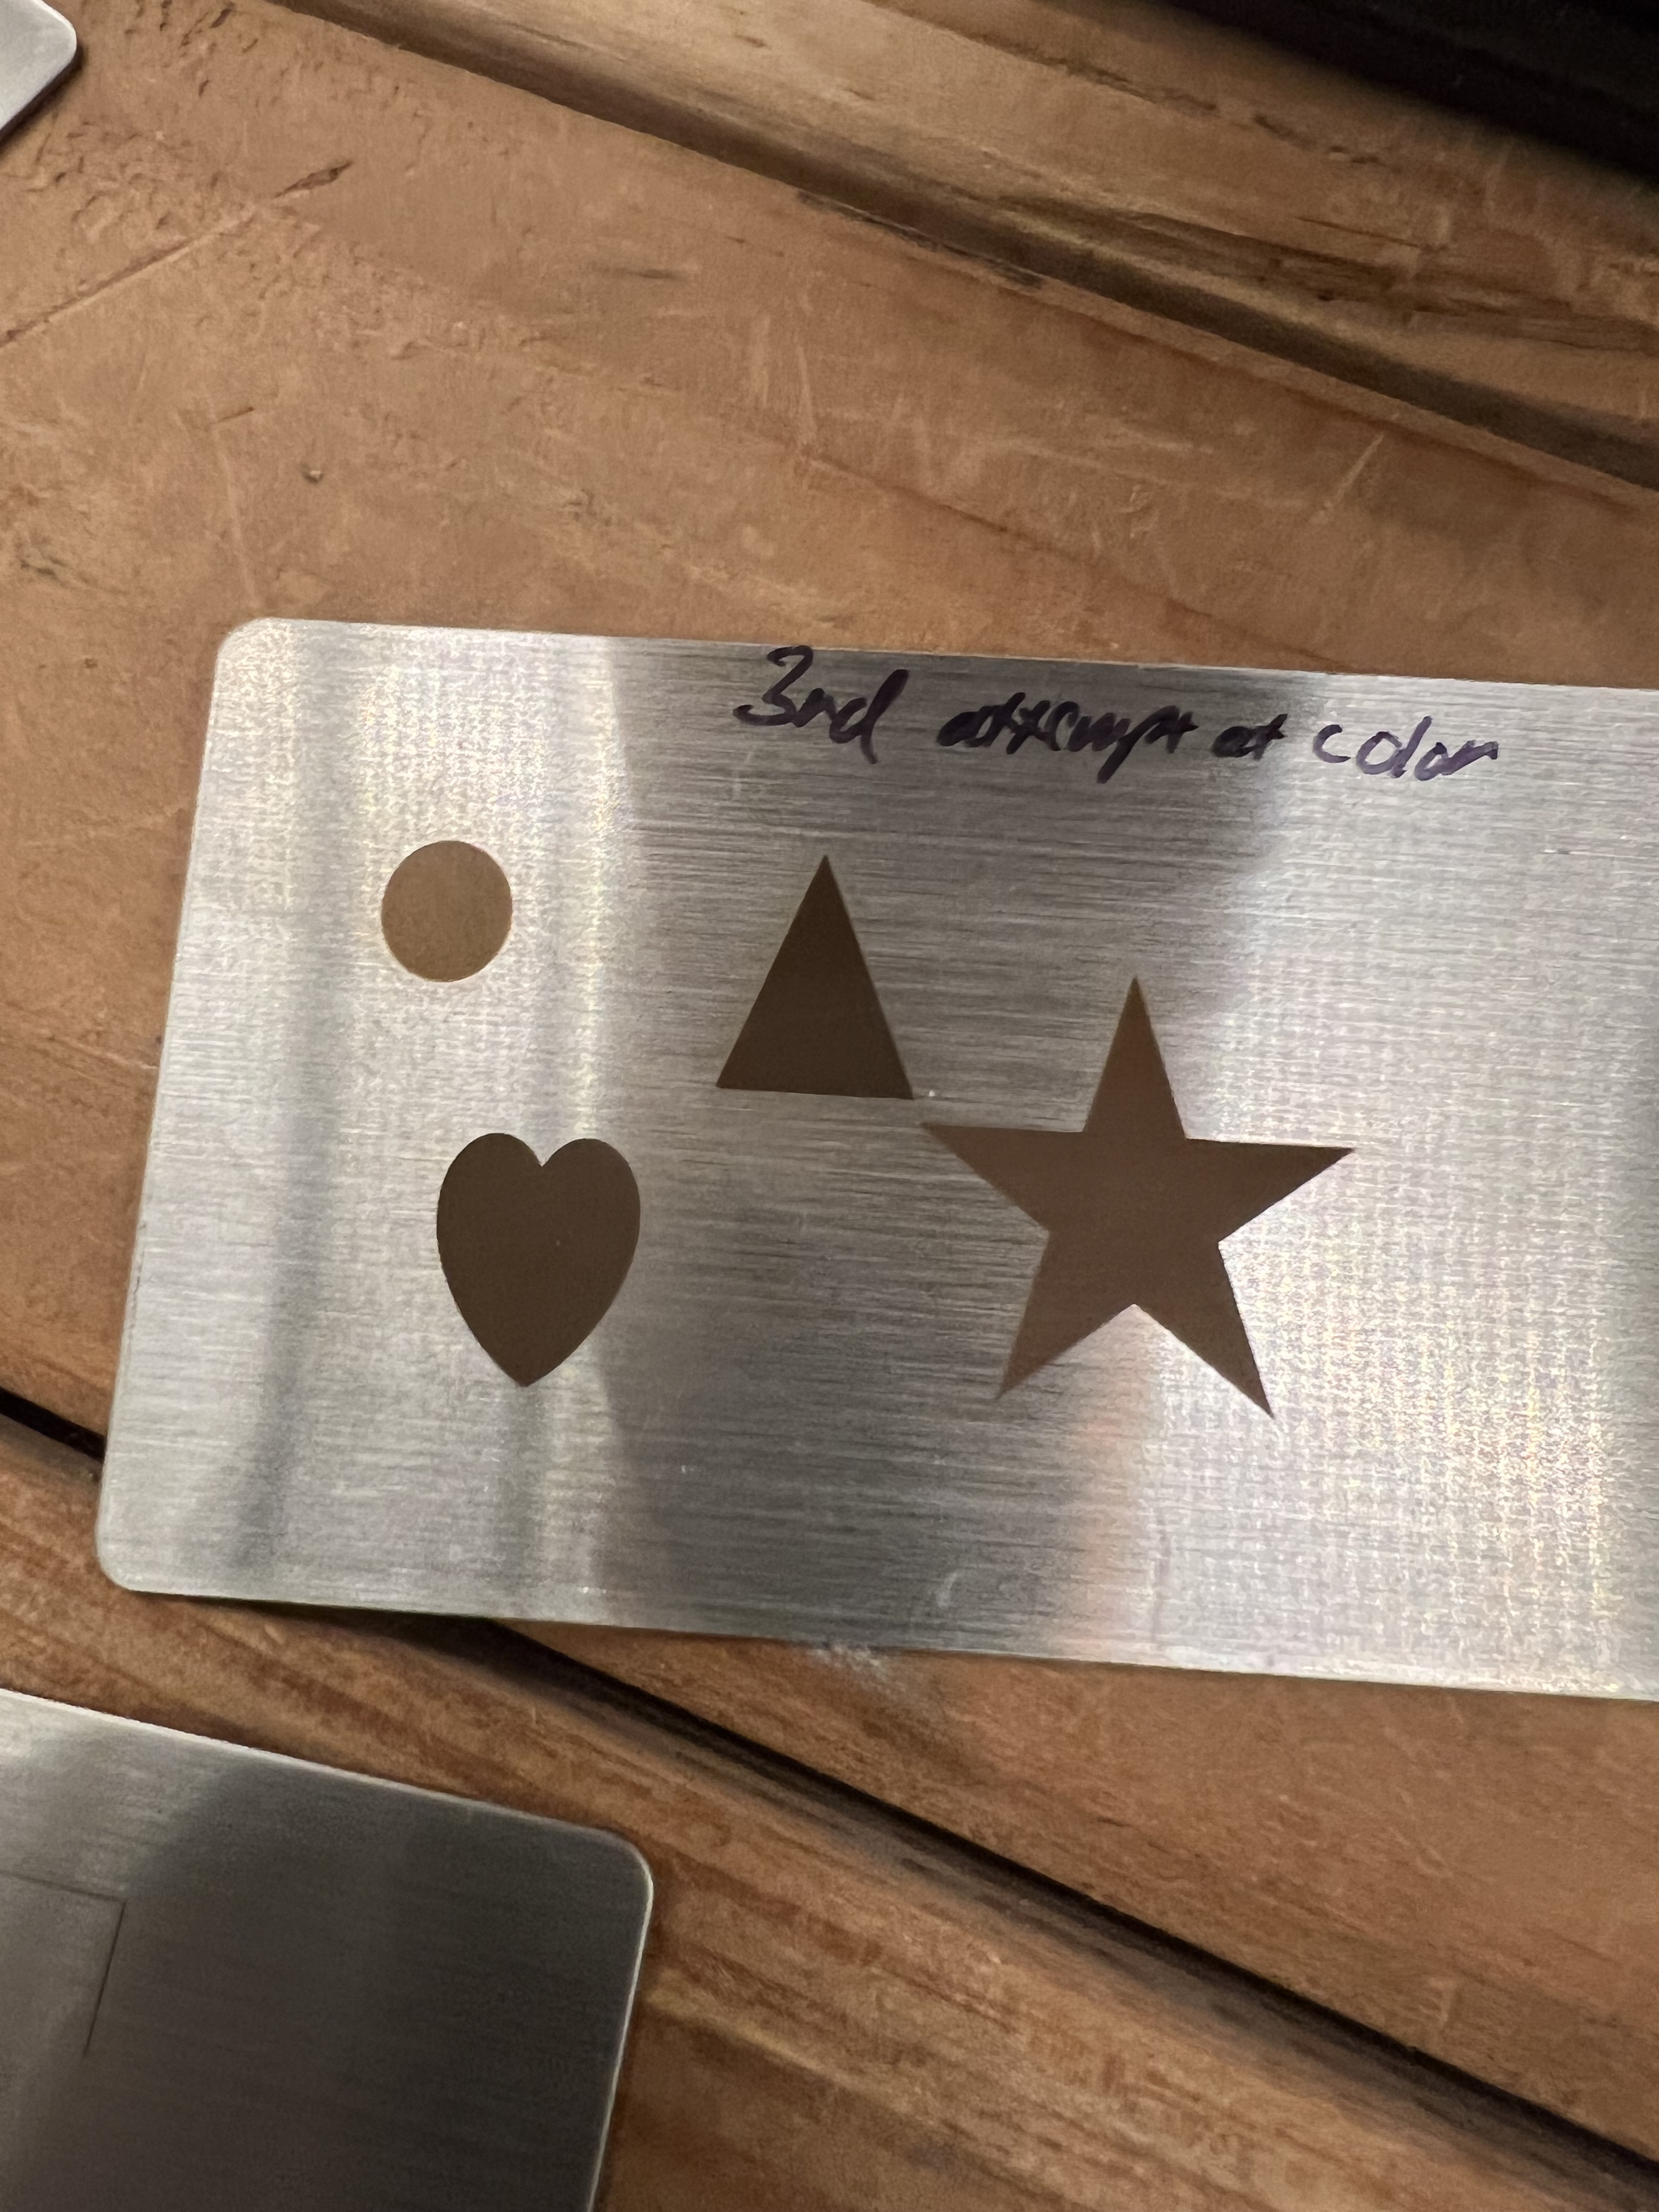
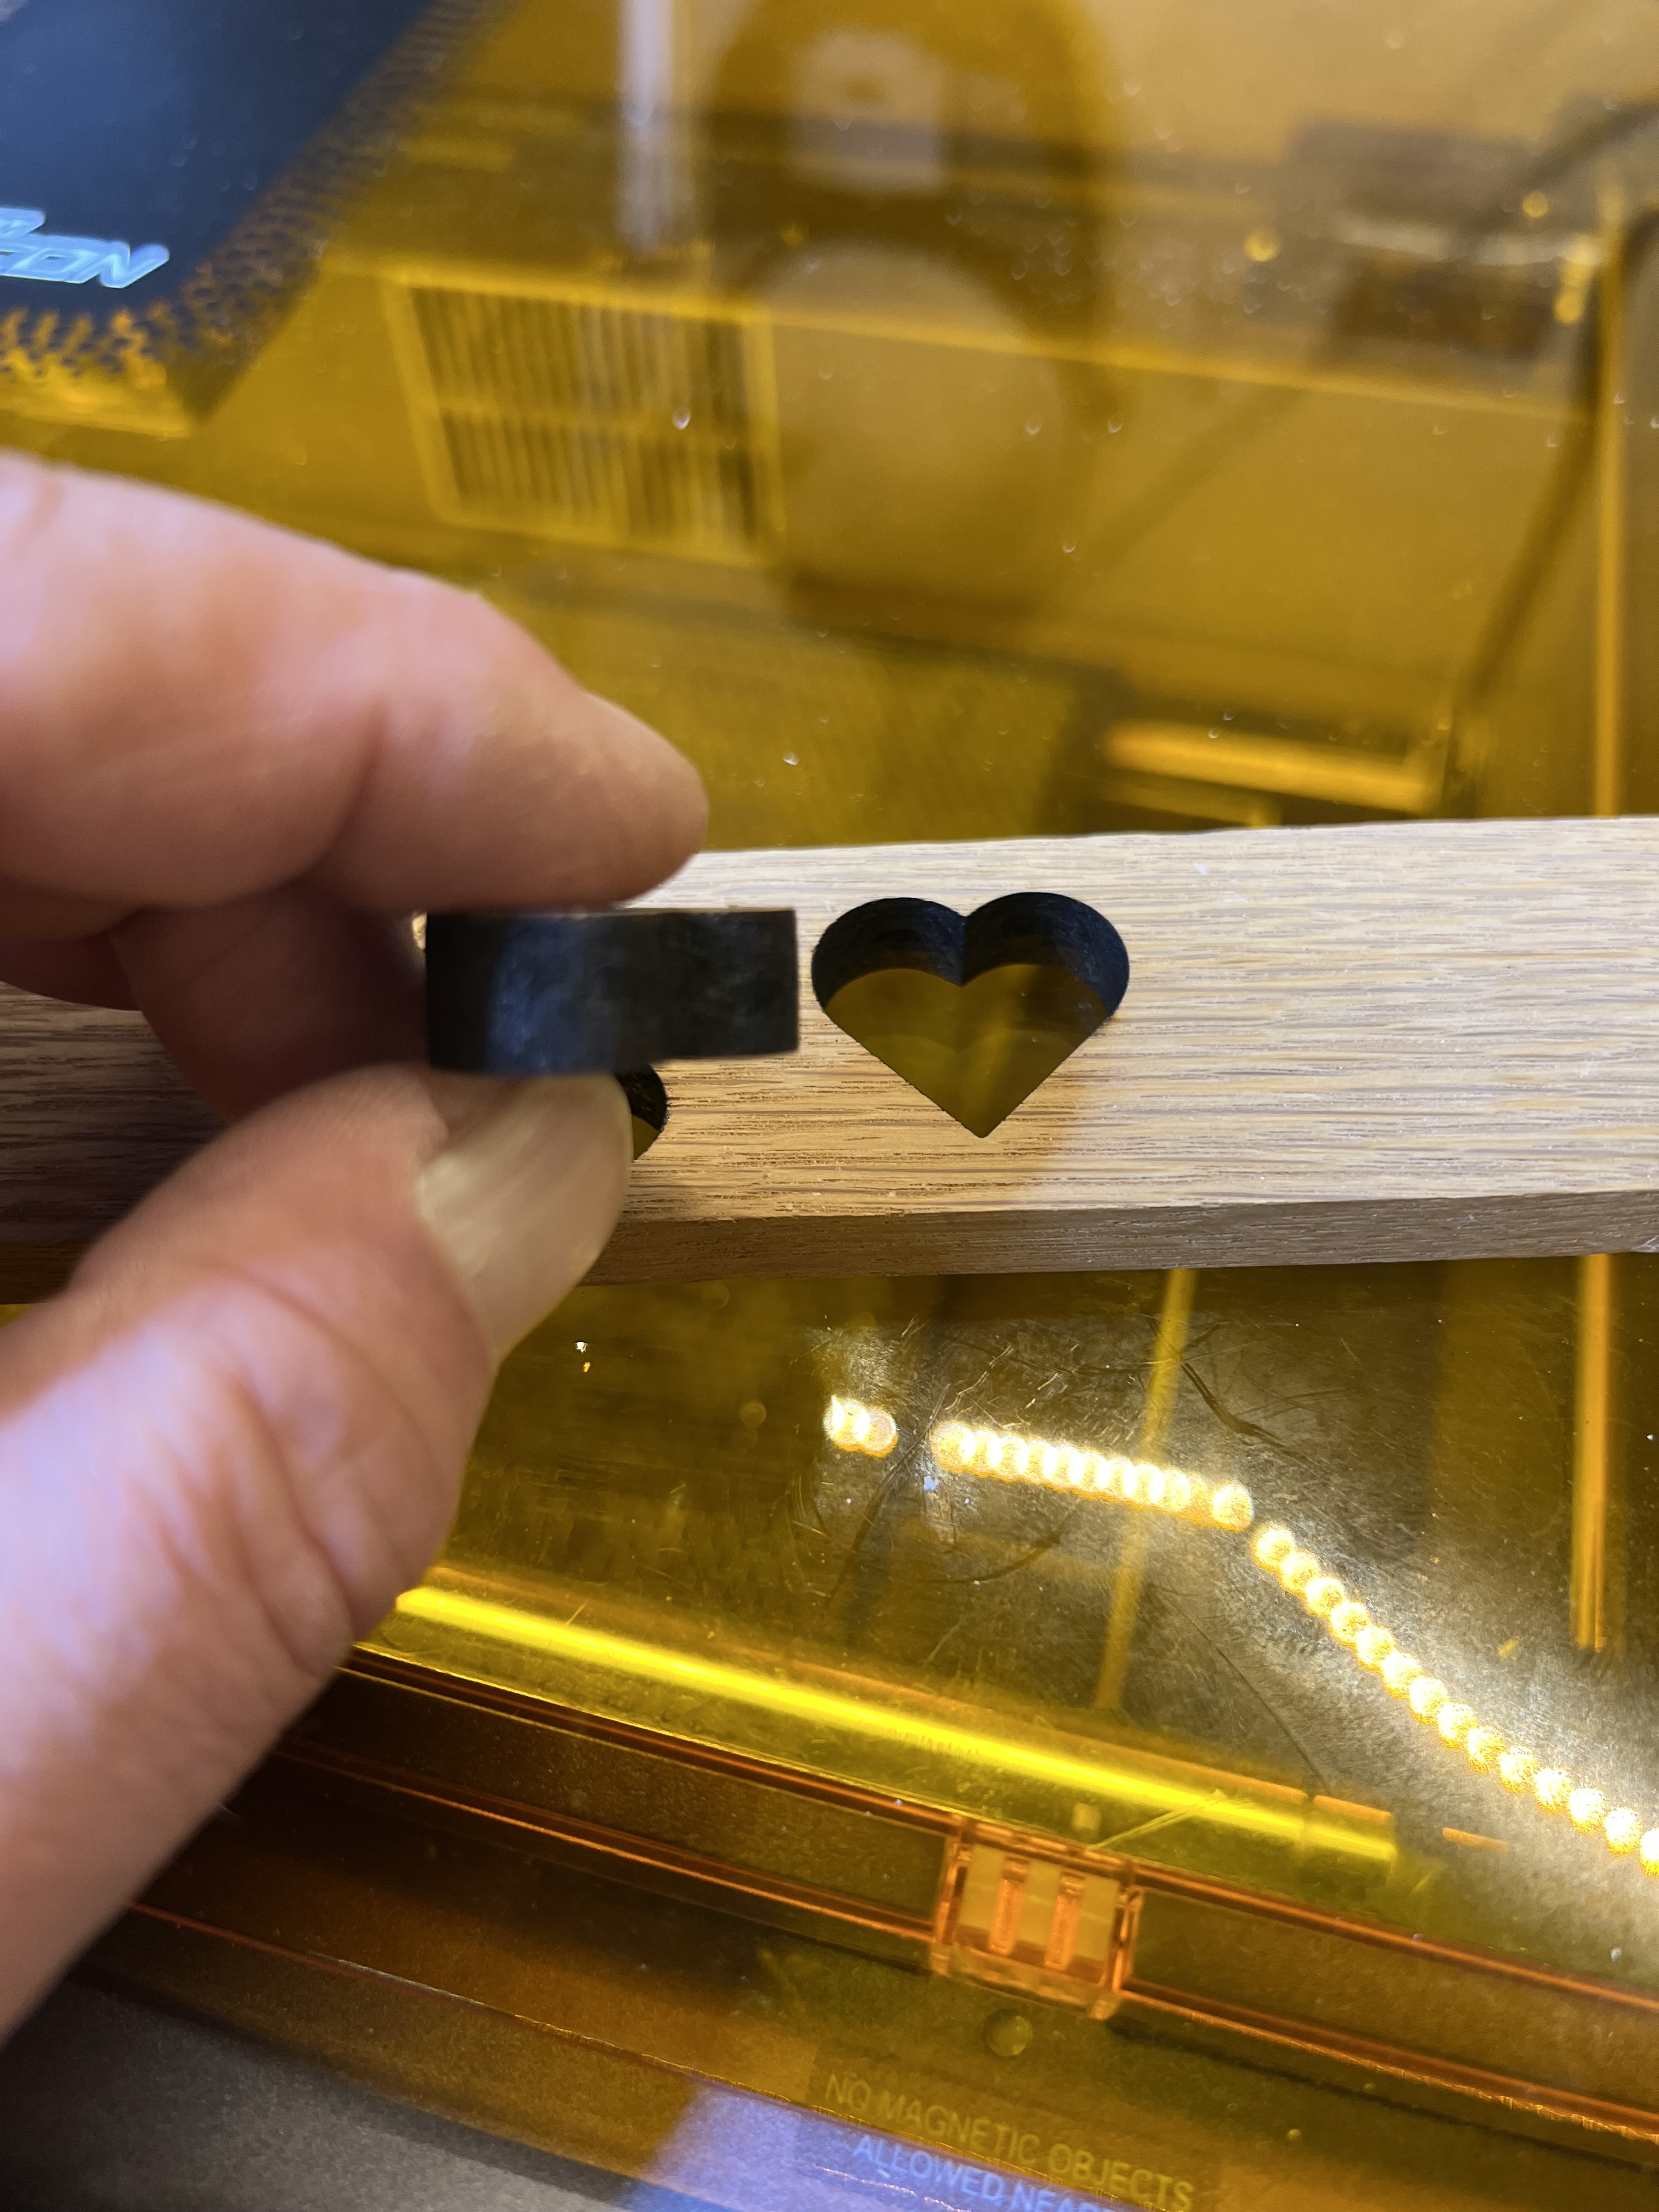
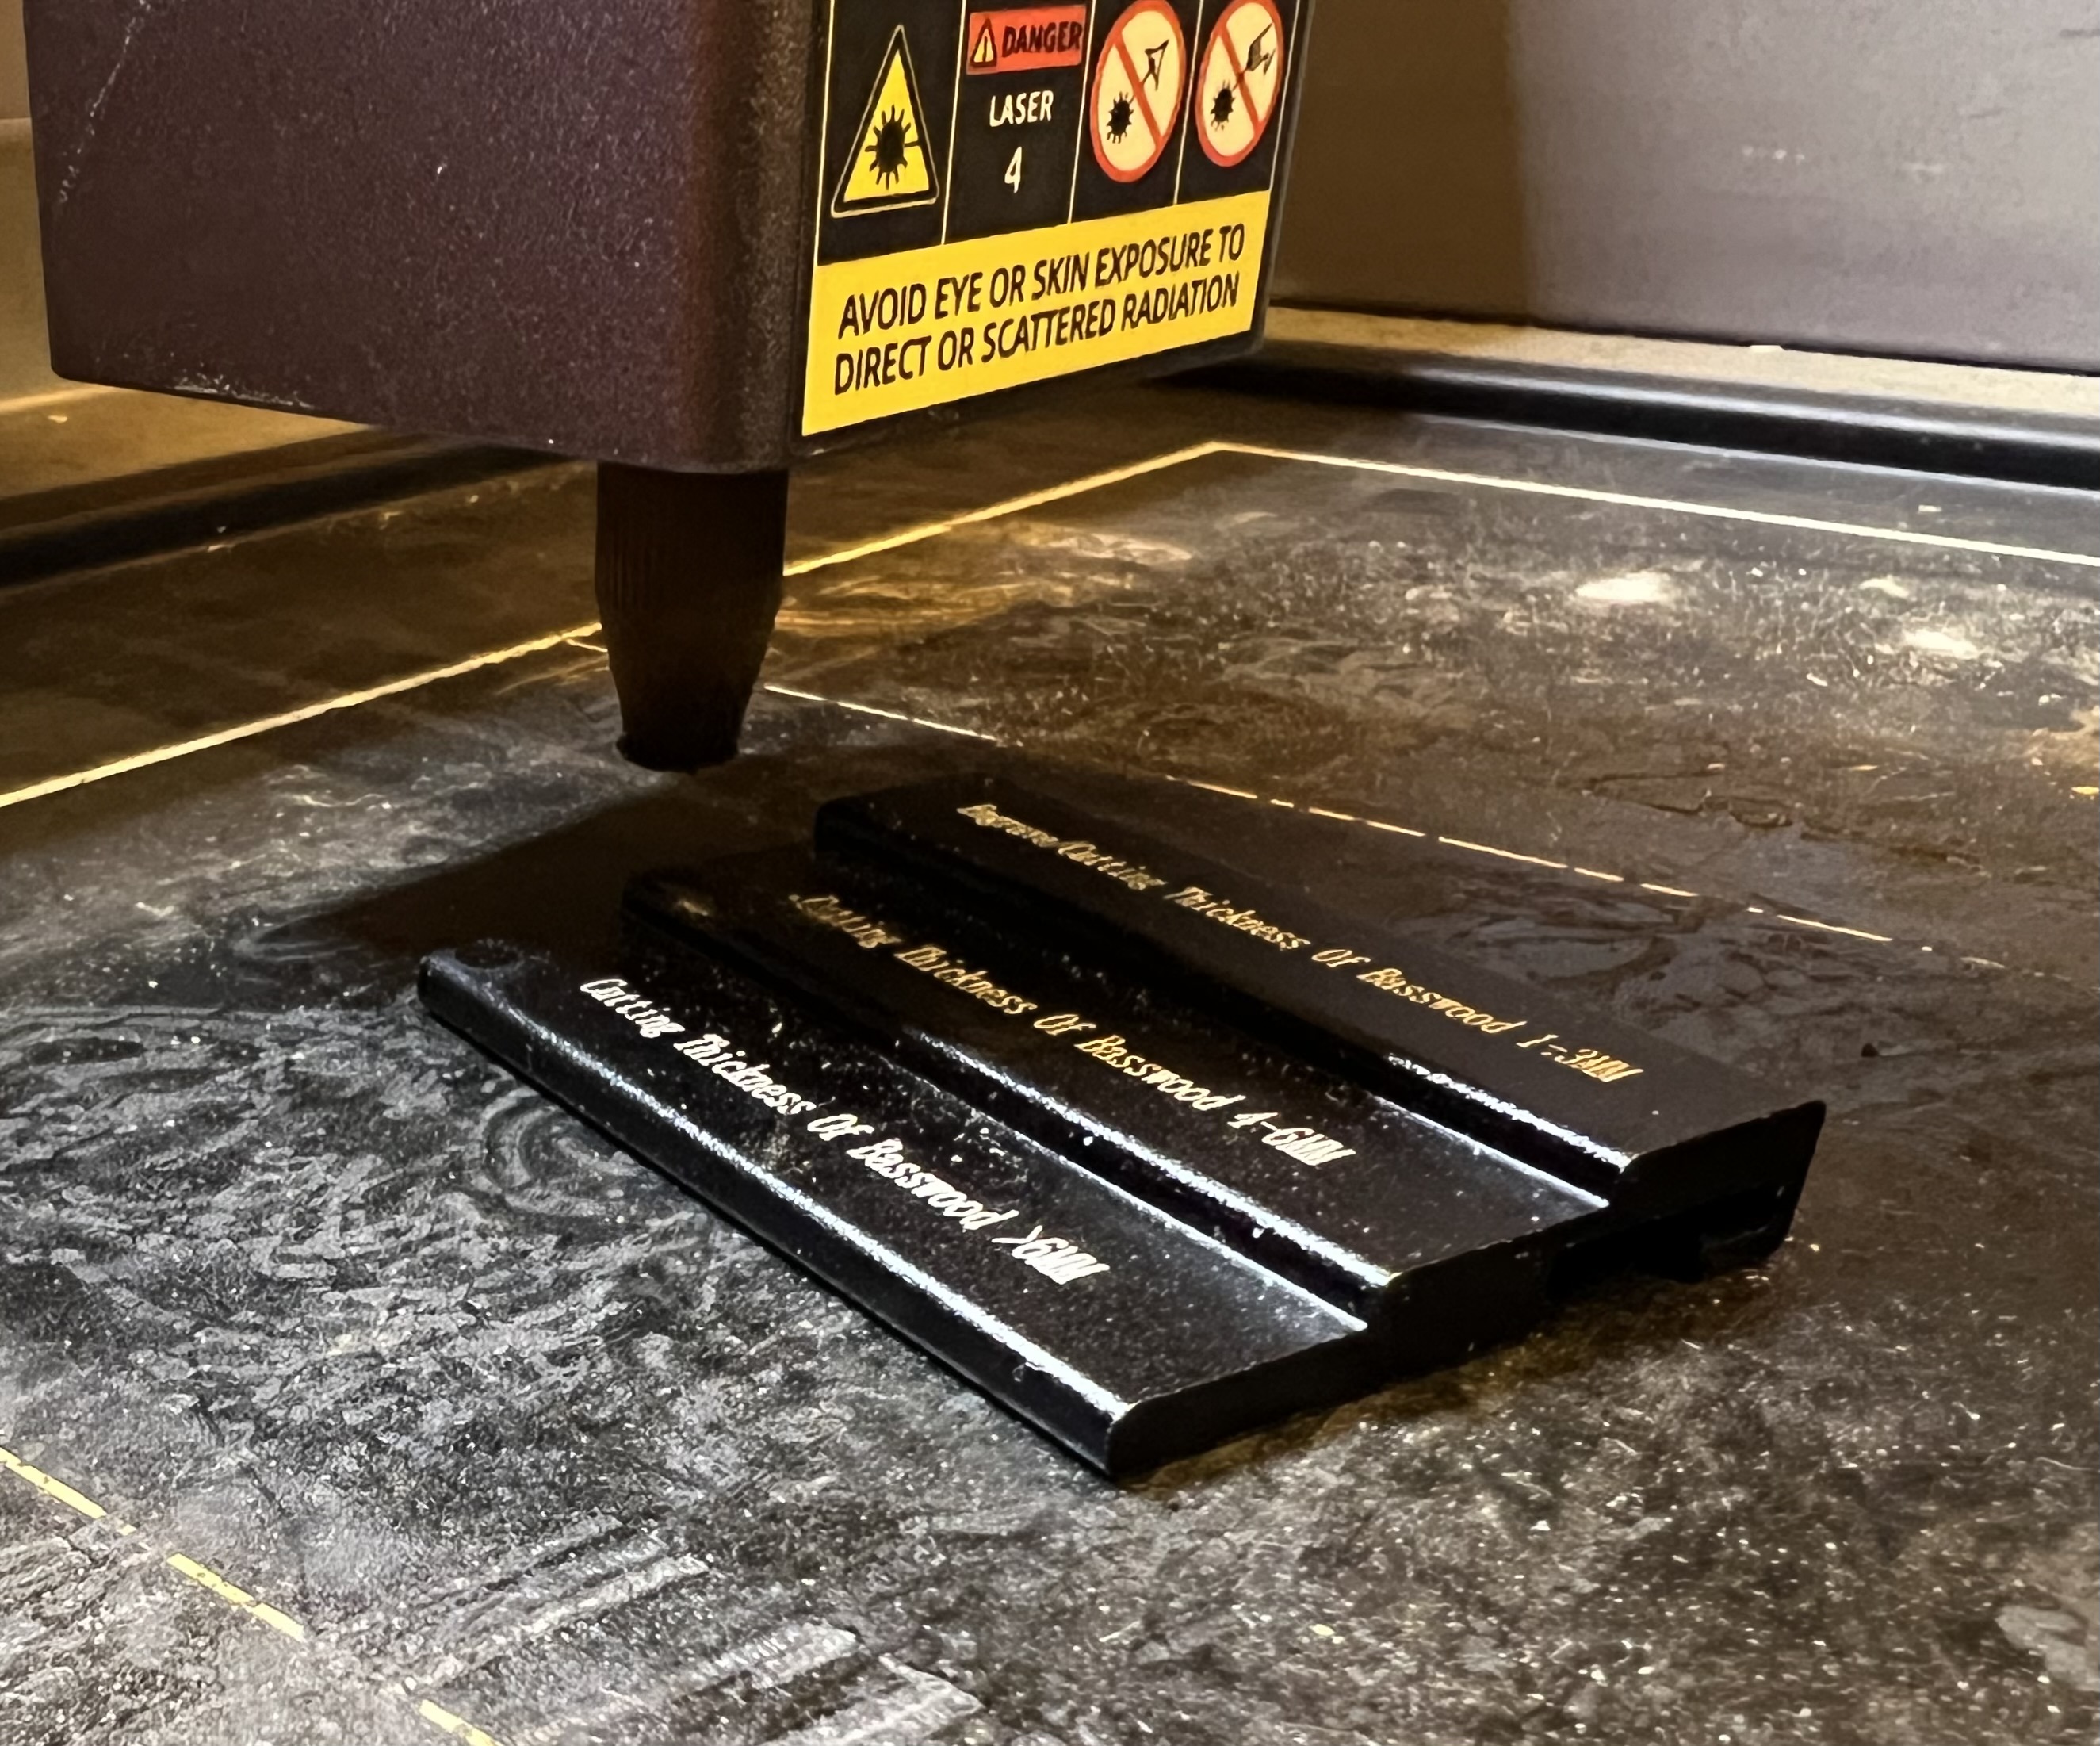
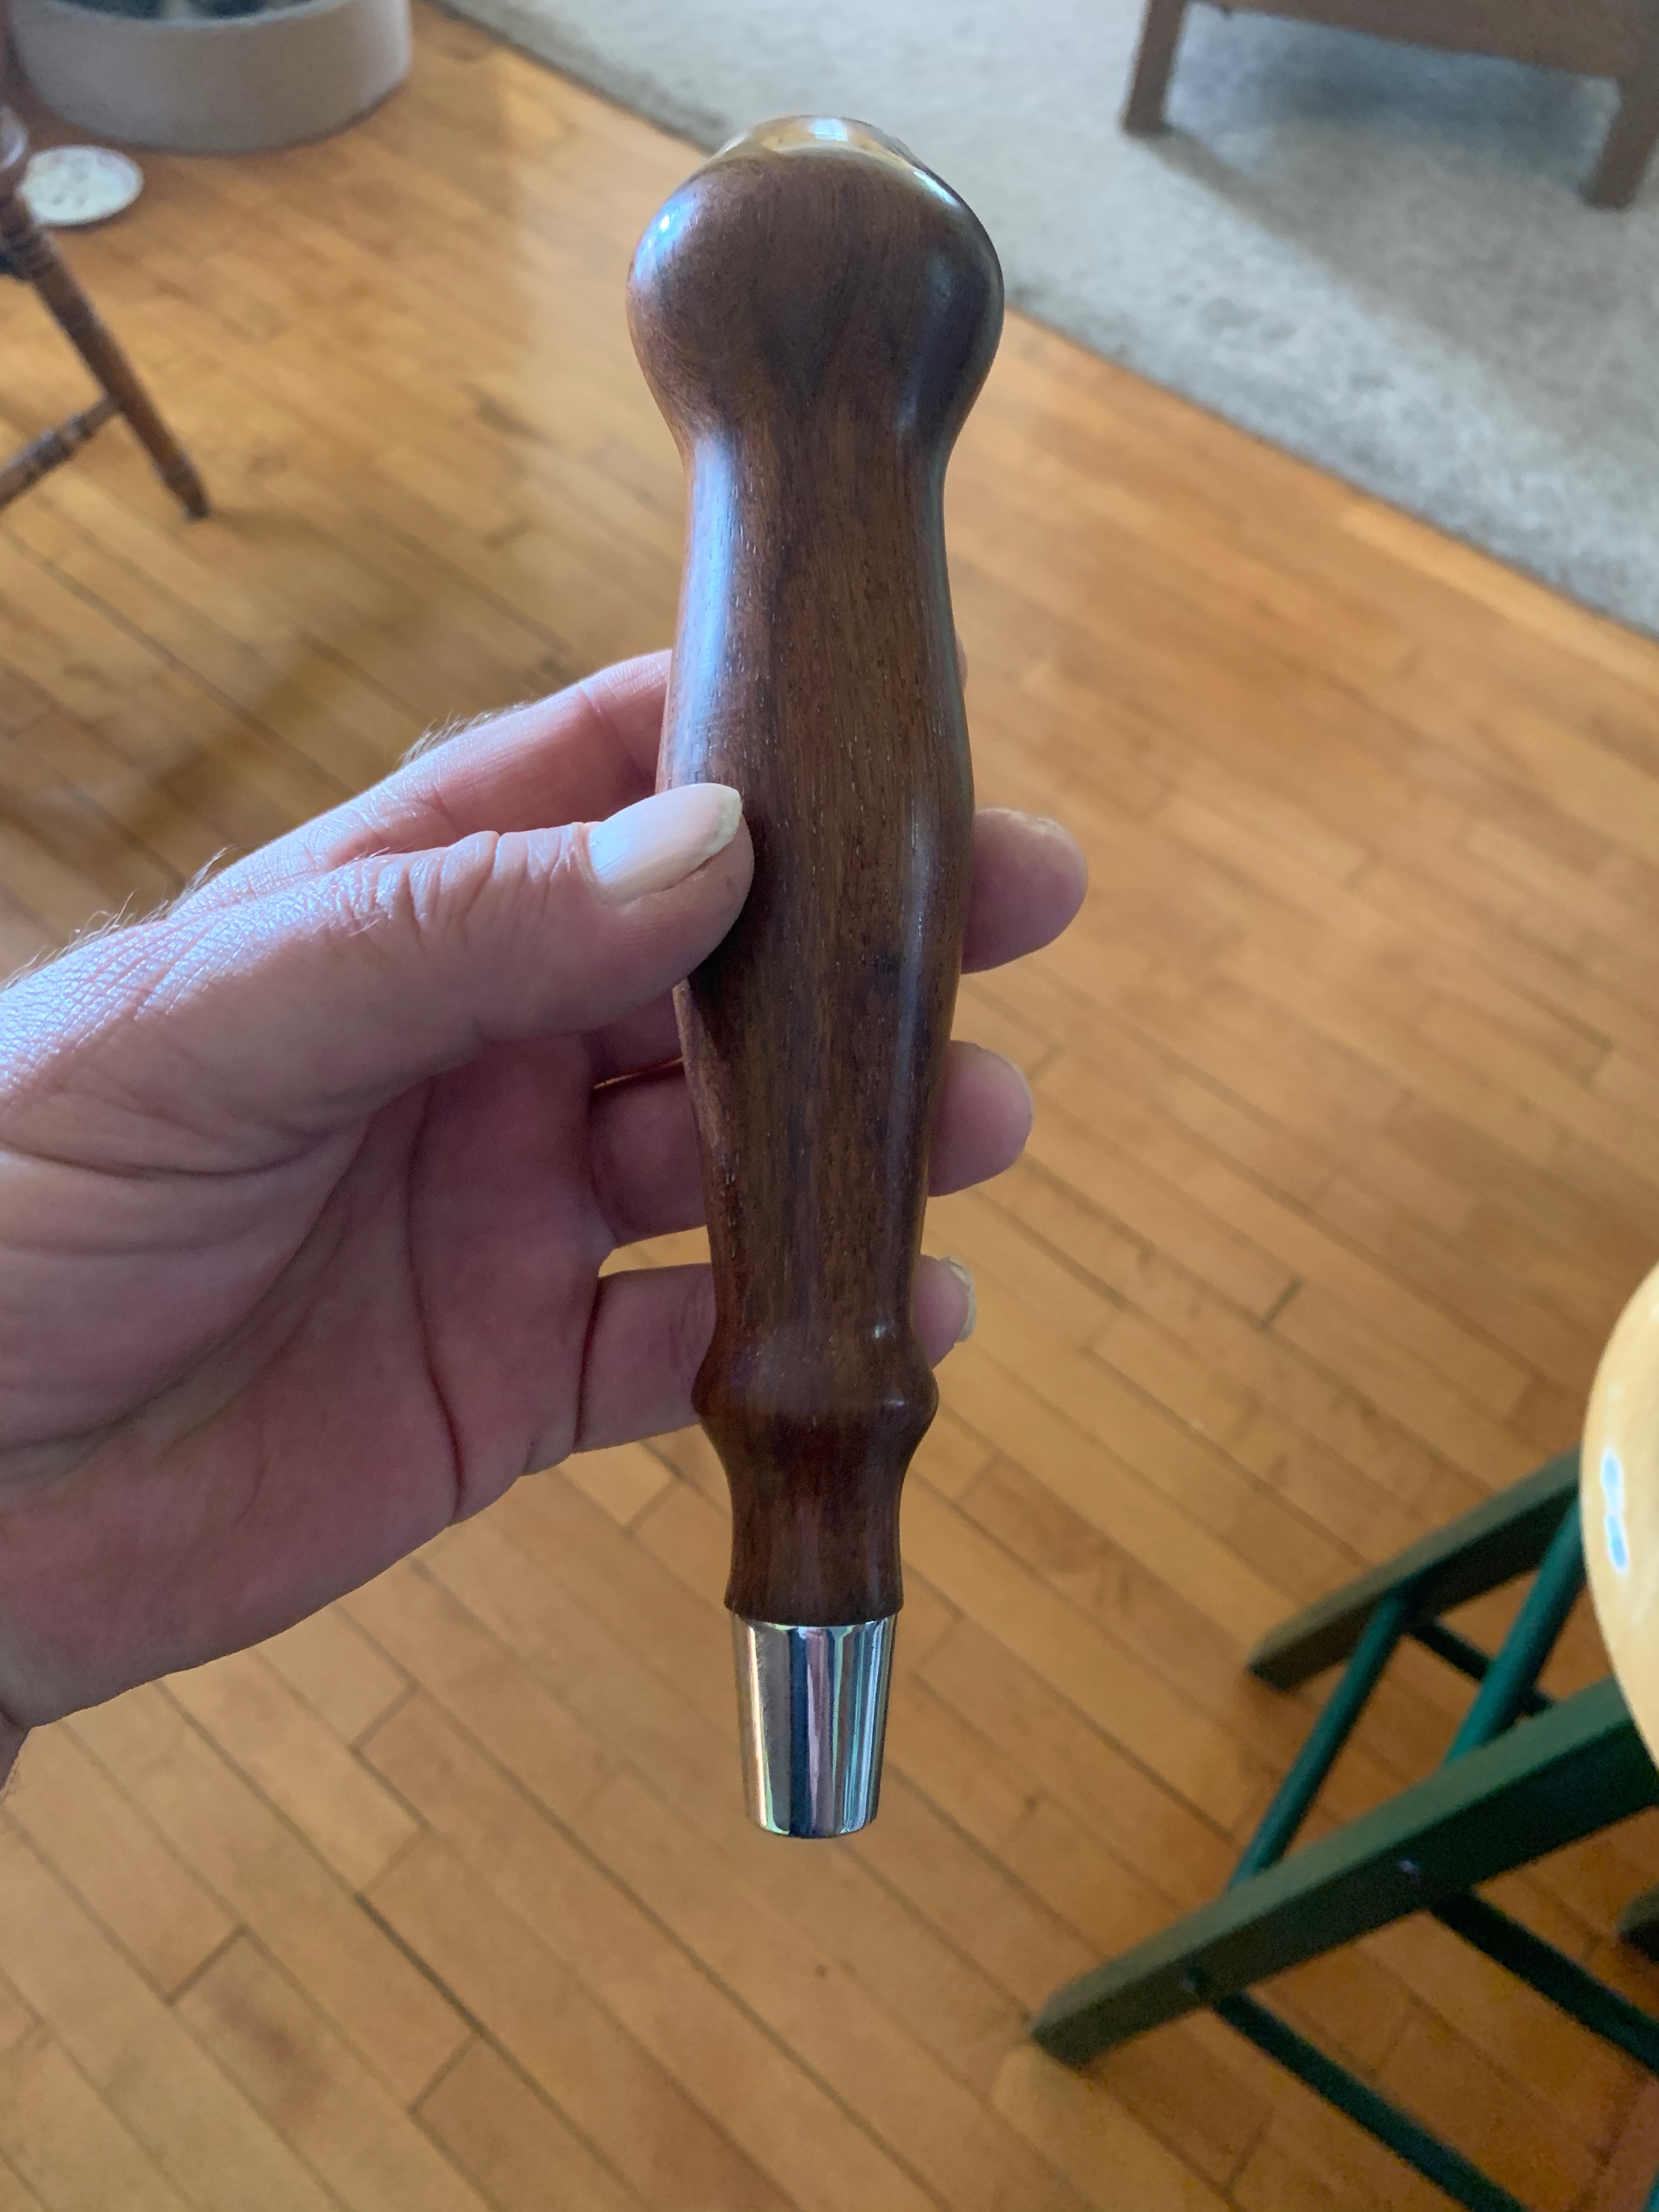
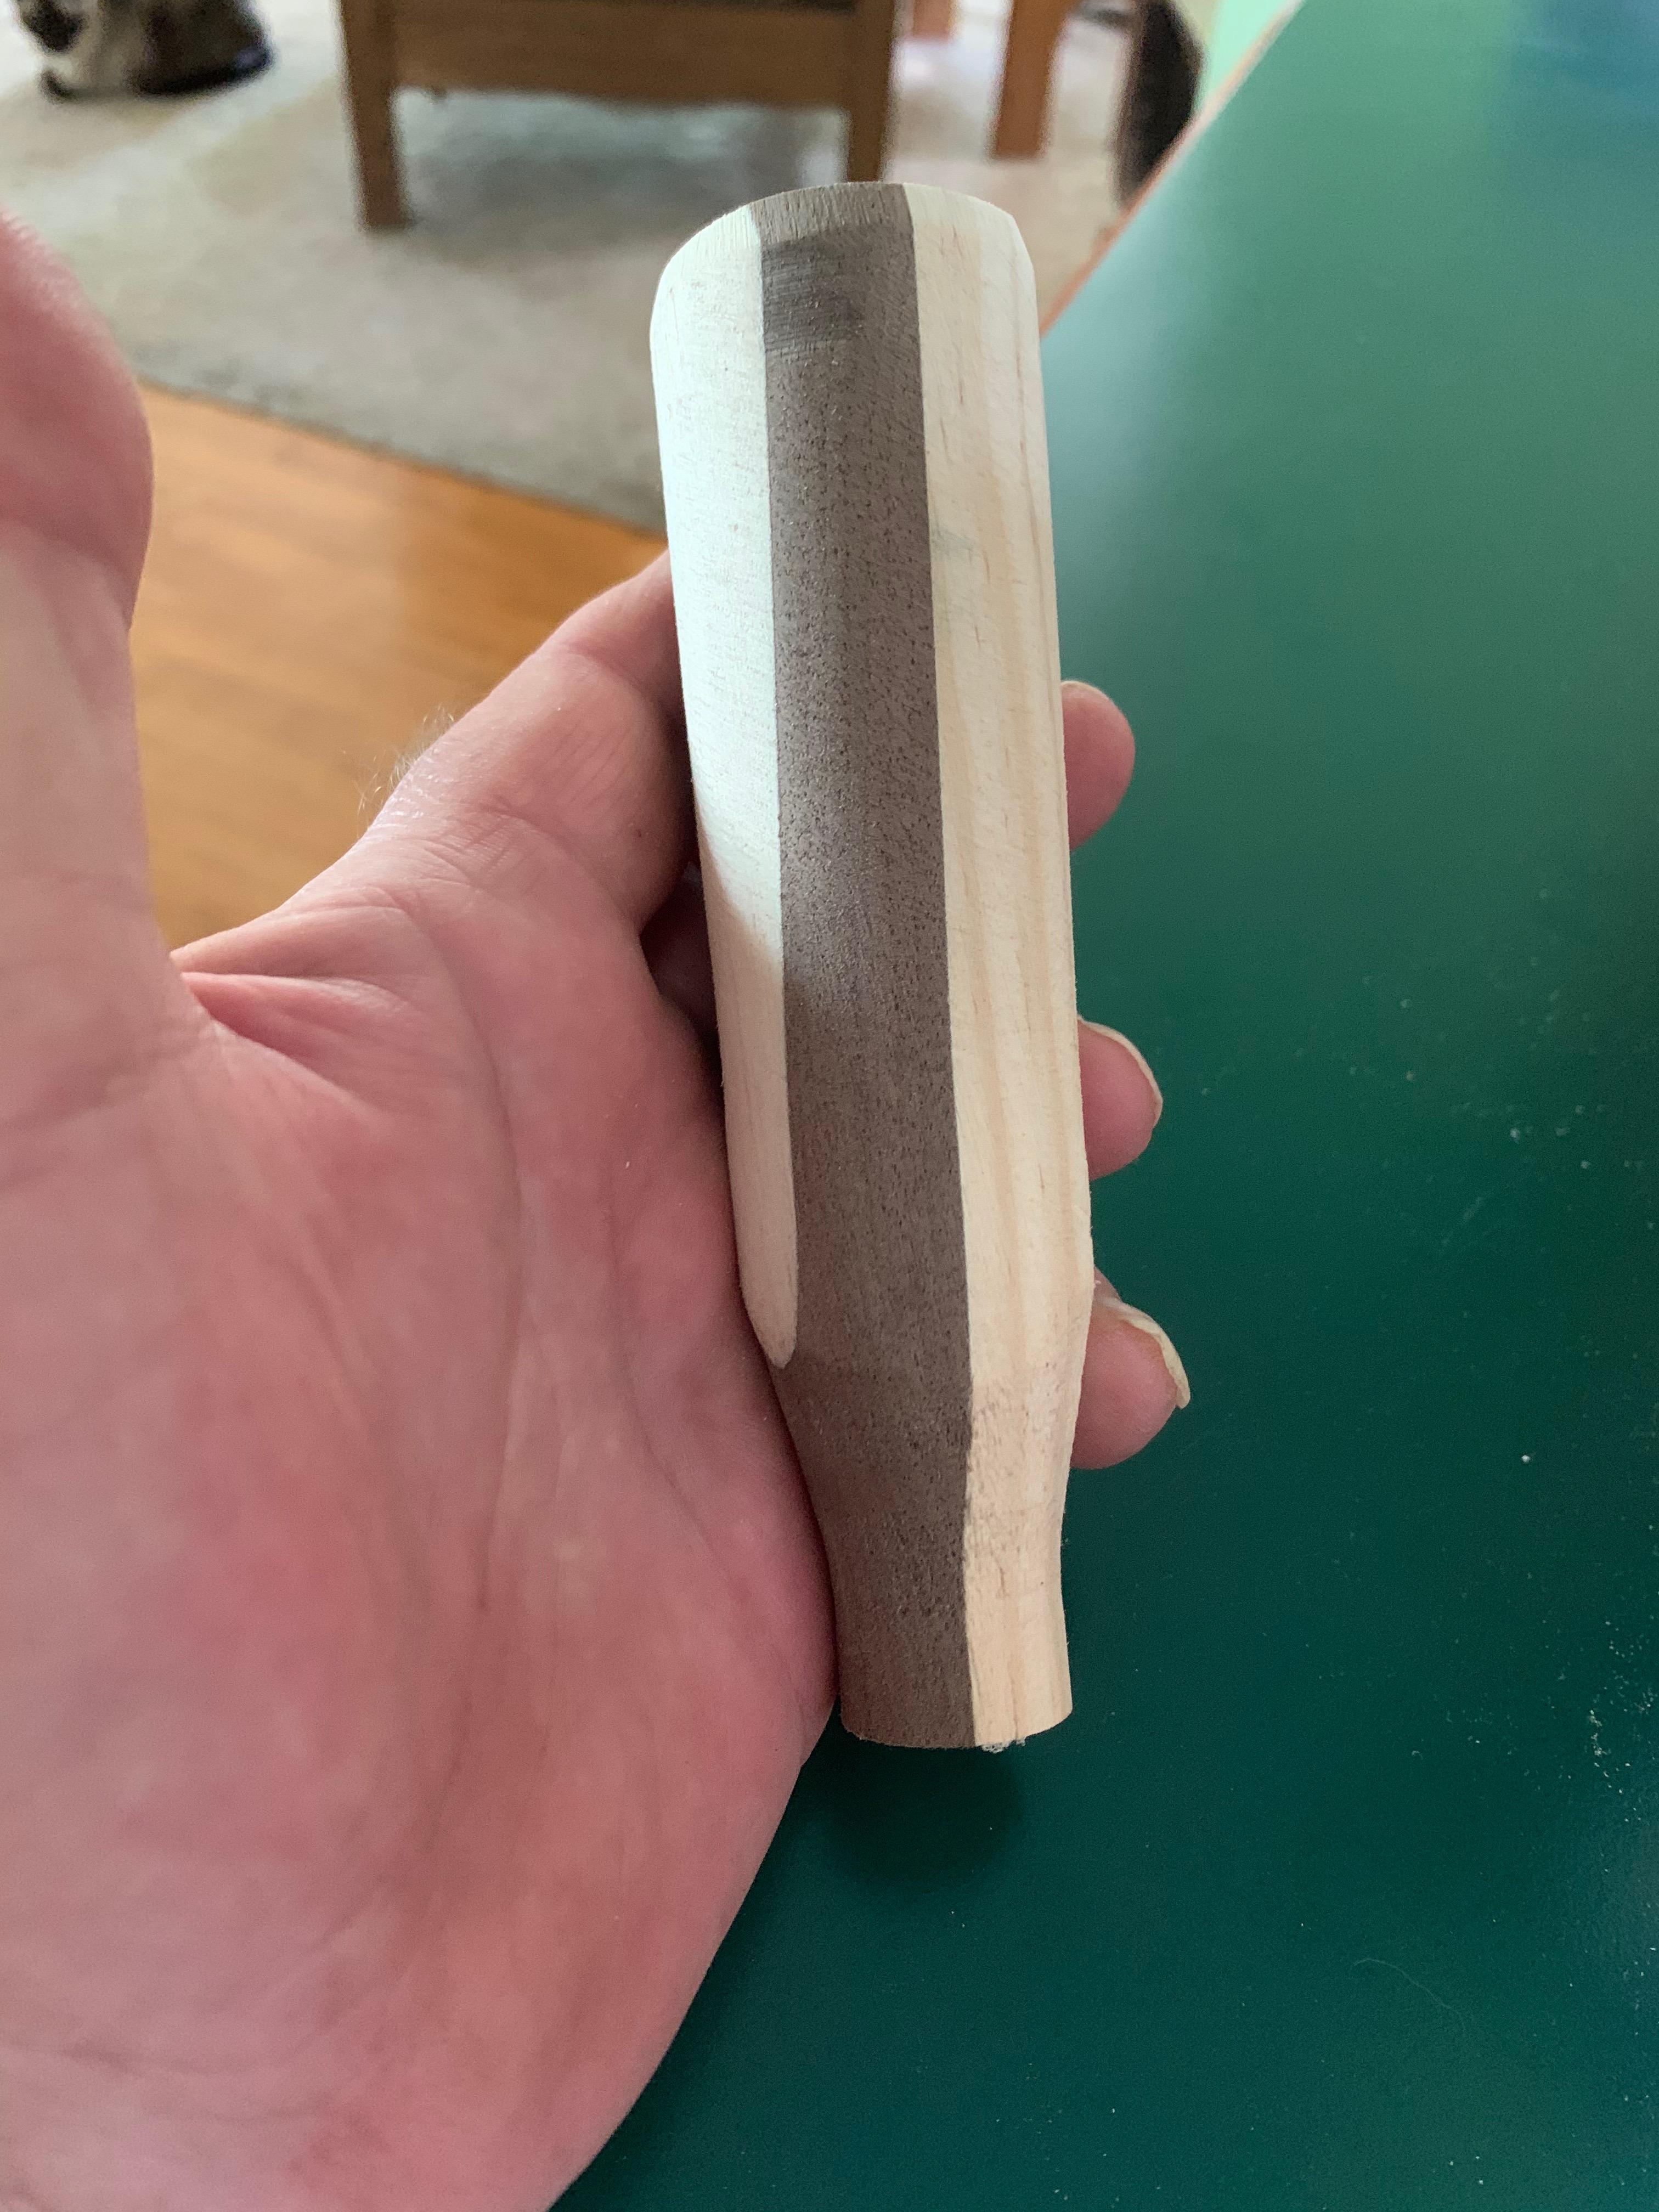
Where this thing really shines is when it comes to cutting material. This thing can cut 3/4″ thick solid wood as you can see in that test cut over there on the left. I cut 1/2″ walnut with this thing in one pass with minimal charring, and it slices through 3/8″ thick solid white oak and ash like the proverbial hot knife through butter.
It does have its issues and irritations, though. Some of them are puzzling because they never should have made it into a production model without being corrected first. Especially on a machine this expensive. This thing isn’t cheap. The base version goes for around $2,300 and depending on what options you add, you can end up spending over $3,000 easily. So before you buy one of these. you’d darn well had better have a serious use for it because we’re well out of the “impulse buy” price range here.
If you’re thinking of buying one of these yourself, here are some of the things I found to be irritating or annoying. None of them are deal breakers but they certainly aren’t marks in Wecreat’s favor either because all of these should not have been there in a production machine in the first place.
The Fan Sucks. Or, Rather, the Fan Doesn’t Suck
At least not enough. All of these enclosed lasers have (or should have) some kind of exhaust fan that sucks the smoke out of the chamber and exhausts it through a hose or pipe either into an air purifier or to the outside.
(Important: Make no mistake about it. These things make a LOT of smoke and fumes. If you run one of these in your home without adequate ventilation it will not only set off every smoke detector in the house, it will expose you to fumes that are absolutely unhealthy to breathe. )
Now you can get fume extractors that use filters and fans that will allegedly clean the air coming out of these things so it is fit to breathe and won’t set off your smoke detectors. And they work. Sort of. But they’re expensive. The decent ones are on the order of $700+ and they have disposable filters that need to be replaced on a regular basis. So if at all possible you’re going to want to vent these things to the outside. And none of these lasers have an extraction fan that’s powerful enough to push the smoke more than a few feet at best so you’d need to set one up right in front of a window and then seal the window off except for the hose coming off the laser to keep it from blowing back into the room.
I had a 250 CFM fume extraction system installed for years now to vent fumes from my soldering station and that proved to be adequate to vent first my LaserPecker engravers, and then the Falcon and the Lumos. It worked quite well. But for the Vision? Yeah, not so much.
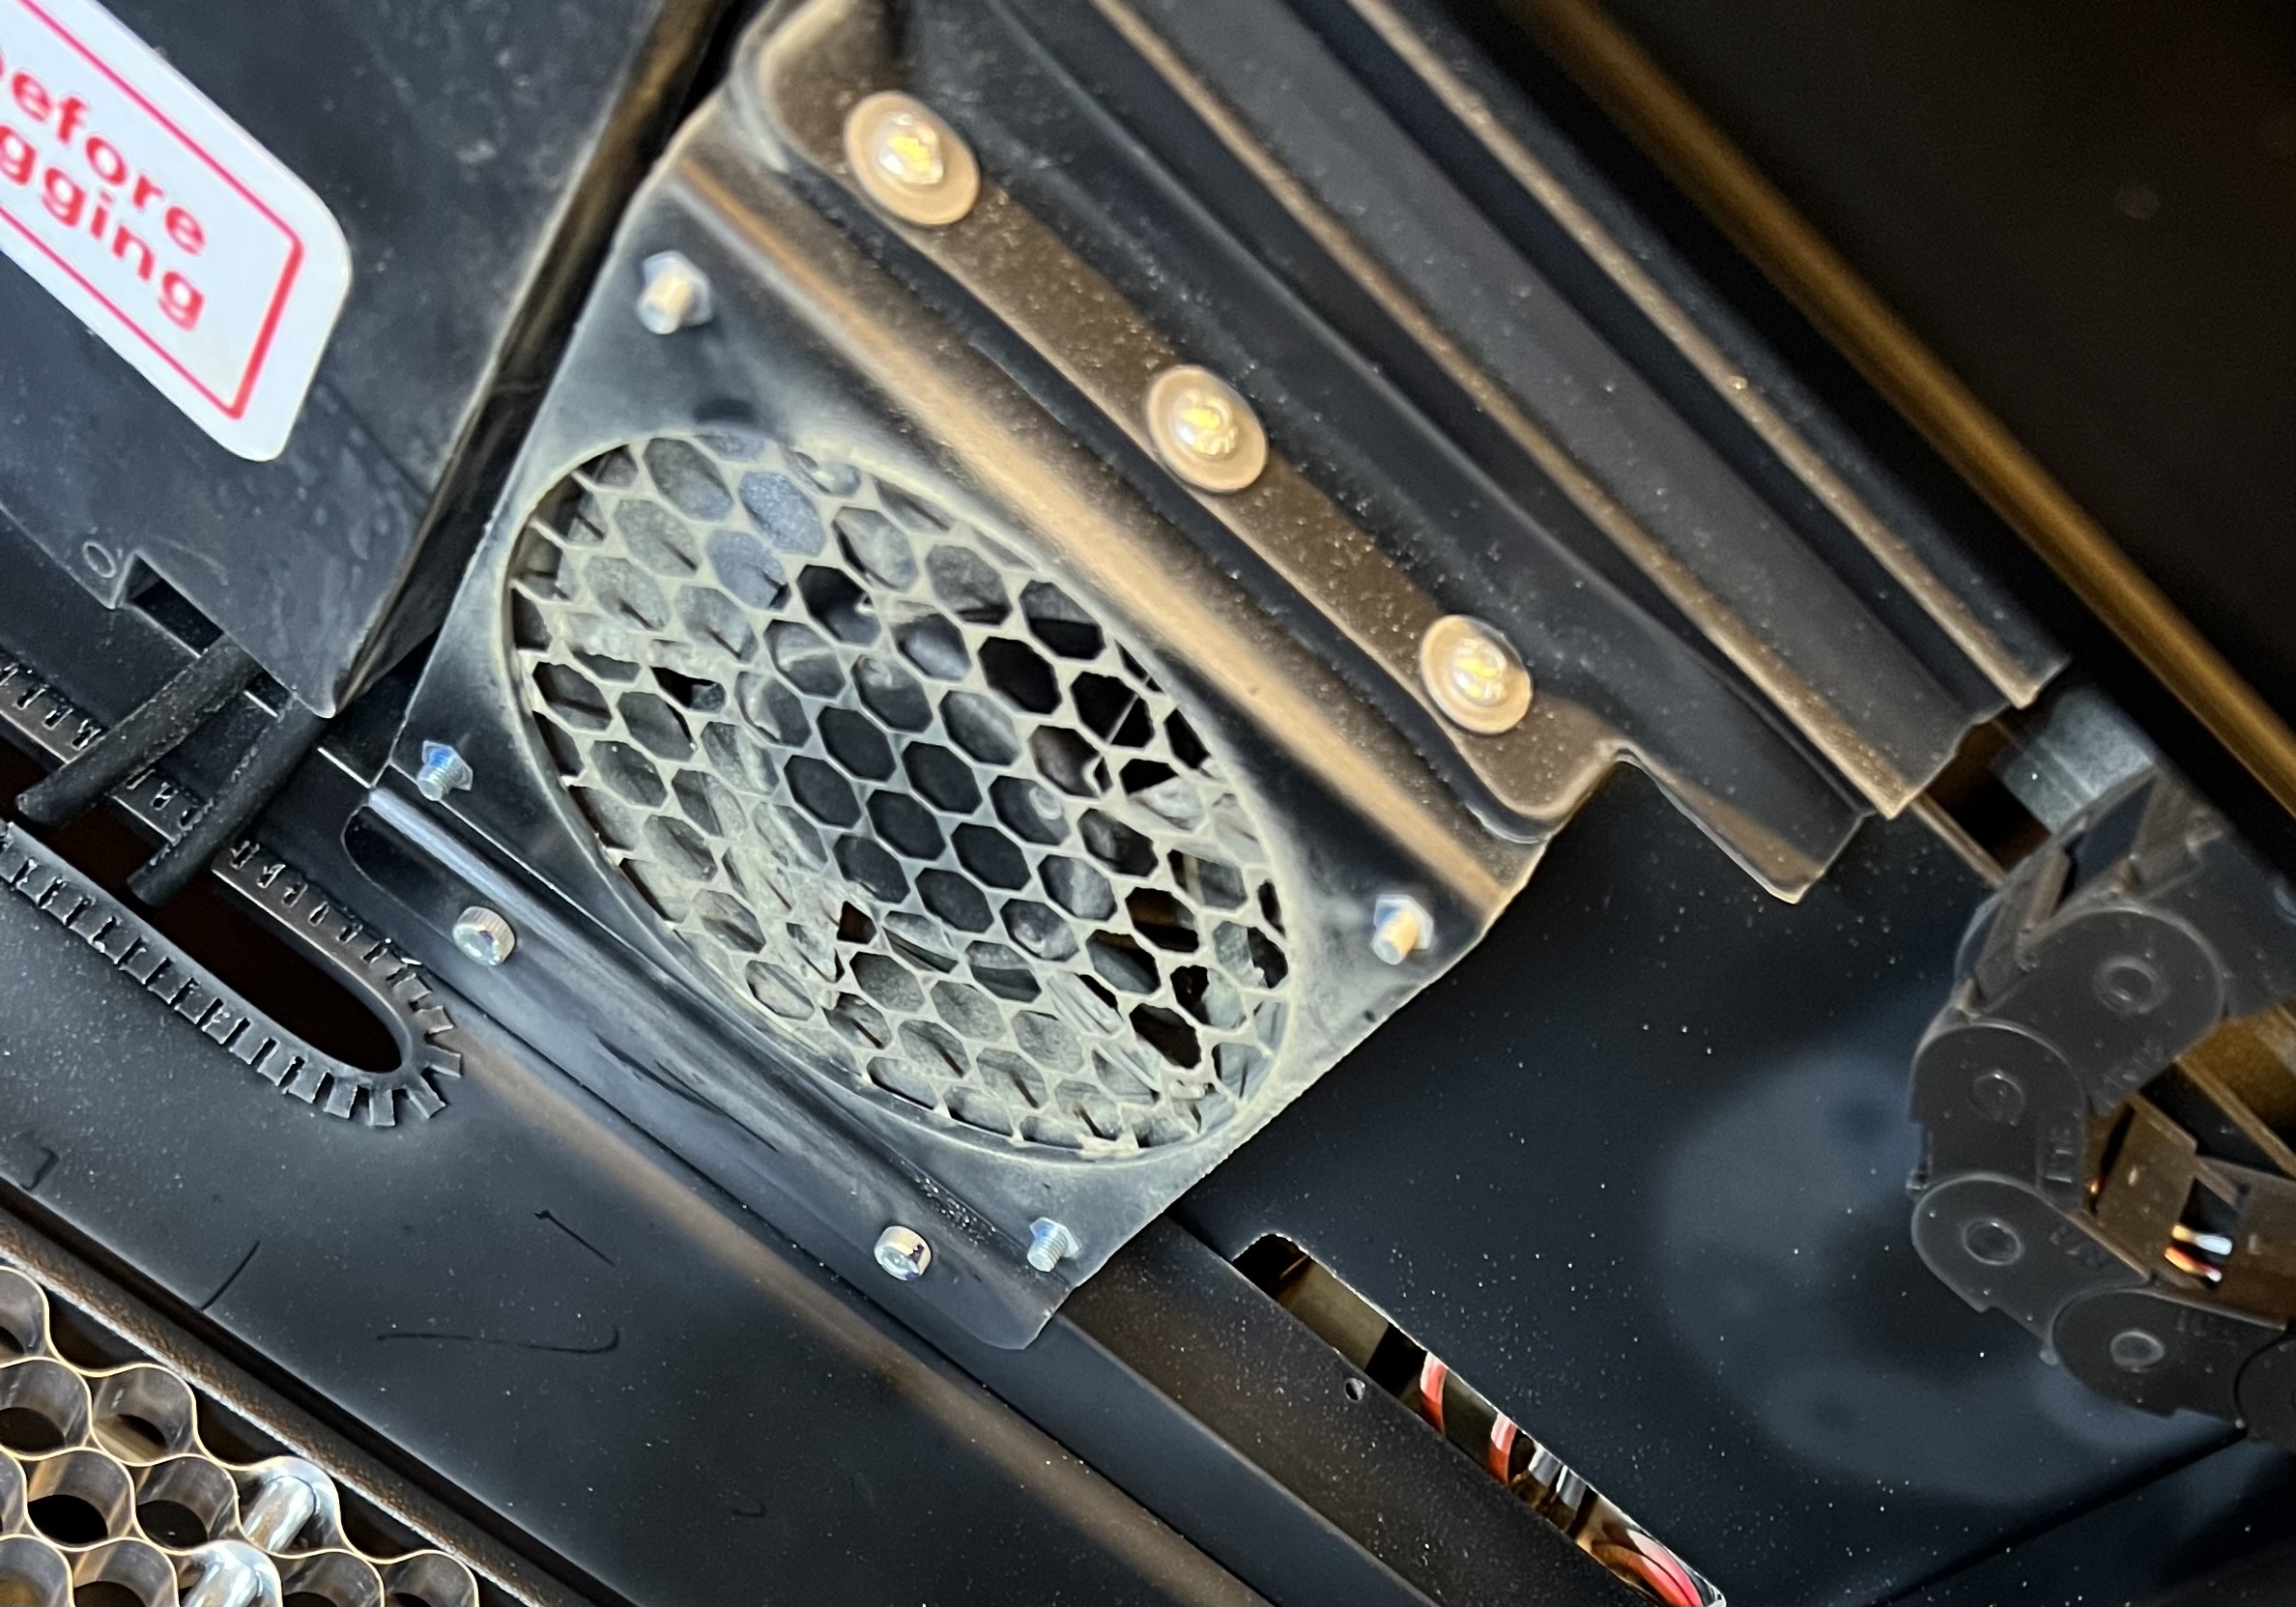
Using the Vision to it’s full capacity generates huge clouds of smoke inside of it, and the fan they use isn’t even powerful enough to adequately pull the smoke out of the enclosure much less blow it through ductwork to the outside.
The Vision is made up of two parts. The entire top half of the unit moves up and down to focus the laser. That means there are gaps between the upper and lower parts of the cabinet and smoke is going to seep out between those gaps unless the extraction fan is powerful enough to suck the smoke out before it can escape. And that pathetic little muffin fan isn’t even close to being powerful enough to do it. Even if I’d had the laser parked next to a window and was using only the short little hose that came with it to exhaust it, that wimpy little fan wouldn’t have had enough power to adequately vent the thing and smoke would have seeped into the room. Even the 250 CFM exhaust fan I used had struggled to deal with the smoke the thing generates under hard use. It wasn’t until I replaced it with a 450 CFM fan that I was able to adequately vent the thing to prevent smoke from backing up into my workspace.
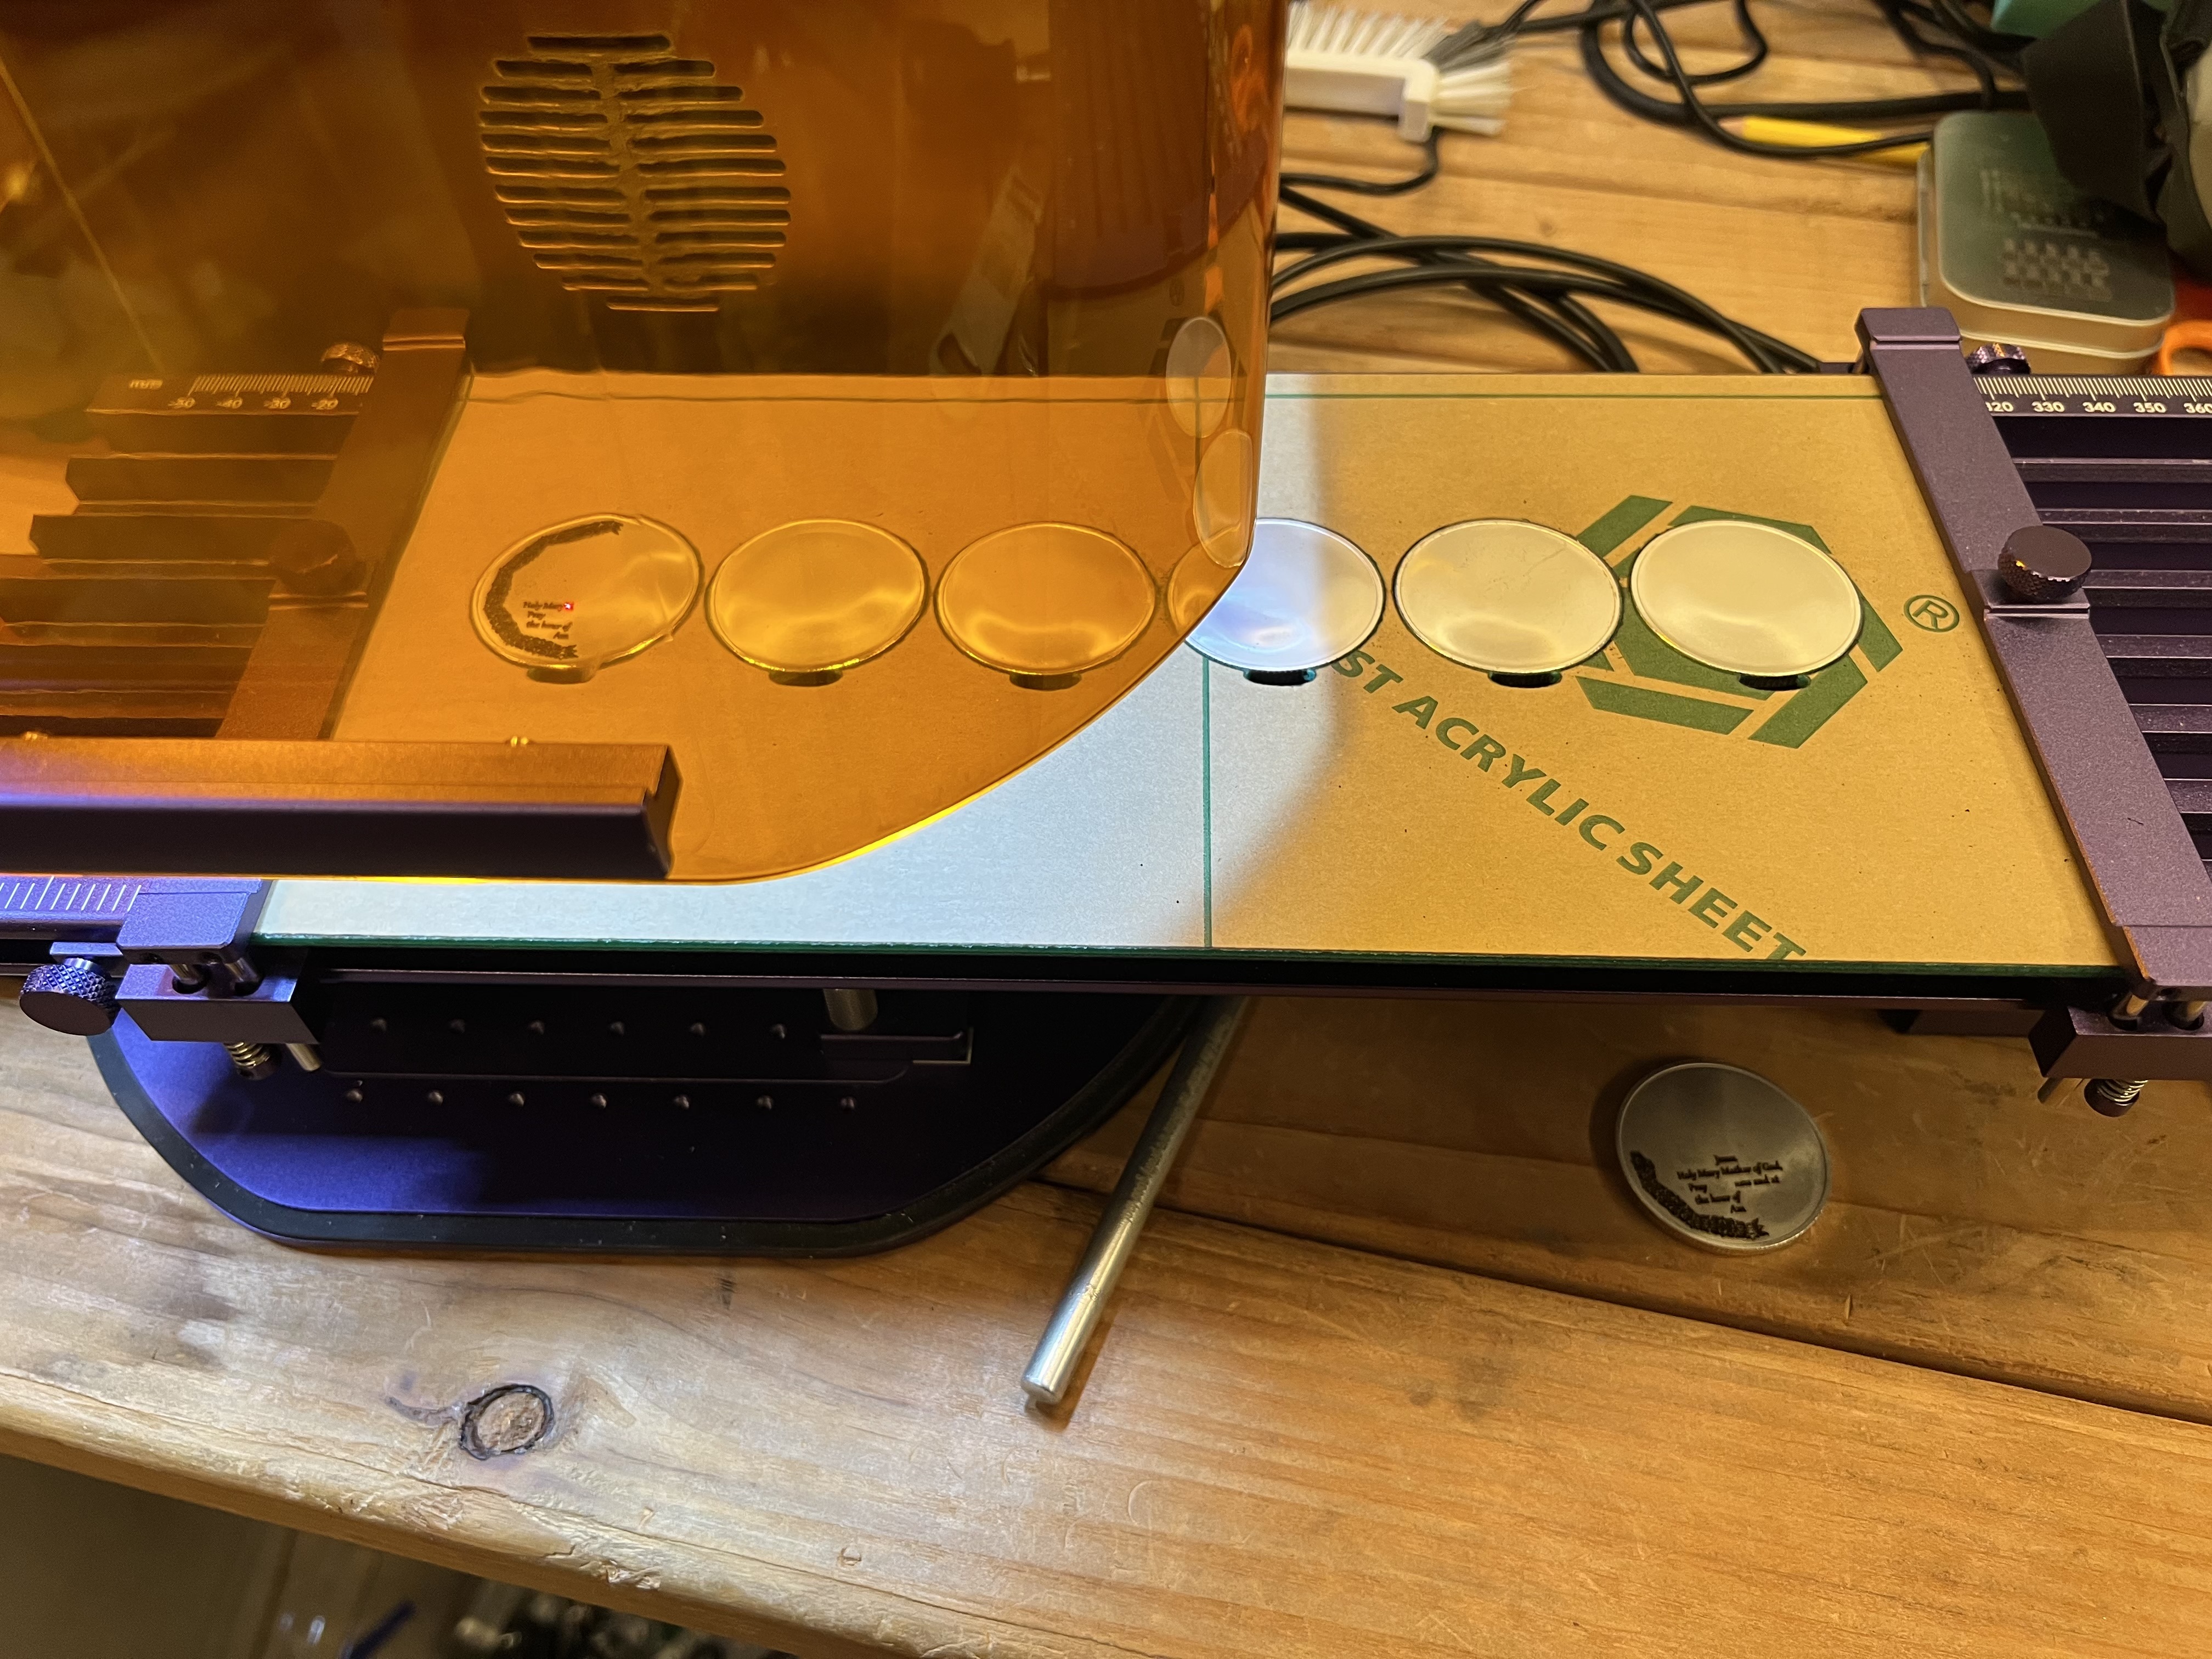
The Bed.
If you’re cutting anything with a laser you need some sort of bed to lift the workpiece up off the baseplate. Otherwise when the laser burns through the material the heat and energy of the laser reflects up off the plate and onto the back of your workpiece causing scorch marks or even burns.
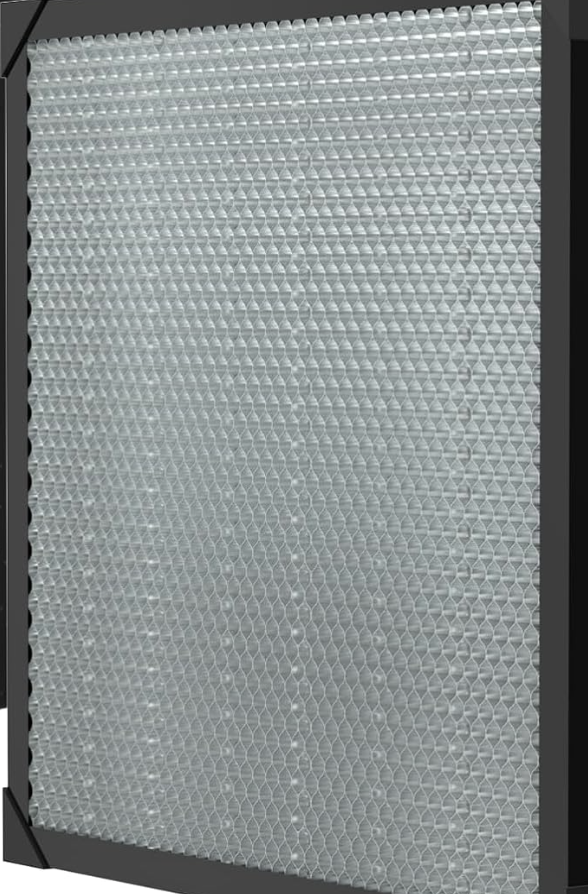
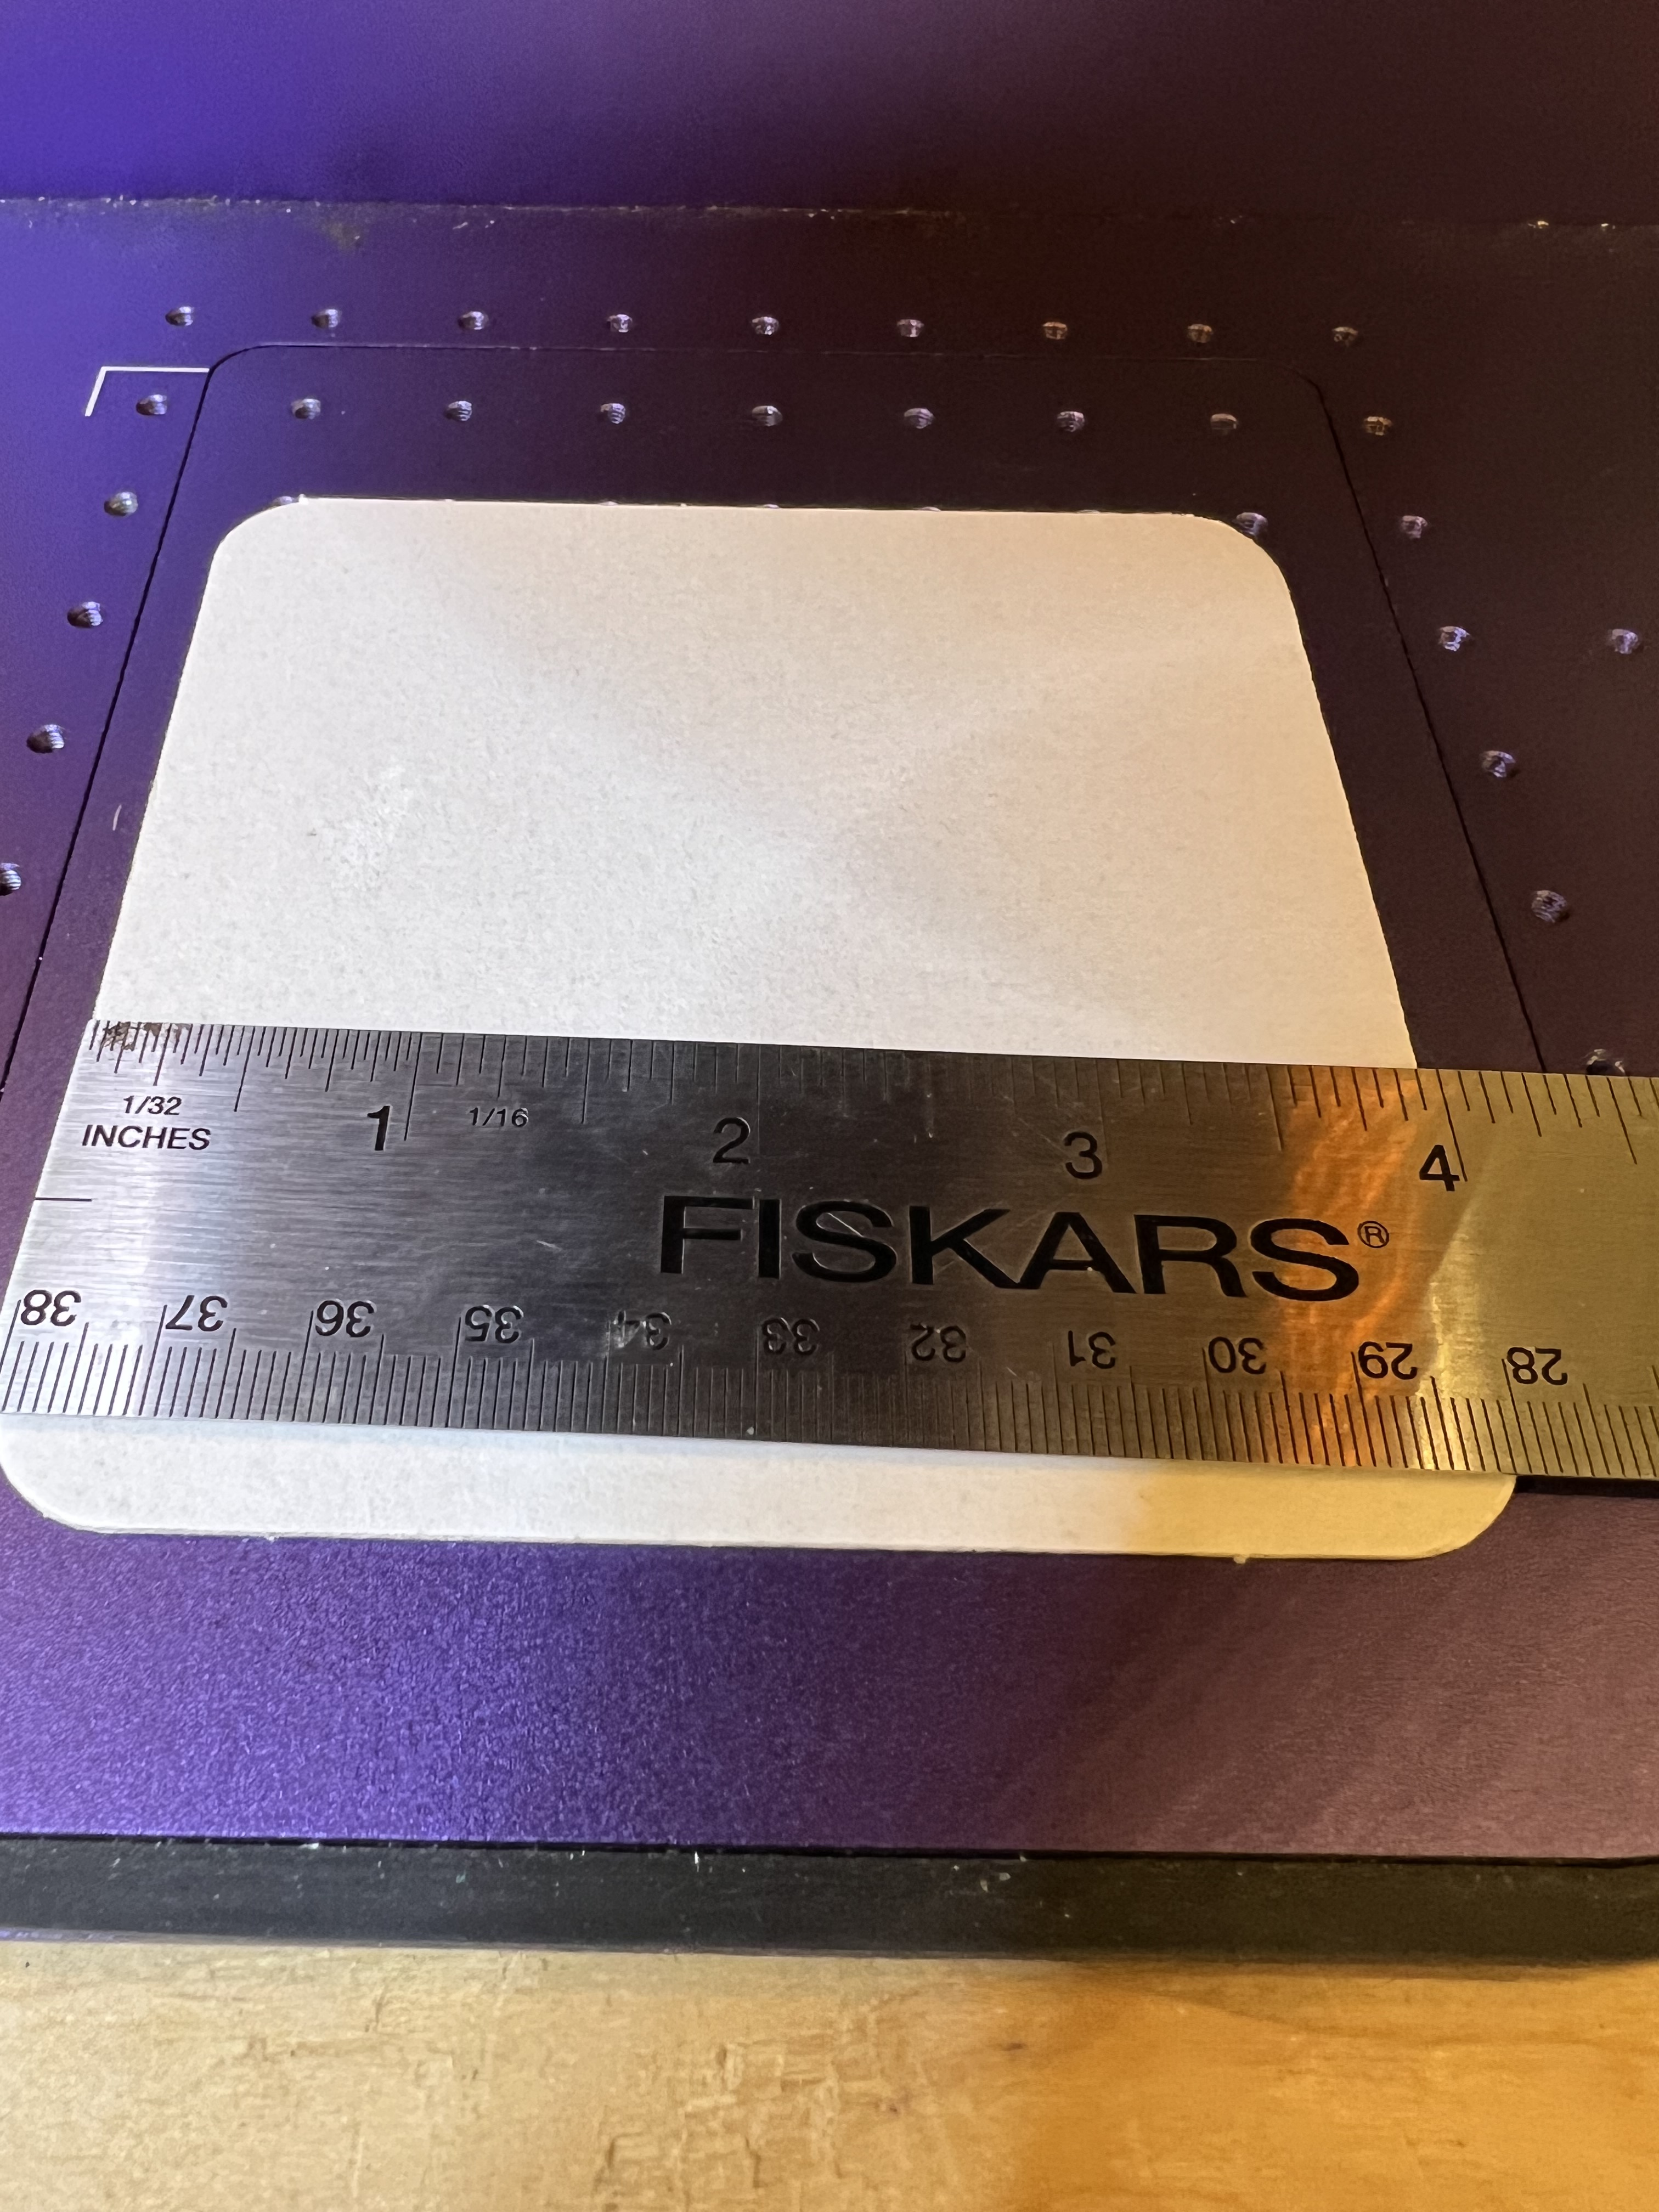
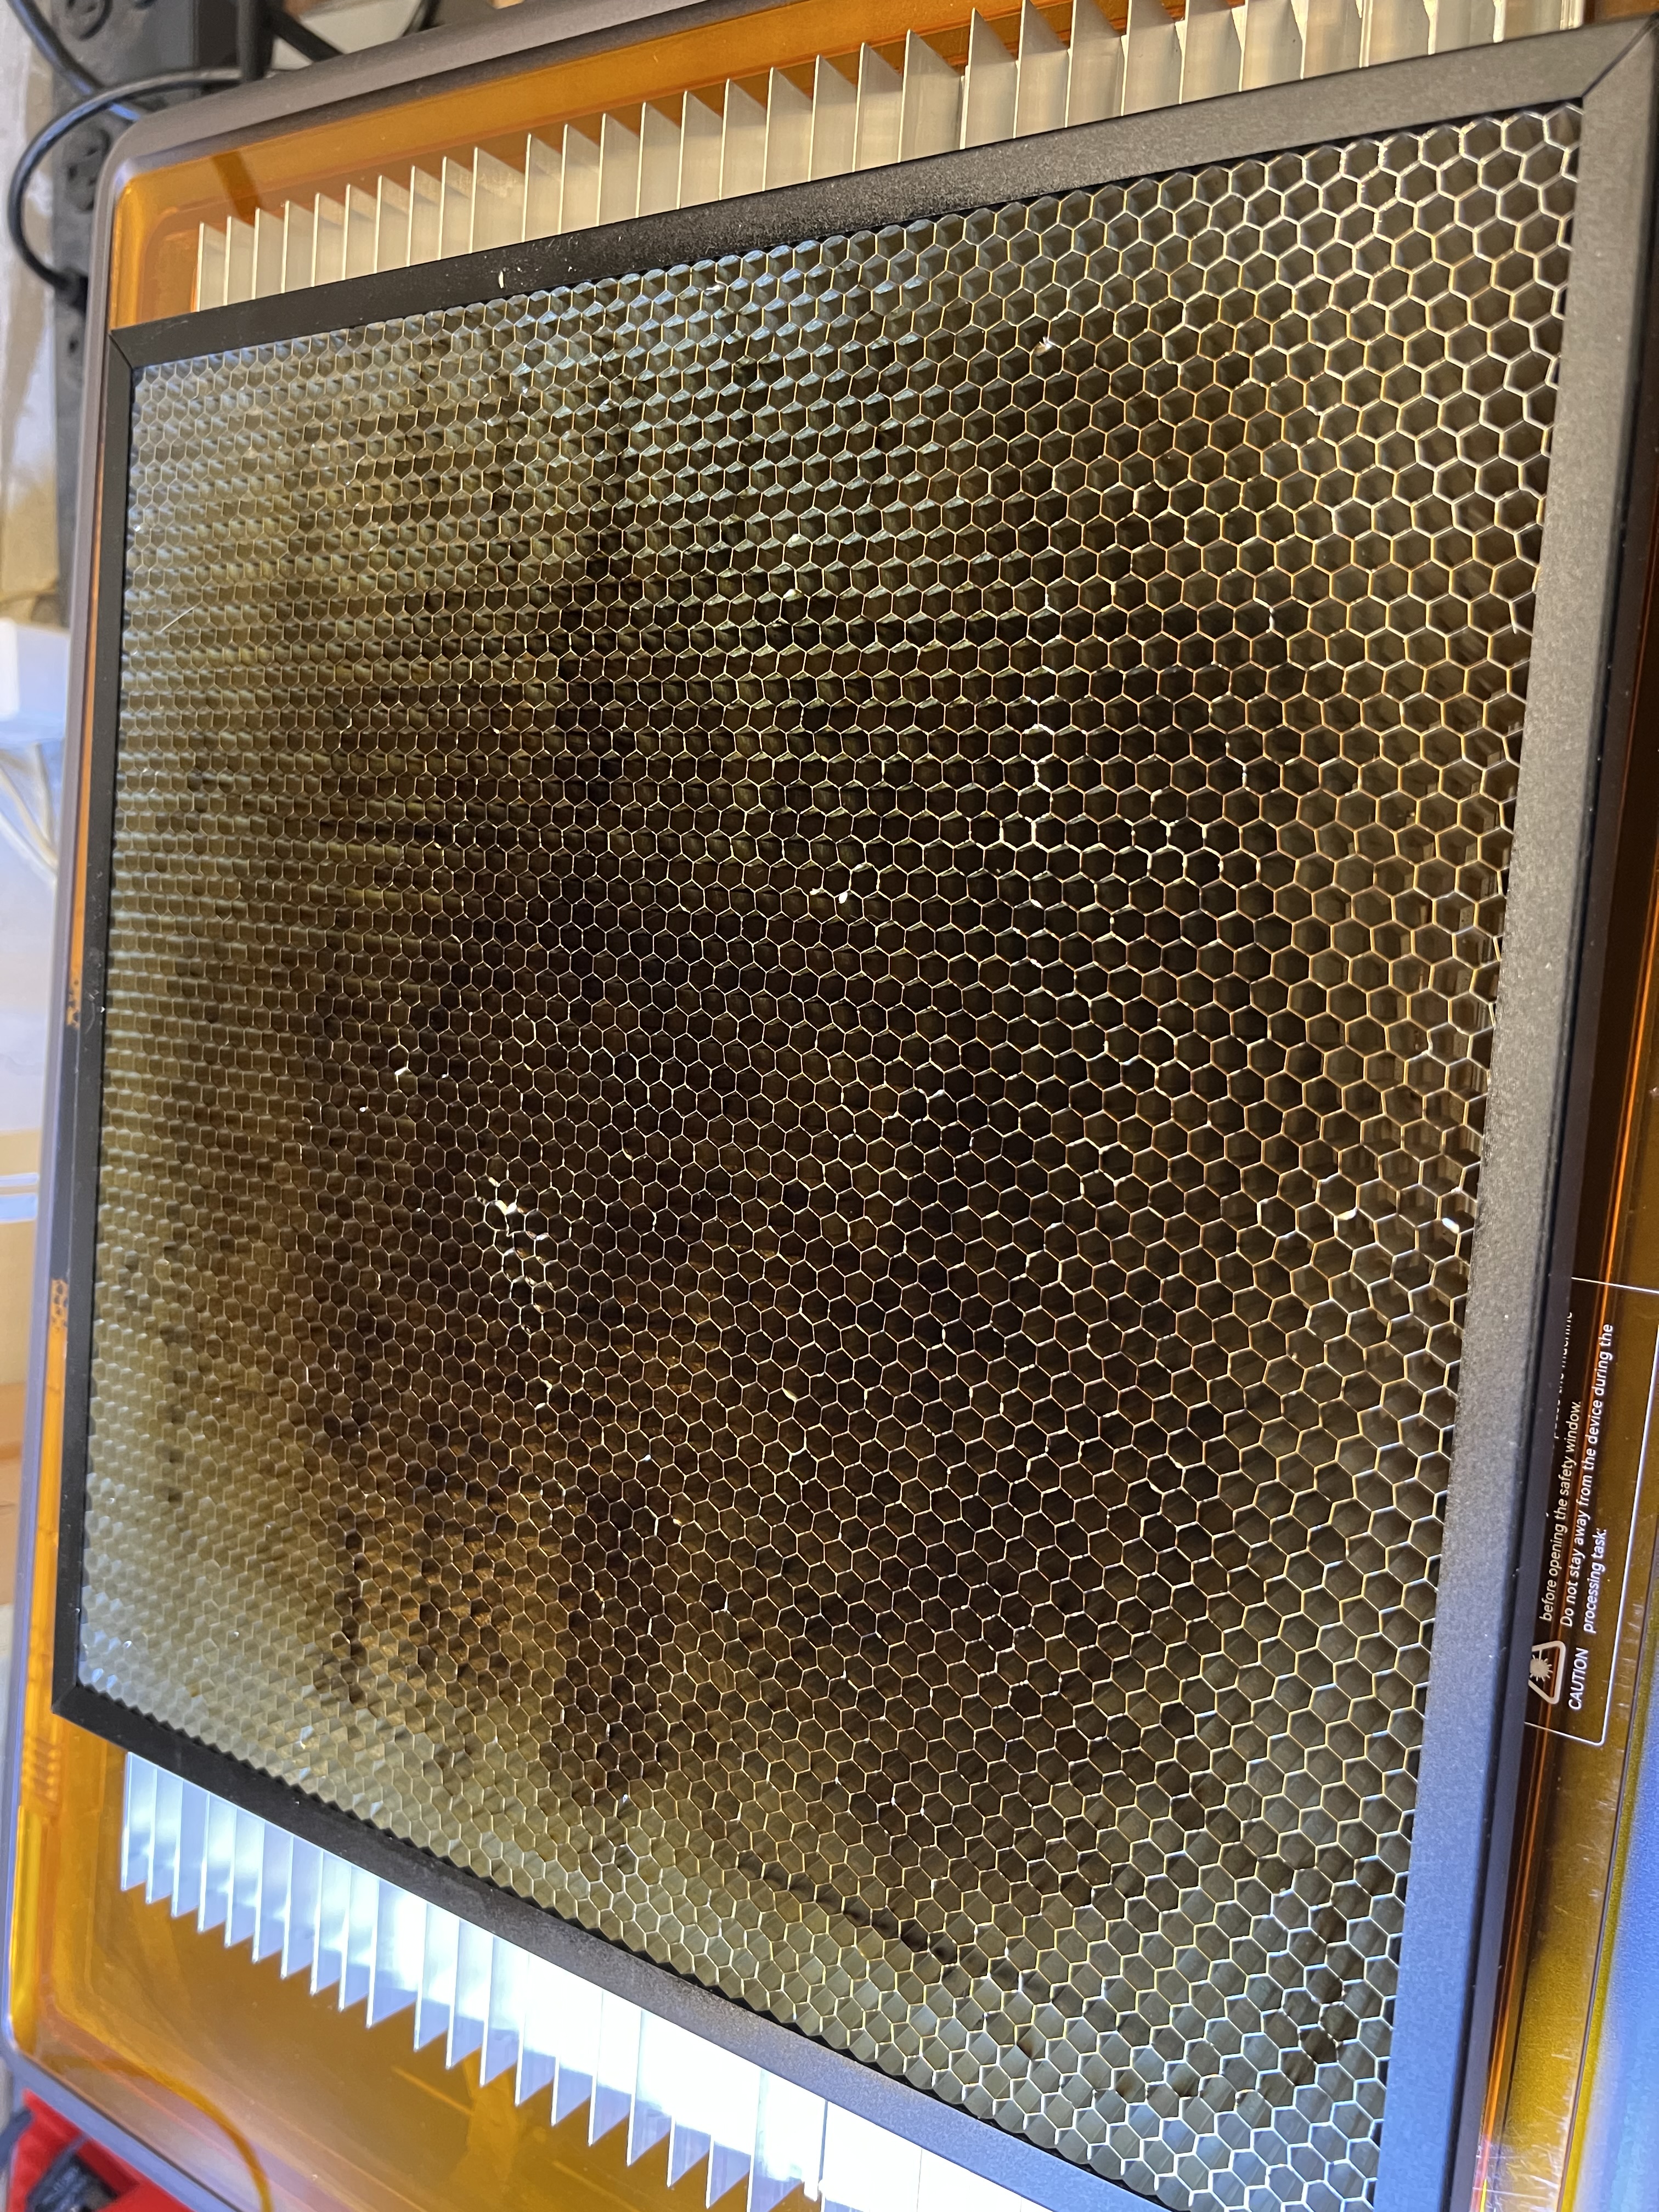
The standard bed type in the industry is called a honeycomb bed because that’s sort of what it looks like. A typical honeycomb bed is shown over there on the right in a photo I stole borrowed from somewhere on the internet. These work pretty well. It holds your workpiece up off the baseplate to reduce or eliminate flashback, the edges are sharp enough so that there is little or no reflected energy from the honeycomb itself, and the small openings mean that small parts that are being cut out don’t fall through under it.
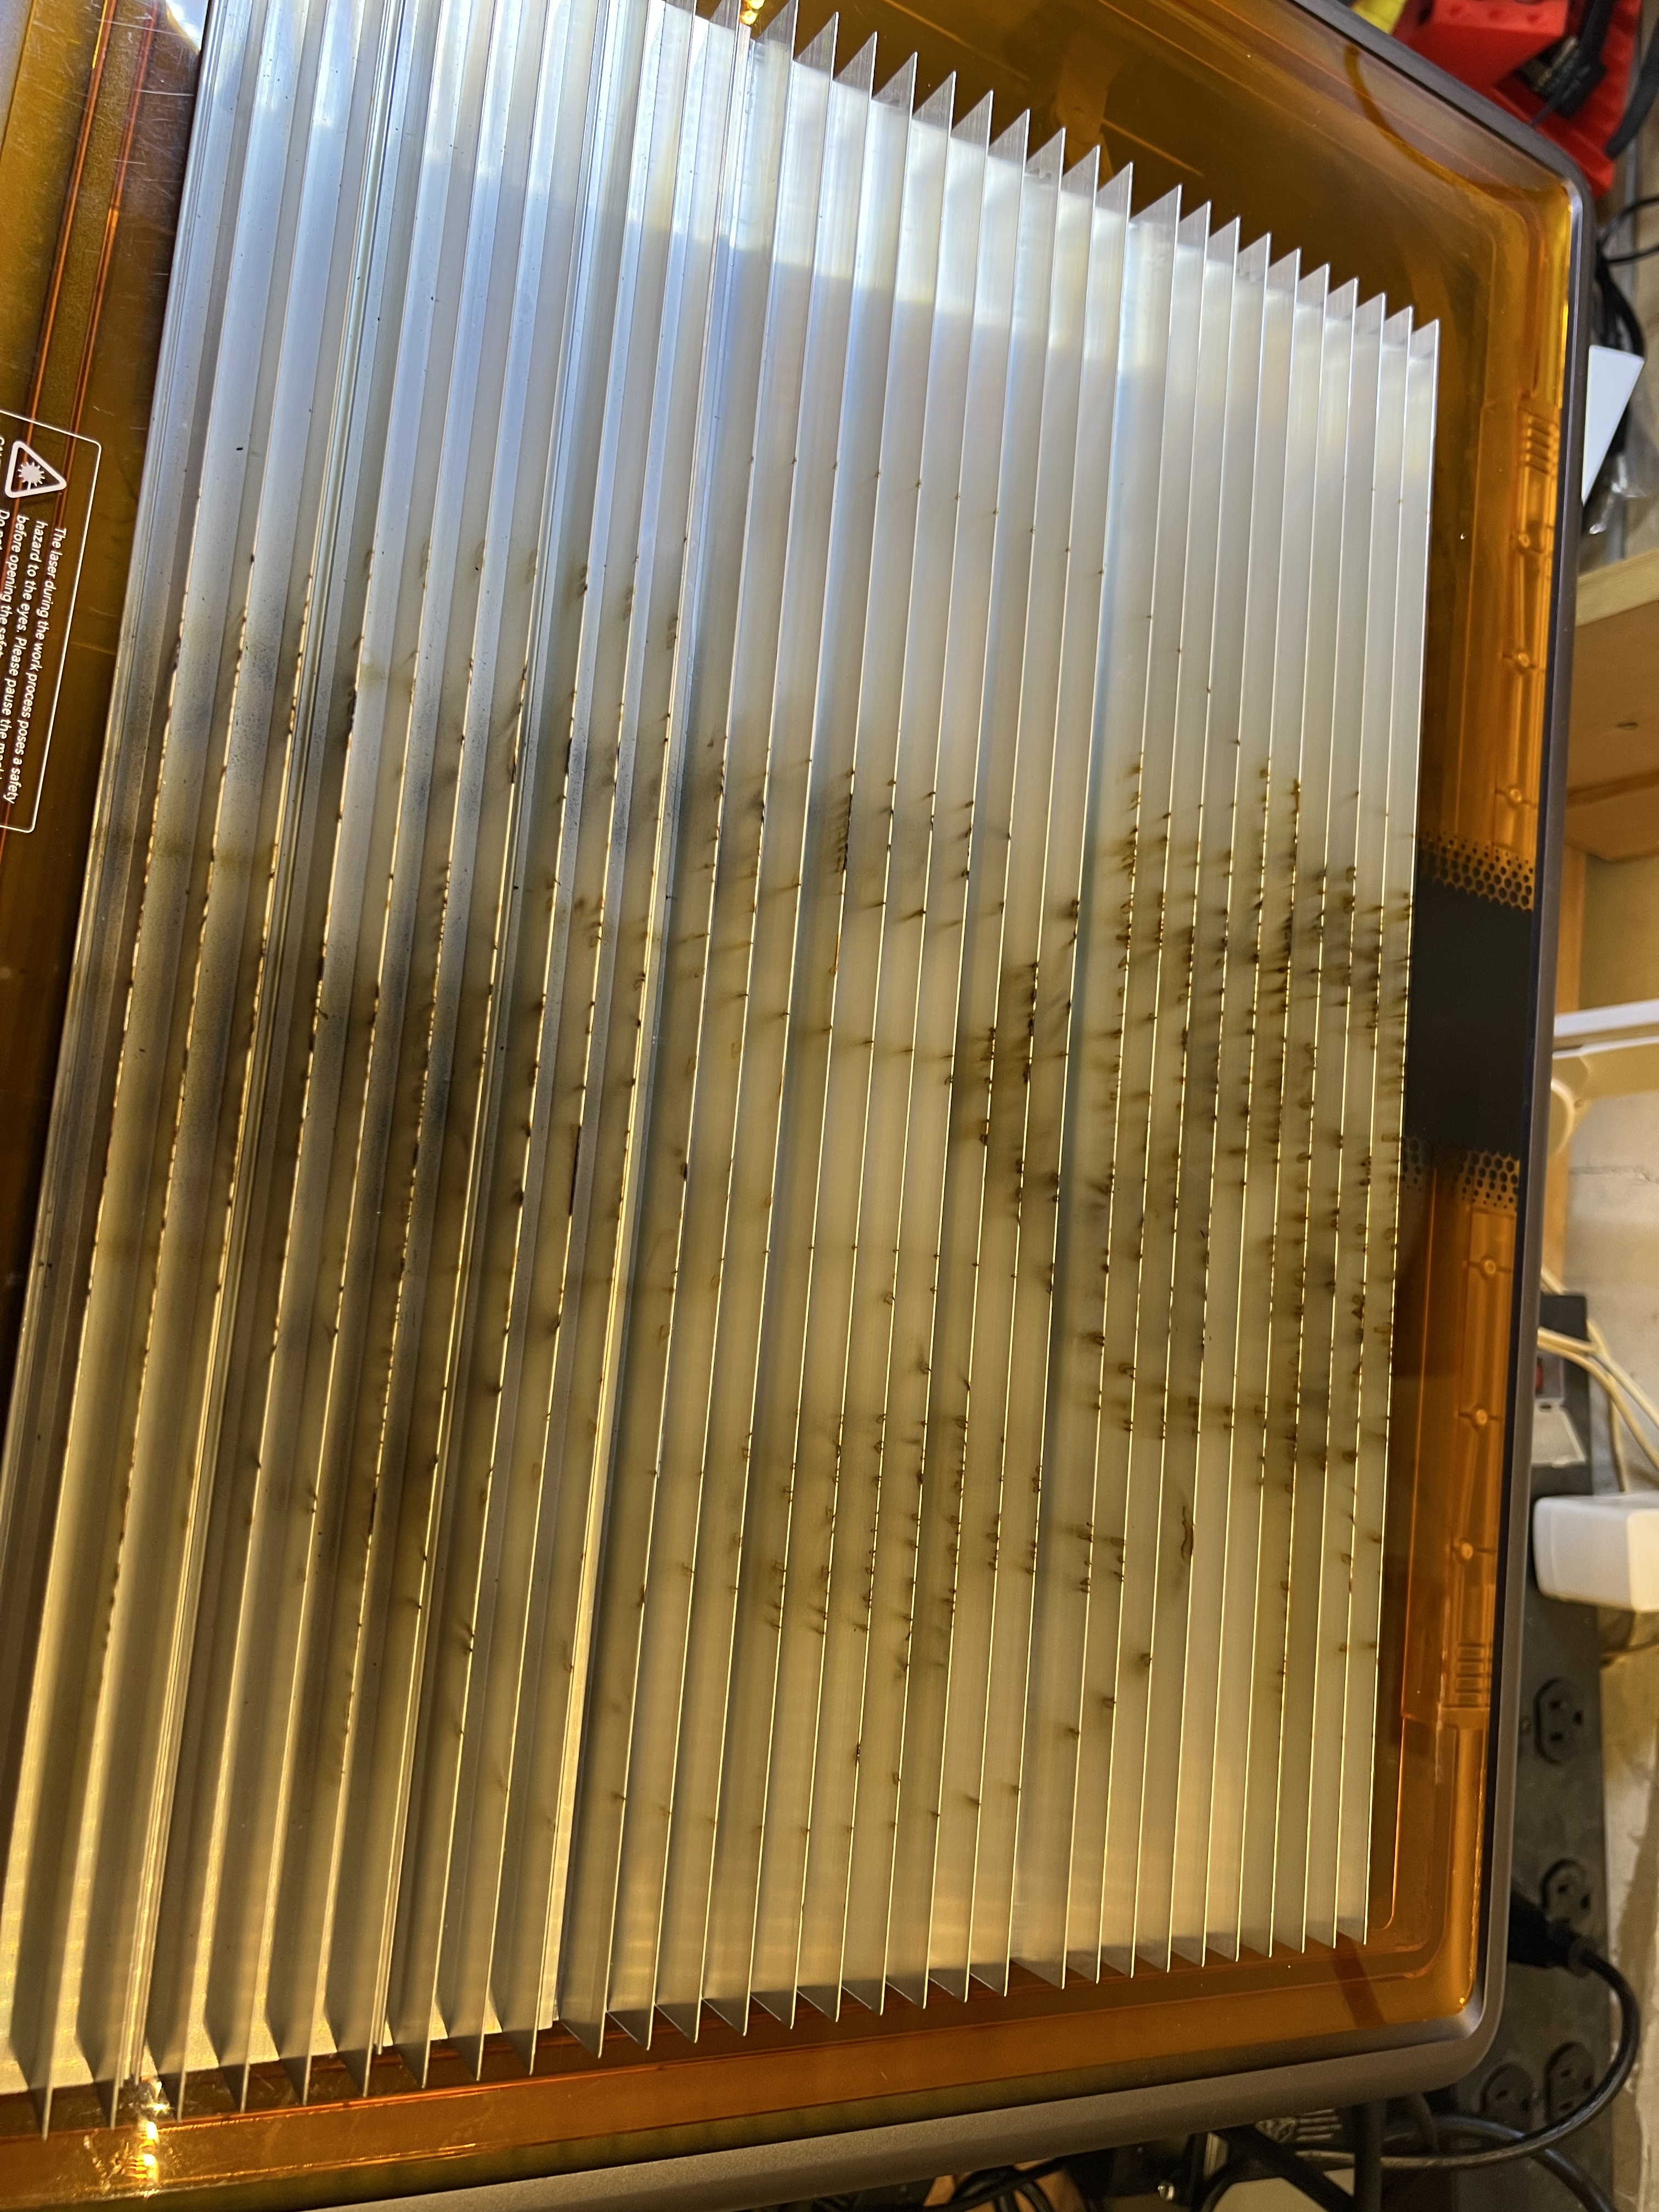
And the Vision doesn’t come with one. It comes with some kind of nasty slats in frames that just don’t work very well at all. I suppose I should be grateful that it comes with anything. A lot of lasers don’t come with any bed at all.
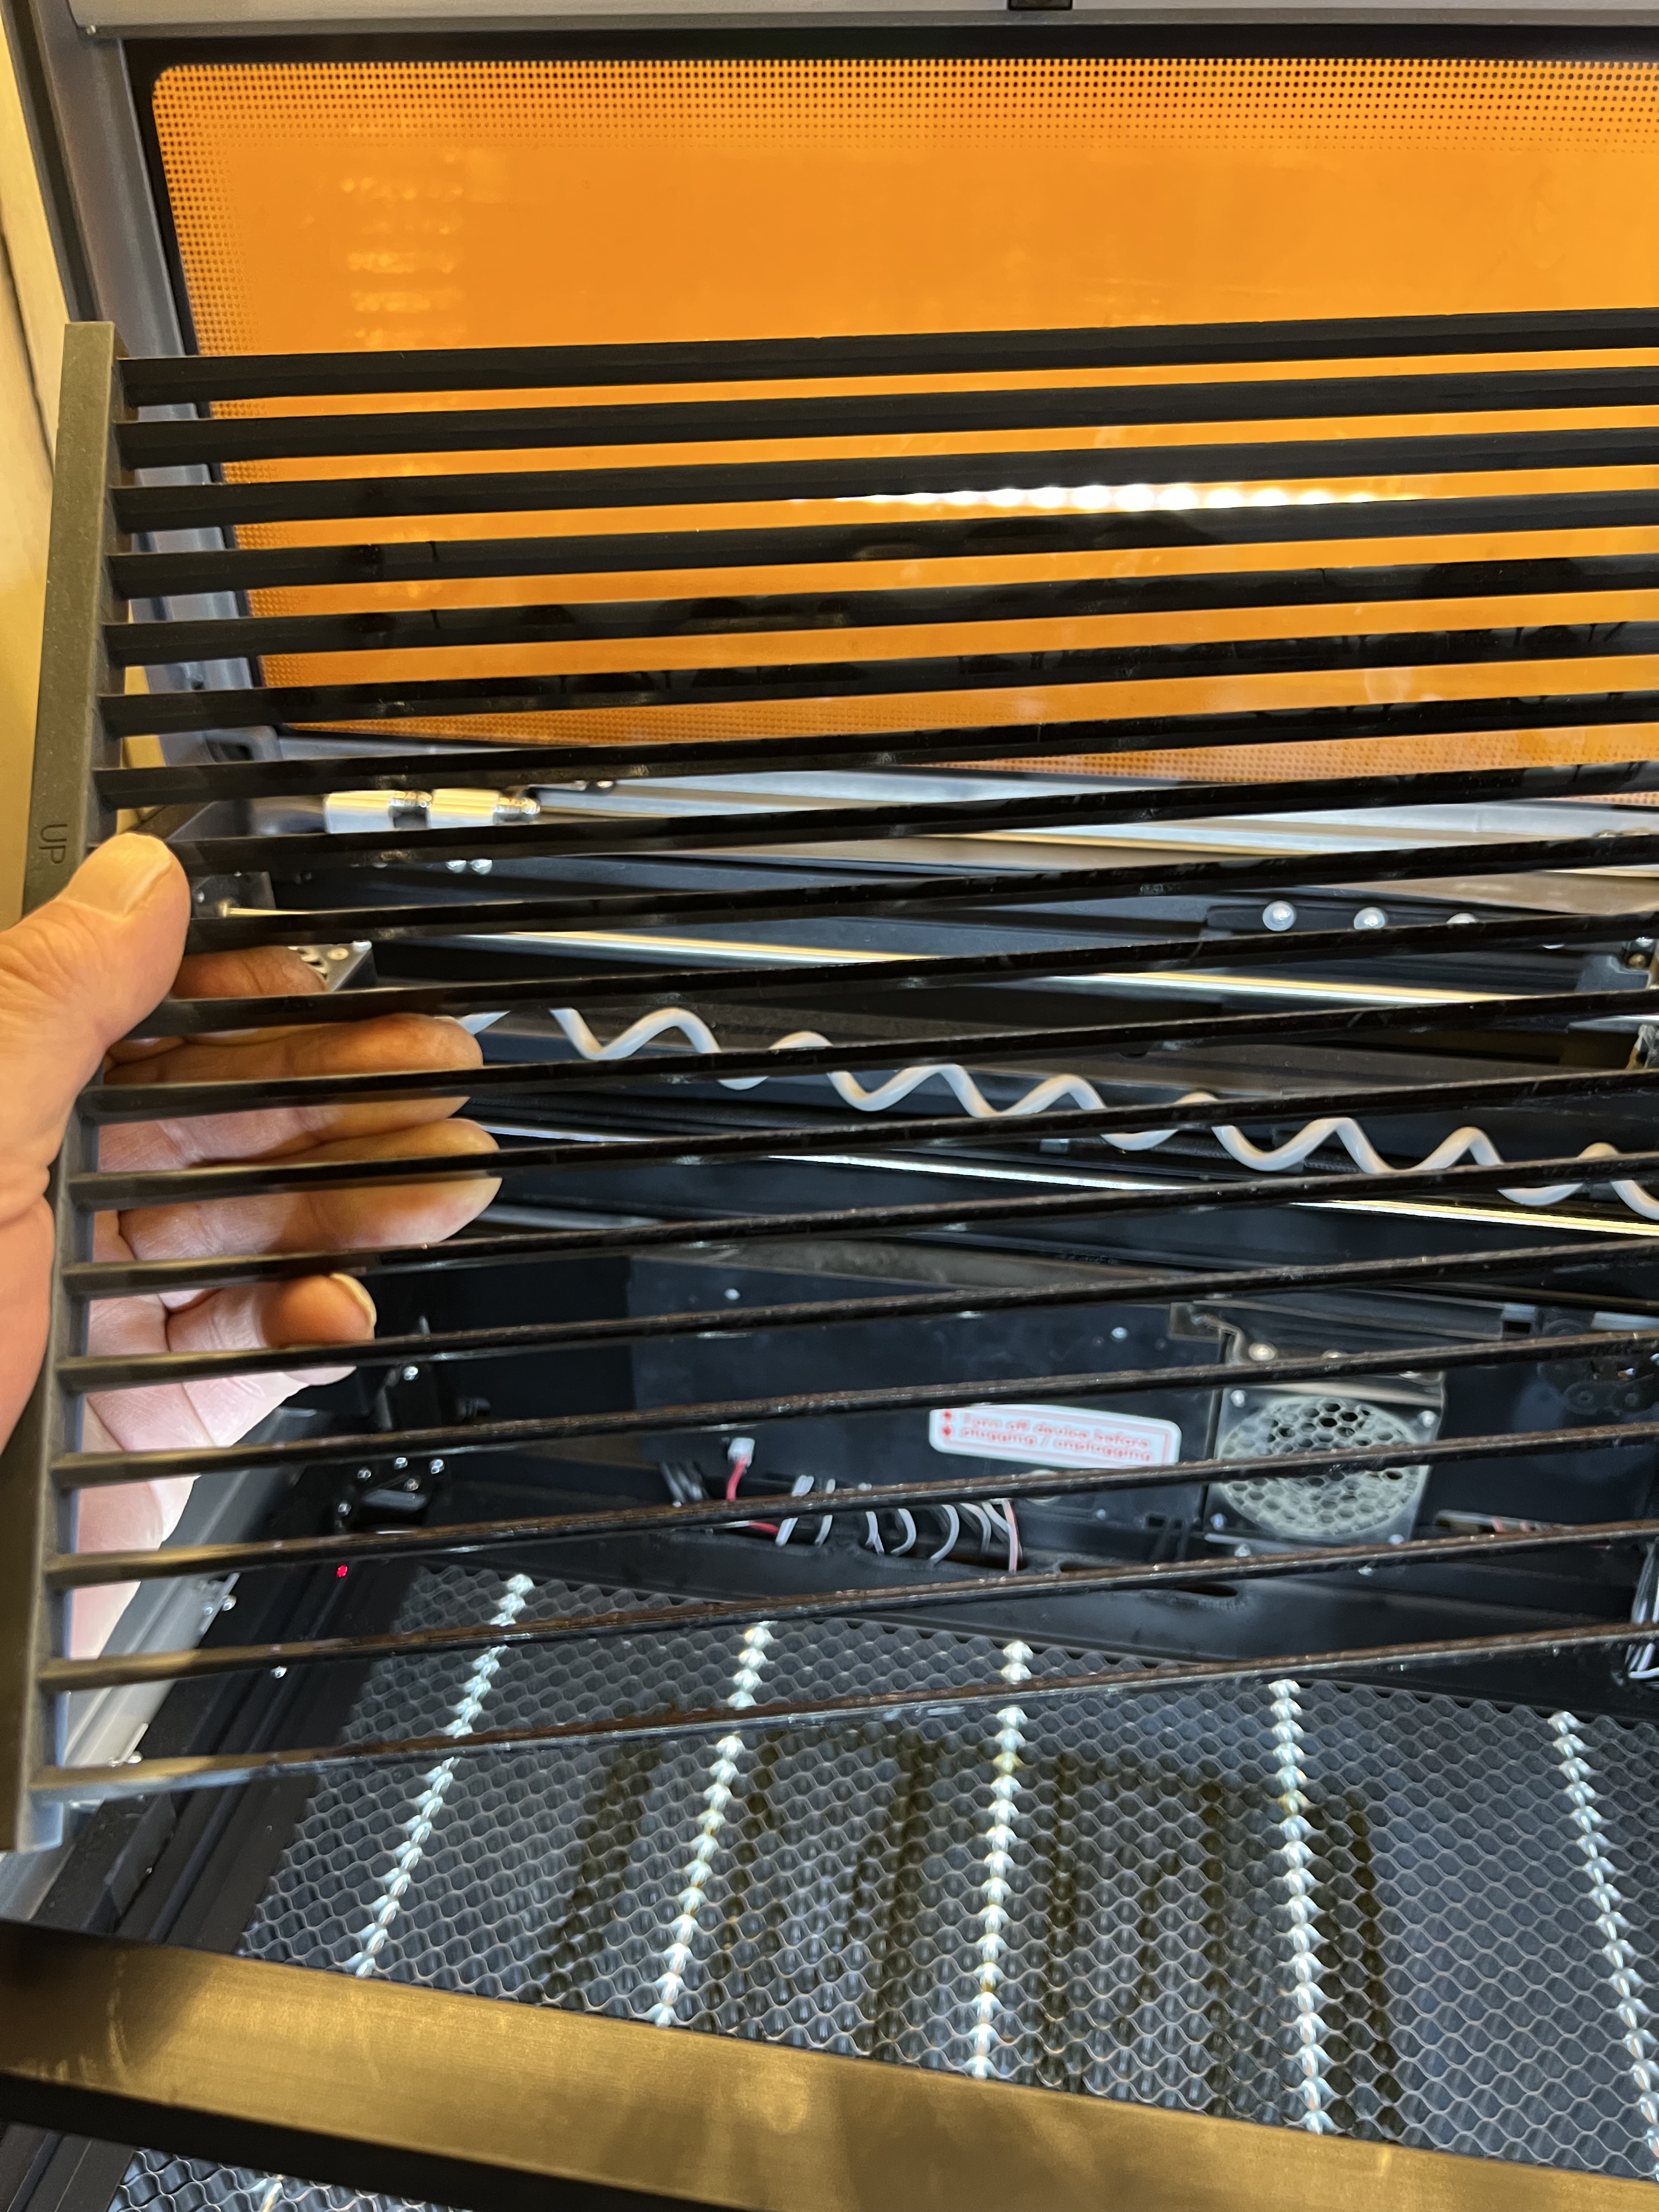
I’m holding it over there in that photo on the left and if you look down into the machine you can see that one of the first things I did was replace it with a standard honeycomb type.
I quickly learned to hate that slatted bed when I first got the Vision. The slats are spaced too widely apart so that small pieces fall straight through it onto the crumb tray at the bottom. Or even worse, small pieces will get wedged between the slats and tilt up far enough so the laser head will hit them as it moves across the workpiece, knocking everything out of alignment and ruining the workpiece if you don’t quick pause the laser and pull it out.
Wecreat doesn’t ship a honeycomb with the unit, as noted, but they will gladly sell you one specifically sized for the Vision for… for how much, exactly?
Ah, well now here is where things get interesting. I went looking for a honeycomb bed and found that Wecreat was selling the one for the Vision on its website for $169. Which I thought was way, way too much. So I went looking on Amazon and found… Ready for this? The exact same honeycomb bed, being sold by Wecreat itself, for $69. Yeah. Seriously. On their website they were selling it for $169 while they were selling it for $69 on Amazon.
Addendum: I just did some price checking now and found Wecreat’s website is now offering it for $99 marked down from, they claim $149? Meanwhile it’s still for sale for $69 on Amazon. Sigh…
Loud Cooling Fan
The cooling fan on the laser head absolutely howls when the laser is in operation. I mean it is seriously loud. It’s to the point where it is almost uncomfortable to be in the same room with it. Here, let me demonstrate:
If you crank up the volume on that video up there you’ll hear what I’m talking about. You’ll also see how much smoke this thing generates sometimes.
That hose on the laser head
And that video also shows another thing I’m concerned with, and that’s that coiled cable you see attached to the print head. That’s not a cable, it’s a hose for the air assist system. The Vision (and almost all gantry style laser engravers these days) come with what they call air assist. A jet of air is directed down around or near the laser beam itself as it cuts material. That jet of air is extremely important. It blows smoke and debris away from the path of the laser making it cut much more efficiently and to reduce charring and scorching of your work material. Plus it has the added benefit of helping to prevent your work material from starting on fire which is generally considered a good thing.
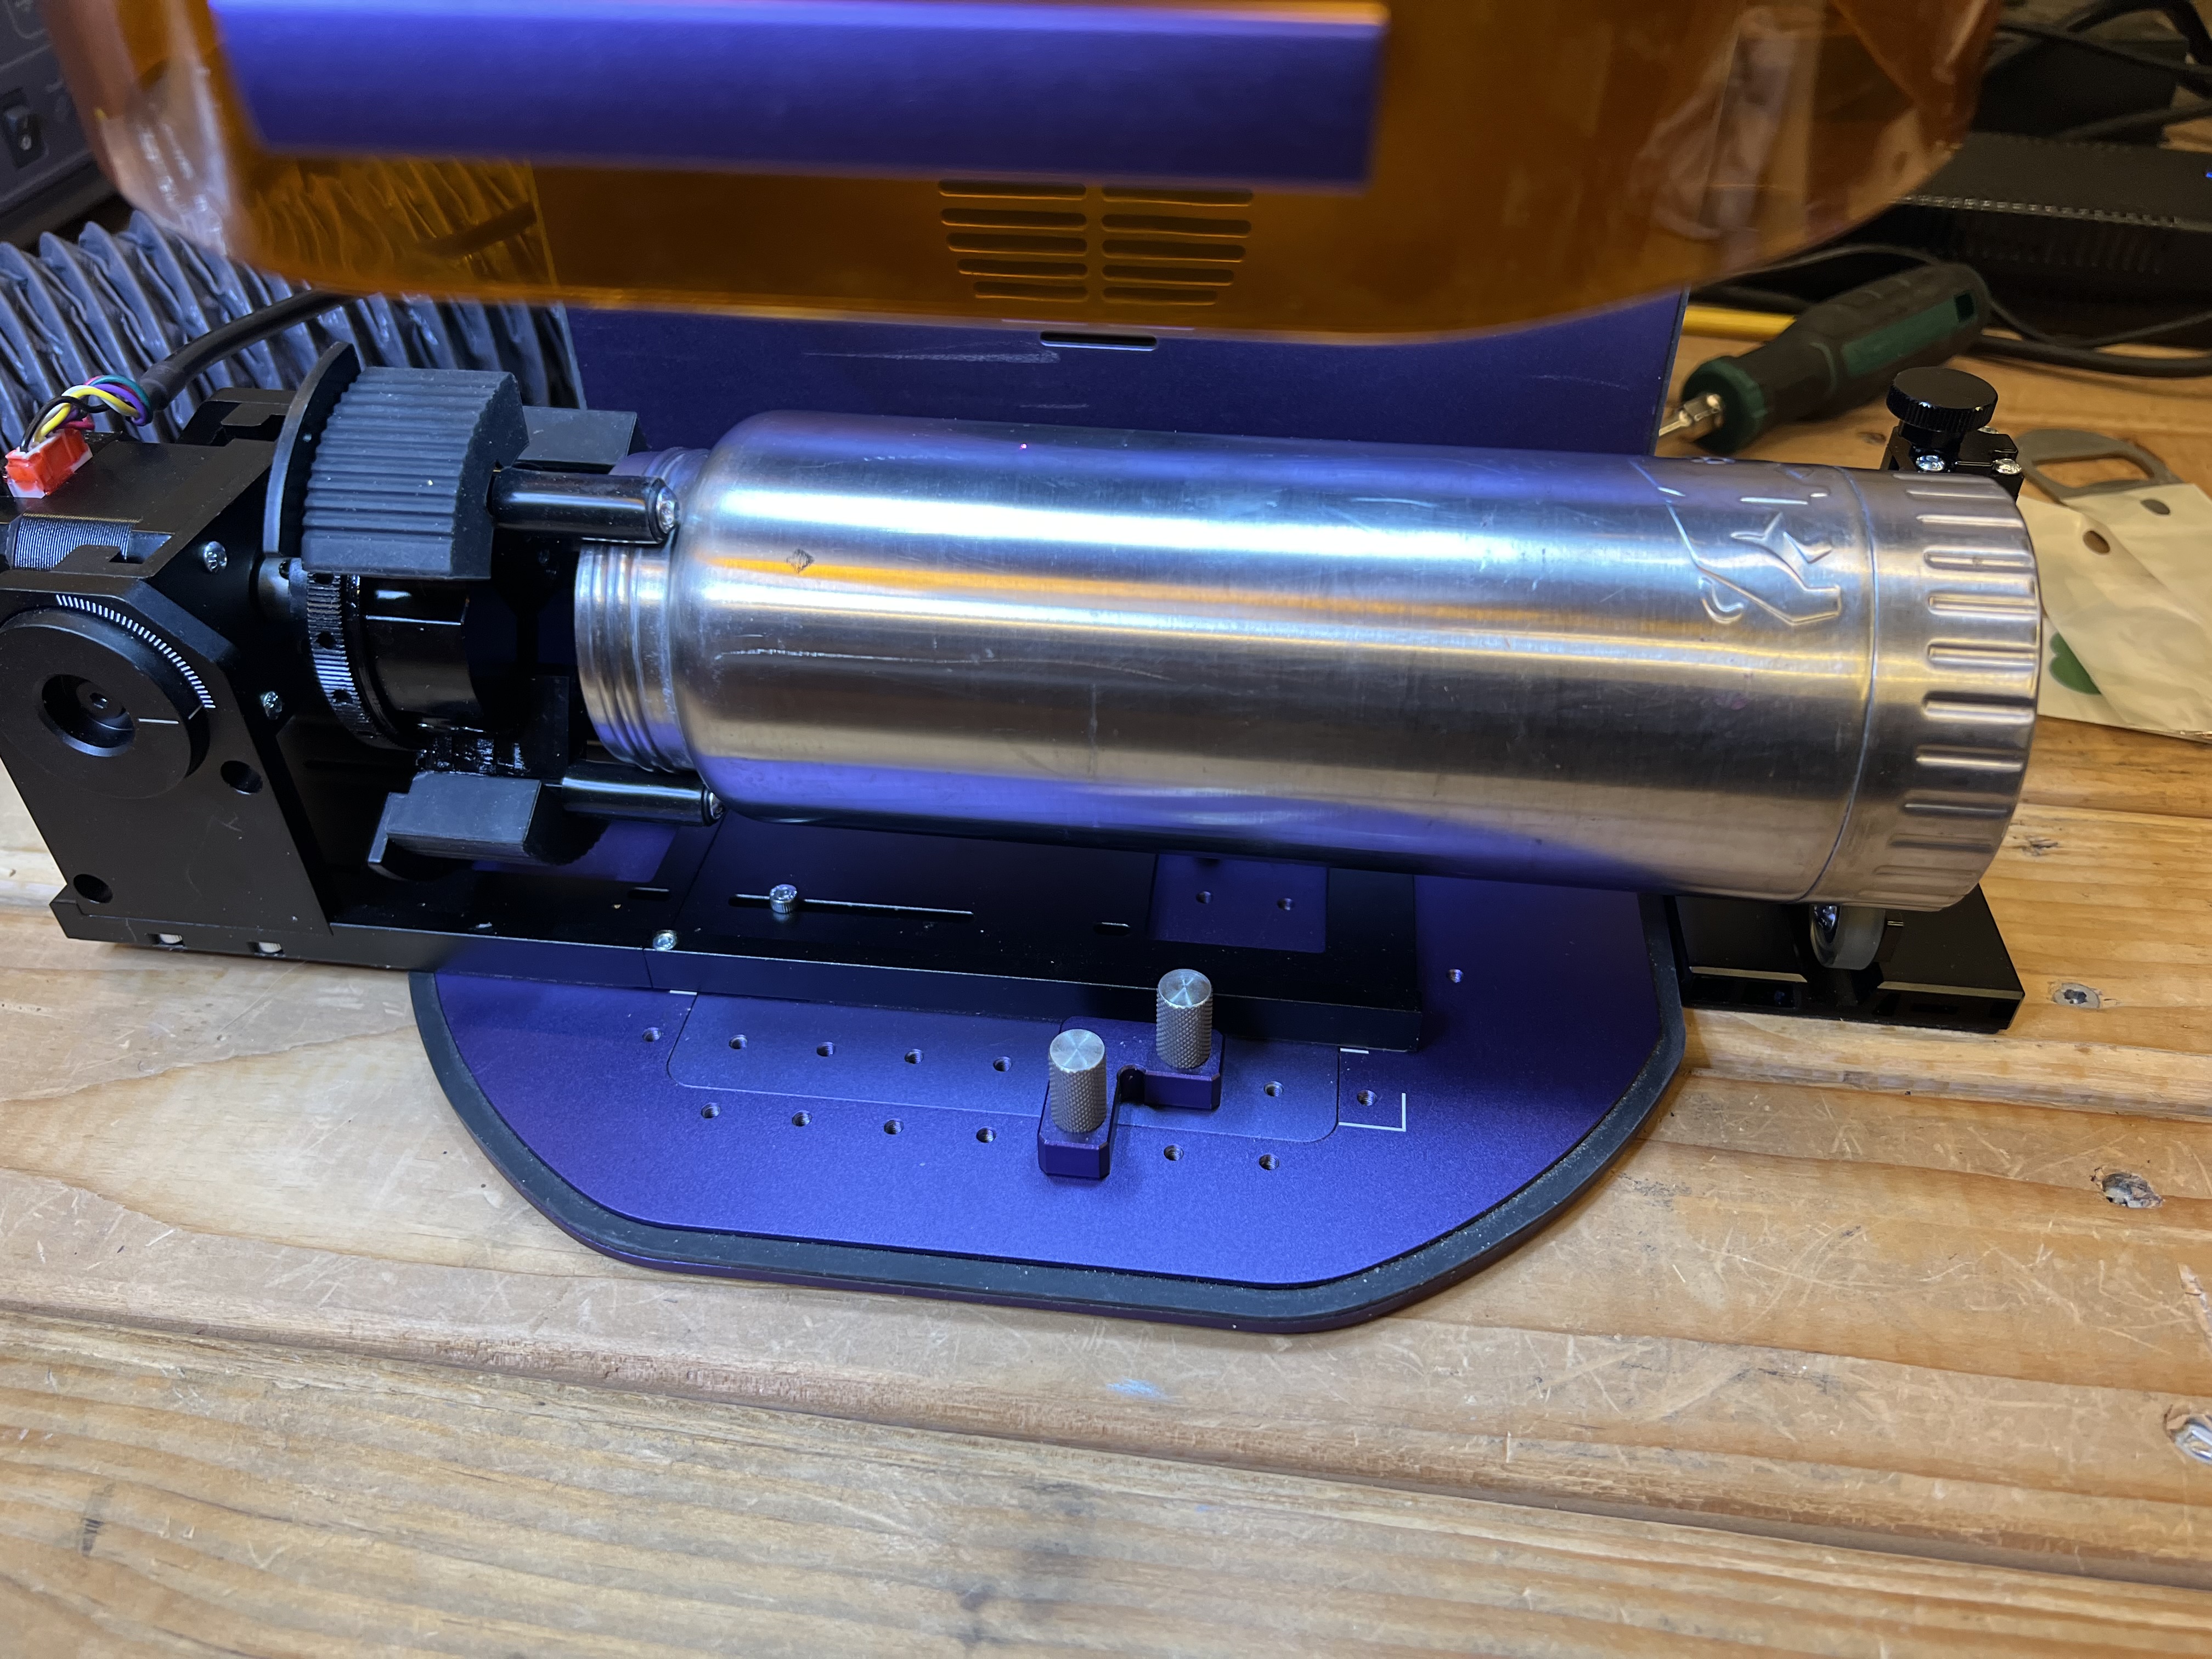
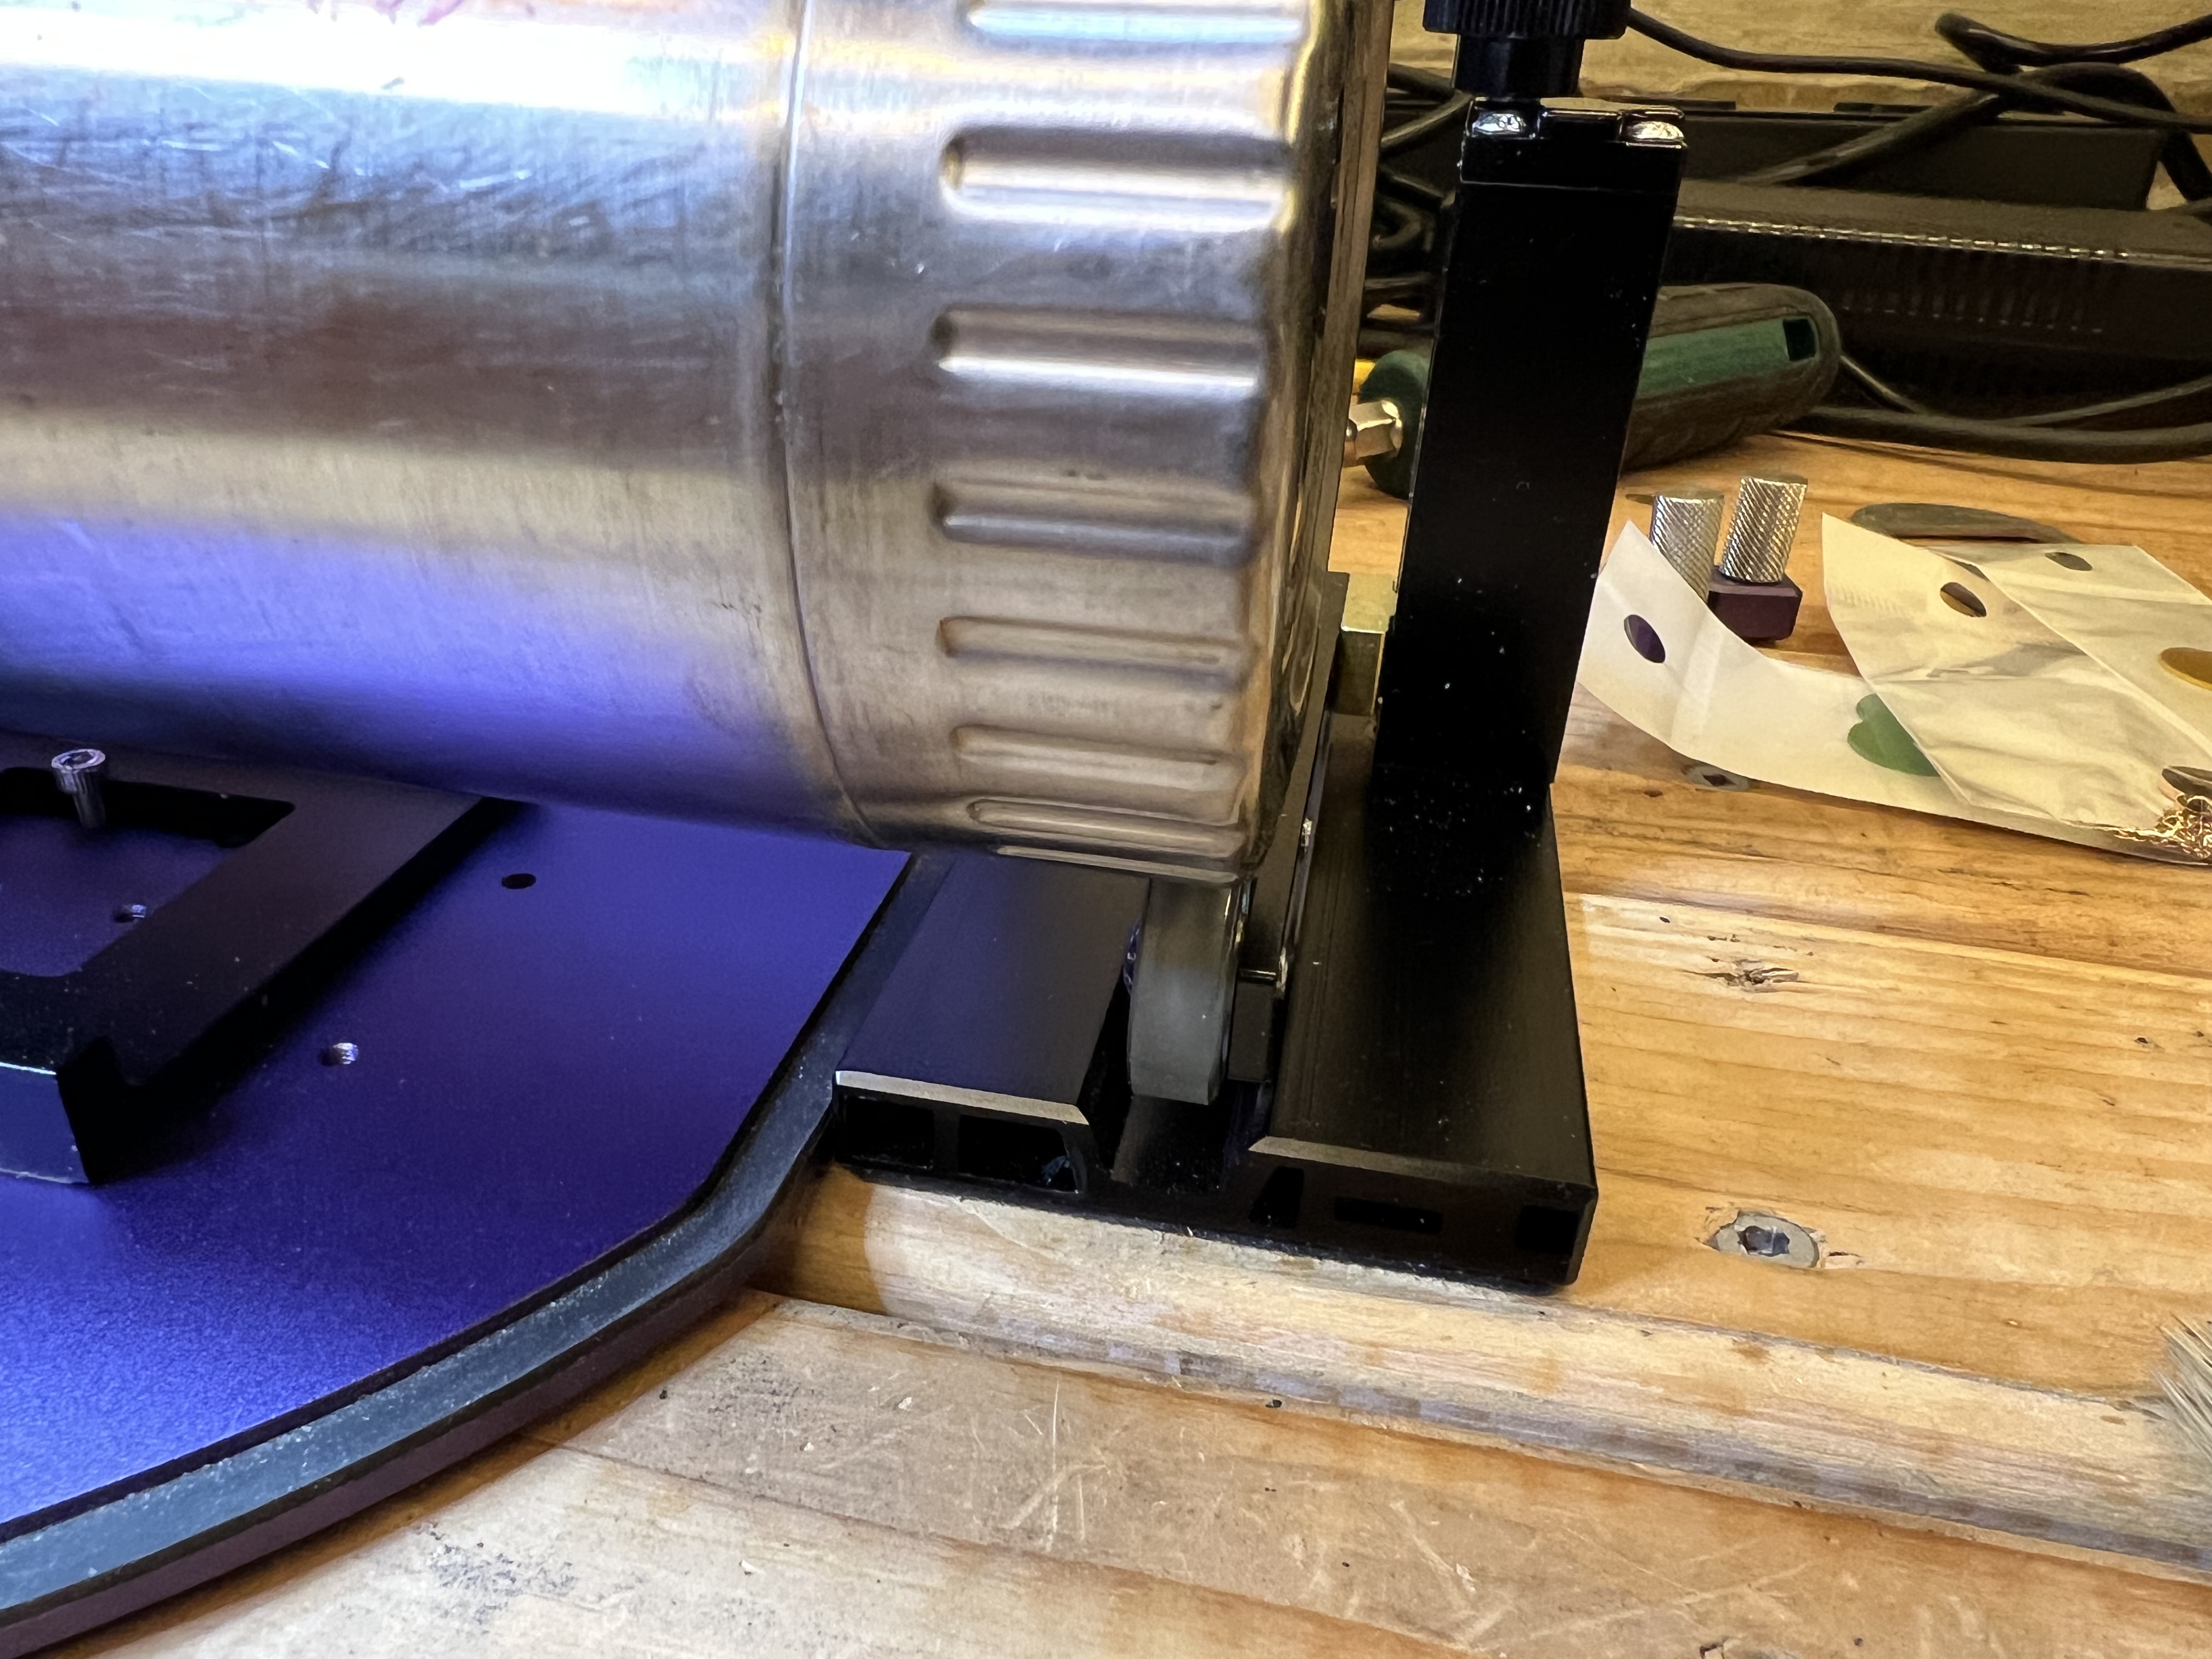
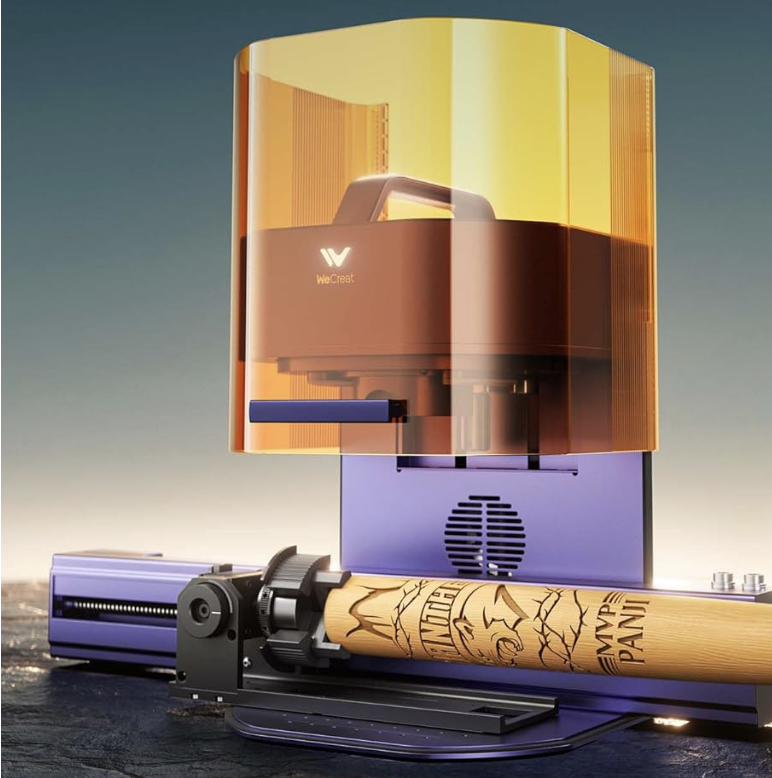
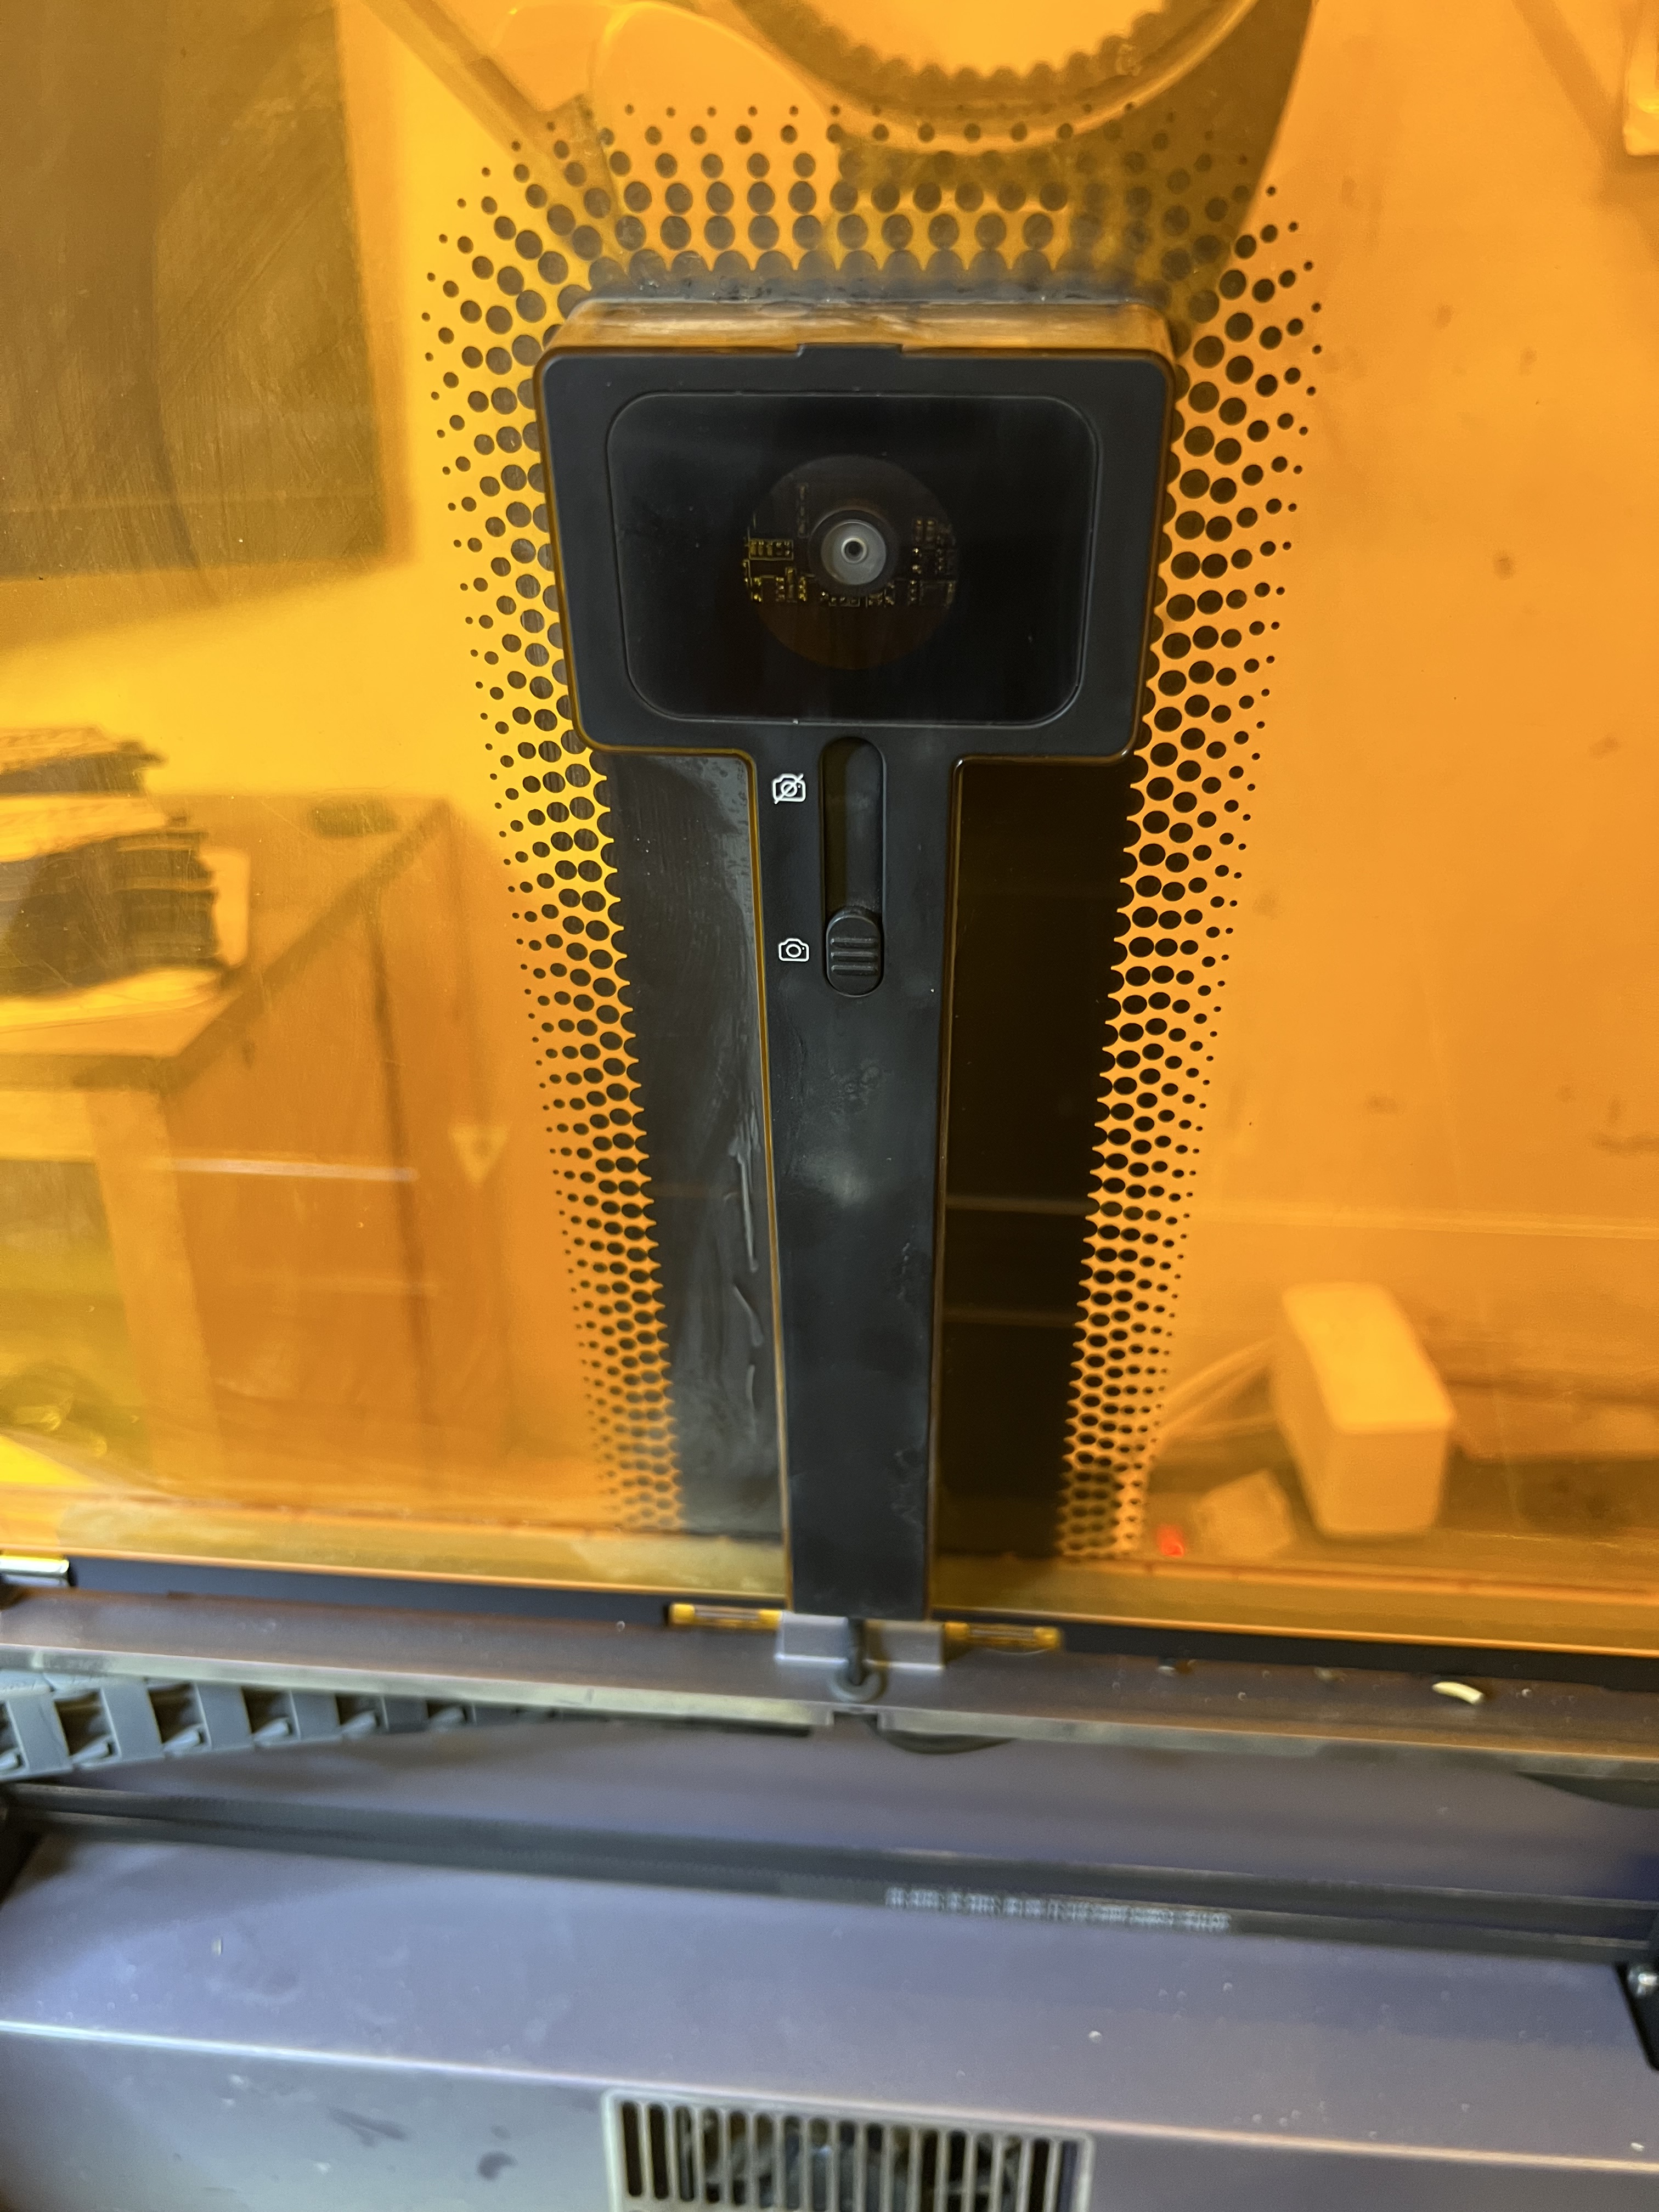
The Vision comes with an external air pump that looks sort of like the air pump for an aquarium. It connects to a port on the back of the machine, and then it’s routed up through the side of the machine to that coiled hose you see there and then into the laser head.
It works quite well but I’m wondering about that coiled hose because now after several hours of use it is now in the habit of bunching up when the head travels to the right side of the machine and it rubs against the inside of the top cover. That wouldn’t make me worry much, but there is also an interior light bar and camera mounted on that cover, and it’s hitting that. Now I haven’t had any issues yet but I’m wondering about the long term durability of that hose if it’s rubbing against the top cover and hitting that light bar all the time.
The software
I want to talk a bit about the software too. As I noted earlier the Vision uses exactly the same software, Makeit, that the Lumos uses so I was already very familiar with it. And it’s actually a pretty good program for doing basic design work. It has all of the tools you need for drawing, placing shapes, importing graphics, inserting text, etc. It lets you do the usual settings for adjusting the laser power, the speed the laser travels, etc. Overall it’s a pretty good program and it’s probably the only thing most craftspersons or even semi-professional users will ever need.
The problem is that you can’t export projects in a format that can be used by other software or other lasers. Oddly enough an “Export” function does appear in the menu on the version of the software I’m using, but having that function there is silly because the only format you can “export” to is the proprietary Wecreat format that it saves to anyway. You can import graphics files of different formats including vector files. But export? Nope.
What this means is that unless Wecreat changes this in Makeit or someone has a translator program out there, projects you create in Makeit simply will not work with any other software or hardware platform. This isn’t an issue for me because I do almost all of my design work in Photoshop or Adobe Illustrator. But if you don’t have tools like that you’re stuck.
There are AI components built into the software but after an initial free trial period you need to subscribe to be able to keep using them. If you don’t subscribe or pay to become a “member” the basic functions of the software will keep working just fine, but the AI functions will be disabled. I don’t really have a problem with this because Wecreat has to pay for access to those AI functions itself. All of those functions are being performed on a special computer out in the “cloud” somewhere located in one of those massive data centers, and somebody has to pay the bills to keep all of that working. I found it useful enough to go ahead and drop the $99 they want for one year “membership” but it’s entirely up to you.
Safety
There is absolutely no doubt that lasers are potentially dangerous. These thing can and will start things of fire under some circumstances so you cannot leave them running unattended. Some of the more expensive ones have some kind of fire detection system to shut the laser down if your work starts burning. Some of them even come with built in fire extinguishers. I keep a fire extinguisher right alongside the workbench both by the lasers and in my wood working shop, and so should you.
The Lumos comes with a fire detection system that seems to work (and sometimes works too well) that will shut the laser down. But it doesn’t have an extinguisher.
The Vision has nothing at all. Not even an emergency shutdown button on the side or front of the machine. A lot of lasers these days, especially the more expensive ones, have an emergency stop button, a big red button that you just slap to immediately cut power to the machine. Even the cheap Falcon has that. But not this one.
The other thing I’m a bit concerned with is eye safety. Lasers, even reflected laser light, can be harmful to your eyes. That’s why I prefer the fully enclosed machines like the Vision and Falcon. The widows that let you look into the machine are supposedly made of a plastic that blocks harmful light so it won’t damage your eyes.
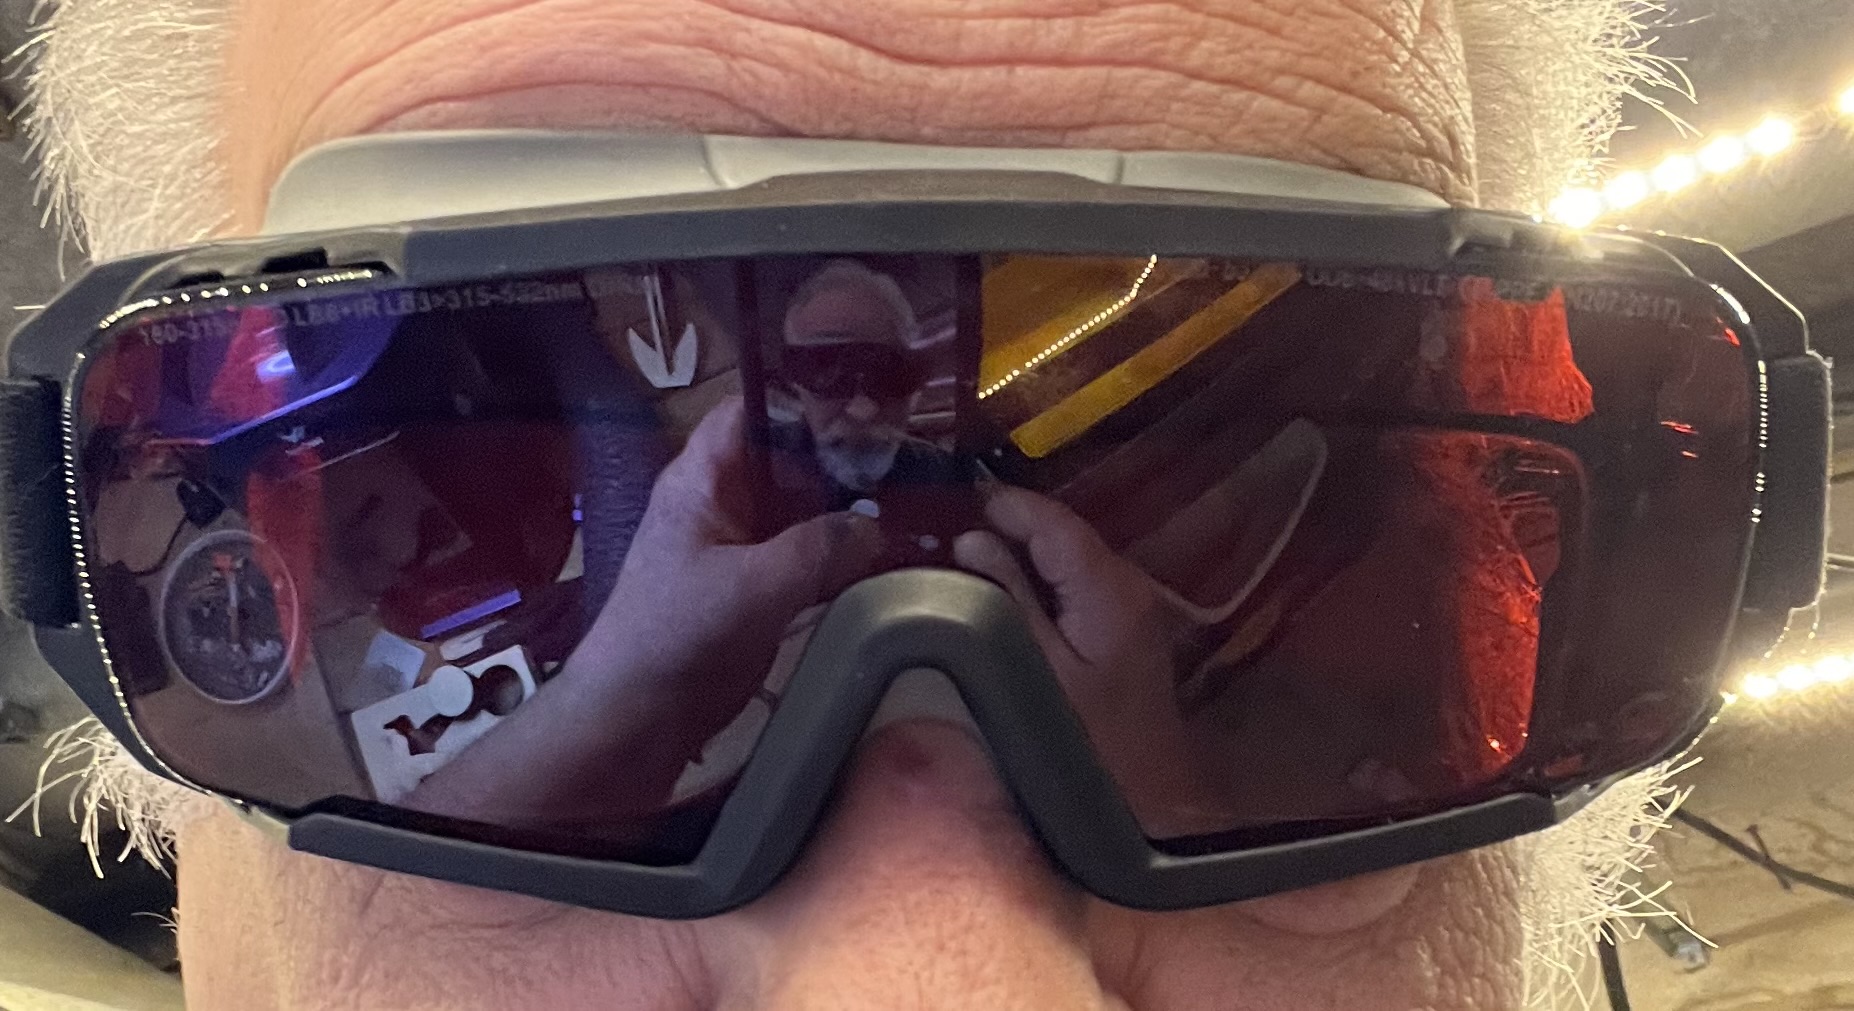
Maybe. I wonder sometimes. I was looking into the Vision when I first got it, looking through the safety glass and watching the laser, and when I looked up I could see spots in my field if vision as if I’d been staring at the sun. Not good. I’ve become a wee bit paranoid in my old age. Here’s the thing, I’ve gotten to the point where corporations, even allegedly reputable ones, have lied to me so often that I don’t trust anything they say any more. Does that safety glass/plastic really block harmful light from the laser? I just don’t know. Maybe? I don’t want to take the chance. I wear safety goggles specifically designed to block the frequency of the lasers I use, and I would strongly suggest you do the same.
And that wraps this up for now.