
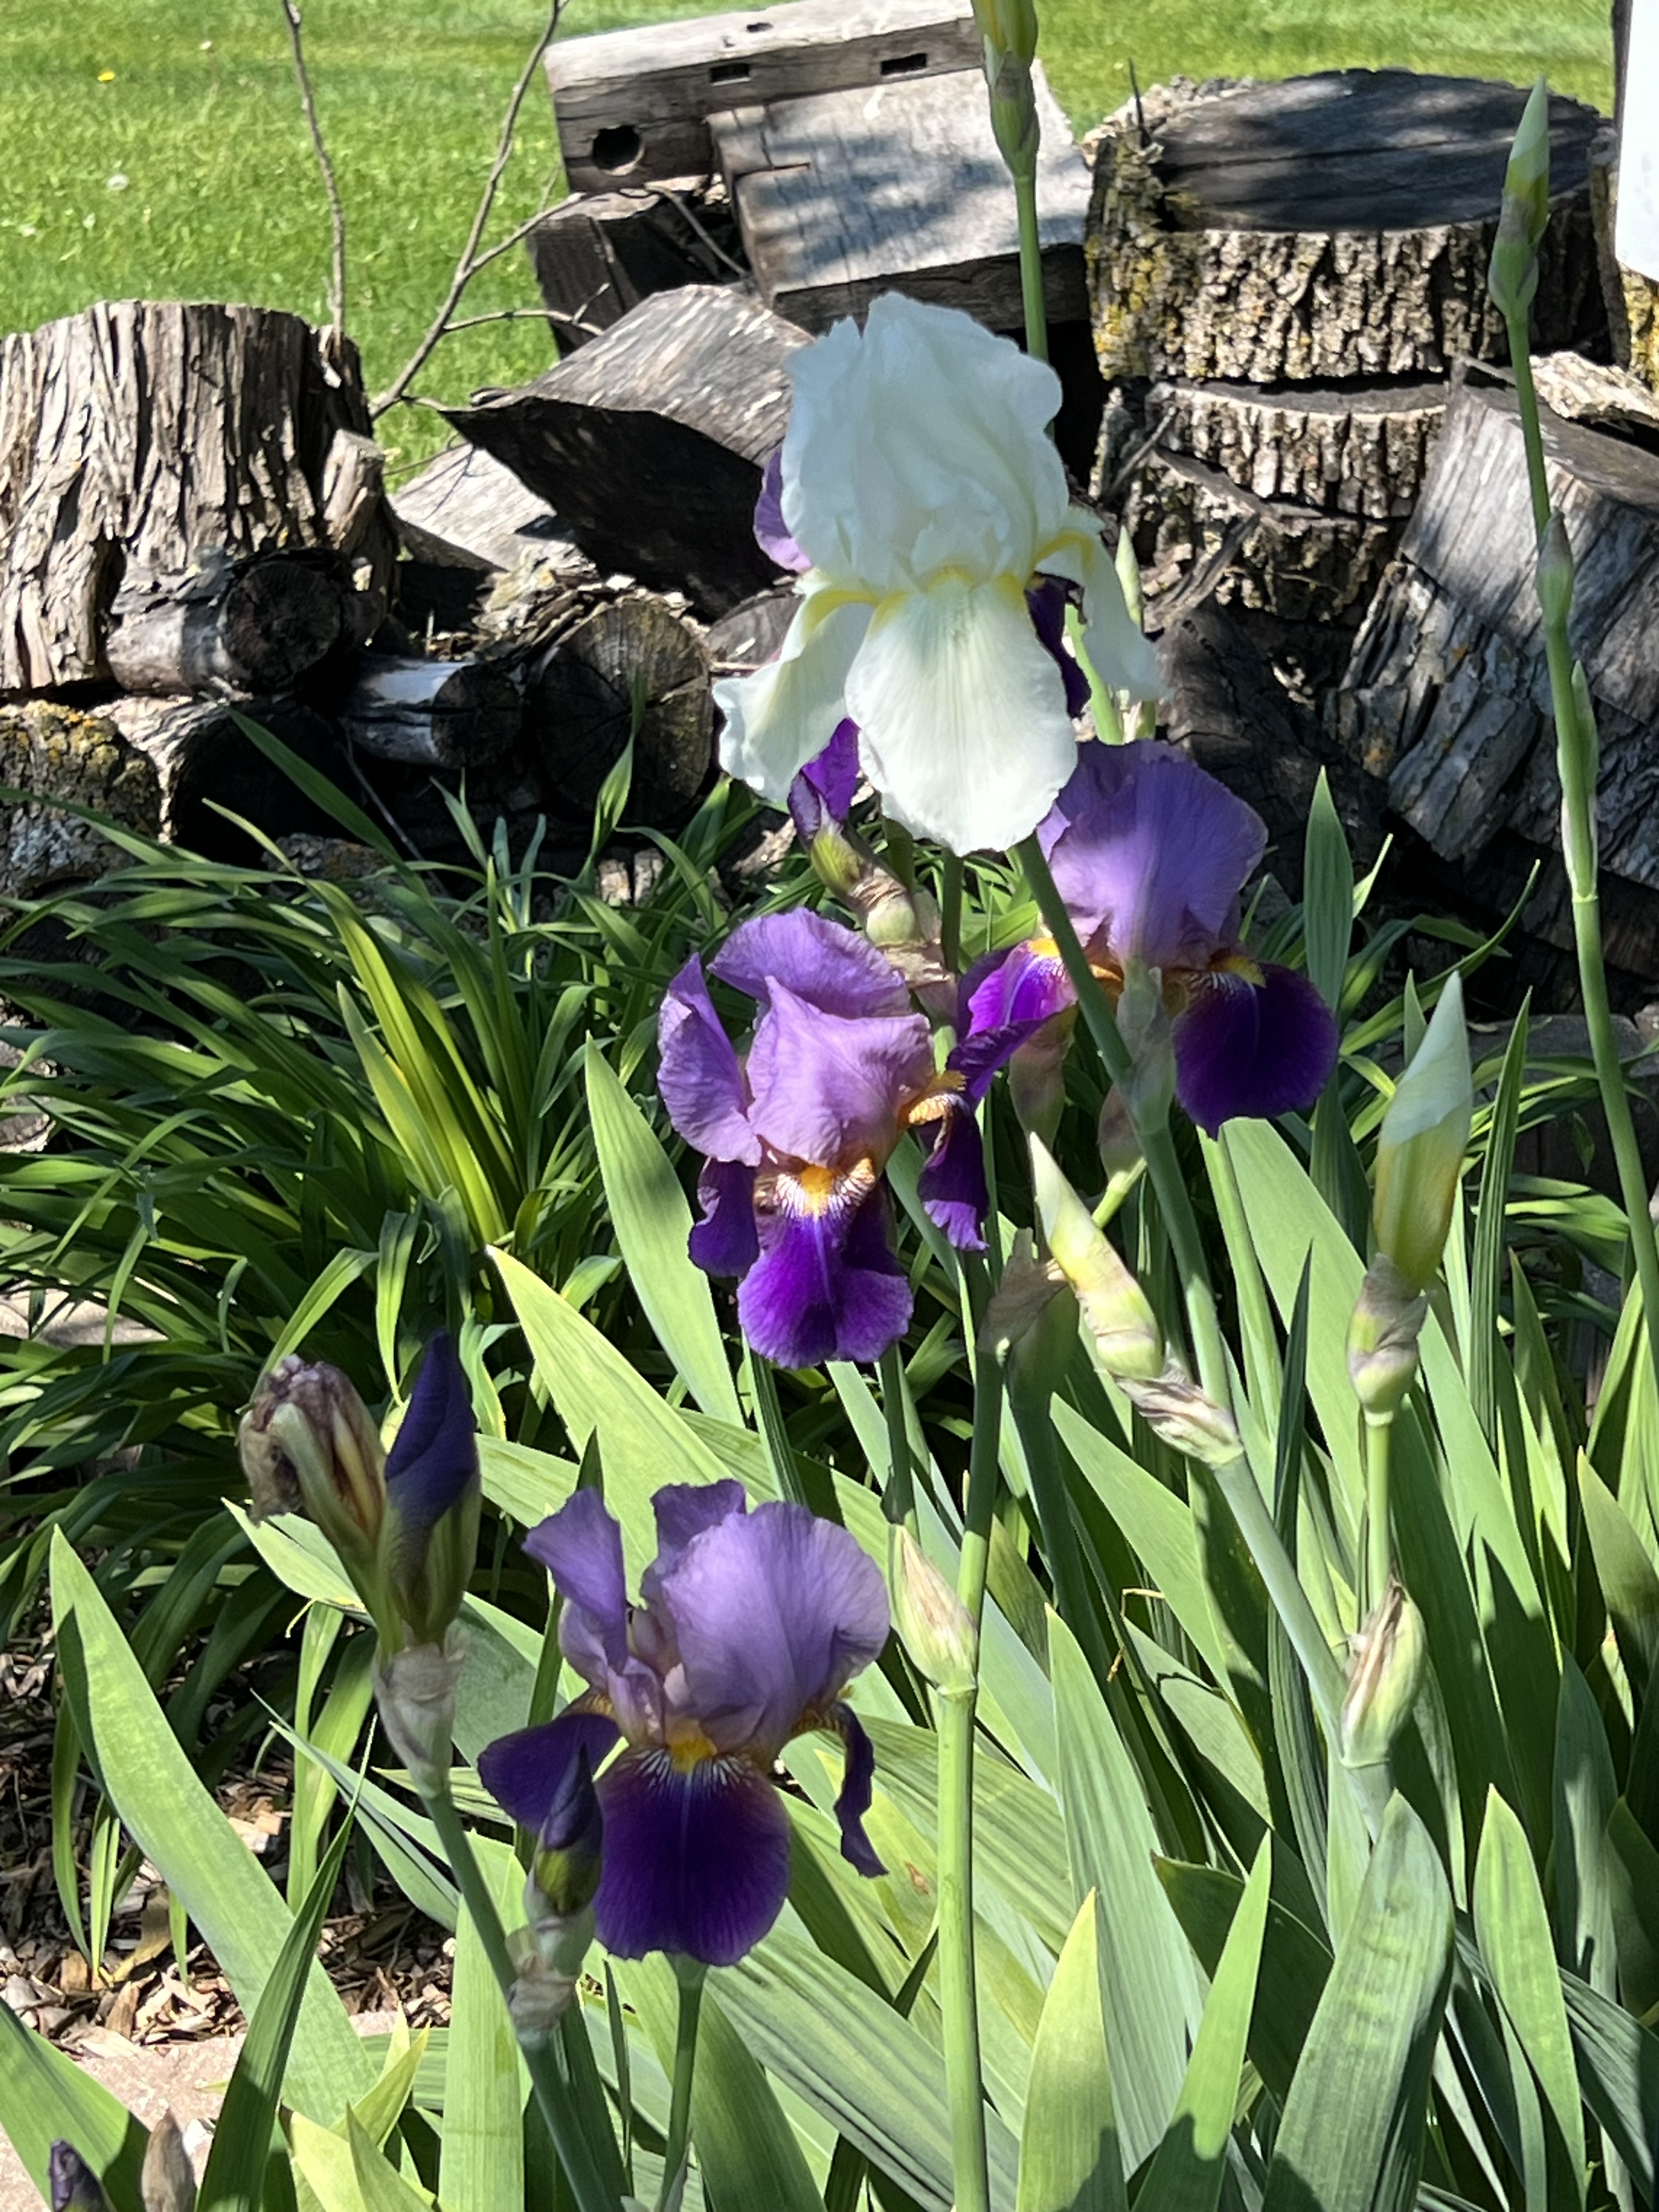
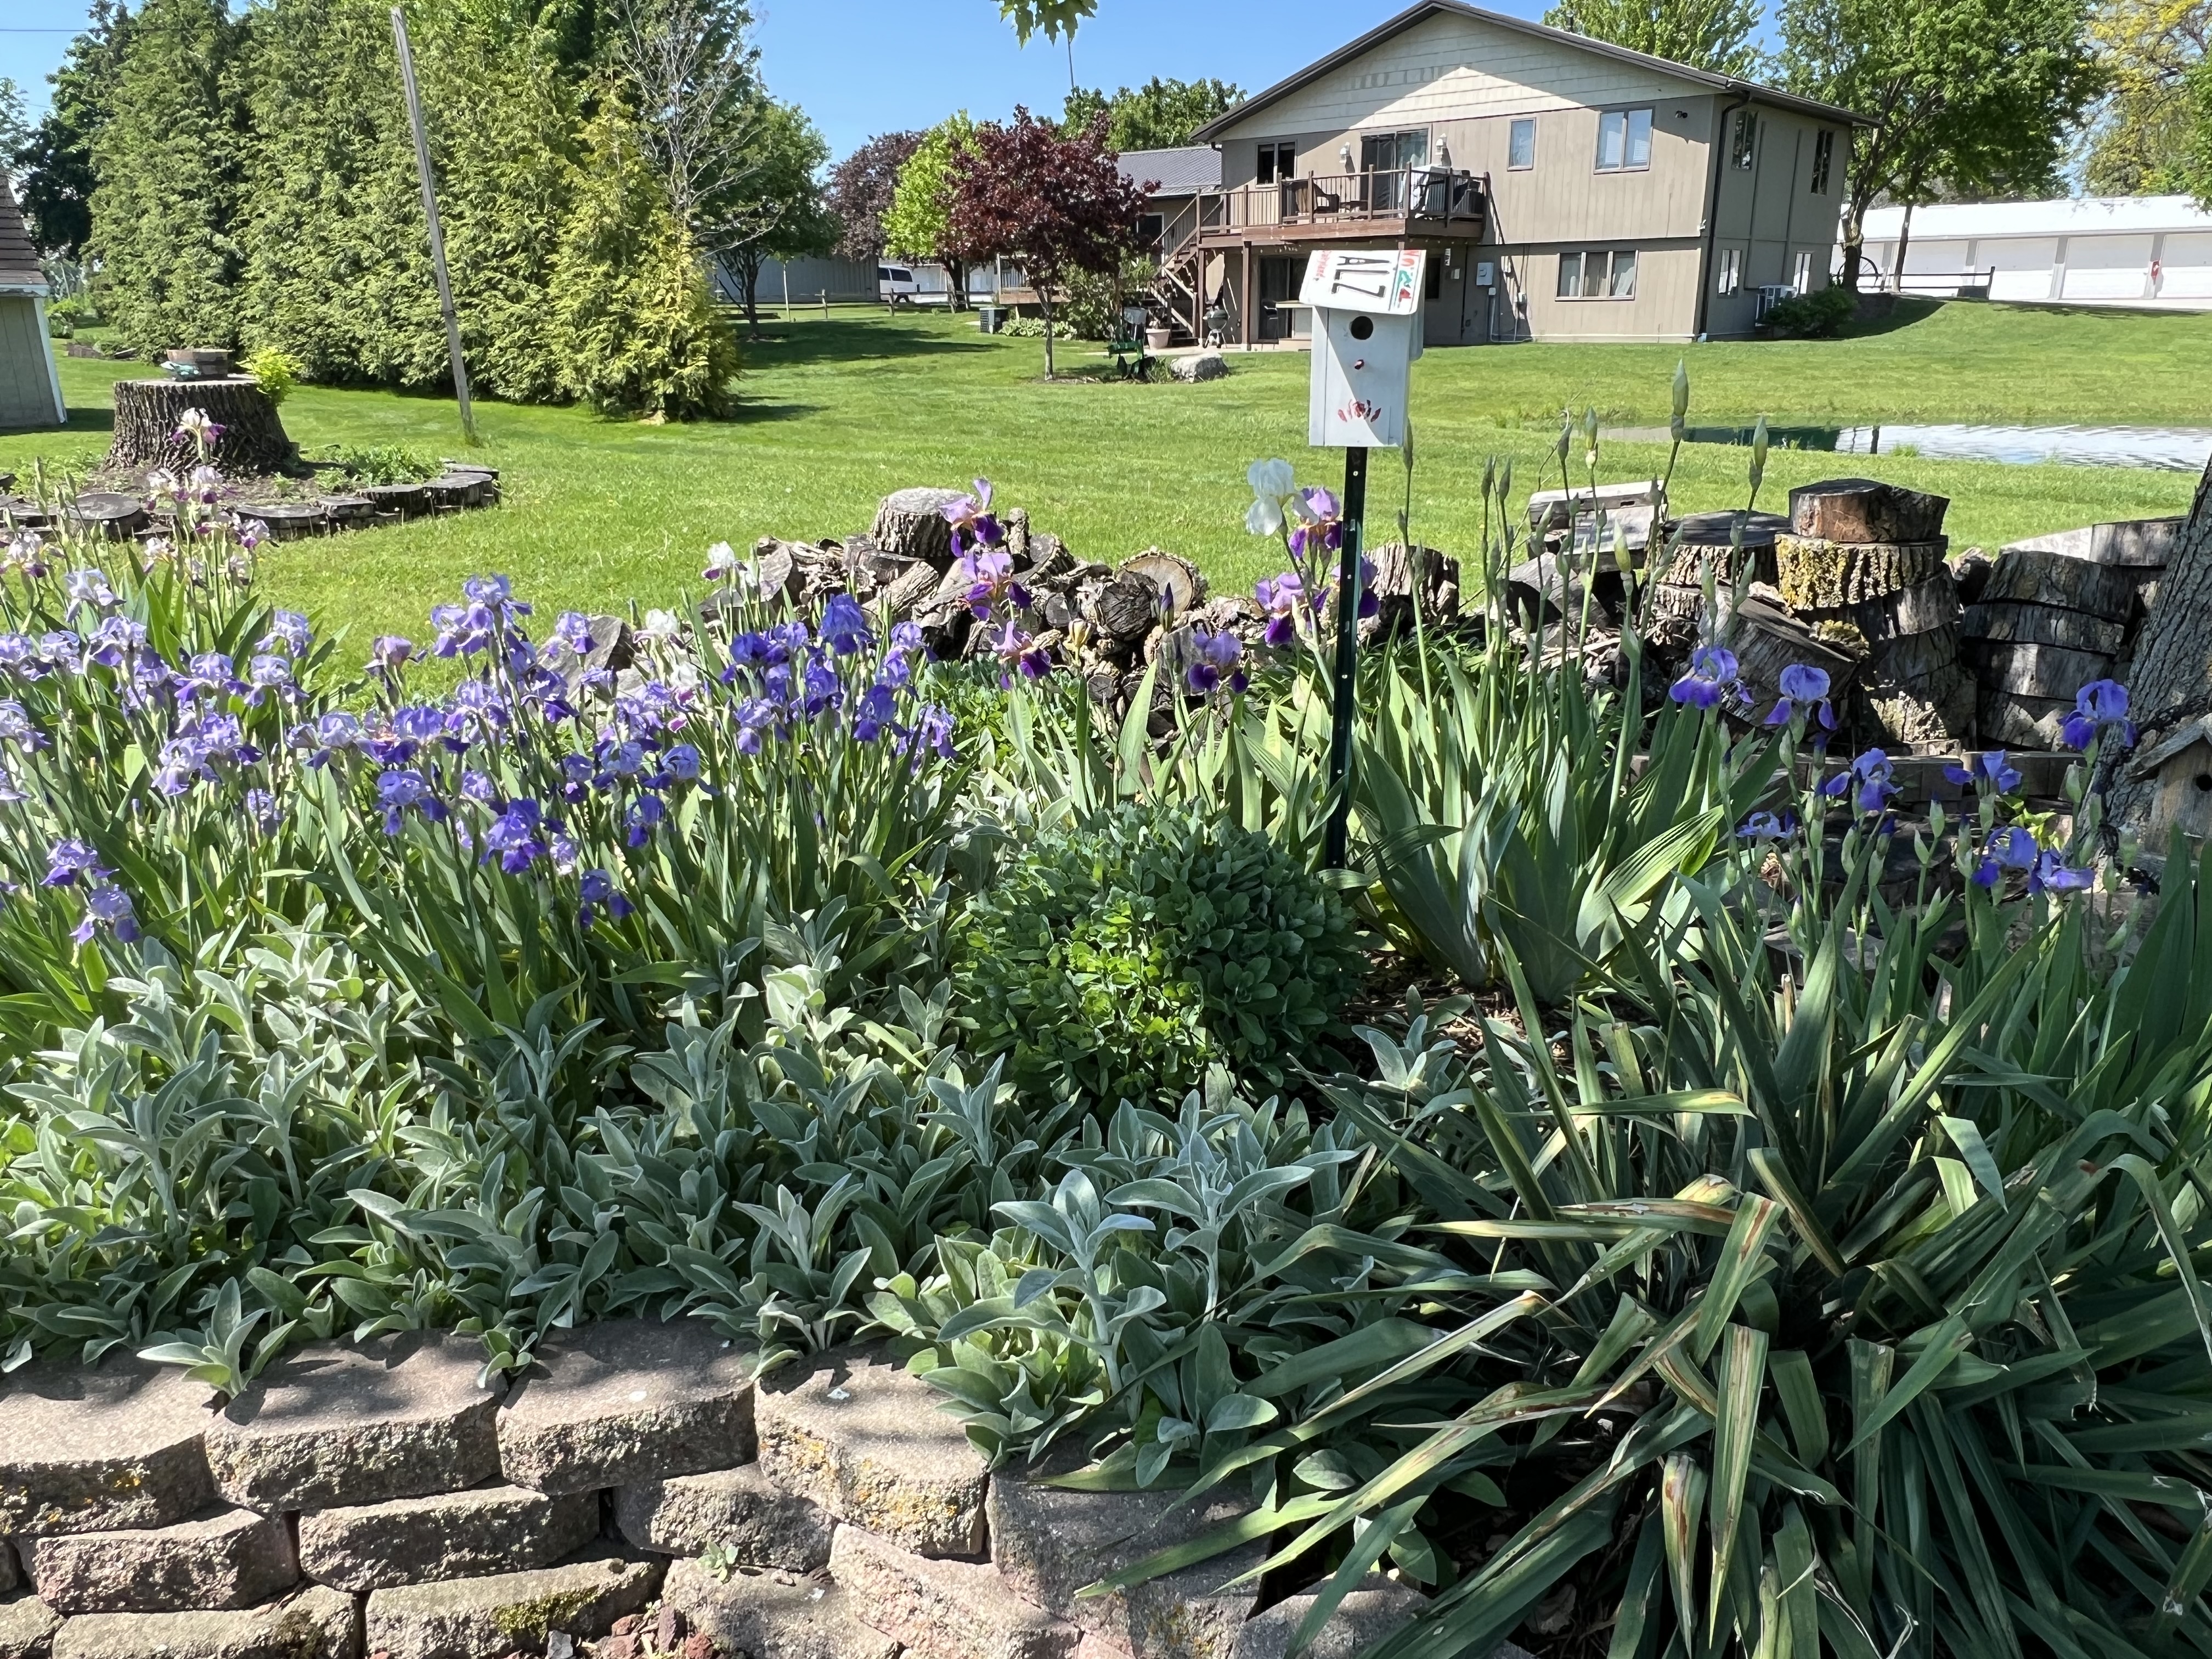
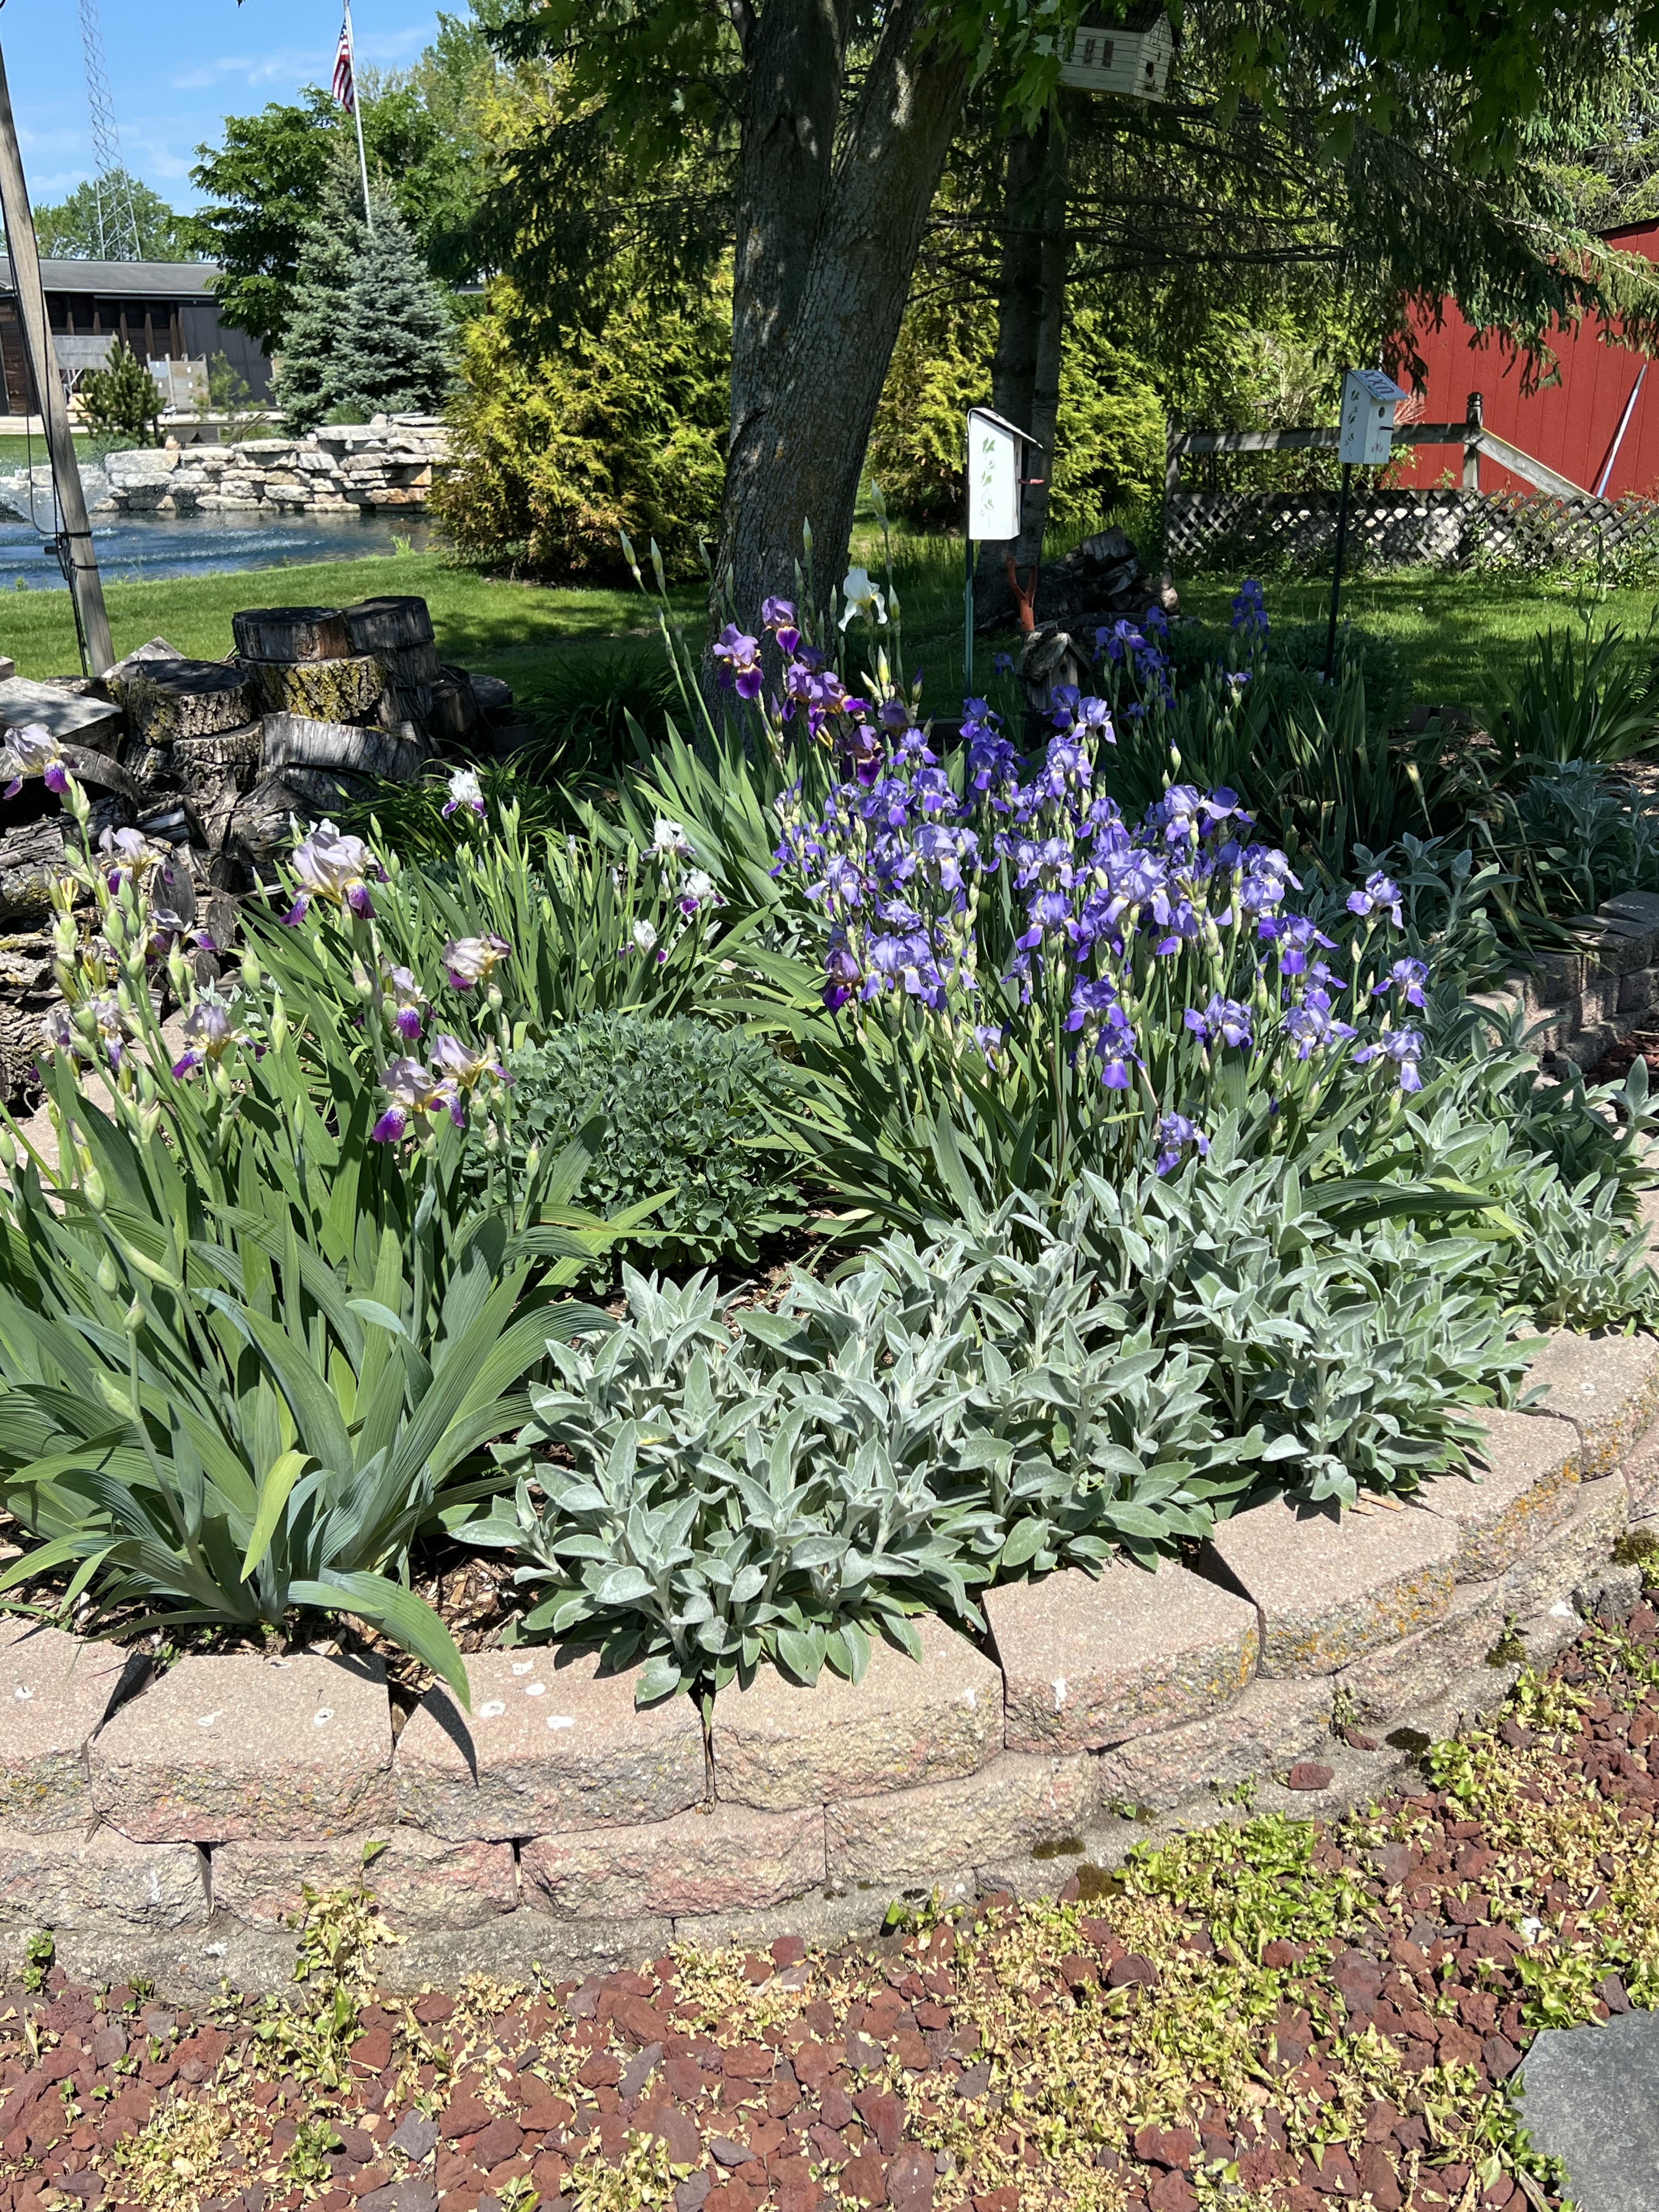
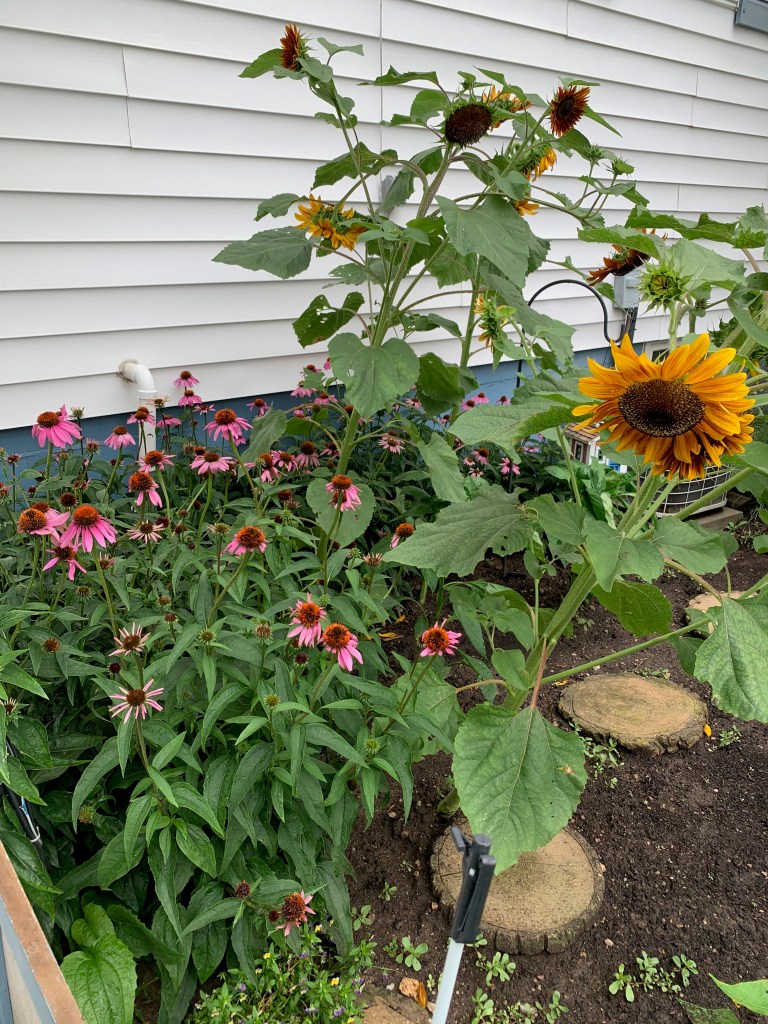
Yes, it’s iris time again. If you’ve been following this blog for a while you must know by now that I absolutely love irises. We have a whole garden devoted almost excolusively to irises. And they’re just coming into full flower now. Here are a few photos from earlier today.
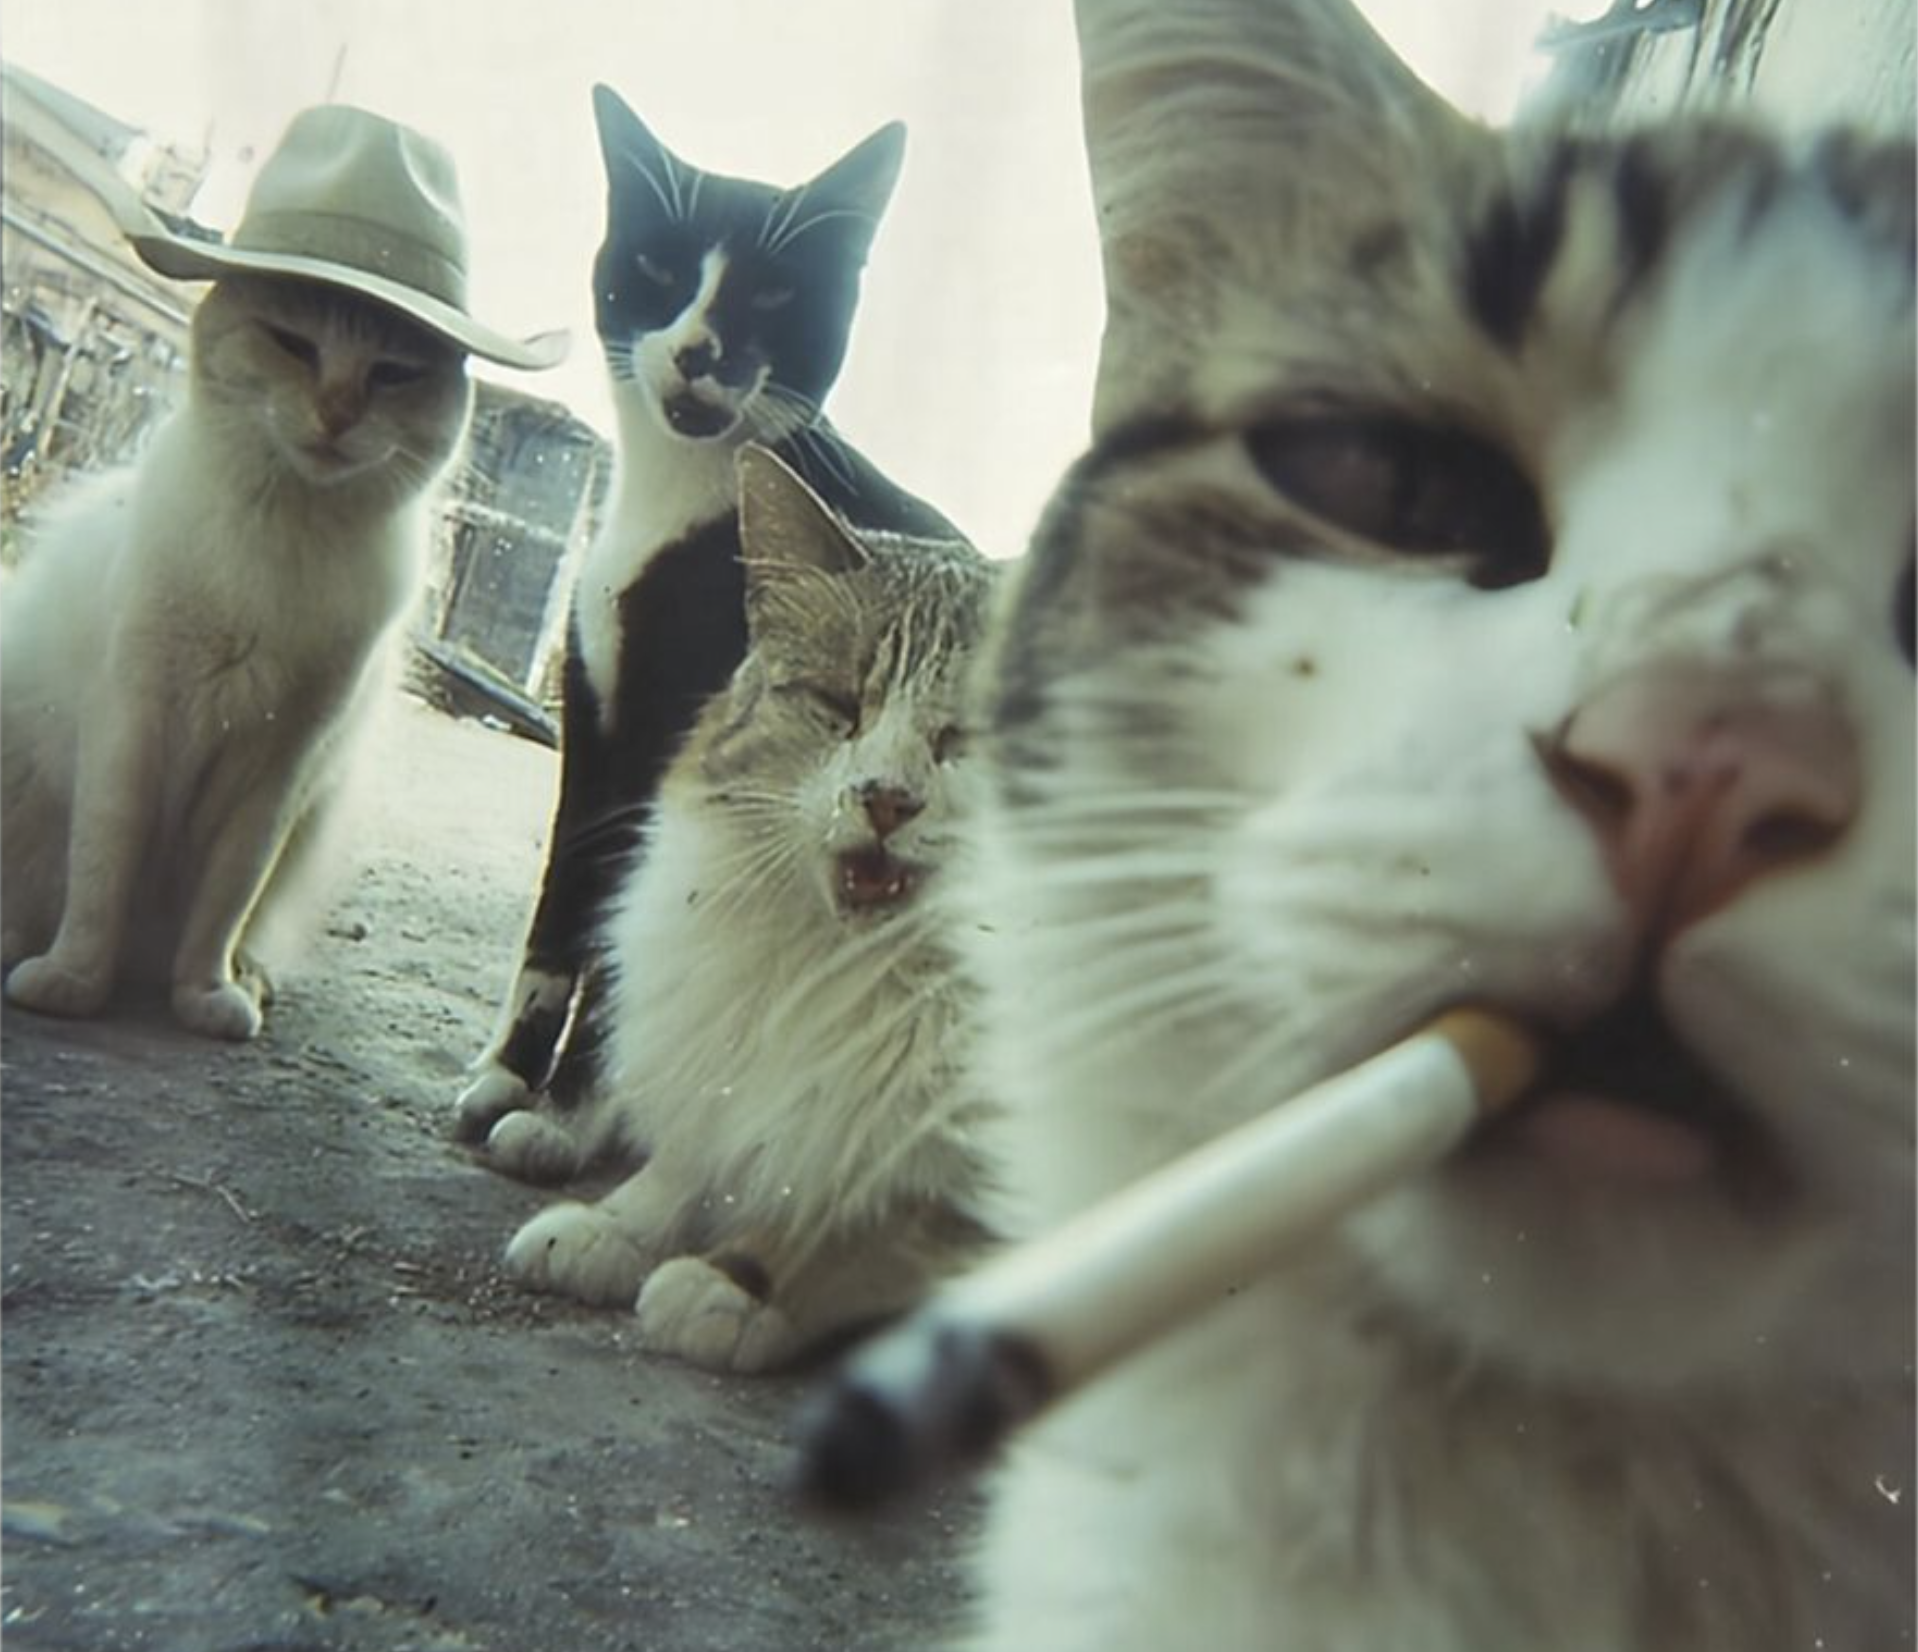
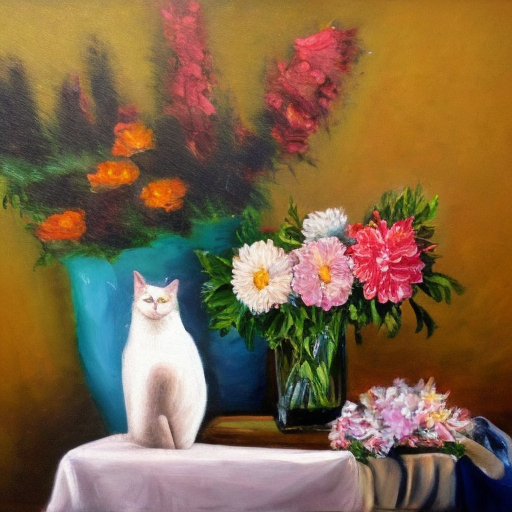
And for no reason at all, here’s a silly cat image I stole borrowed from Pete over at https://beetleypete.com/ If you enjoy posts from a retired English gentleman who occasionally puts up very silly images, posts some delightful fiction and chats about life in general in the small town of Beetley, in Norfolk, go check it out. He is a lovely, gentle soul, with a wry sense of humor.
Other stuff:
Meanwhile I’ve been working on this…

It is, heaven help me, a cat riding a T-Rex through the deserts of Utah. Thats going to be engraved on a 37cm X 25cm panel inlaid into a gift box MrsGF is making. Sometimes the stuff I come up with when I sit down with Photoshop makes me wonder what’s wrong with my brain. But never mind.
BTW: If any of you out there would be interested in that image up there let me know and I could make it available for downloading here. I think. Maybe. It would be as a standard .PNG file that would be suitable for importing into a laser engraver. If you’re interested let me know at theoldgrouch@grouchyfarmer.com. I never really intended to set this up to download files but if people are interested in stuff like this I’d probably set up a separate page here with just a listing of downloadable files for laser cutting/engraving.
If you have comments or questions you can reach me at that email address as well.
Weather
The weather has been, well, odd, to say the least. Over in Two Rivers about 20 or s0 miles from here where friends of ours live, they had an intense and highly localized storm that leveled half the trees in the city the other day. Parts of the town were without power for three days. They estimate they had straight line winds up to 80 mph. Meanwhile just a few miles away they got nothing but some rain.
Temperatures have been highly erratic here. One day we have a high in the 50s, the next it can be well over 80. Yesterday it hit 92 here. Now it’s getting cooler and we might struggle to hit 65 by the end of the week. They were predicting thunderstorms last night but those fizzled out before they even really got started. We got about a tenth of inch of rain and that was it.
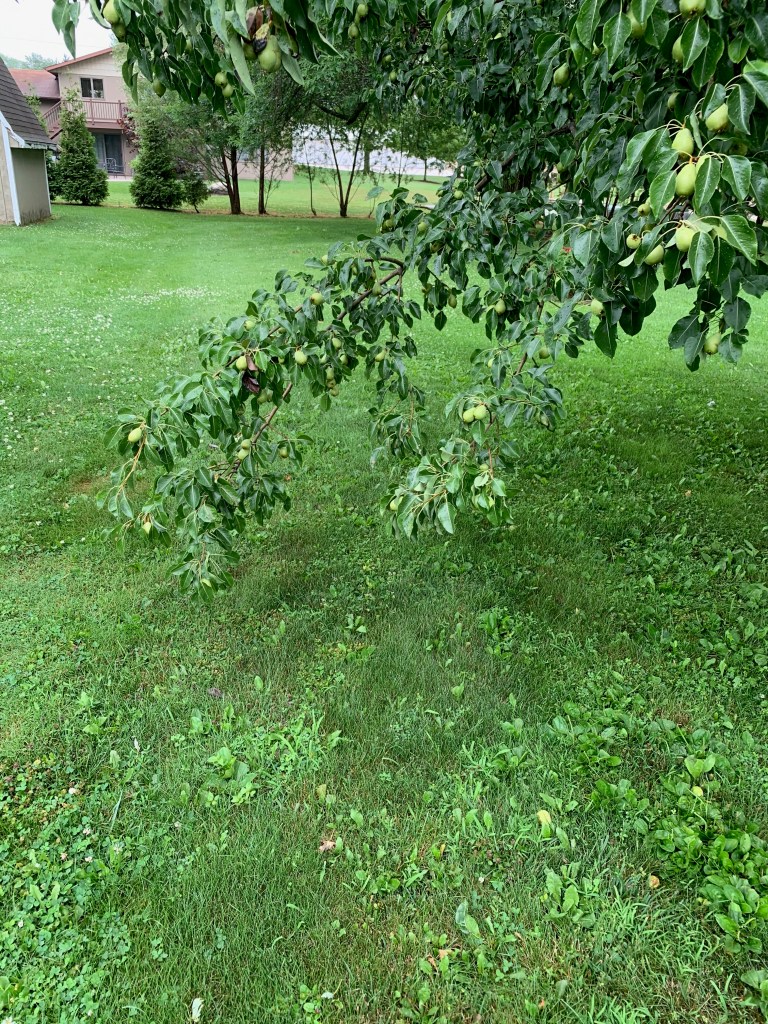
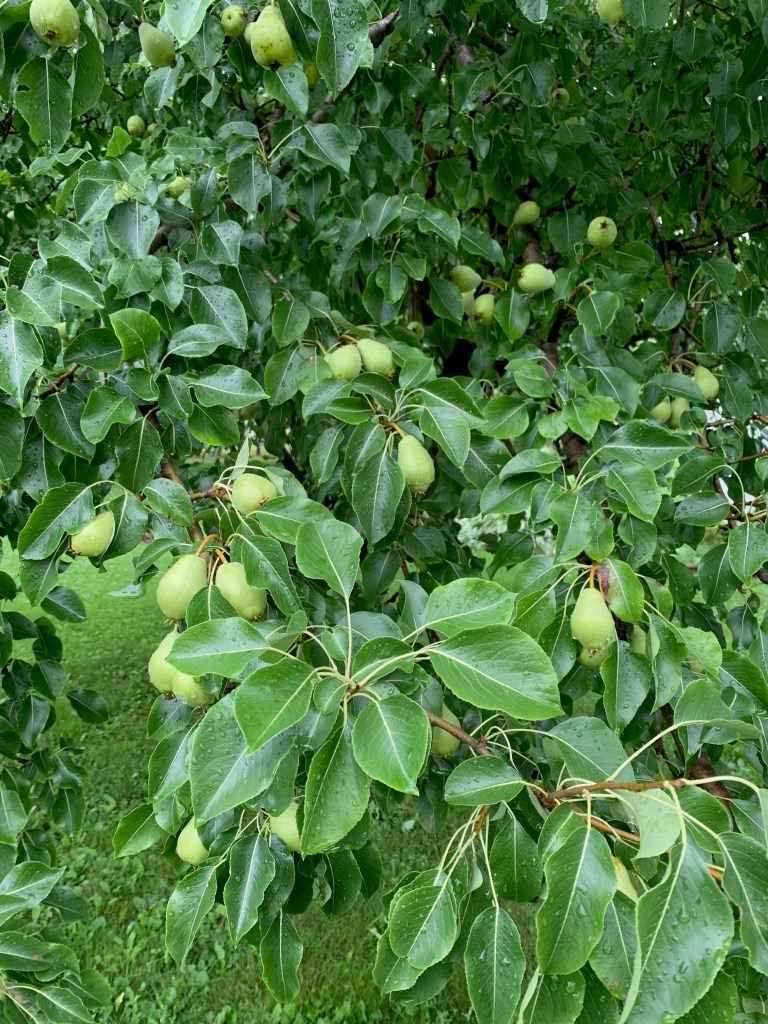
It’s very, very dry out there. We’re going to have to start watering the gardens already tomorrow.
Weather patterns are changing drastically all around the world. I have friends and family scattered around the globe and what I hear from them is often downright frightening. In India where my niece’s husband’s family is from, this May has been one of the warmest on record with temperatures pushing 113F in Delhi. One of my best friends lives in Barcelona half the year and they’re seeing temperatures pushing up to 100F or beyond. Even in the UK temperatures have been pushing up into the 90s.
Farming
With a name like grouchyfarmer I suppose I should talk about the ag industry at least briefly. Even though I’ve wandered far away from farming long ago and have dabbled in everything from writing to electronics to arts and crafts, I’m still a farmer at heart and what I see going on out there in the ag world is heartbreaking. Especially since all of the problems farmers are having right now are due entirely to decisions being made by power mad, greedy politicians who only care about enriching themselves and clinging desperately to their little bits of power and influence.
Farm bankruptcy rates are up by 50% or more in the last year, and look like they’re going to get even worse as time goes on.
Diesel, the fuel farmers use in their equipment, has gone up more than 60%, from about $3.47 to $5.60. Even as high as $7.50 in some places like California.
Fertilizer prices have spiked up 61% as well, and exactly at the wrong time when planting season is here and young plants need to be fertilized to get strong growth.
Meanwhile prices farmers get for two of their primary crops, corn and soybeans, have plummeted to the point where it looks like most farmers around here aren’t even going to be able to break even.
Dairy farmers are doing a bit better, but they have problems too. I know some farmers around here who are working 18 hour days because all of their hired help basically packed up and fled, even if they were in the country legally. Word is out that if you’re Hispanic, even if you’re in the country legally, you’re going to be swept up, detained for weeks if not months, and probably end up deported even if you have a green card. We used to have a fairly large number of Hispanic families here in town. Wonderful people who were hard working, honest, friendly and becoming part of the community. They’re all gone. All of them.
It’s going to be a hard year for farmers around here. A very hard year. And the tragic part of it is that this is 100% the fault of that bunch of sniveling, greedy, power mad politicians in DC. And I mean both political parties are at fault here. Democrats and Republicans both are more concerned with maintaining their little bits of power, trying to suck up ever more money from corporations and oligarchs through this system of legalized bribery we call a campaign financing system, that they’ve entire forgotten that they are supposed to be the representatives of the people in their home districts.
Okay, rant over. I swore I was not going to get political here in this blog and for the most part I’ve kept that promise. But when I see the sheer crap that is going on in Washington and here in Madison in the state legislature… Never mind. Enough.
Astronomy
It’s been so long since I talked about it here that you’ve probably forgotten that I’m also an amateur astronomer. That’s one of my telescopes down there, my 11″ Celestron.
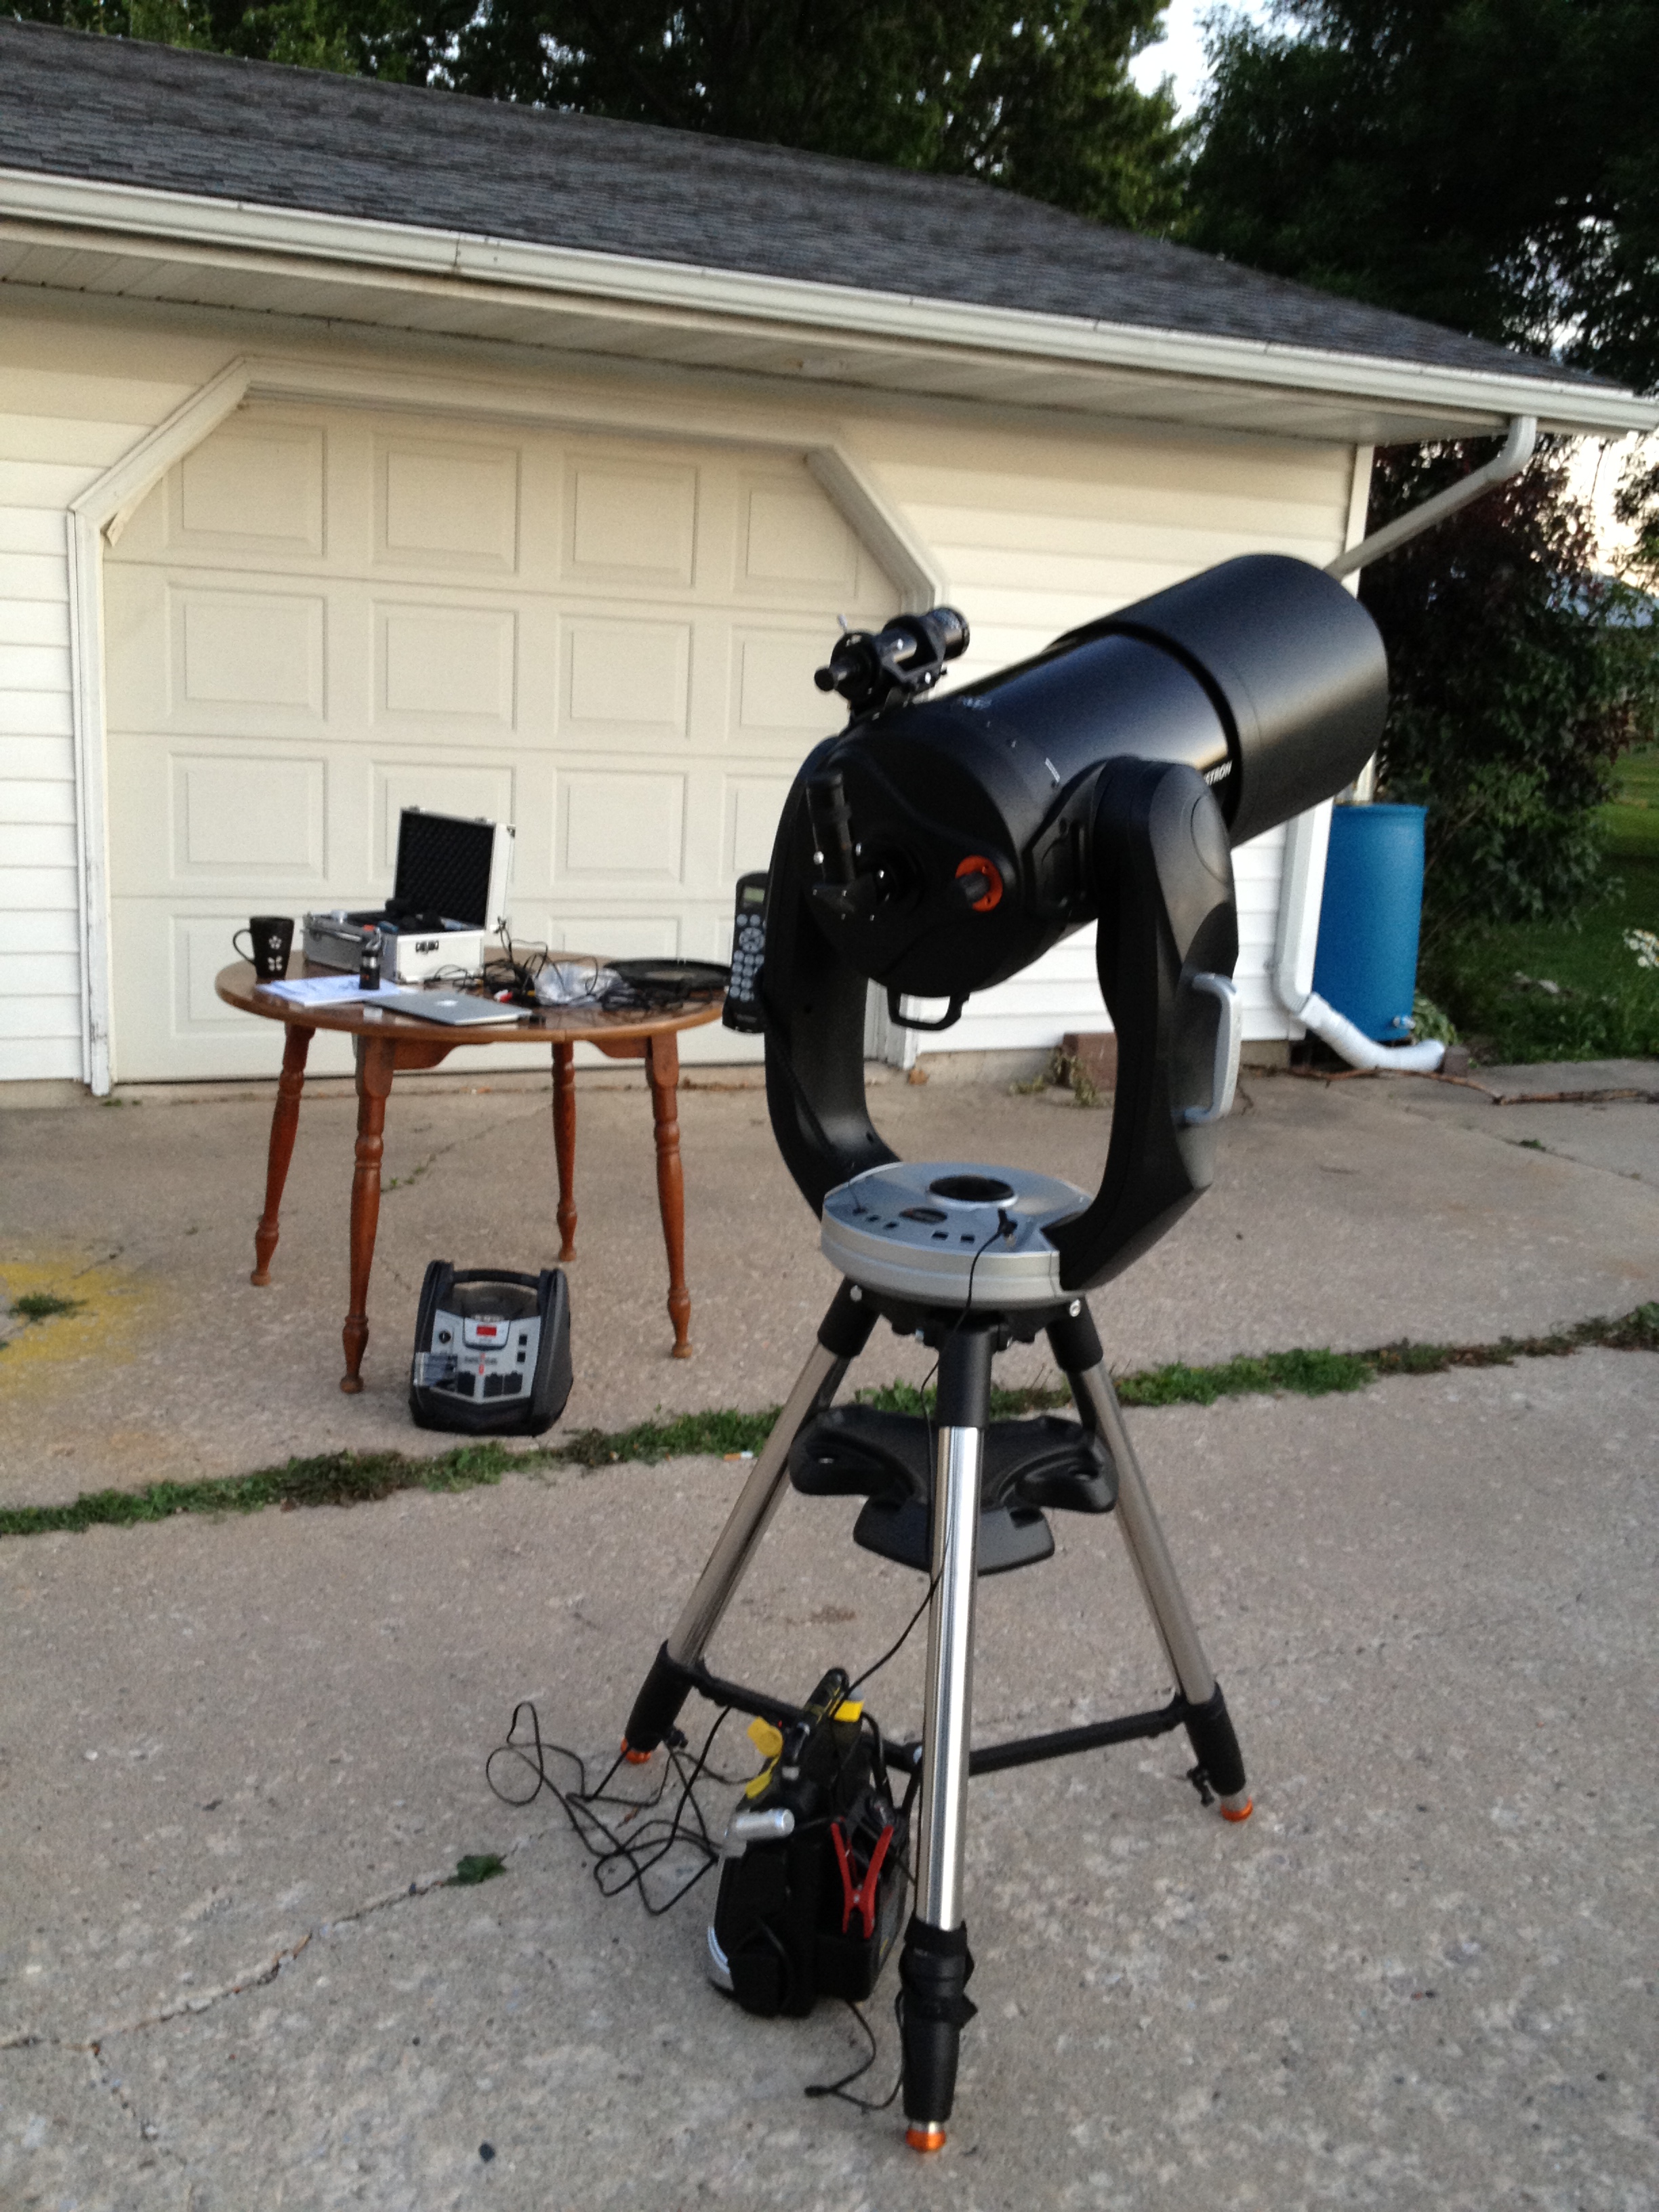
I’ve reached a point in my life where I just have too many interests and hobbies and I’ve started to do a bit of triage. I’ve pushed aside some things like tinkering with electronics and a few other things to have more time to devote to the things I enjoy the most. So I’m able to spend more time with photography, art, the whole engraving thing and yes, astronomy.
My interests have changed a bit over the years. I’ve become more interested in astrophotography than in direct visual observation, especially photography of deep sky objects. The Celestron is a fantastic telescope but there are “issues”. It’s size and weight are one. That sucker is big and it is heavy. The optical tube assembly weighs in at around 60+ pounds and I’m not exactly a spring chicken any more. Trying to maneuver that thing up and down the stairs, getting it set up on its mount, etc, well I’m just not physically capable of wrestling with that thing without risking dropping $5,000 telescop down the back stairs. So it’s gone to live with my eldest son who is planning on using it as the core for a fixed observatory set up in his back garden with a small building with a roll off roof, concrete pier, power, internet, etc.
Meanwhile I have a new telescope on order that should be here by June 7, they tell me.
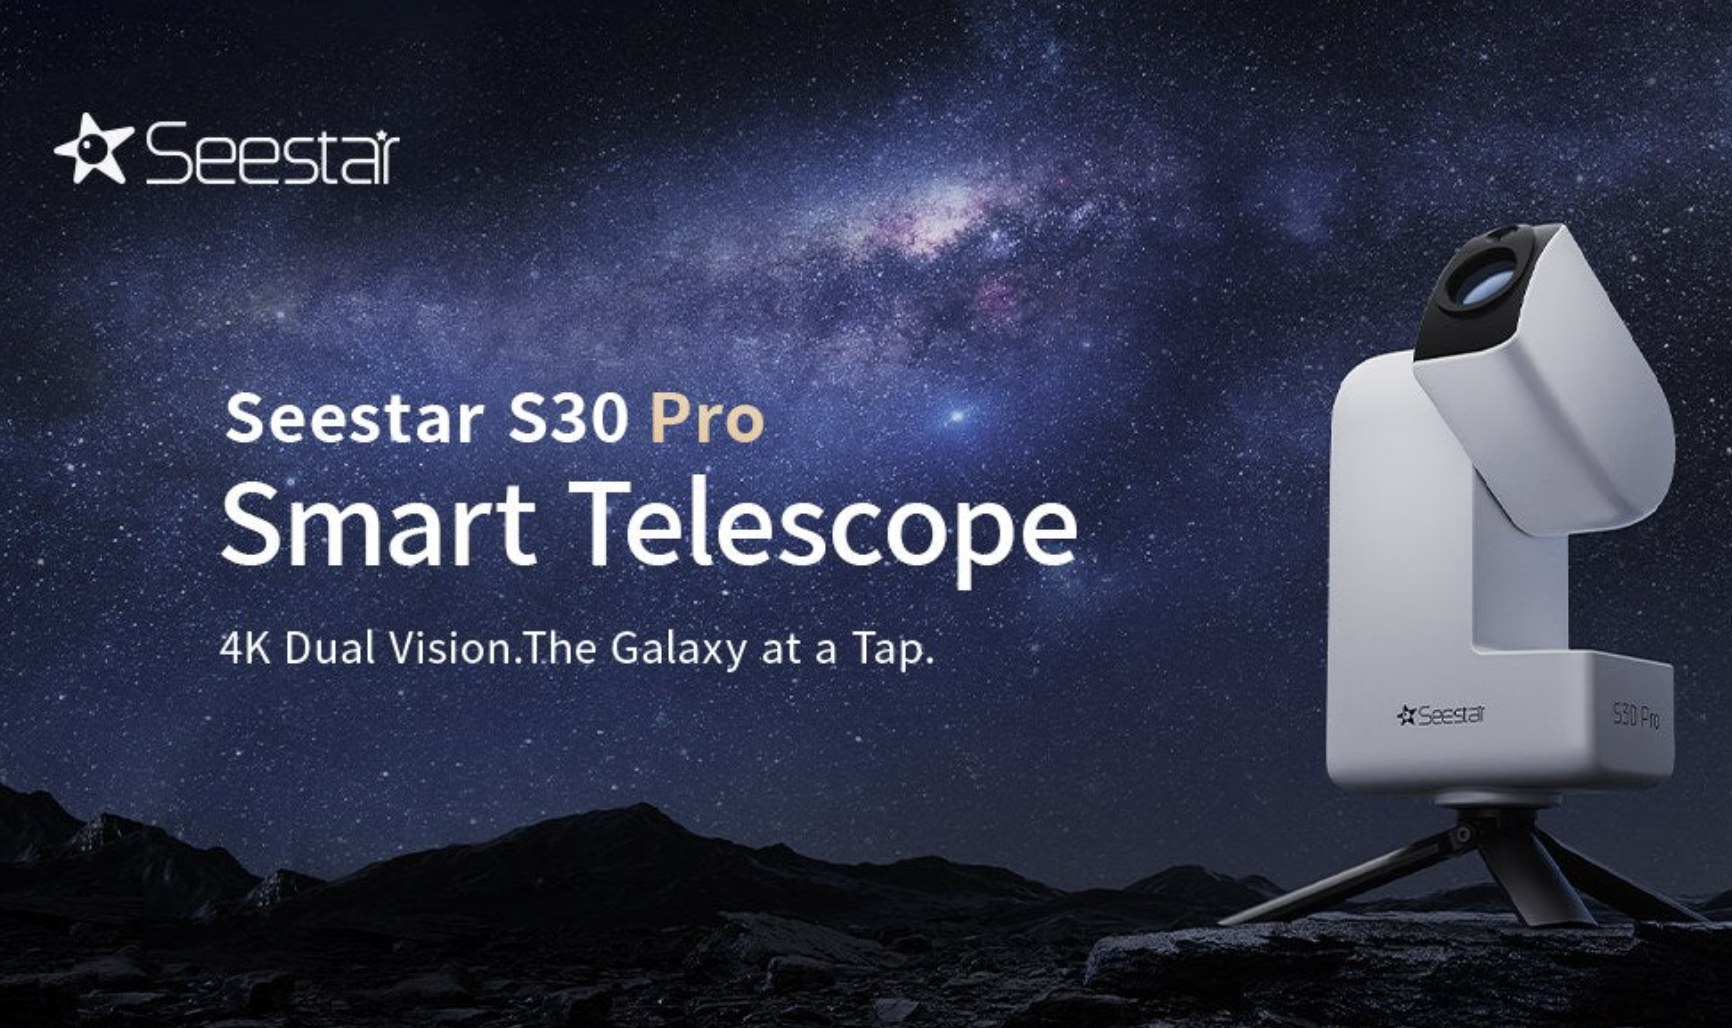
And as you can see, it is something entirely different from the Celestron. It doesn’t even look like a telescope to be honest. For one thing it is exclusively an astrograph telescope, it does photography only. It doesn’t permit visual observation at all. In fact I don’t even have to be near it to operate it. It is controlled by a tablet computer or app on a cell phone via WiFi or bluetooth so I no longer have to endure the clouds of mosquitoes that we get around here. Just set it up after dark, turn it on, and then sit in my nice, air conditioned house controlling it entirely by computer from the kitchen table. Or if I take it out to my sister in law’s farm to get away from the light pollution, from inside of my car.
I admit that I’m taking a bit of a chance here. I find it hard to believe that a scope this small and this cheap can get the results I see in the reviews of this thing. Supposedly this thing can get good images of even difficult deep sky objects like the Horse Head nebula in just a few minutes, even in relatively poor conditions. And it’s only about $600 compared to around $5,000 for something like my Celestron. It sounds too good to be true.
After I’ve had a chance to get it set up and have figured out how to use it, I’ll talk about it more.
Anyway, that’s it for now. Time for me to get out of here!


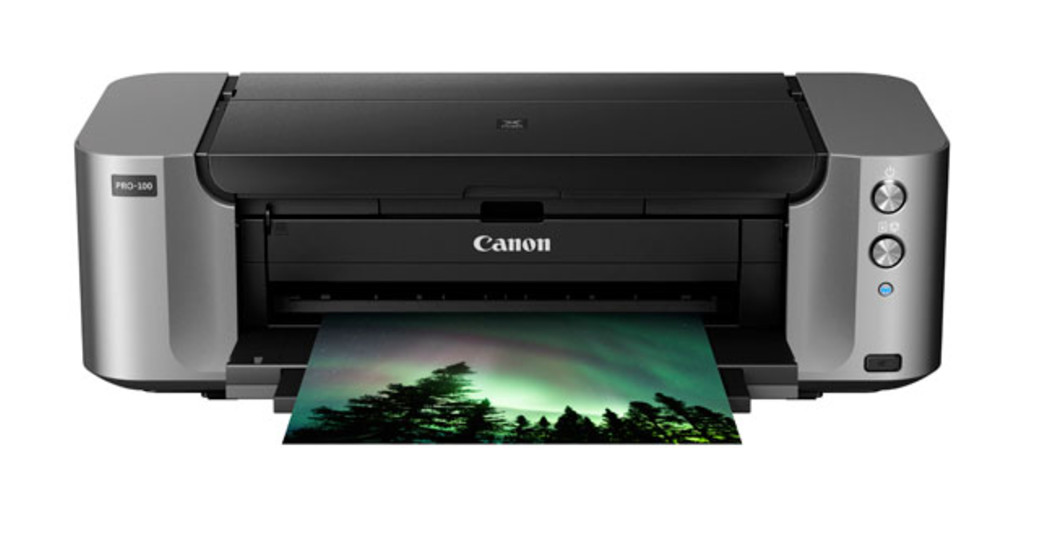 So I finally broke down and got a professional grade photo printer, the Cannon Pixma 100. It’s at the low end of the professional level printer. It retails for around $500, and can handle paper up to 13 X 19 in size, which is big enough for my purposes. It uses dyes rather than pigments. There is a big argument going on between the dye proponents and the pigment proponents about quality of the images, their long term stability, color, etc. and I’m just not going to get into that nonsense. As far as I can tell, the two different techniques are about equal when it comes to overall quality and the lifespan of the images.
 When I first got interested in photography on a serious basis, a good 35mm camera would set you back about $350 for just the camera body. The lens was usually sold separately, and a good one could set you back more than what the camera itself cost. The first good 35mm camera we had was a Minolta XGM, an almost but not quite professional 35mm SLR camera. That cost me $345 back in 1981. By the time I got a decent lens, filters and everything else I needed, I think the grand total was about $800 for the whole package. And that’s in 1980 dollars. Adjusted for inflation I suspect that would come to around $2,000 today.
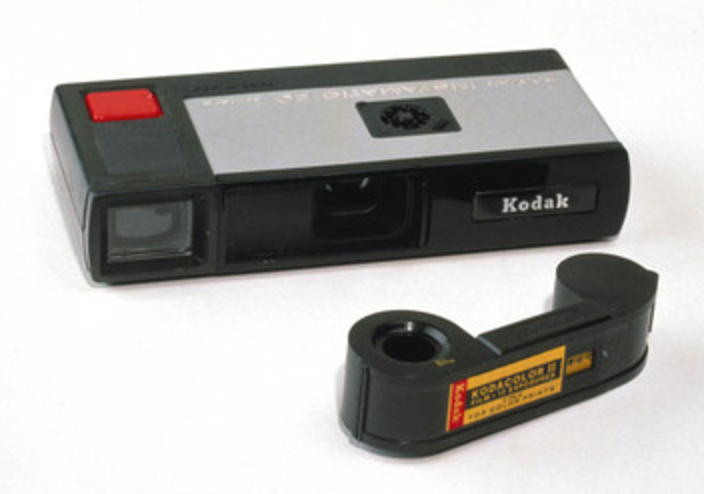 It was, for it’s day, a very good camera, especially when compared to the crappy pocket cameras like the Kodak Instamatic with it’s even worse film loaded into those dopy cartridges which was the most popular mass market photography system at the time. They were horrible. The photos and negatives they turned out were even worse, thanks in part to poor manufacturing, poor materials, bad lenses, and the cheapest, nastiest film you could imagine. While it was good enough for a small, wallet sized image, if you wanted to blow it up to a larger size, forget about it. The film was so grainy the images were totally unacceptable if you tried to blow them up to anything larger than a 4X5 print.
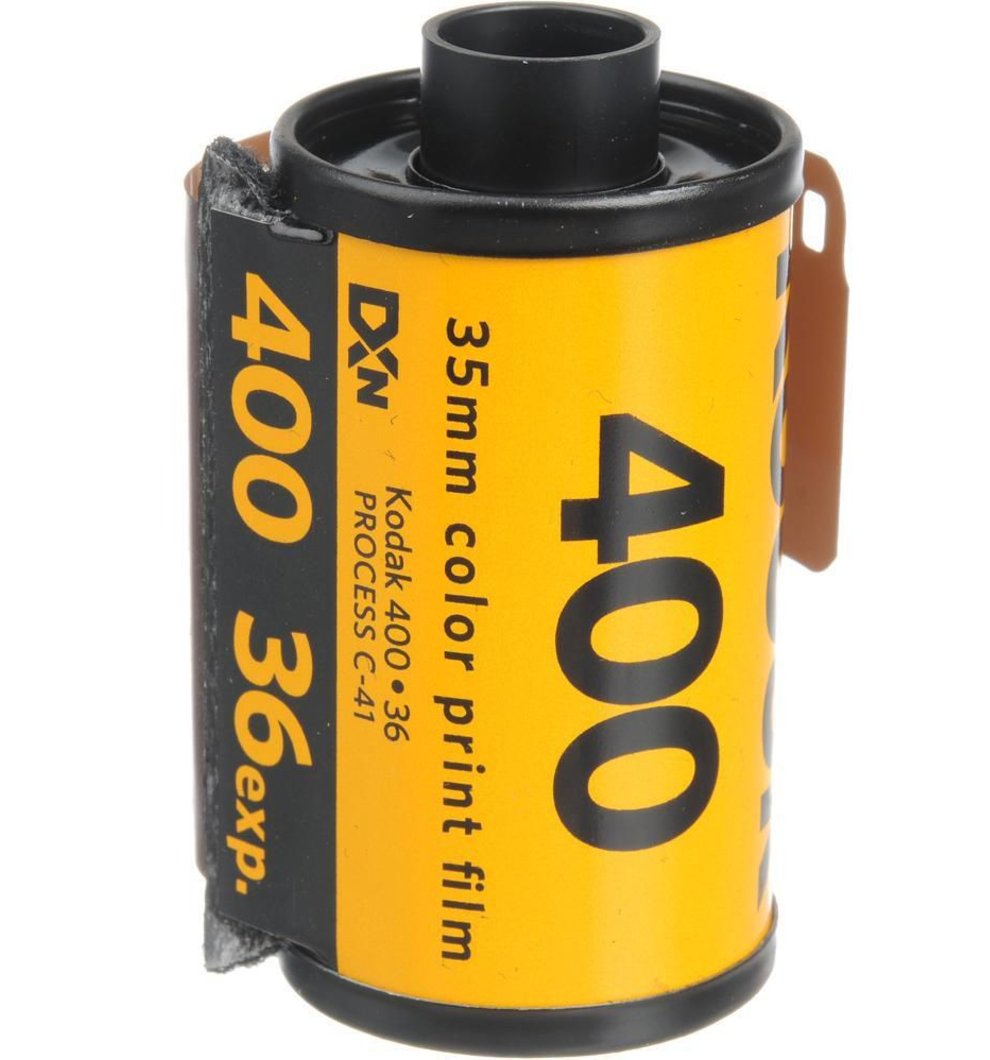 Most people bought film in small canisters like the one shown here. The body was generally made of metal and the end caps were plastic. Film was wound on a spool inside of the canister. You can see where the film comes out of the can on the right side of the cartridge, it’s that little brown flap. That’s the leader. A couple of inches of film stuck out.
 People who did a lot of photography often bought film in bulk and loaded the canisters themselves using gadgets like the one here. This is a bulk film loader. Your roll of bulk film would go in the big end, and then you’d use the crank to wind it into your film canisters. It was a pain in the neck, but it did work, and it did help cut costs a bit. I used to do this and it worked fairly good most of the time. Well, sometimes. Maybe.
 You then put the film on a special spool that fits inside of a developing tank. Once you get the spool in the tank and get it closed, you can turn the lights back on because the tanks were light proof.
 So, here’s an enlarger. I had a Durst enlarger back in the day. Mine was considerably more elaborate (and expensive) than the one in this ad.
 Once you have the photo paper exposed with the enlarger you’re still not done. Now you have to develop the paper using a variety of different chemicals. You need several trays big enough to hold the paper, a dark room, timers, a sink, a water supply, and lots and lots of yummy chemicals.
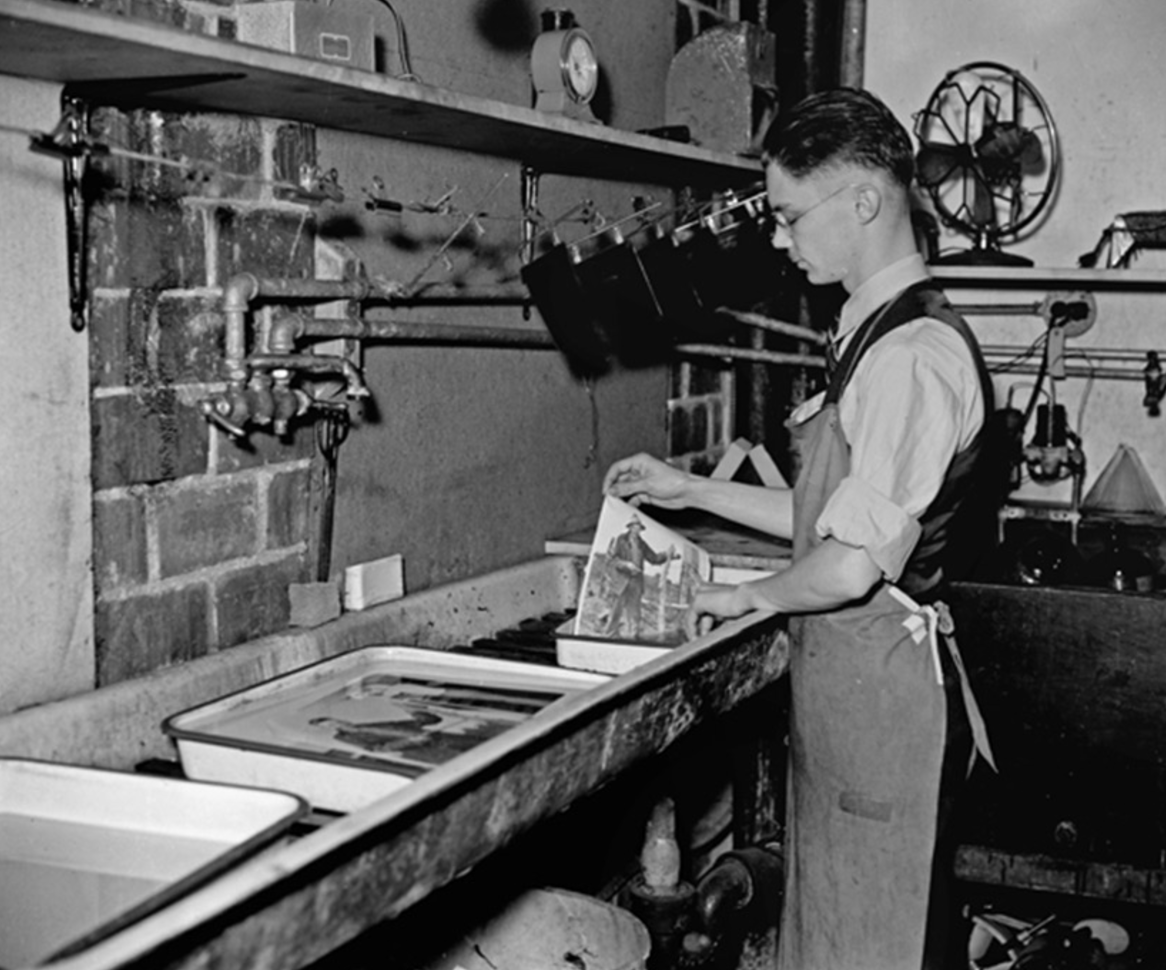 Now the lab up there looks pretty good, it’s probably a professional or semi-pro lab. Most home darkrooms looked more like this because they were squeezed into basements, large closets, even special built rooms in spare bedrooms or wherever they could be crammed in. They were messy, smelly, nasty, and you were working with some pretty hairy chemicals sometimes, many of which were poisonous.