Catching Up: Signs Finished, Solar Stuff, Flowers Everywhere, Engraving Lighters, Silly Cats, No More Hip Pain Somehow?

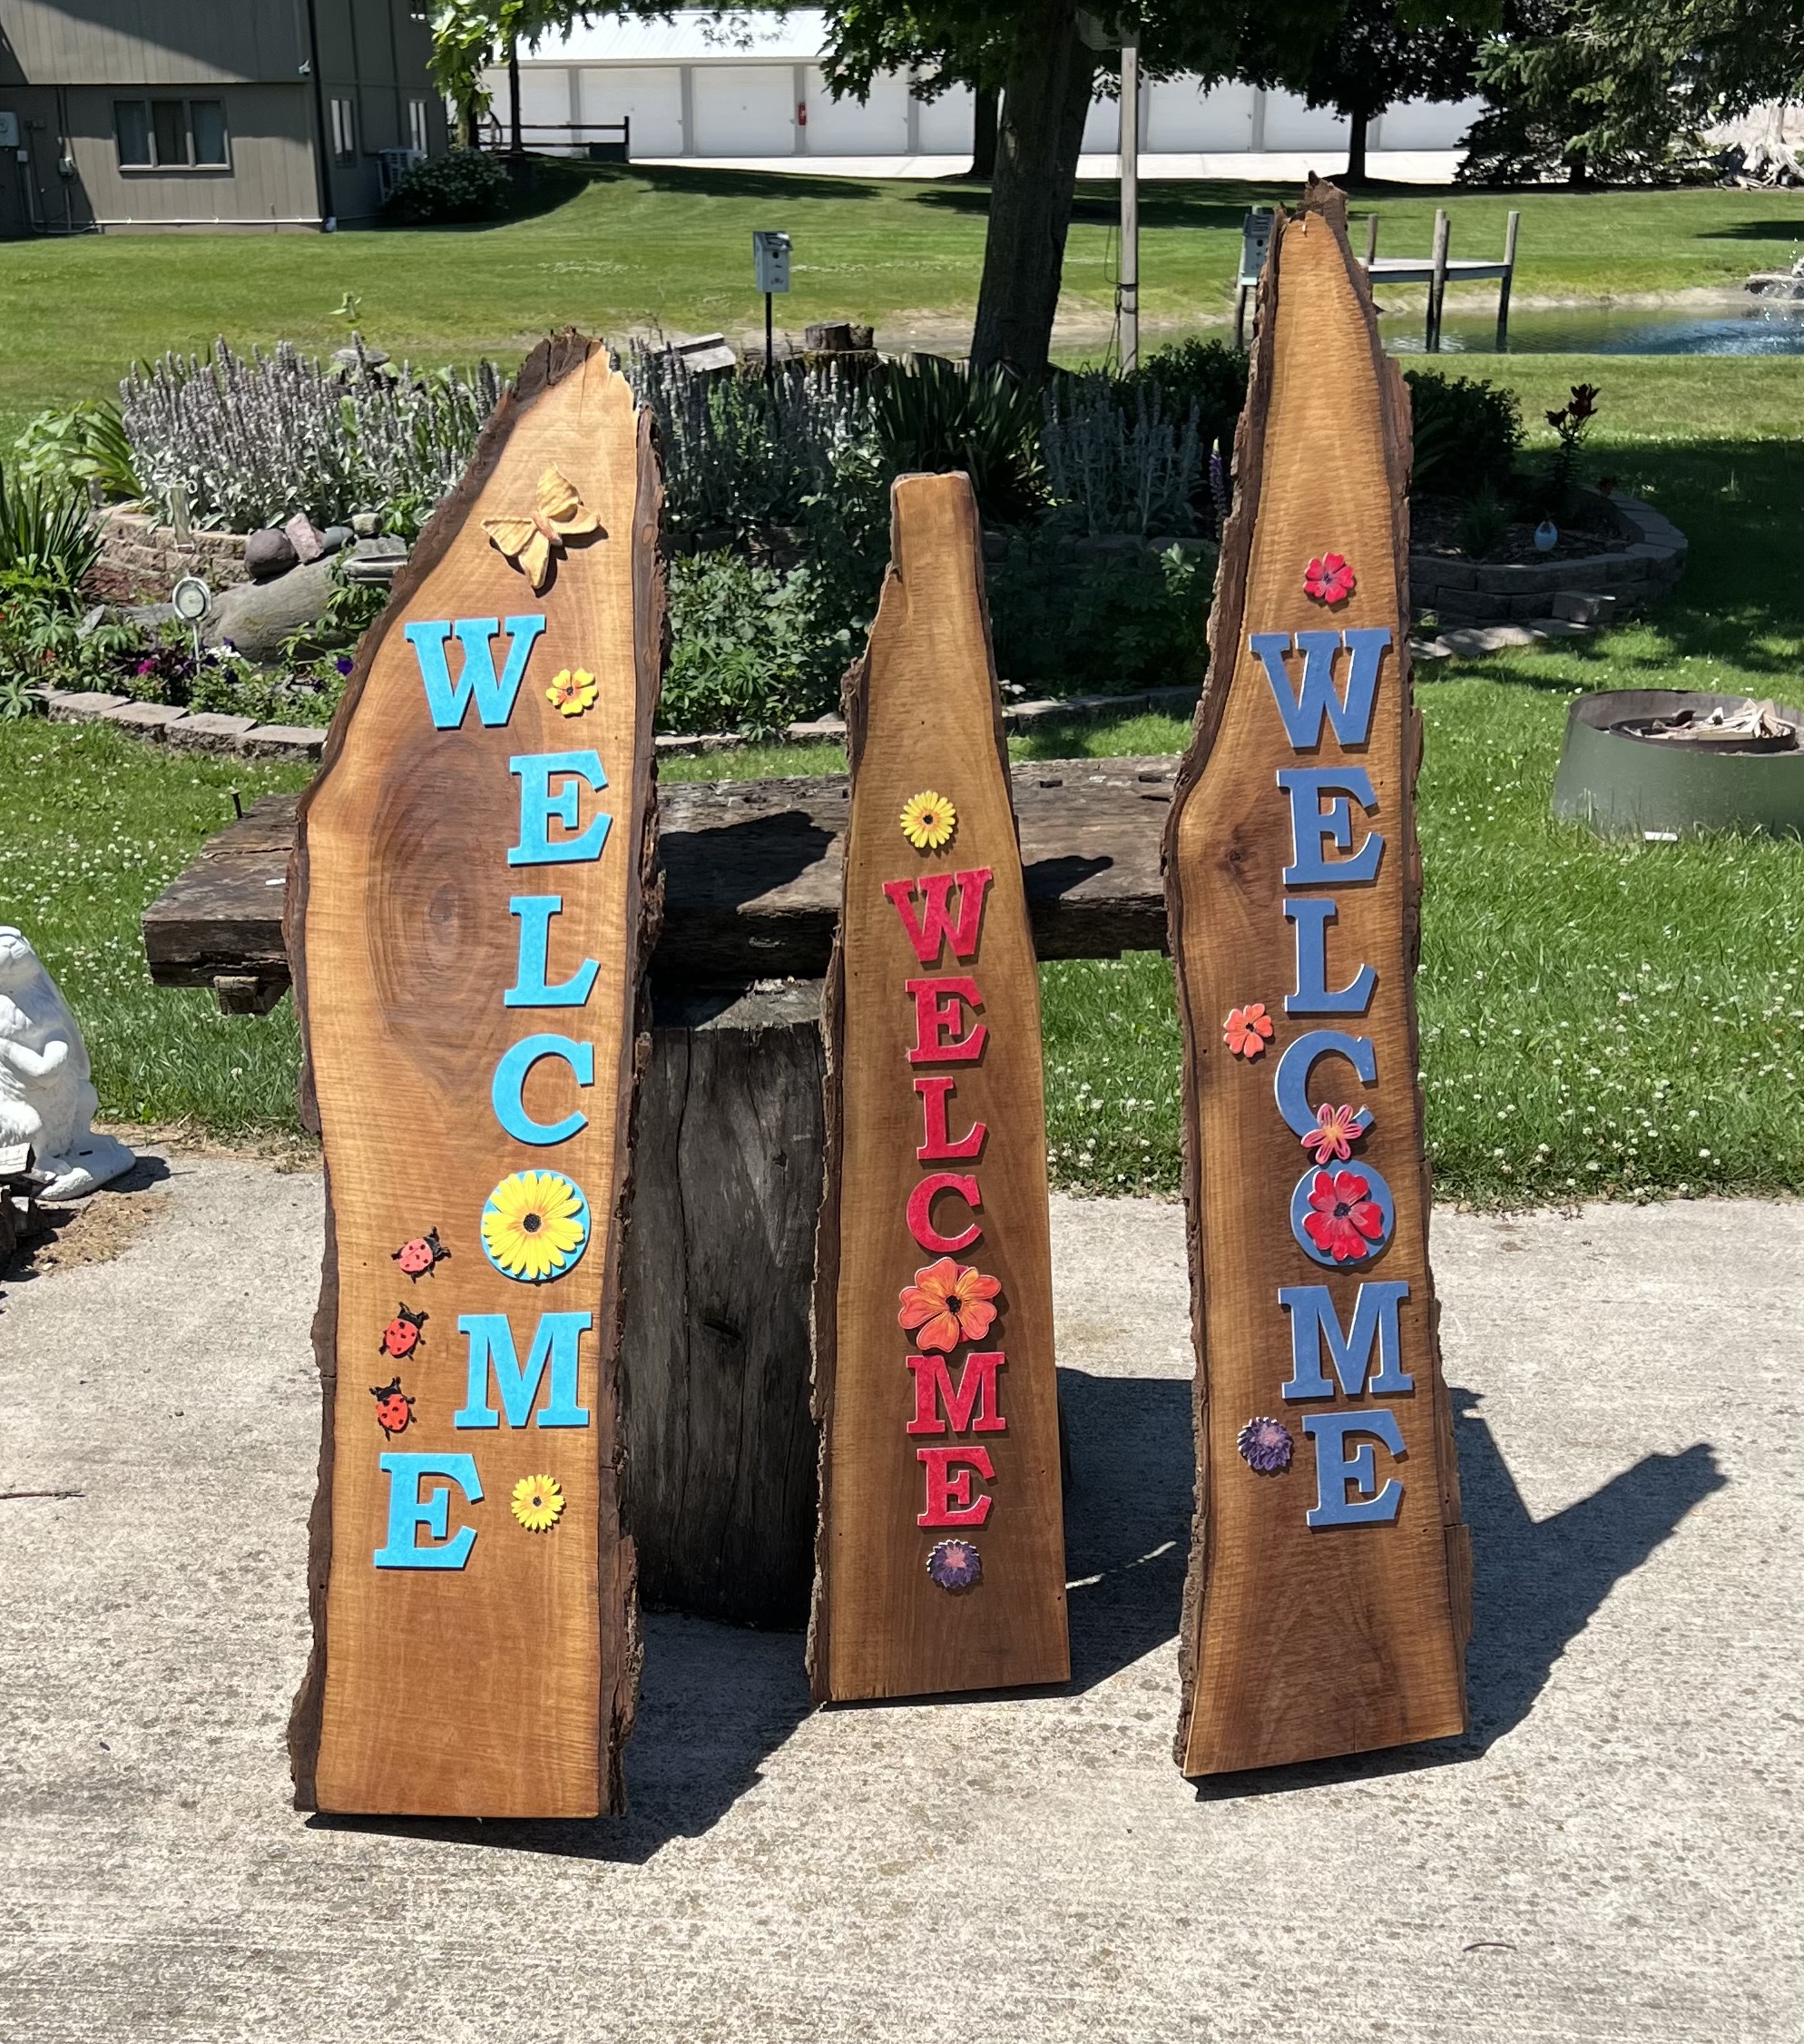
MrsGF finished up the last of the welcome signs the other day with about three coats of all weather polyurethane. We did four all together. We’re keeping one and these three are already spoken for. They turned out pretty nice I think.
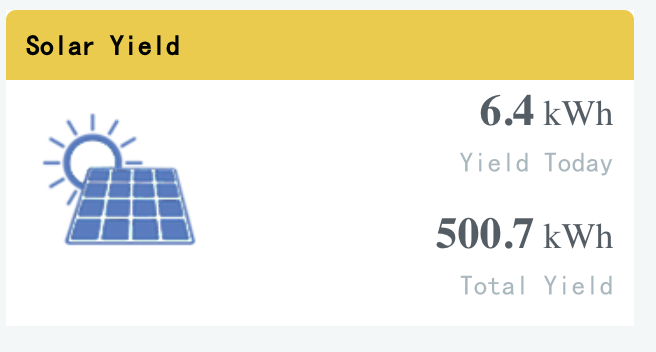
We hit a milestone with the new EG4-12000XP inverter. We hit half a megawatt of production earlier today! We’re going to need every watt we can get out of that system because the big central AC unit is still on the grid and it’s been going for something like 3 weeks straight now since we shifted into this hot weather pattern. We decided to leave it on the grid because while the 12000XP would have enough oomph to handle it, I suspect it would would discharge our batteries to a point where I would become uncomfortable overnight. It’s the old style AC system, but it’s only a few years old so replacing it isn’t in the cards at the moment. If we’d known better at the time we would have gone for a heat pump system which is much more energy efficient but at the time we weren’t even dreaming of putting in whole house solar. I looked into it but a heat pump system would have been around twice the cost so I never seriously considered it. Oh, well. Live and learn, as they say.

Our electric rate here isn’t bad, about 20¢/KWh, which is cheap when compared to what those poor buggers out in California are getting hit with thanks to Newsome and the California legislature being owned lock, stock and barrel by the utility companies and the hundreds of thousands of dollars of bribes… (cough cough), I mean “campaign donations” and lobbying $$ they pay out every year. But the handwriting is one the wall, as they say. Thanks to the huge amounts of power the massive data centers being built here in the state are gulping down now and will gulp down in the future, the utilities are going to have to invest hundreds of millions of dollars in new generating facilities, substations and high tension power lines to feed them, and you can be damned sure that if Microsoft, Meta, Oracle and the others building those facilities have anything to say about it, it’s going to be us consumers who are going to foot the bill, not them.

But on to a more pleasant subject. Laser engraving.
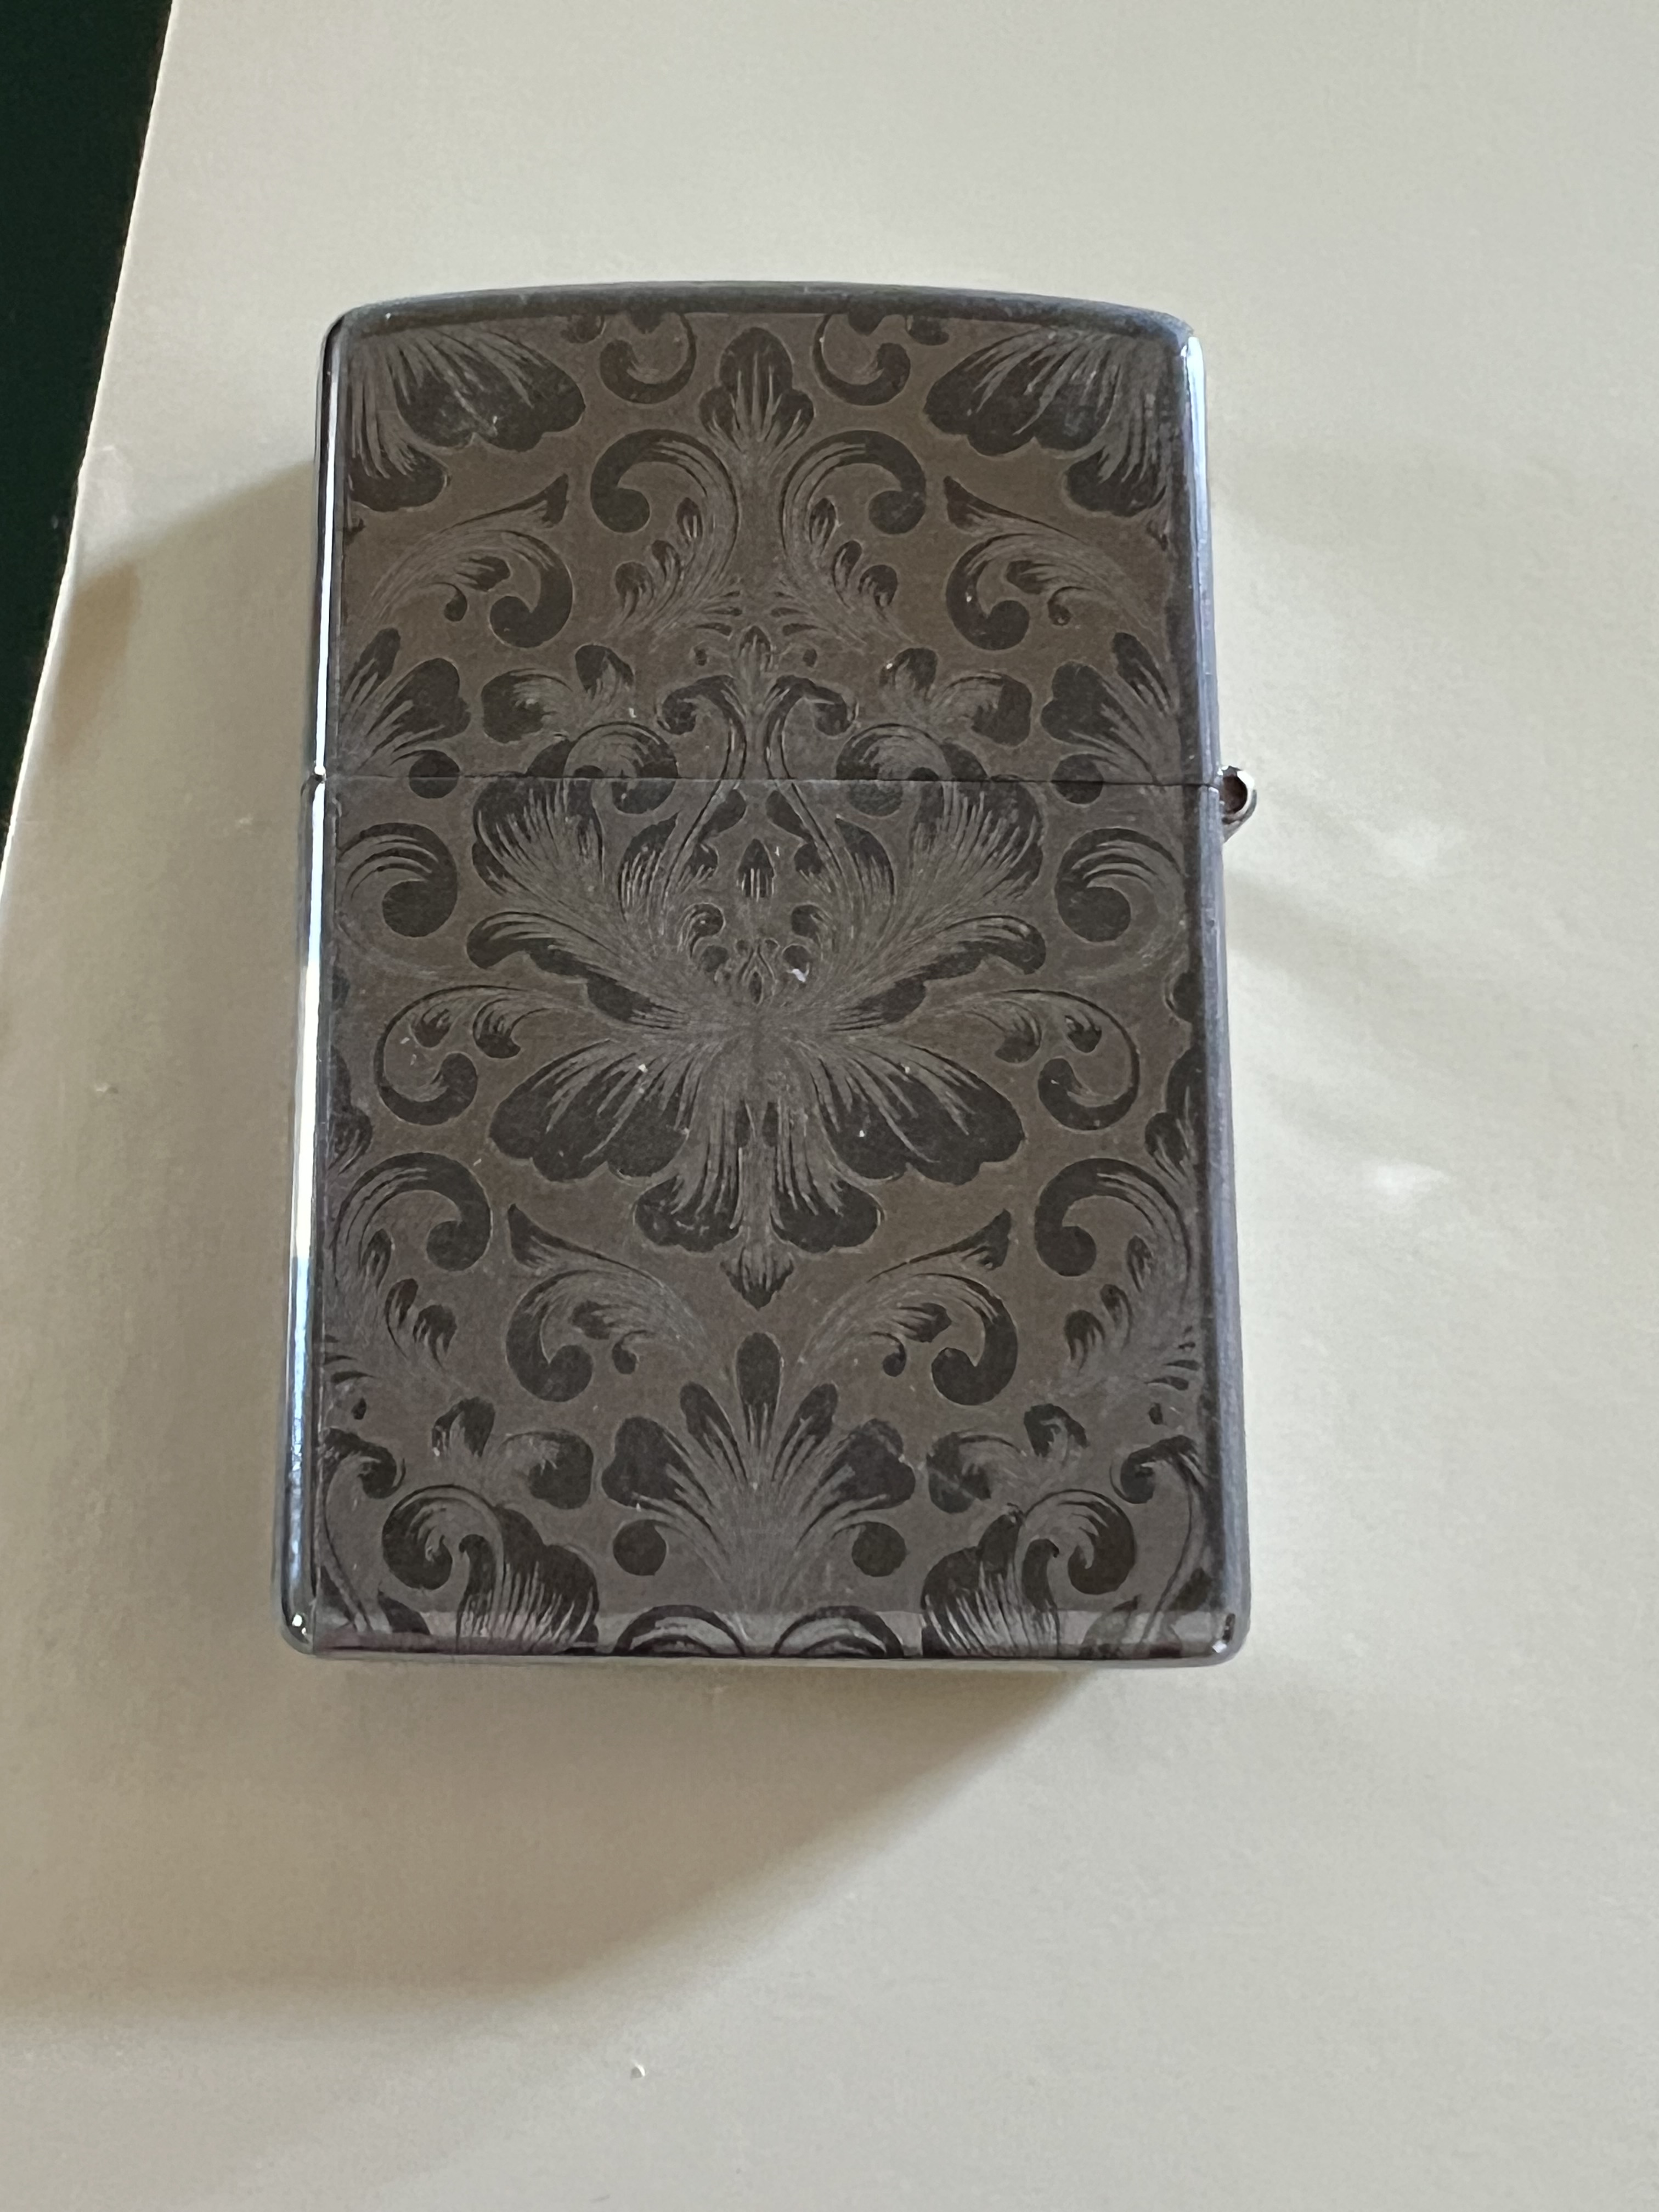
I had no idea but apparently Zippo lighters are still a thing with some people? I thought that with the rate of smoking going down every year the market for lighters would have shrunk as well but I guess I forgot about the people who smoke “recreational substances”, shall we call it? That’s still illegal here in Wisconsin but all you have to do is nip across the border to Illinois, Minnesota or Michigan if you want to light up.

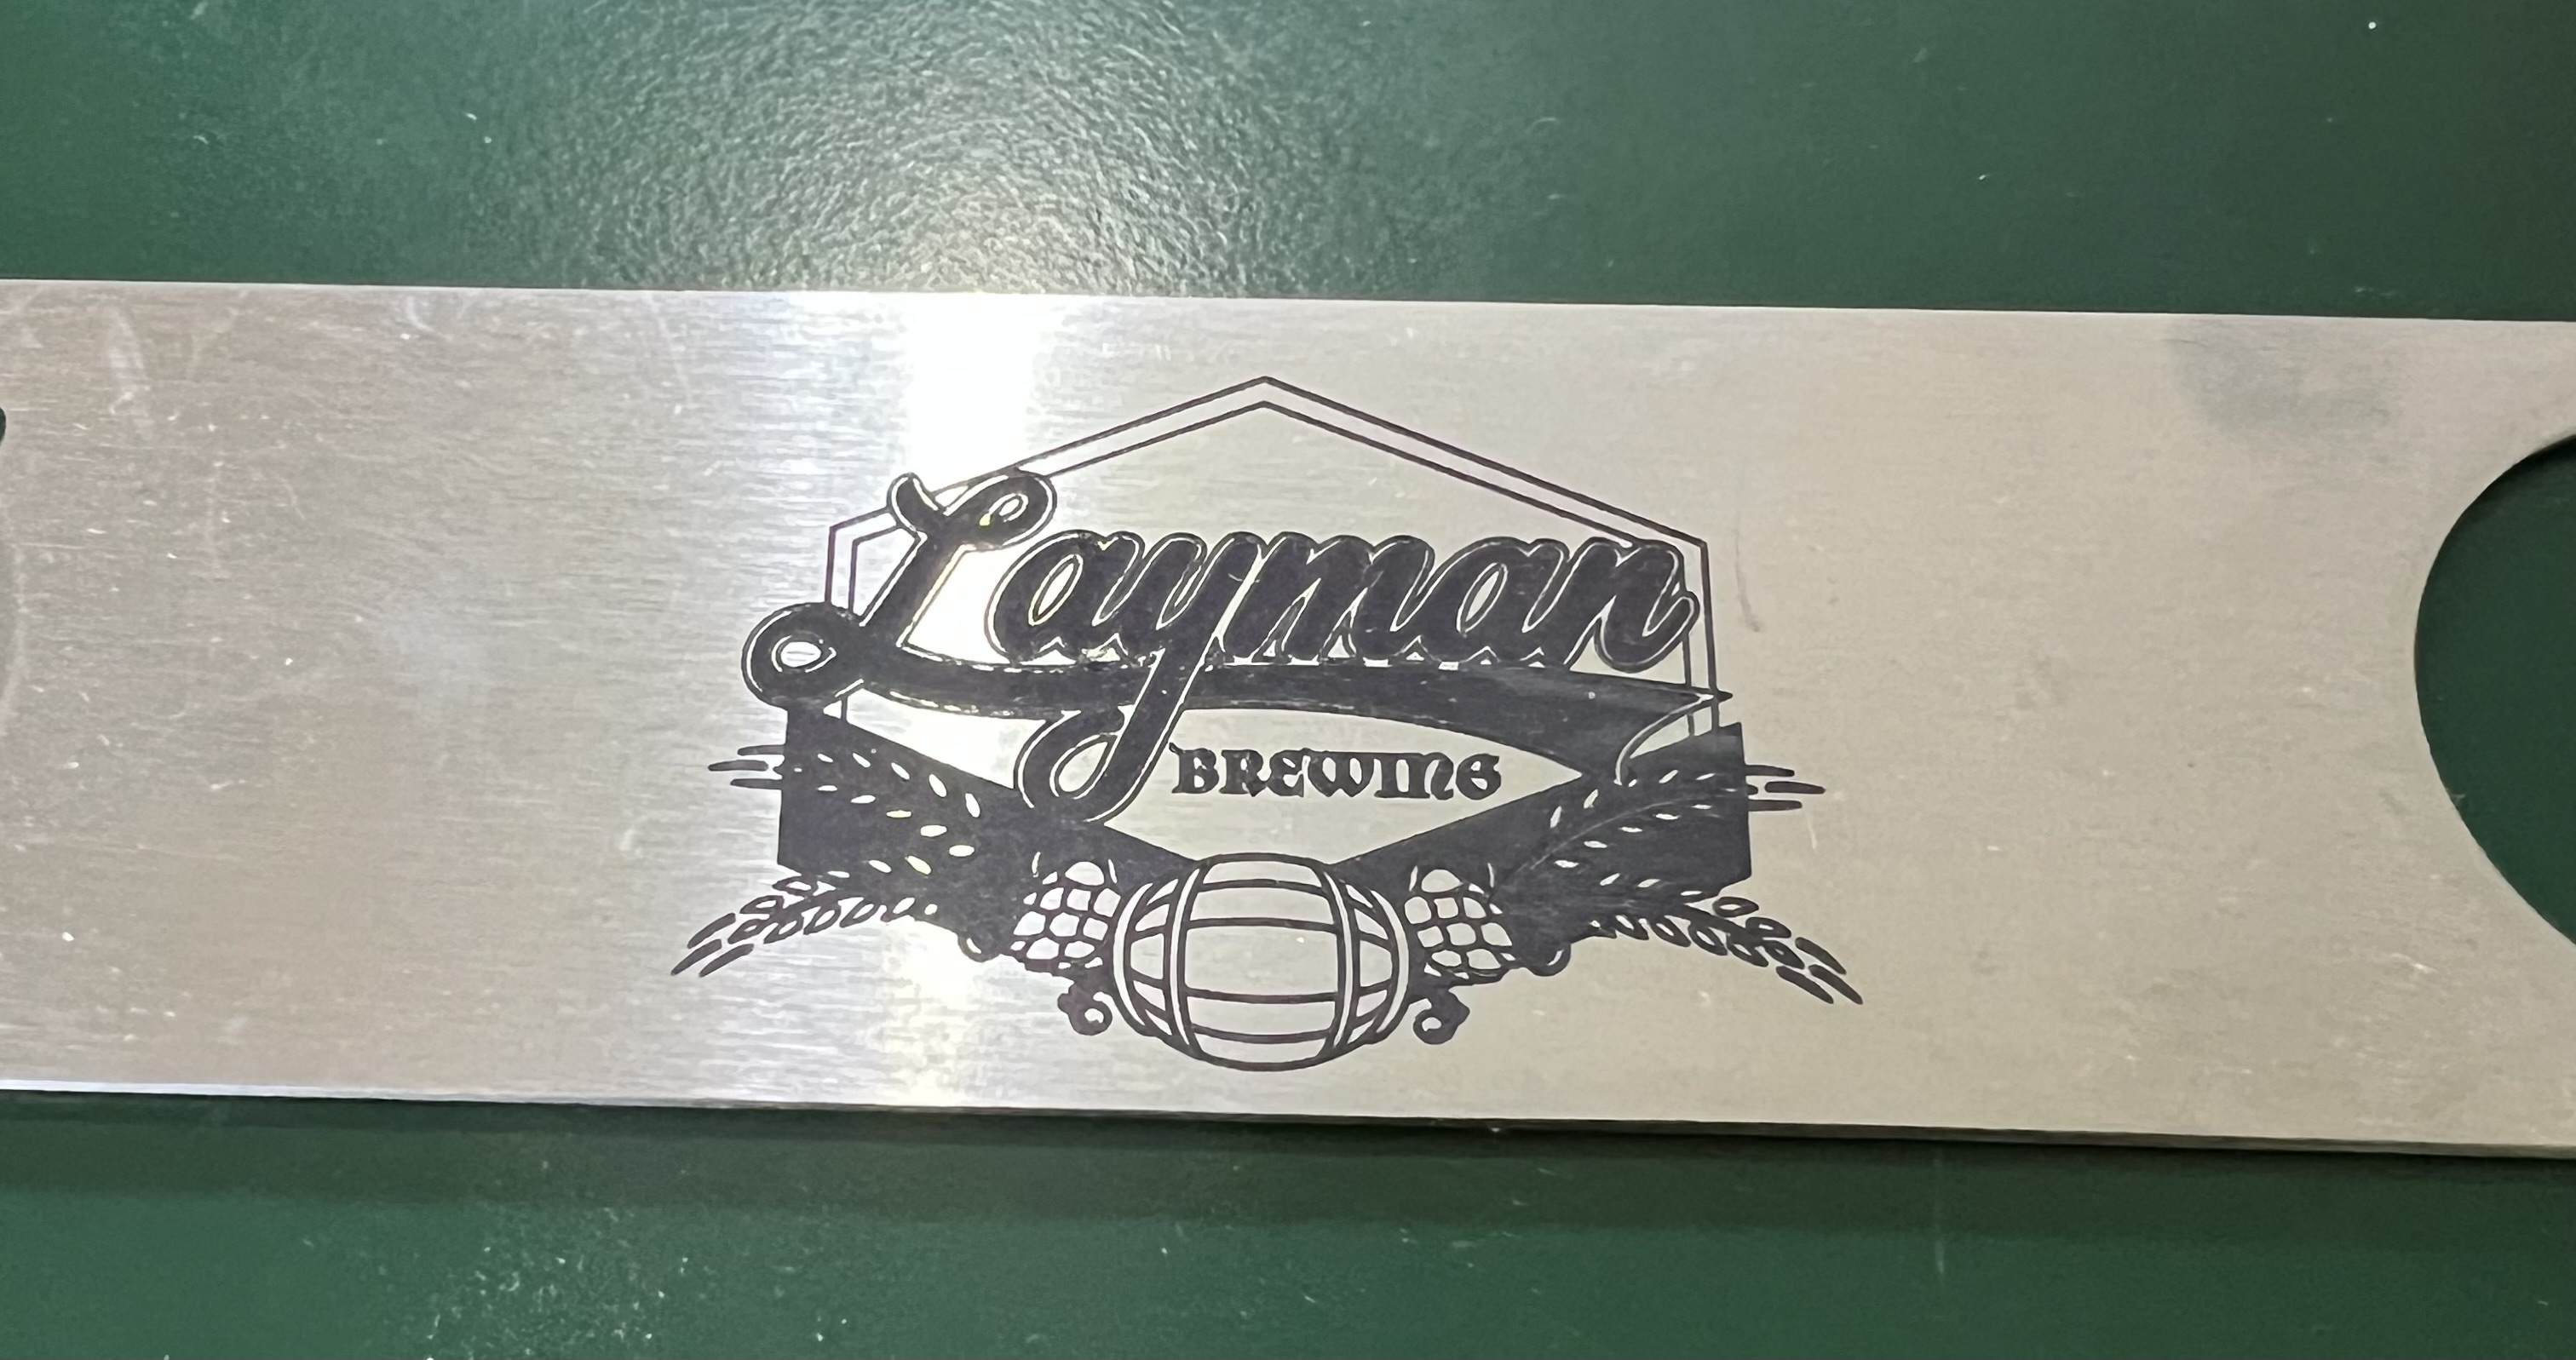
I did the first one with the brewery logo on it to give to Kyle, one of the owners. And then I started playing around using the Lumos Flex from Wecreat and the fiber laser and wow, it does a nice job engraving stainless steel! Doesn’t take long, either. With the IR laser in my old Lumos it would have probably taken half an hour to do something like this. With the fiber laser it takes about 4 minutes. It actually eteches right into the metal so that design isn’t just discoloration, it’s actually etched in there and will never wear off. I’ve done about four of these for various people to give as gifts and they keep telling me I should put these up on Etsy or somewhere, but no thanks. I do not want to get into that rat race. Plain, genuine Zippo lighters cost me about $18 each. In order to make it worth my while I’d probably have to charge $35 – $40 for one and I don’t think anyone would be silly enough to pay that.

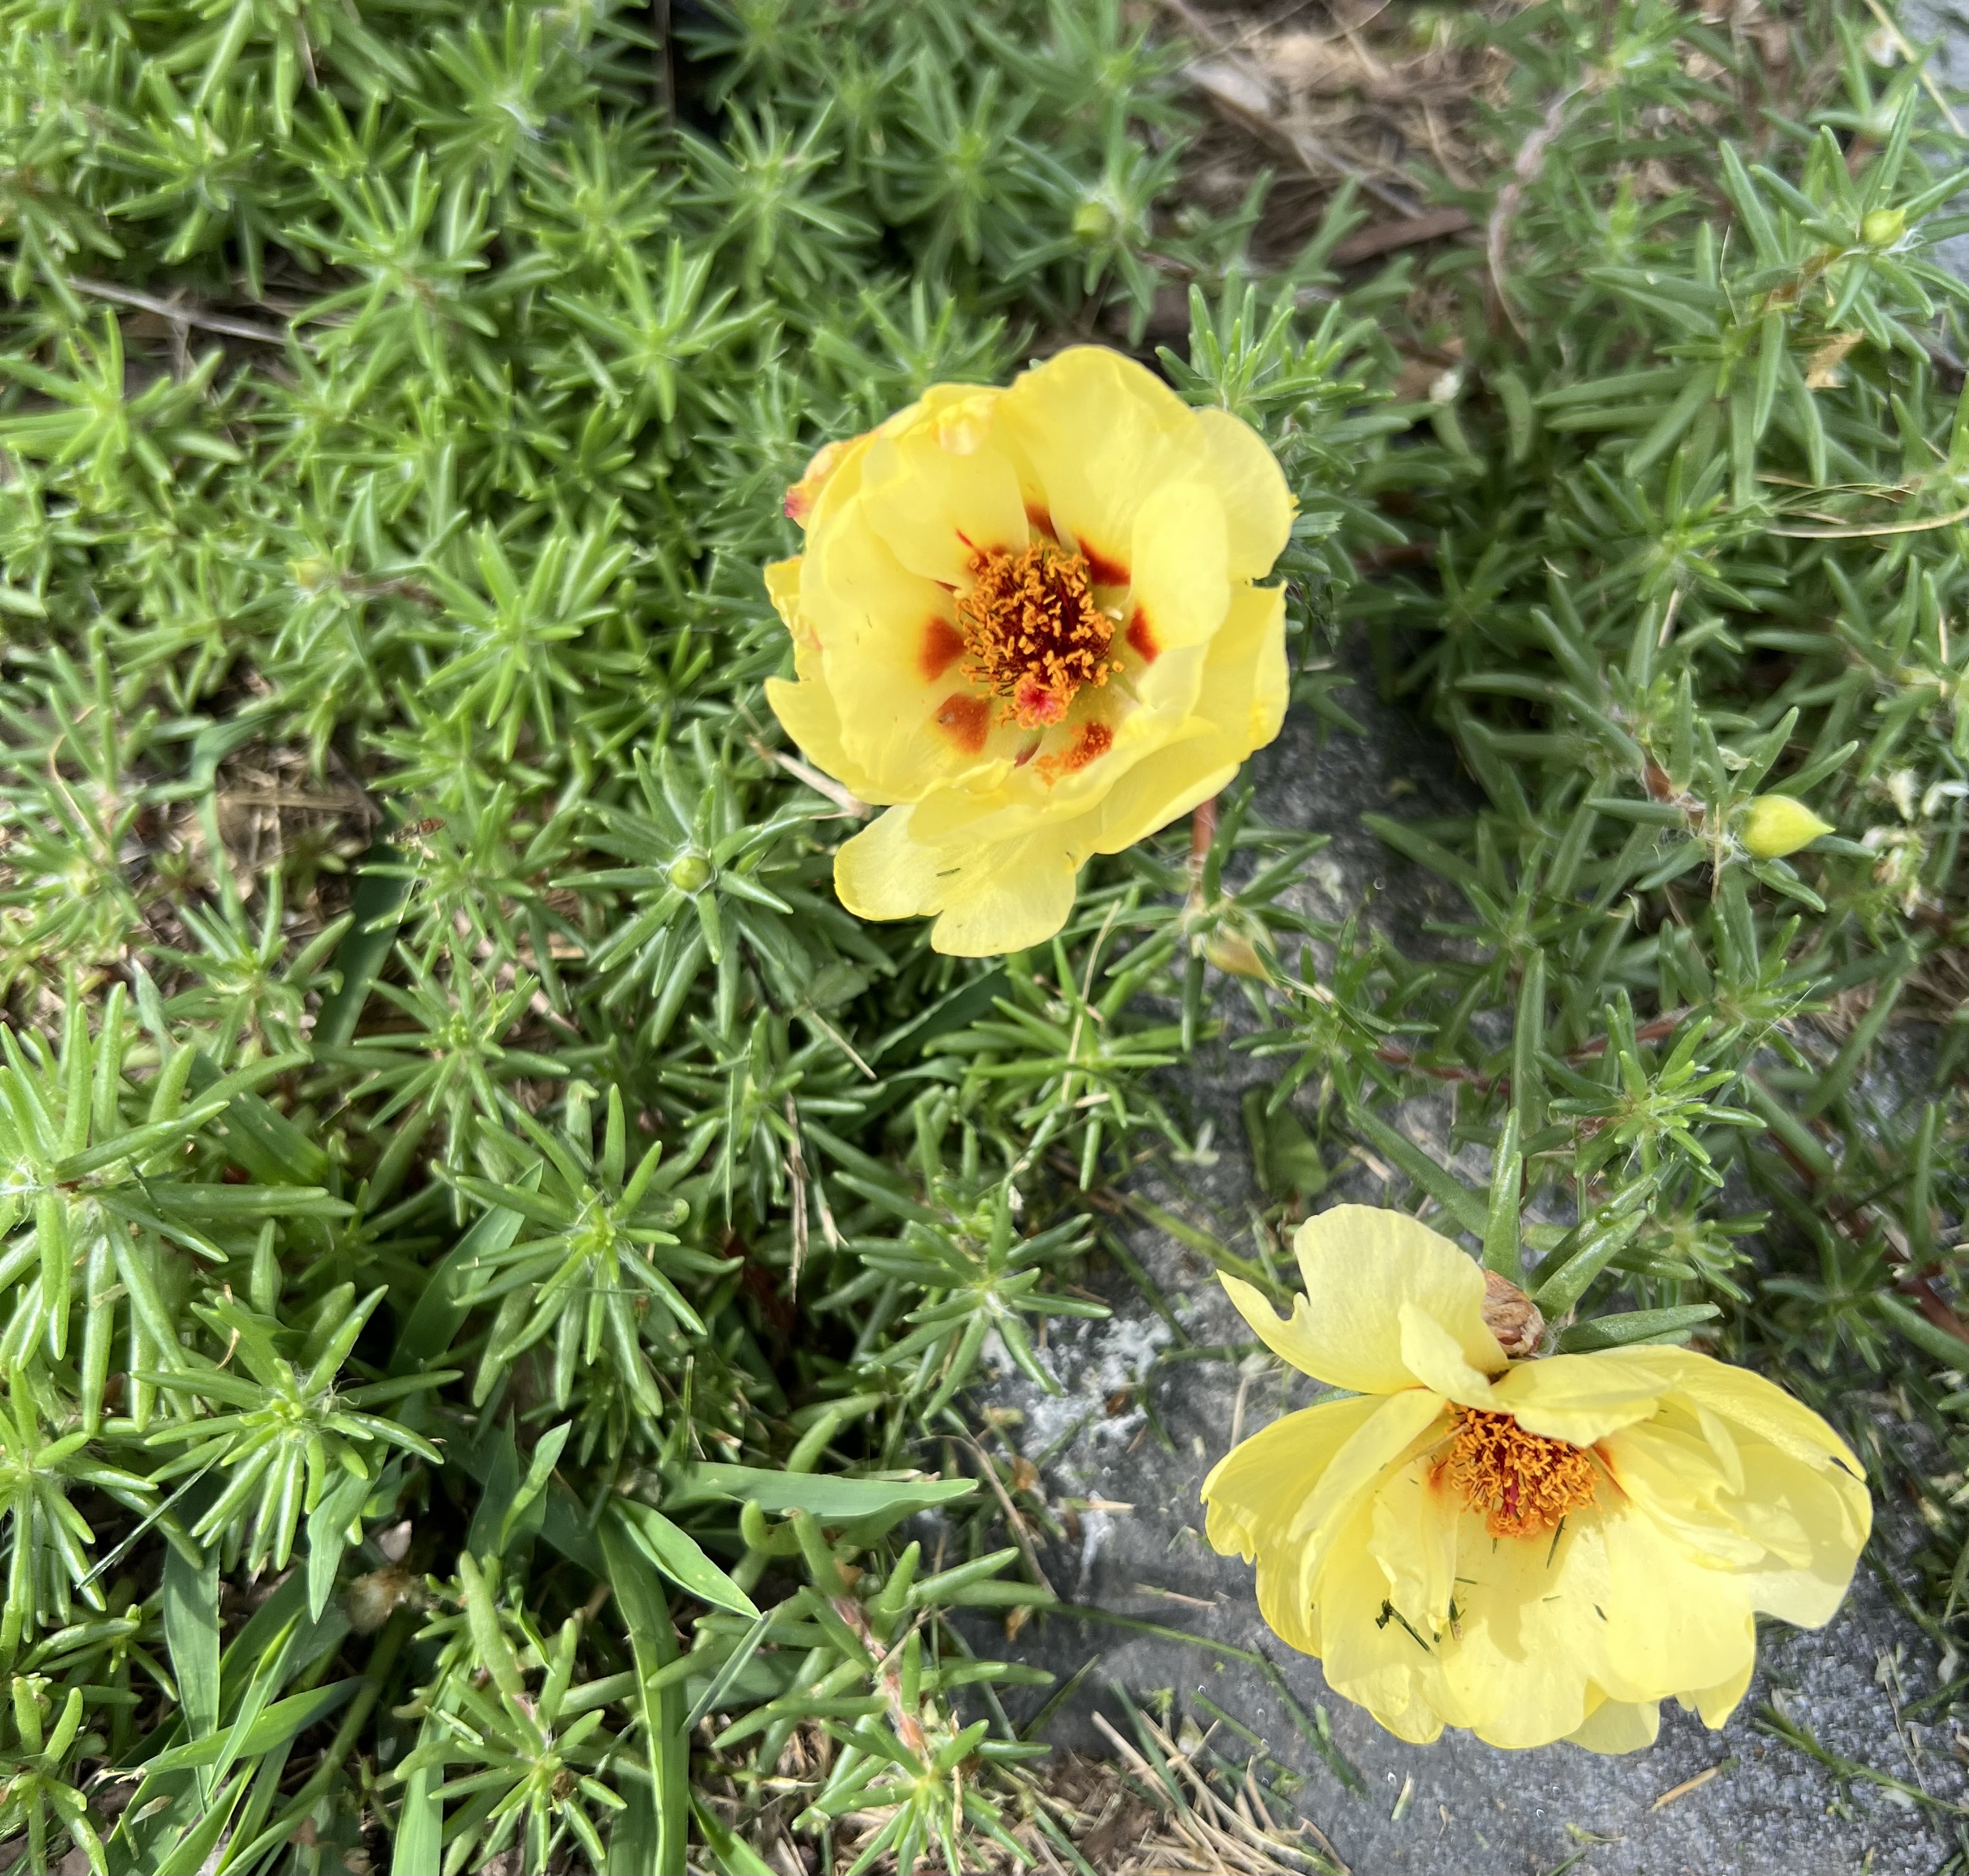
And then we got flowers! Wow, do we have flowers! Here are a couple.
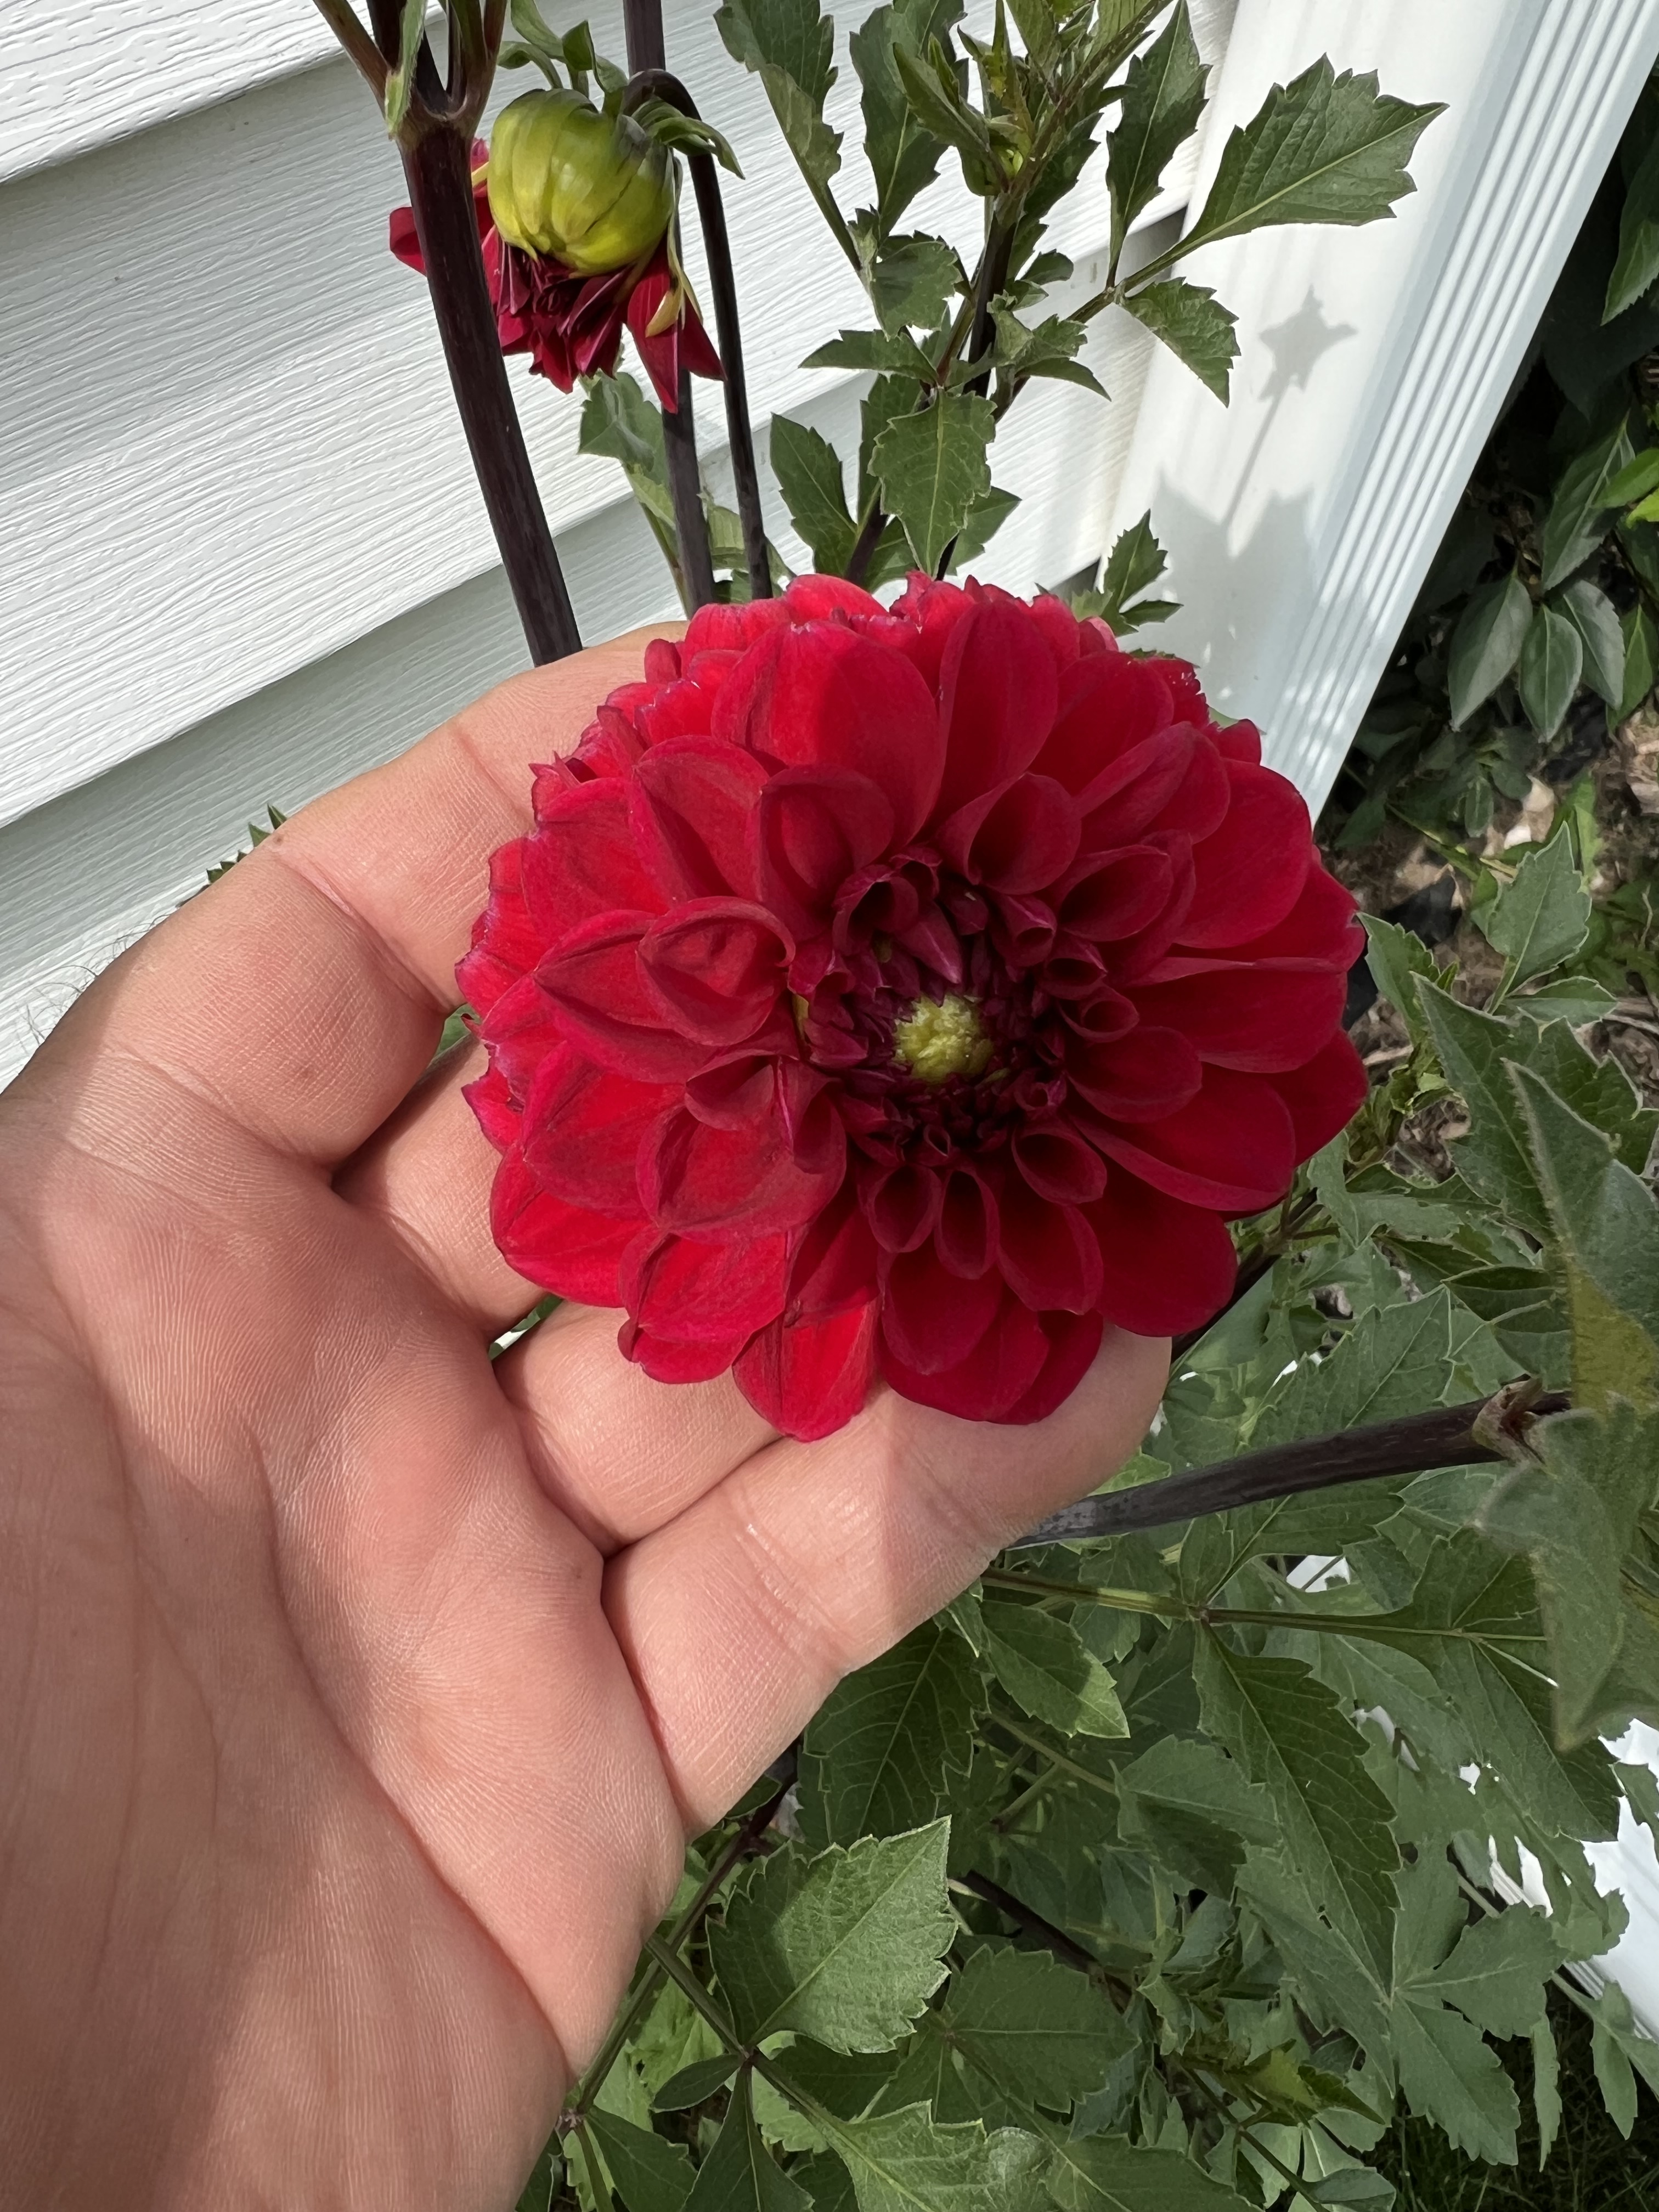
As for the rest of the gardens I’m too lazy at the moment to go out and get pictures so you’ll have to settle for a description. The tomatoes are going gangbusters. They’re already loaded with green fruit. We have 6 plants this year. We were only going to put in 3 but we had 3 or 4 volunteers pop up and MrsGf didn’t have the heart to just pull them so she transplanted them to a better location and they’re looking just as good as the ones we grew from seed ourselves.

The carrots are thriving and we really need to thin them out. The beets? We’ve already been picking some and eating them. They’re doing fantastic. The celery is looking beautiful this year. When I’m mowing the lawn I can’t help but snip off a stalk to nibble on when I’m riding on the mower. If you’ve never grown celery yourself, please give it a try. You won’t believe how intensely flavored the home grown varieties are when compared to the commercial varieties they sell in the grocery store.

The onions are getting to the point where we’re thinking of starting to pull some and curing them off and putting them in storage.

We have a few zucchini plants as well and they’re producing beautifully. The nice thing about zucchini is that it has almost no flavor so you can slip it into anything and nobody will notice they’re eating something healthy. Tonight I’m going to do a zucchini-mushroom stir fry with lots of garlic and onions and parmesan cheese.

I’m eagerly awaiting the tomatoes. Absolutely nothing compares to the flavor of a ripe tomato fresh off the plant from the garden.

Let’s see, what else?

Oh, the hip! Almost forgot about that. I suffered for something like 3 weeks with pain in my right hip that was almost excruciating at times when I bent my leg the wrong way. It started to oh so slowly get better over time. But then the other day I woke up and got out of bed and suddenly realized that the hip didn’t hurt. At all. It was like someone just threw a switch. There’s a bit of soreness there but that’s because the muscles in the leg are stiff from not being used normally for so long.

So what happened? I have no idea. MrsGF thinks it might have been a pinched nerve and I suppose that’s possible?

Anyway, I’m still taking it easy because I’m terrified of doing something that might bring it back. But otherwise things are back to almost normal. I’m even back on the bike again but I’m keeping the riding limited to just a few miles and at a relatively slow pace for the time being.

Let’s see… Oh, almost forgot! Silly cats, right?

That’s Charlie over there in her new favorite stot to sit. If I scoot forward to type on the computer and there is any space at all between me and the back of the chair, she’ll squeeze in there. She is an absolute sweetie. I’ve never seen a cat that loves people as much as she does. She belonged to our daughter in law’s aunt but she had to move into an apartment that doesn’t allow pets so we volunteered to take her in and we’re so happy we did. She’s getting up there, about 14 or 15 years old now, and she has a heart murmur and a benign cyst on her neck that puts some people off but doesn’t seem to bother her at all. The cyst is inoperable because she can’t tolerate anesthesia. They tried once and her heart stopped and she almost died so unless it’s a genuine emergency neither we nor her vet are willing to try it again.

And that’s about it for now!

Hm? Oh, oh, wait… Oh no… That’s not a 3D printer on a truck heading this way, is it? No, it couldn’t be. I swore I’d never buy another one, didn’t I? I seem to distinctly remember saying that, didn’t I?
Can I Laser XXXX? Let’s Find Out!

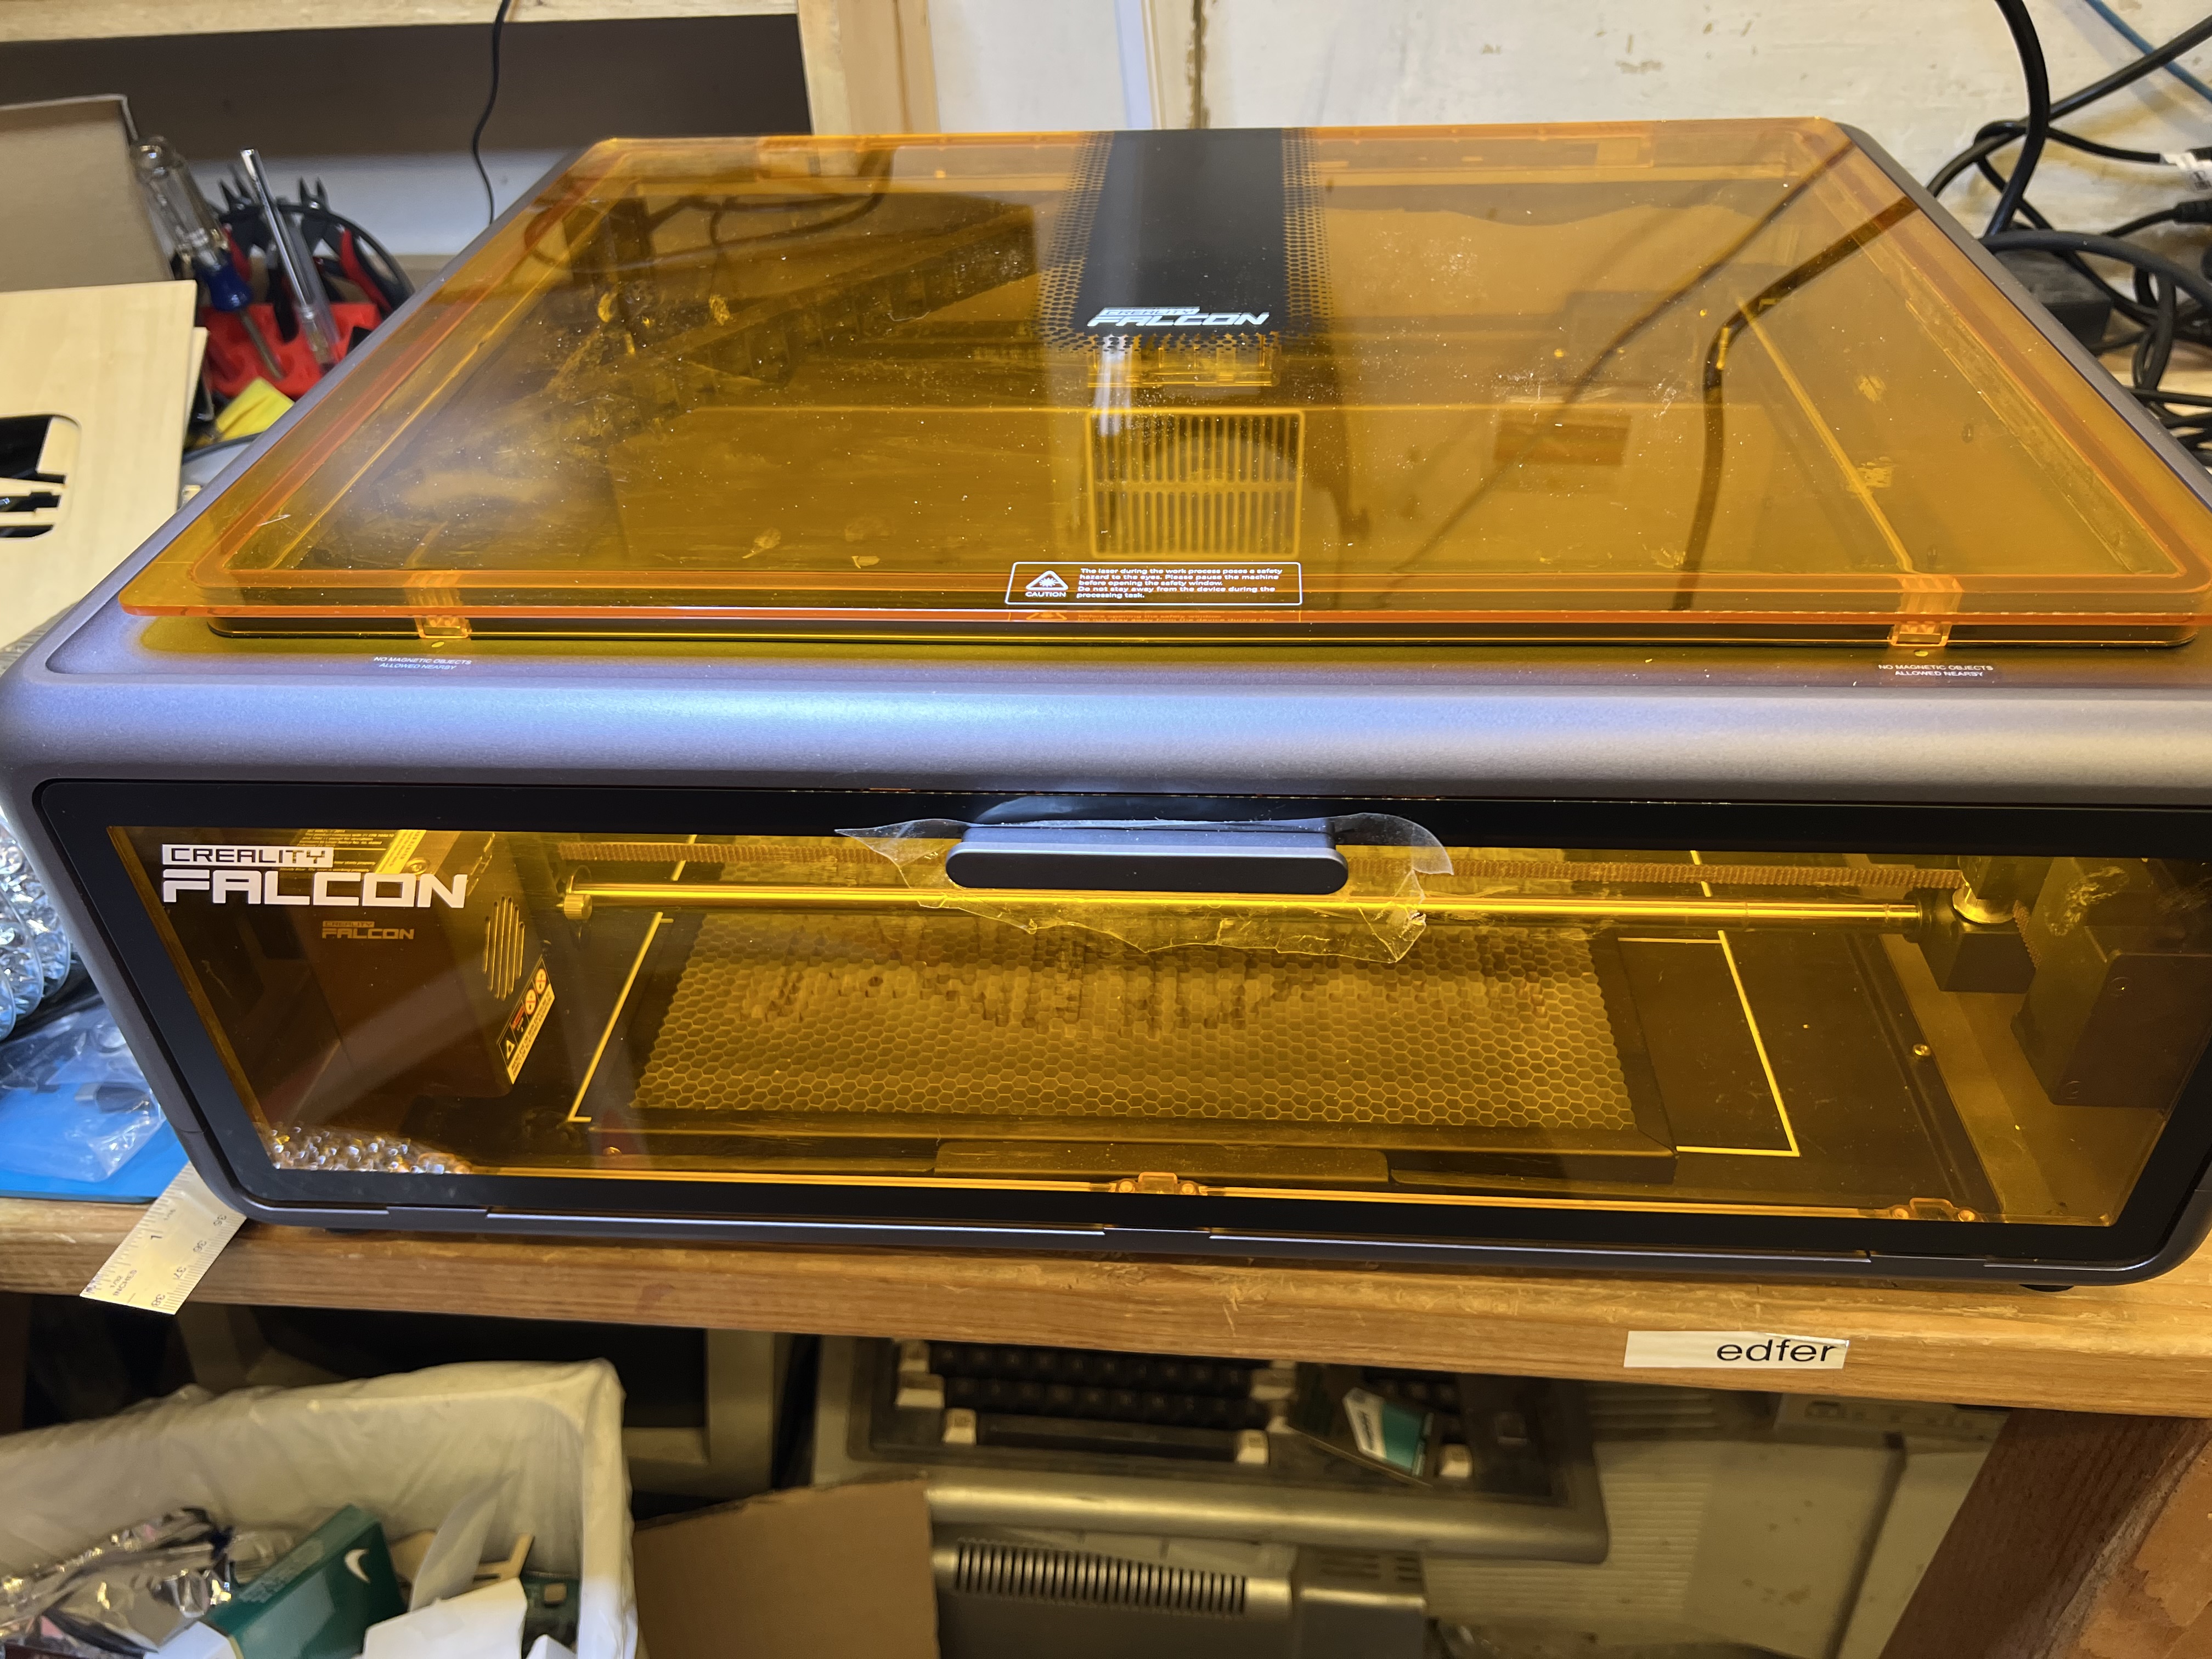
So I have this nifty new laser engraver, the Falcon A1. Let’s see what it can do and see if there are some interesting ways you could make money with one of these in the process.

Can I Laser a Rock?

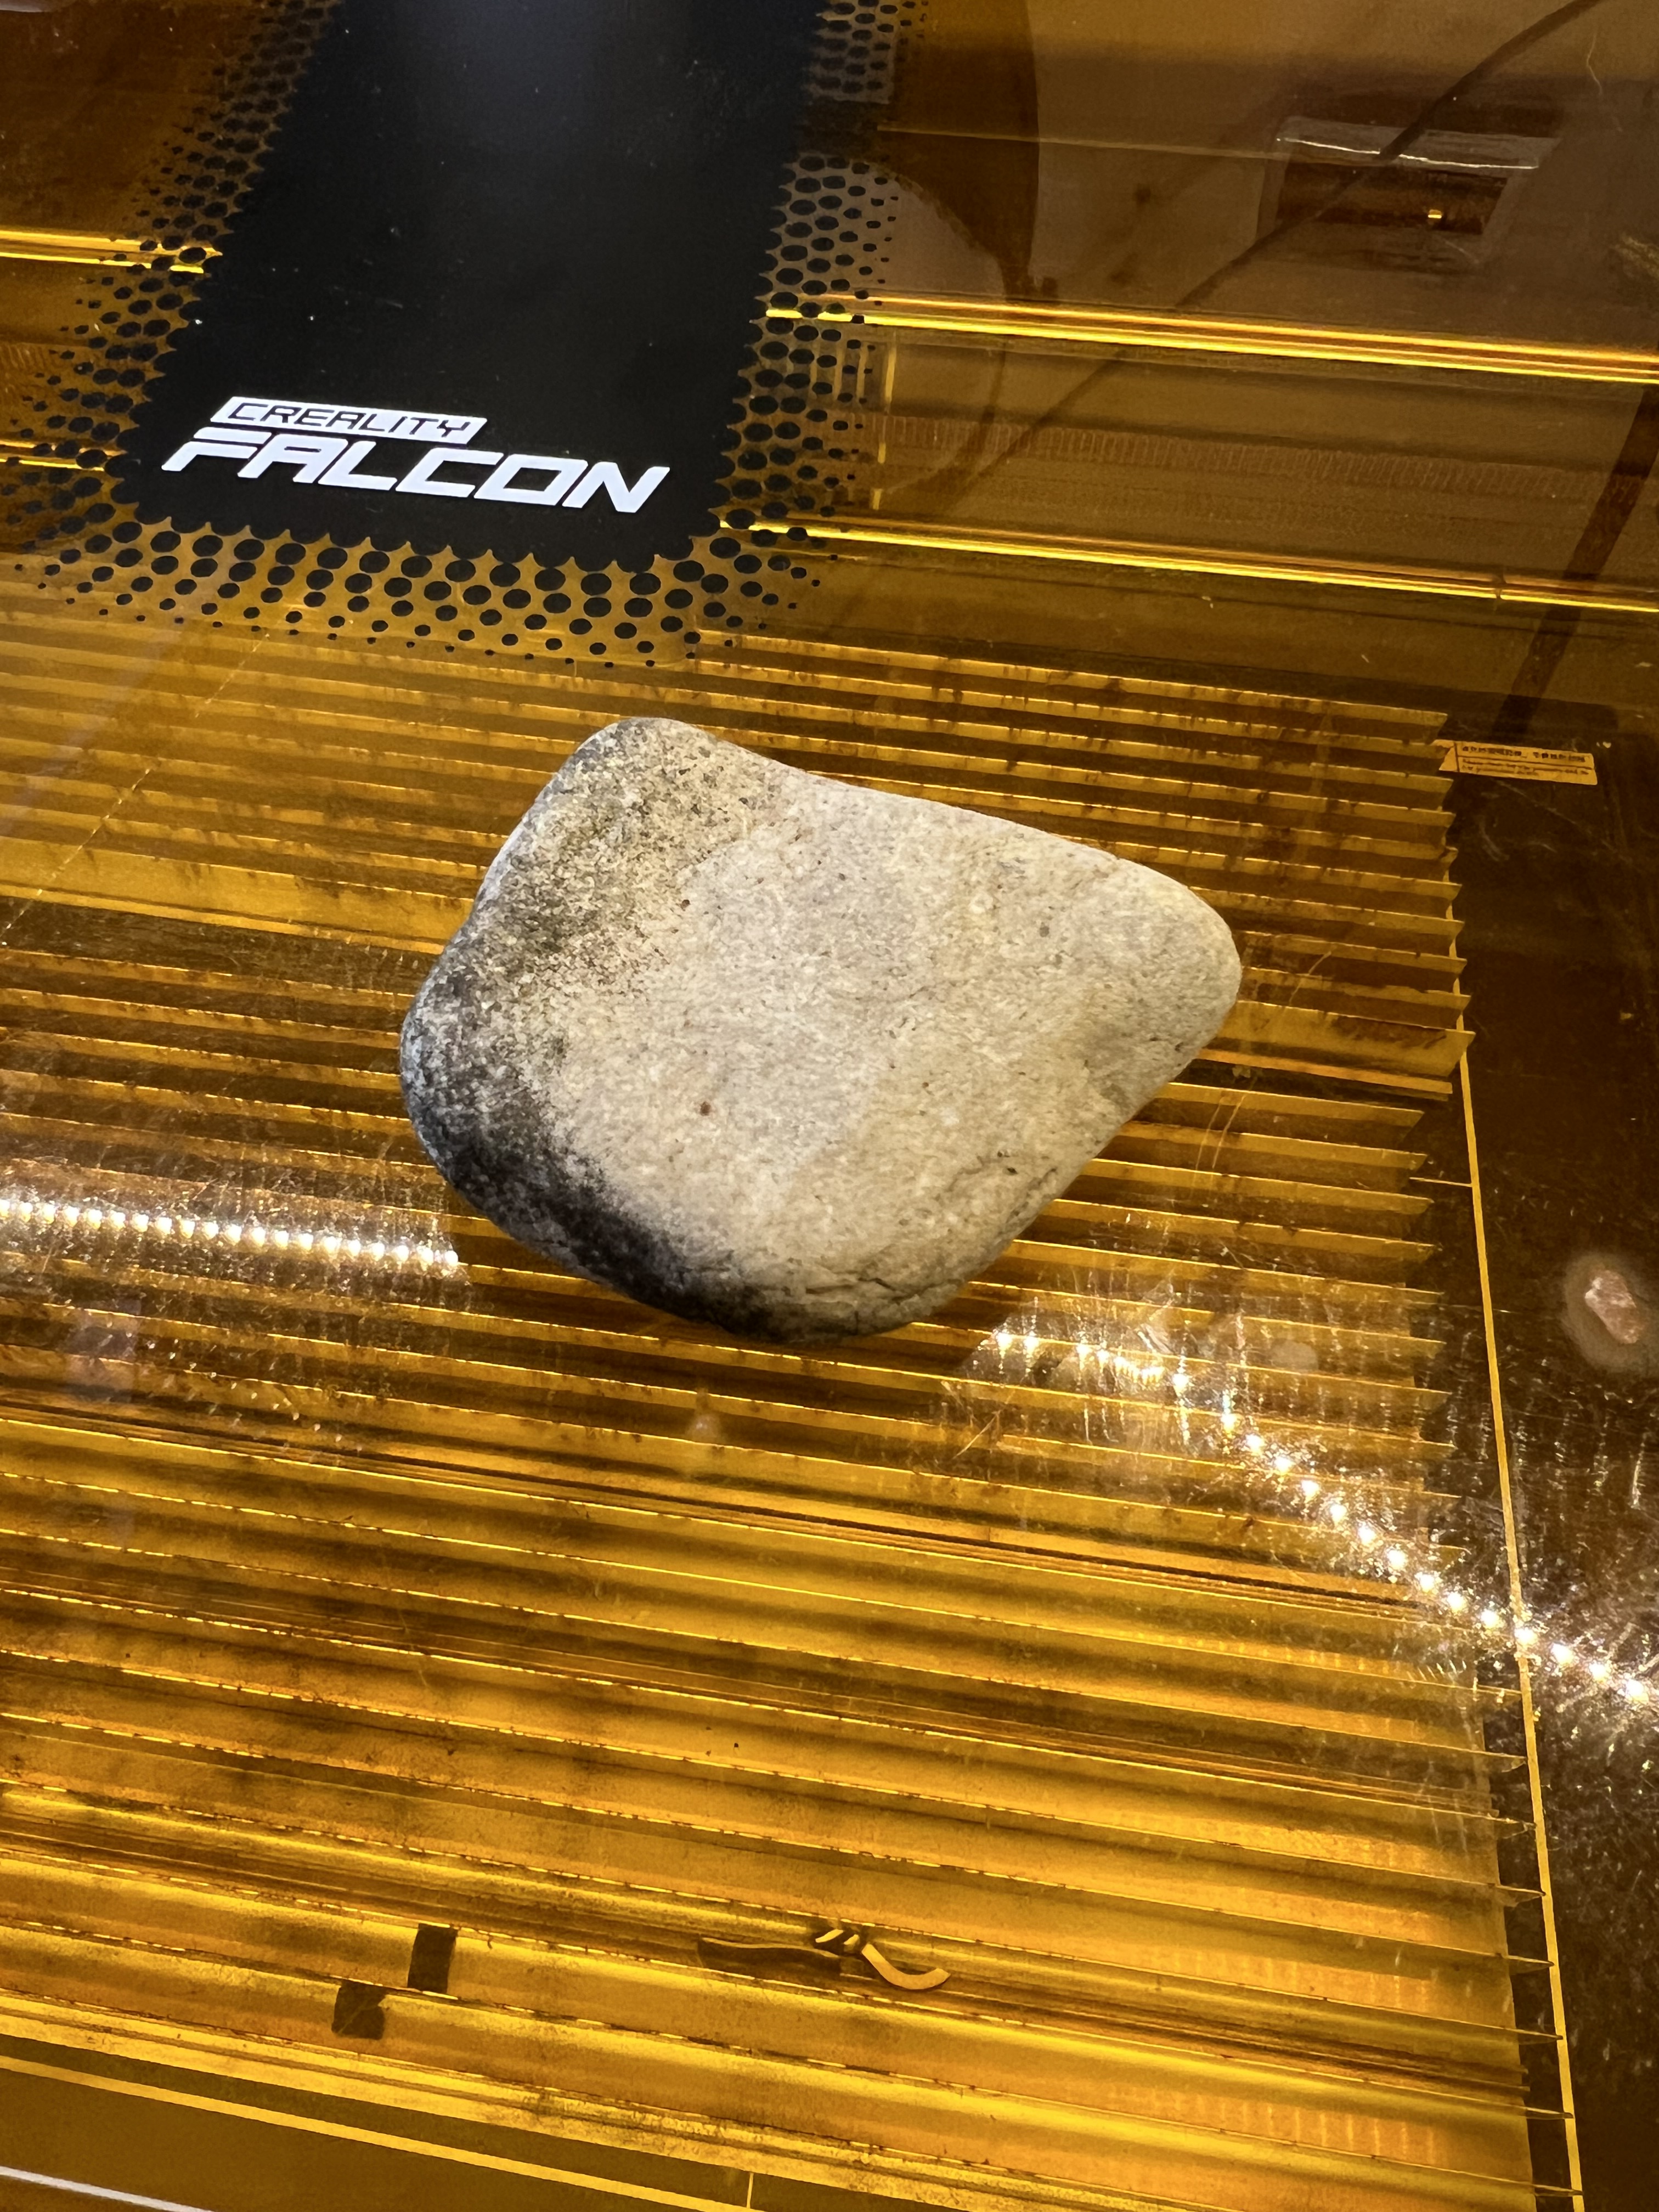
So I went outside and picked up a few rocks that would fit on the laser just to see what would happen. Let’s start with this one:

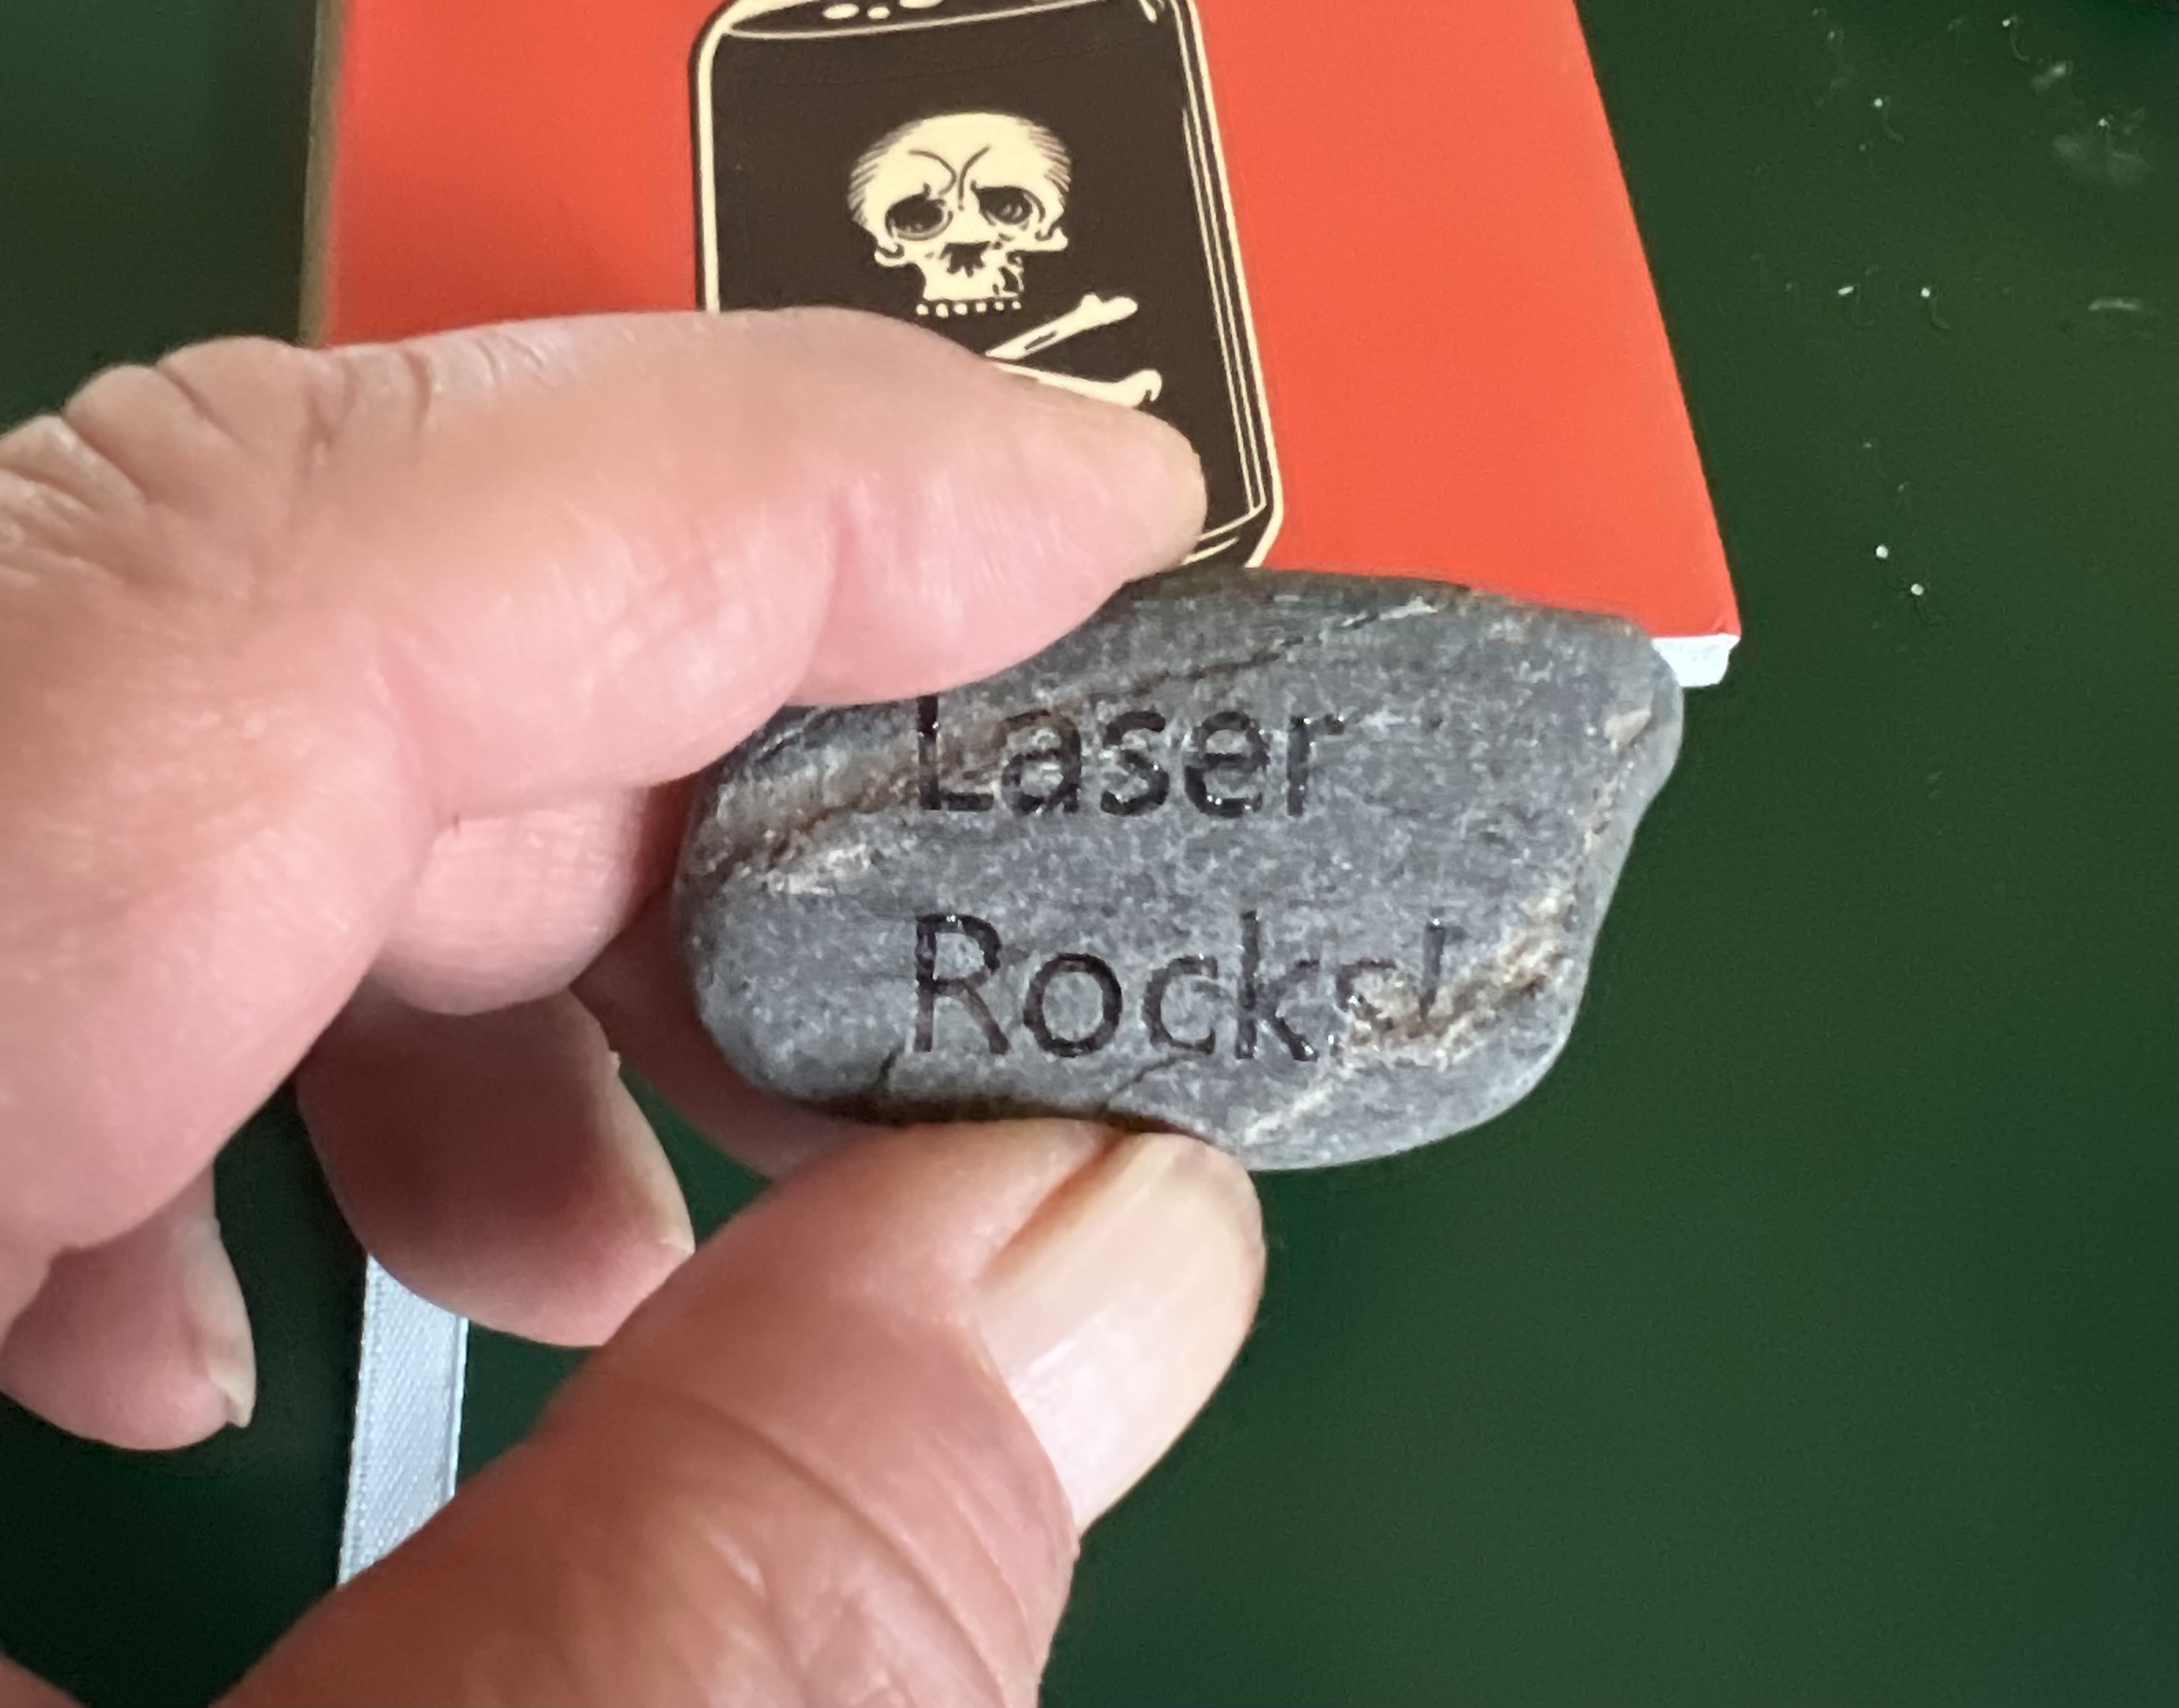
It’s not very big, about half in inch thick, maybe two inches wide and a bit longer. I think it’s basic limestone. Maybe? Can the Falcon engrave it? Let’s see what happens if I chuck it under the laser.

And the result is this below:

Well, okay, that’s cool. It will engrave rock. And it does a pretty nice job of it, too. It doesn’t just discolor the stone, it actually engraves it well below the surface.

I tried it with a different stone I found and got this:

If you absolutely have to have the settings I used on the Falcon A1, this was done at a speed of about 350mm at 100% power with air assist turned on.

So it absolutely will engrave stone (and presumably things like brick, cement, slate, etc.) The requirements are that it has to be thin enough to fit under the laser, and it has to have a relatively flat surface to focus the laser on. I’ve since tried it on other types of stone and got the same excellent results.

Judging from the crap I see for sale in the tourist trap shops up in Door County, engraved rocks are definitely sellable. Engrave a nice sized smooth rock of some attractive color with some pithy saying or meme or some touching image, maybe a cat licking it’s butt or something, and people will actually pay actual real money for a rock you picked up along the side of the road. Amazing, isn’t it?

Or you can do what I do which is start your own conspiracy theory. Engrave some rocks with mysterious symbols, odd latin phrases like “Anates titillare iucundum est” (tickling ducks is fun), etc. and leave them scattered around public places.

Will It Engrave Clear Acrylic Plastic?

Ah, well, technically no, but also yes. Sort of.

With your typical diode laser the frequency of the laser is such that it will pass directly through transparent materials like clear glass or clear acrylic plastic without doing anything at all to it.

But we’re dealing with energy here, and energy can be transformed and transferred. In the case of clear plastic we need some way to transform the energy of the laser beam into heat that will impact the clear material in the form of heat that will cause the plastic to melt, but only melt where we want it to melt.

Now if you go on Youtube or wherever you’ll see people offering up all kinds of odd tricks to get a diode laser to engrave clear plastic, ranging from special expensive films you adhere to it, special paints or coatings, etc.

Forget about all of that nonsense. All you need is a piece of black card stock.

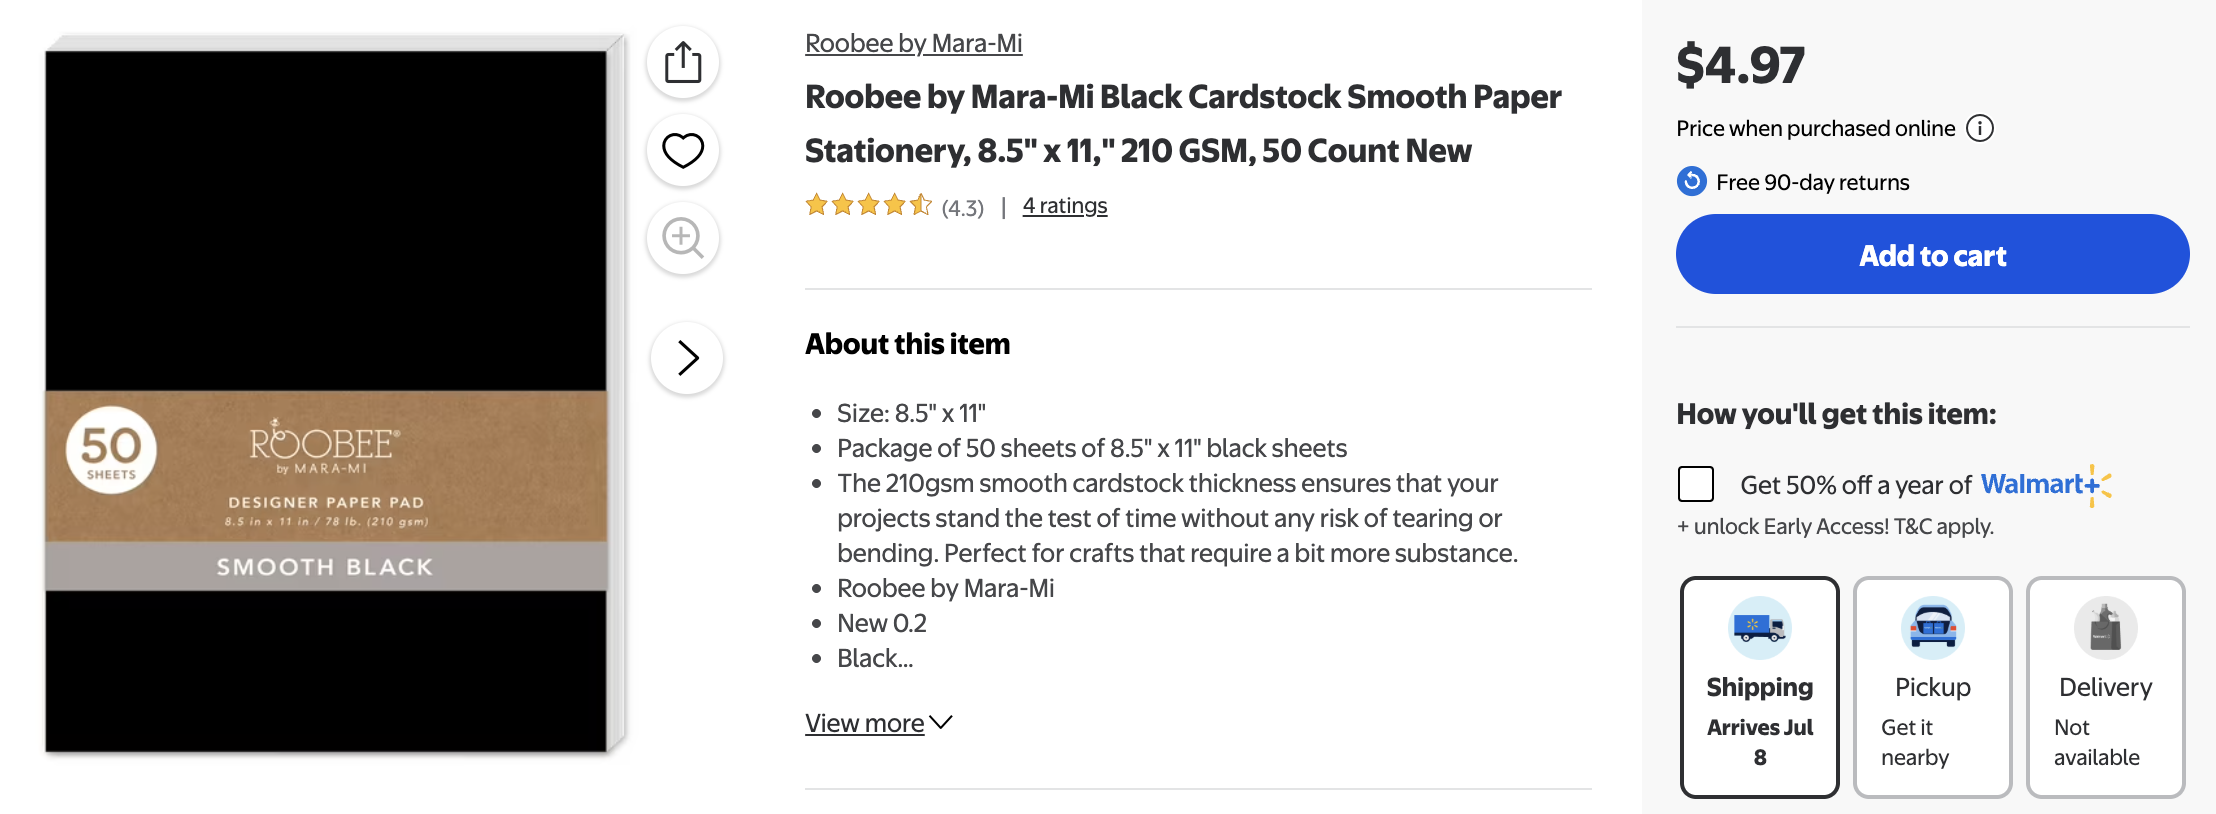
I’ve been picking up this stuff below:

A 50 sheet tablet of about 8 X 11 inch black card stock for $5 from Walmart.

Seriously. This is all you need to ‘engrave’ clear acrylic. Forget about all those expensive sprays or ‘laser films’ or any of that crap. I’ve tried them all and while they sometimes will sort of work, maybe, they’re not worth the effort or the money. The easiest to use and the best and most consistent results I’ve gotten are using plain black cardstock.

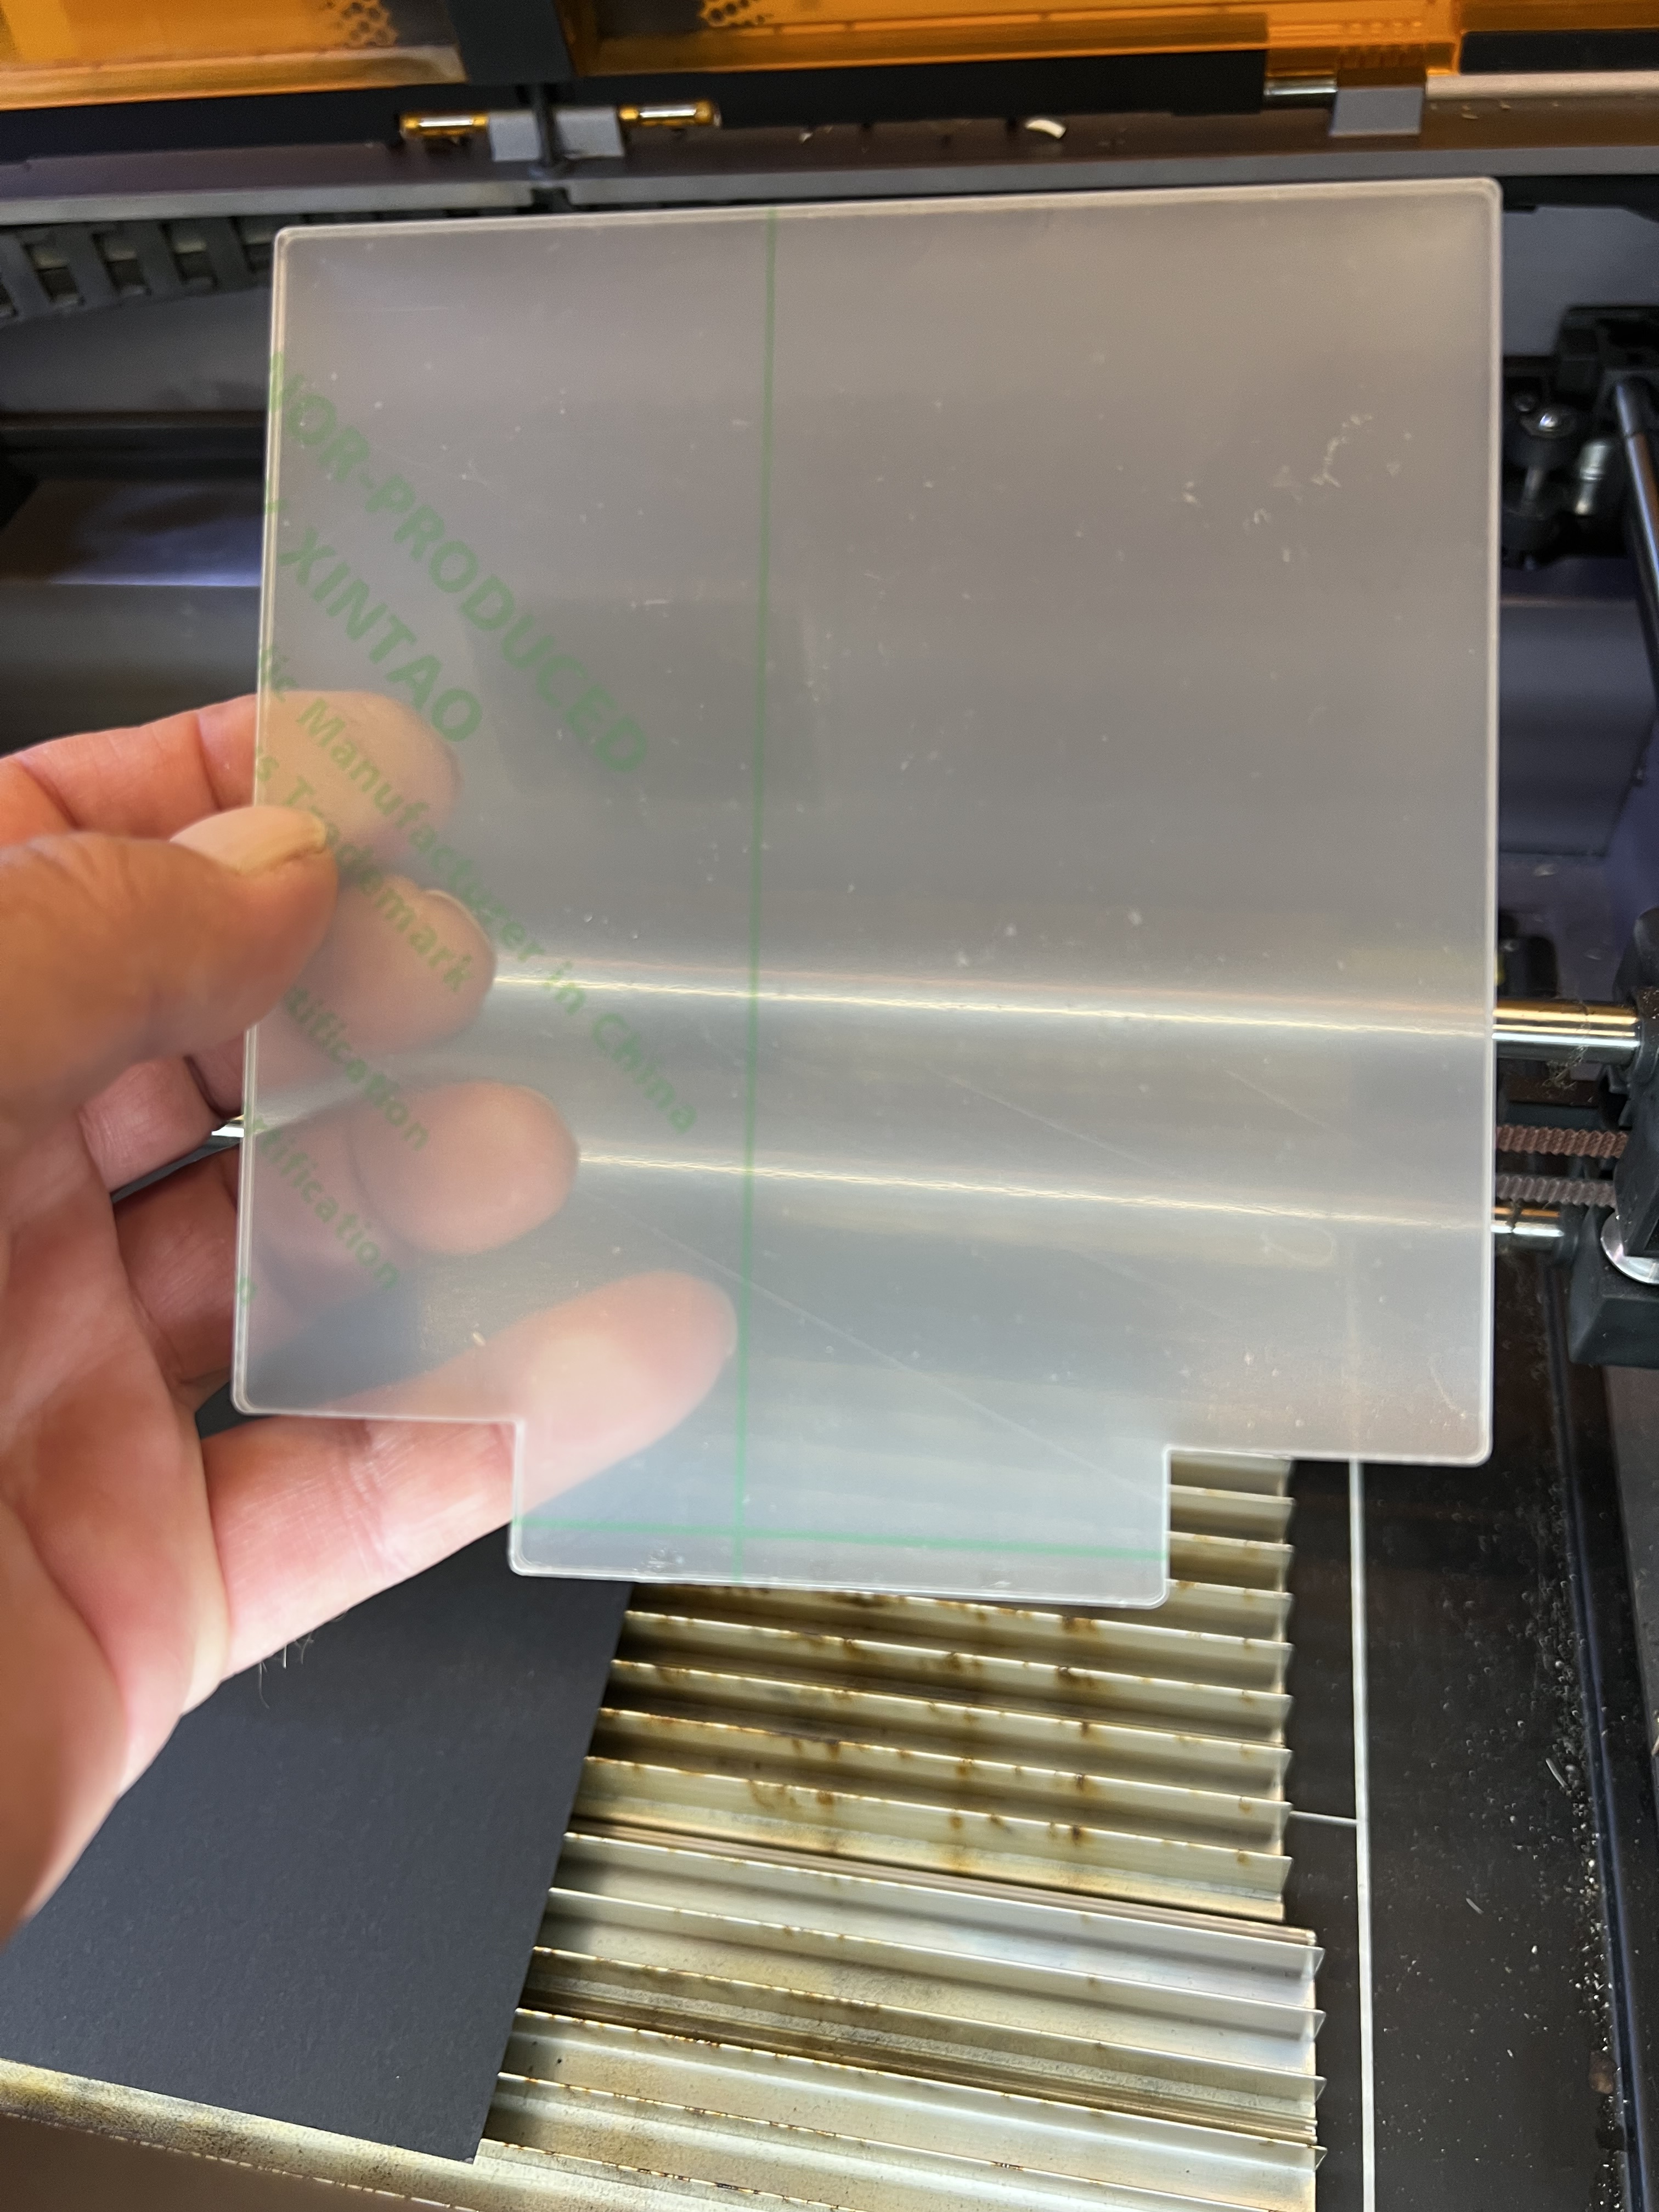
First lay the paper down on the bed of your laser like it is up there in that photo.

Then take your acrylic sheet and peel the protective plastic film off both sides of it.

Be careful with this stuff when handling it once you peel the protective film off it. It can scratch very, very easily and you can very easily ruin a relatively expensive piece of acrylic if you aren’t careful!

Focus your laser on the paper not on the plastic. Then lay the plastic sheet on top of the paper. We aren’t engraving the plastic, we’re going to be directing the energy from the laser onto the paper. The laser will pass straight through the plastic and that energy is going to be transferred to the paper to generate heat which in turn will melt the backside of the plastic.

Yes, the paper will char and smoke. That’s normal. The heat from the paper absorbing the energy of the laser will cause the plastic to melt and we end up with an effect that looks like etching. You’re going to have to experiment to find that out the settings for your particular unit. Every laser is different. But for the record the settings I used on the Falcon A1 for clear acrylic were a speed 0f 1800mm at 30% power.

You are absolutely going to need to experiment to get the settings right. Every laser engraver is different. Heck, for that matter acrylic sometimes isn’t that consistent either. So you’re going to need to experiment with the speed and power levels.

I’ll warn you right away that when it’s done it is going to look horrible. Something like this, probably.

Ewww, nasty!

Don’t worry! All it takes to clean that up is put it under running water and scrub with a soft sponge or clean, microfiber towel. Don’t use paper towels! The particular plastic I’m using here is relatively tough but a lot of these plastics are pretty soft and even a paper towel will scratch them.

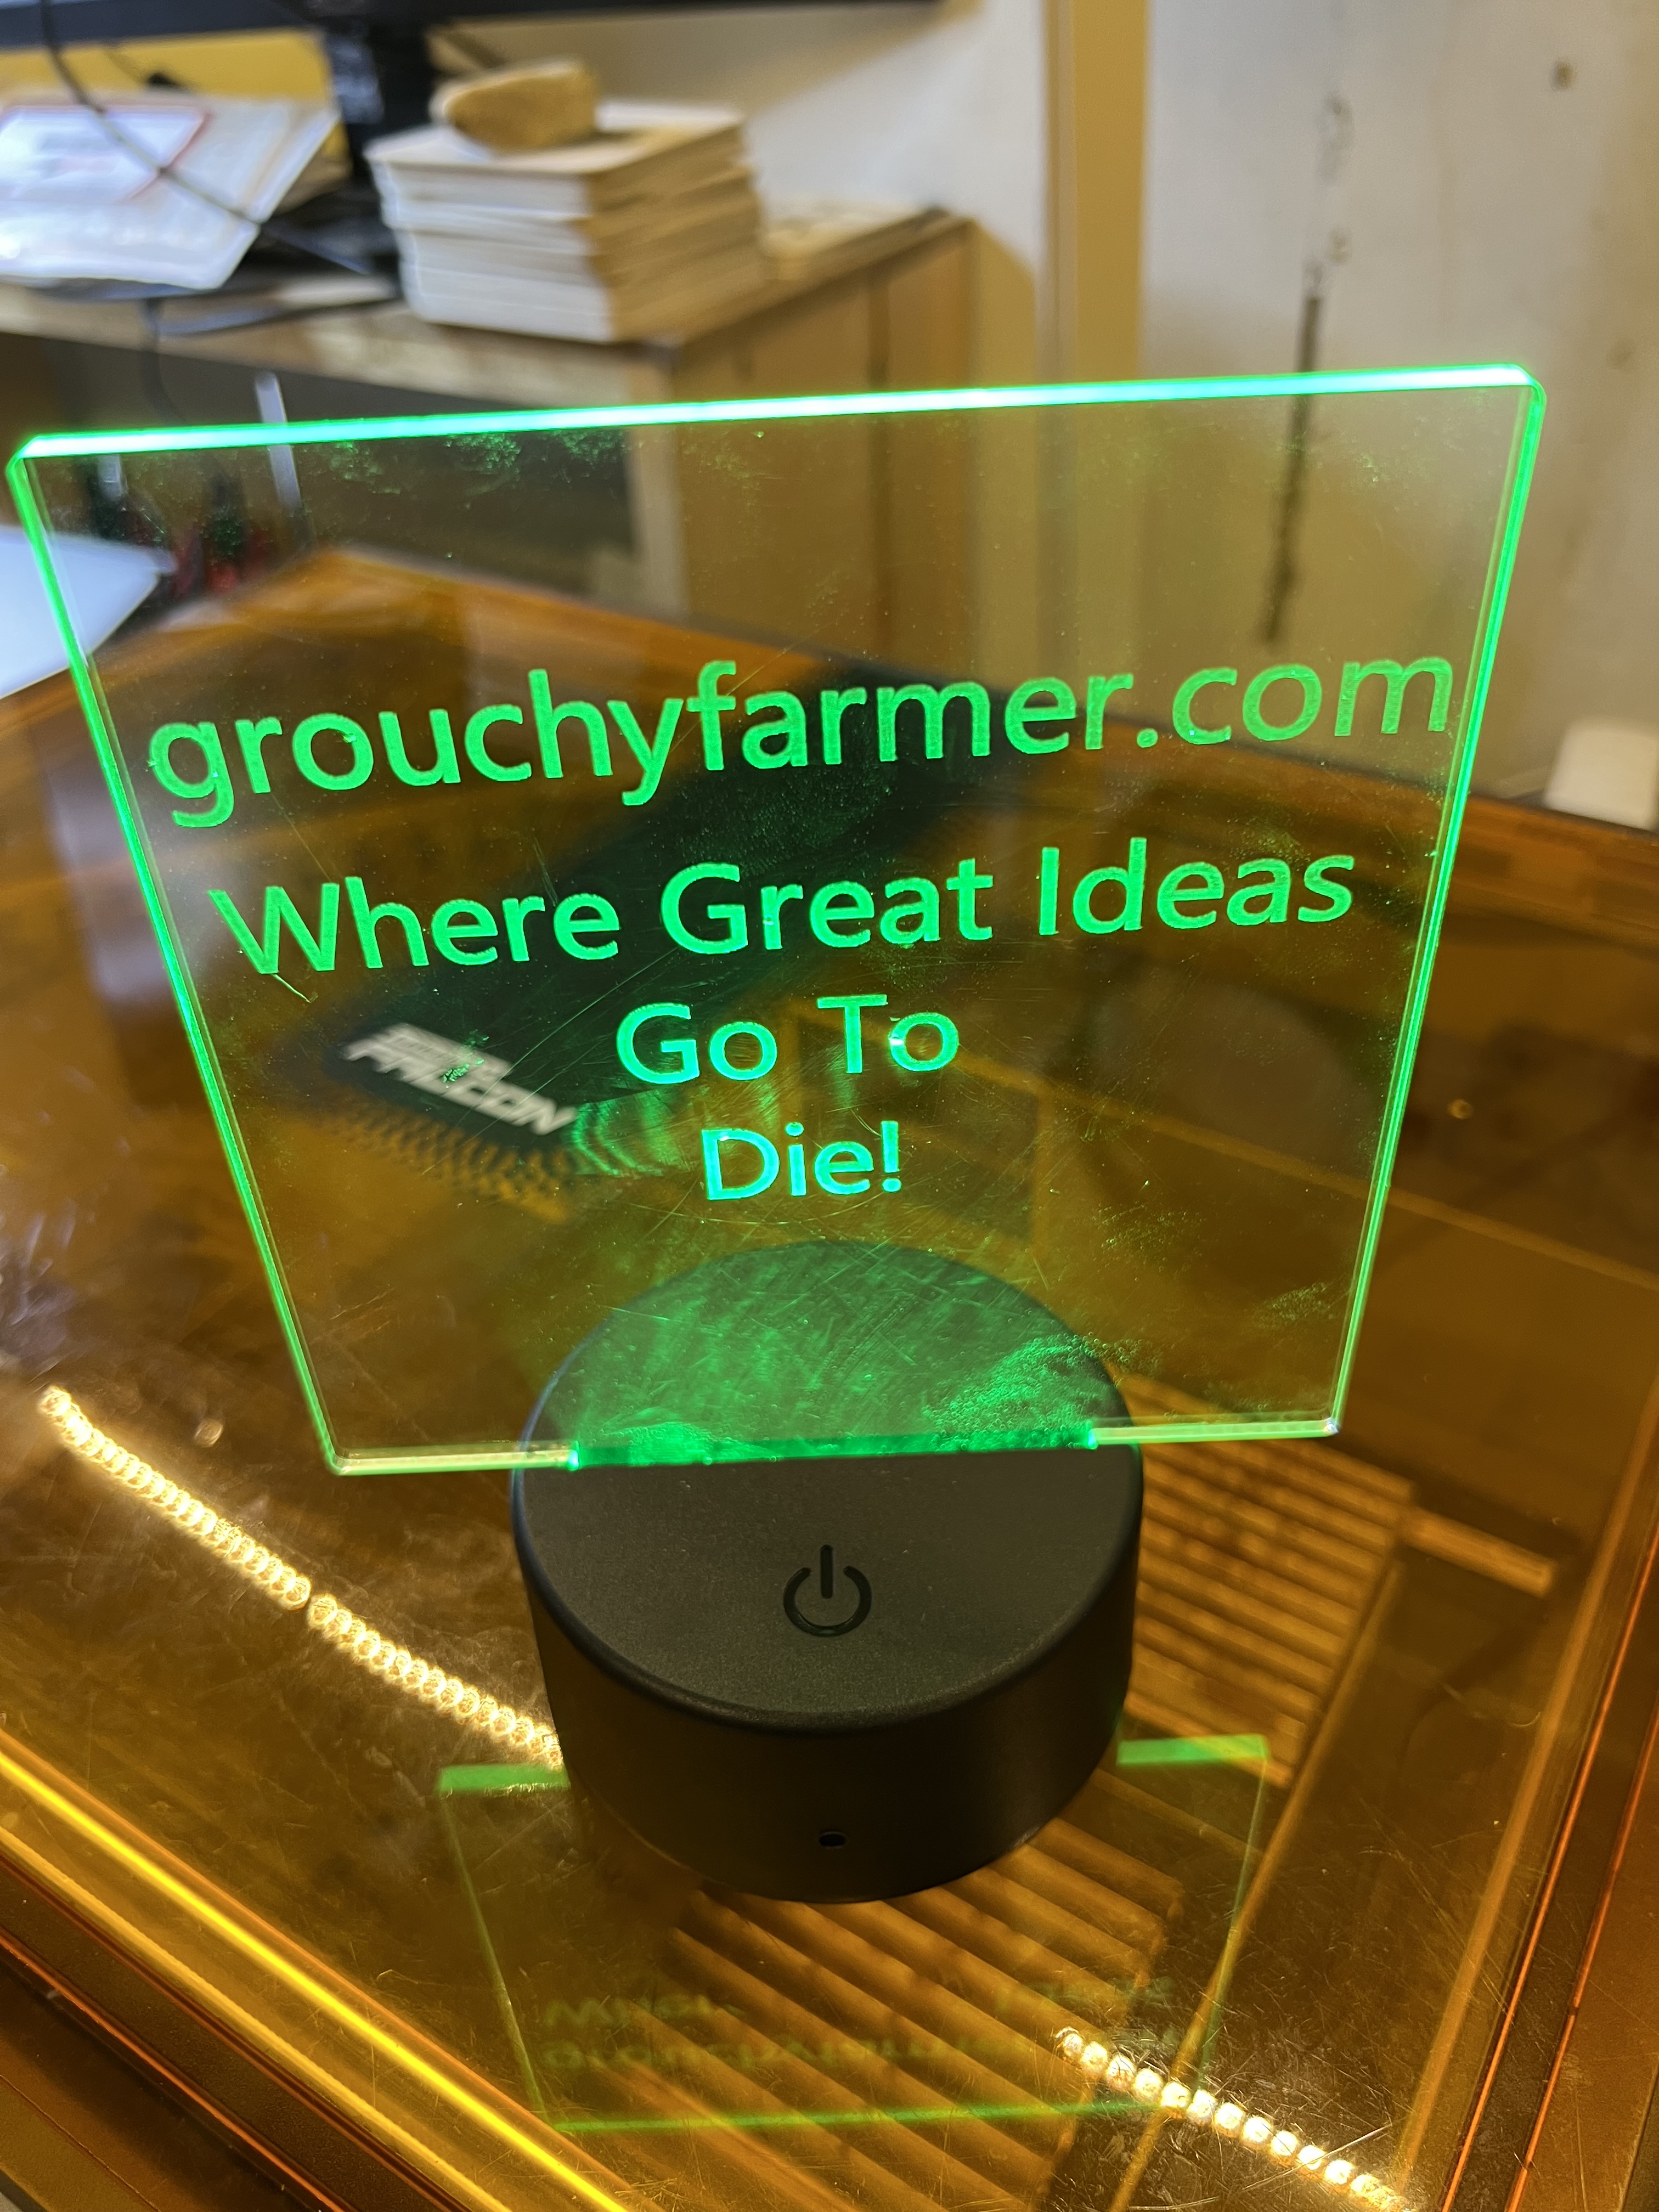
What I ended up with was this:

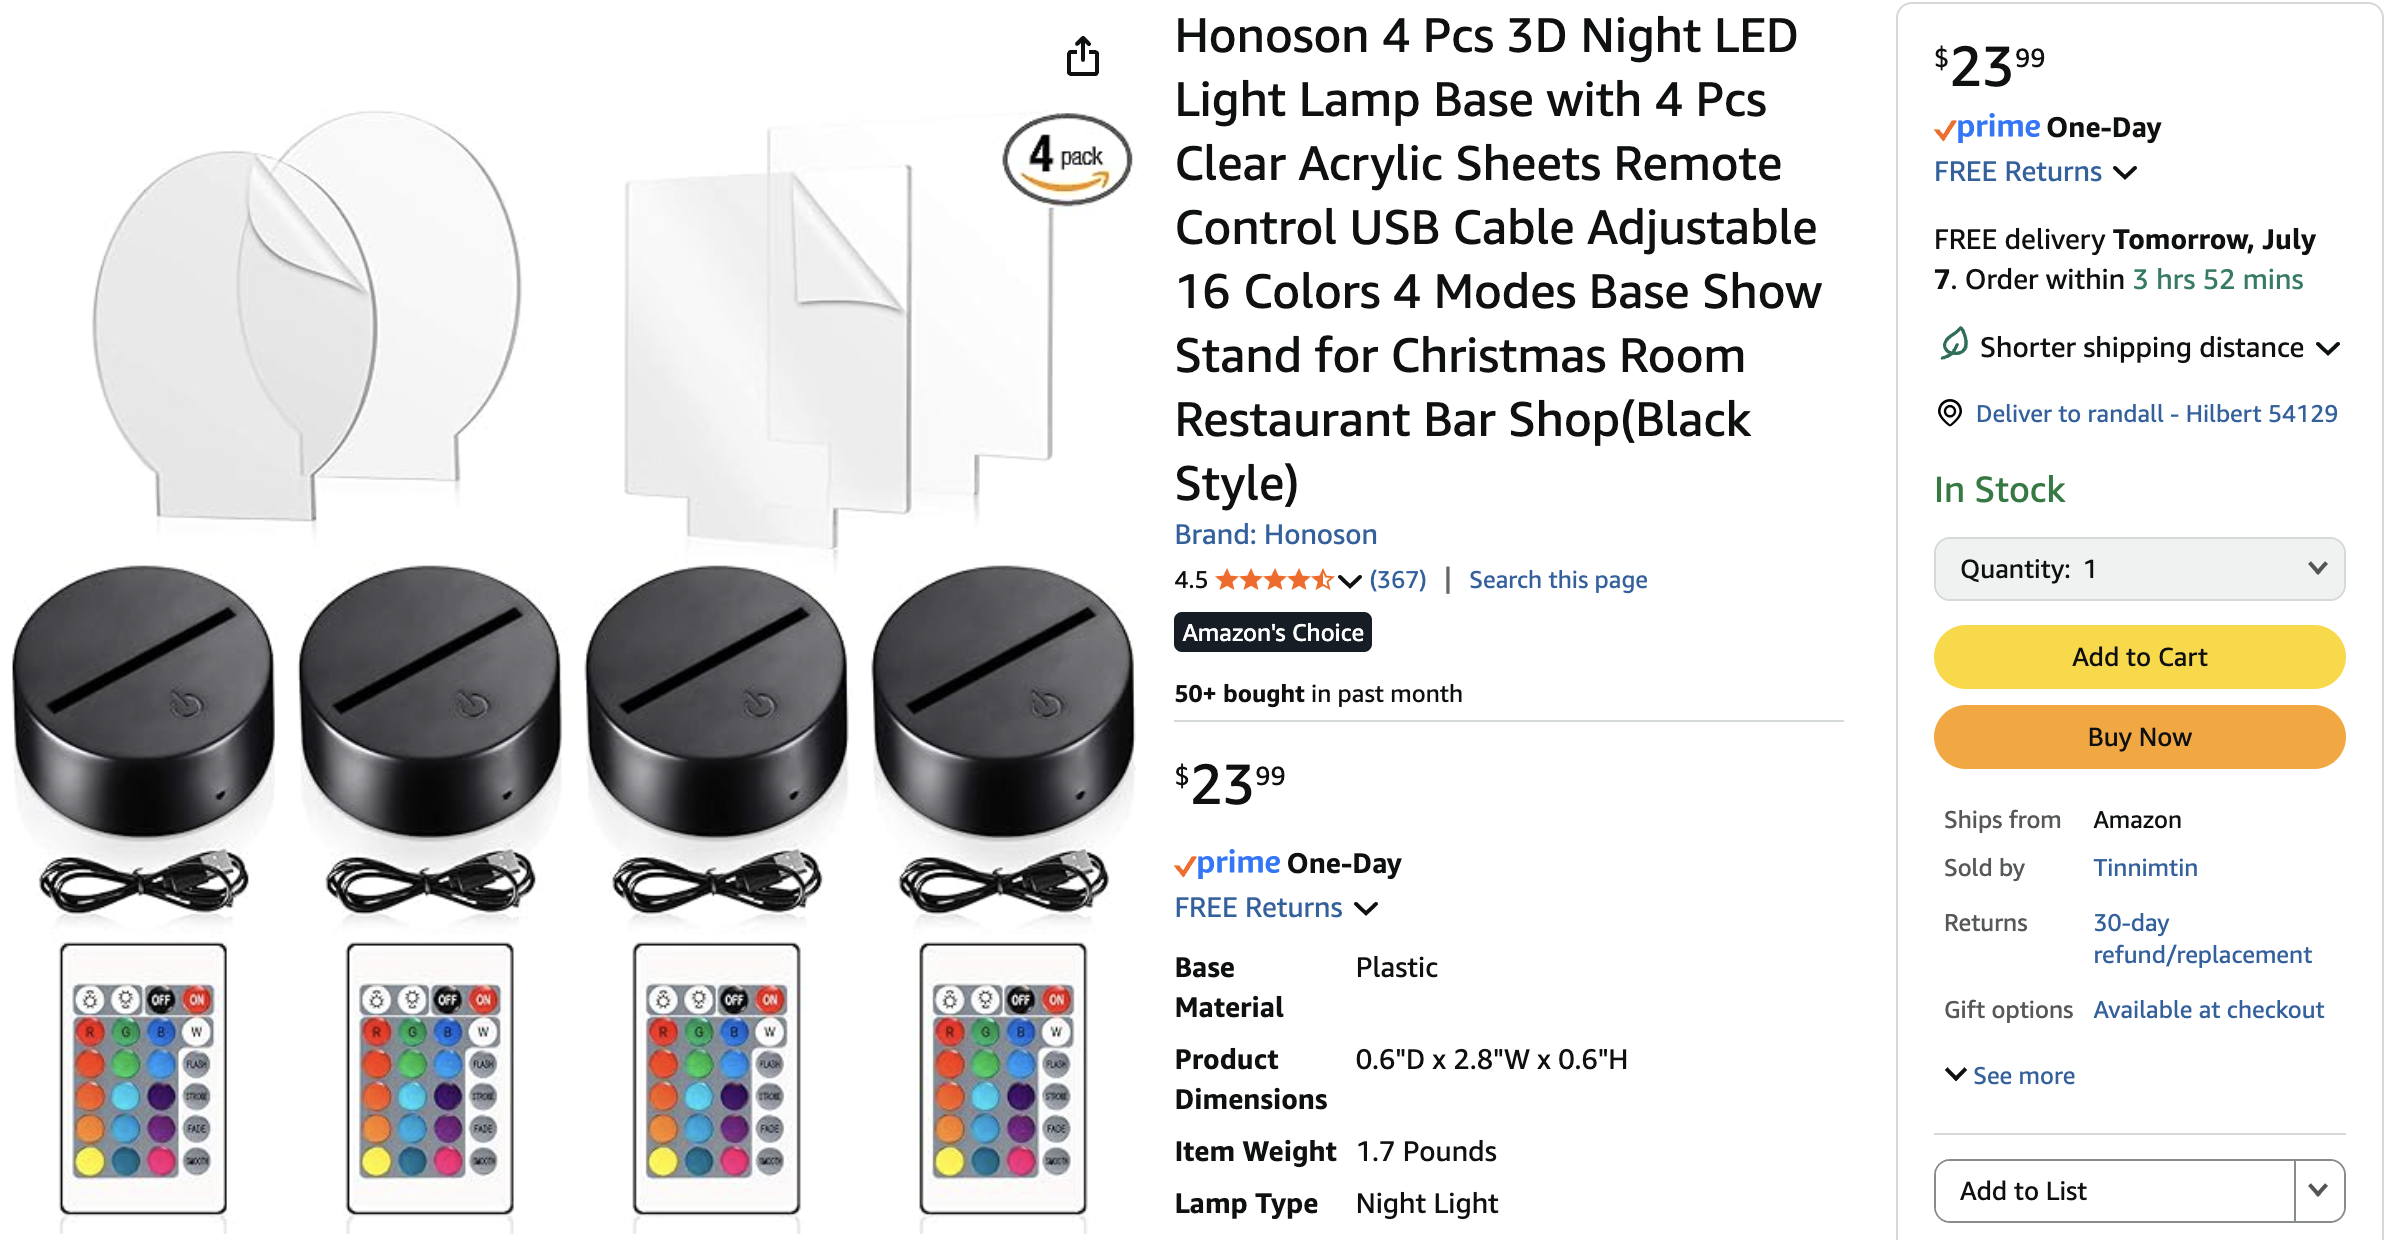
Ah, I didn’t tell you about the lighted sign thing yet, did I? I found these cheap edge lighted sign thingies when I was scrounging around on Amazon one day and stumbled across this:

They were cheap, looked interesting, and I decided to buy ’em and see what I could do with them. I’m a sucker for anything I can turn into a bad joke, and these had huge potential. I mean at worst I’m out twenty bucks. You get four of ’em, the lighted base with multicolored LEDs in it, a remote control, and four blank acrylic sheets, two oval, two square for $23. So a bit over $5 each. I mean heck, I can’t even get lunch at McDonalds for five bucks. And I’ve seen these dopy things in the tourist trap shops up in Door County going for $12 – $20 and people actually buy them. Seriously.

Can It Engrave Glass

Sure. Sort of. Kinda. But it’s the same thing with glass as it is with clear acrylic. the frequency of the laser in this thing is such that it passes straight through clear glass.

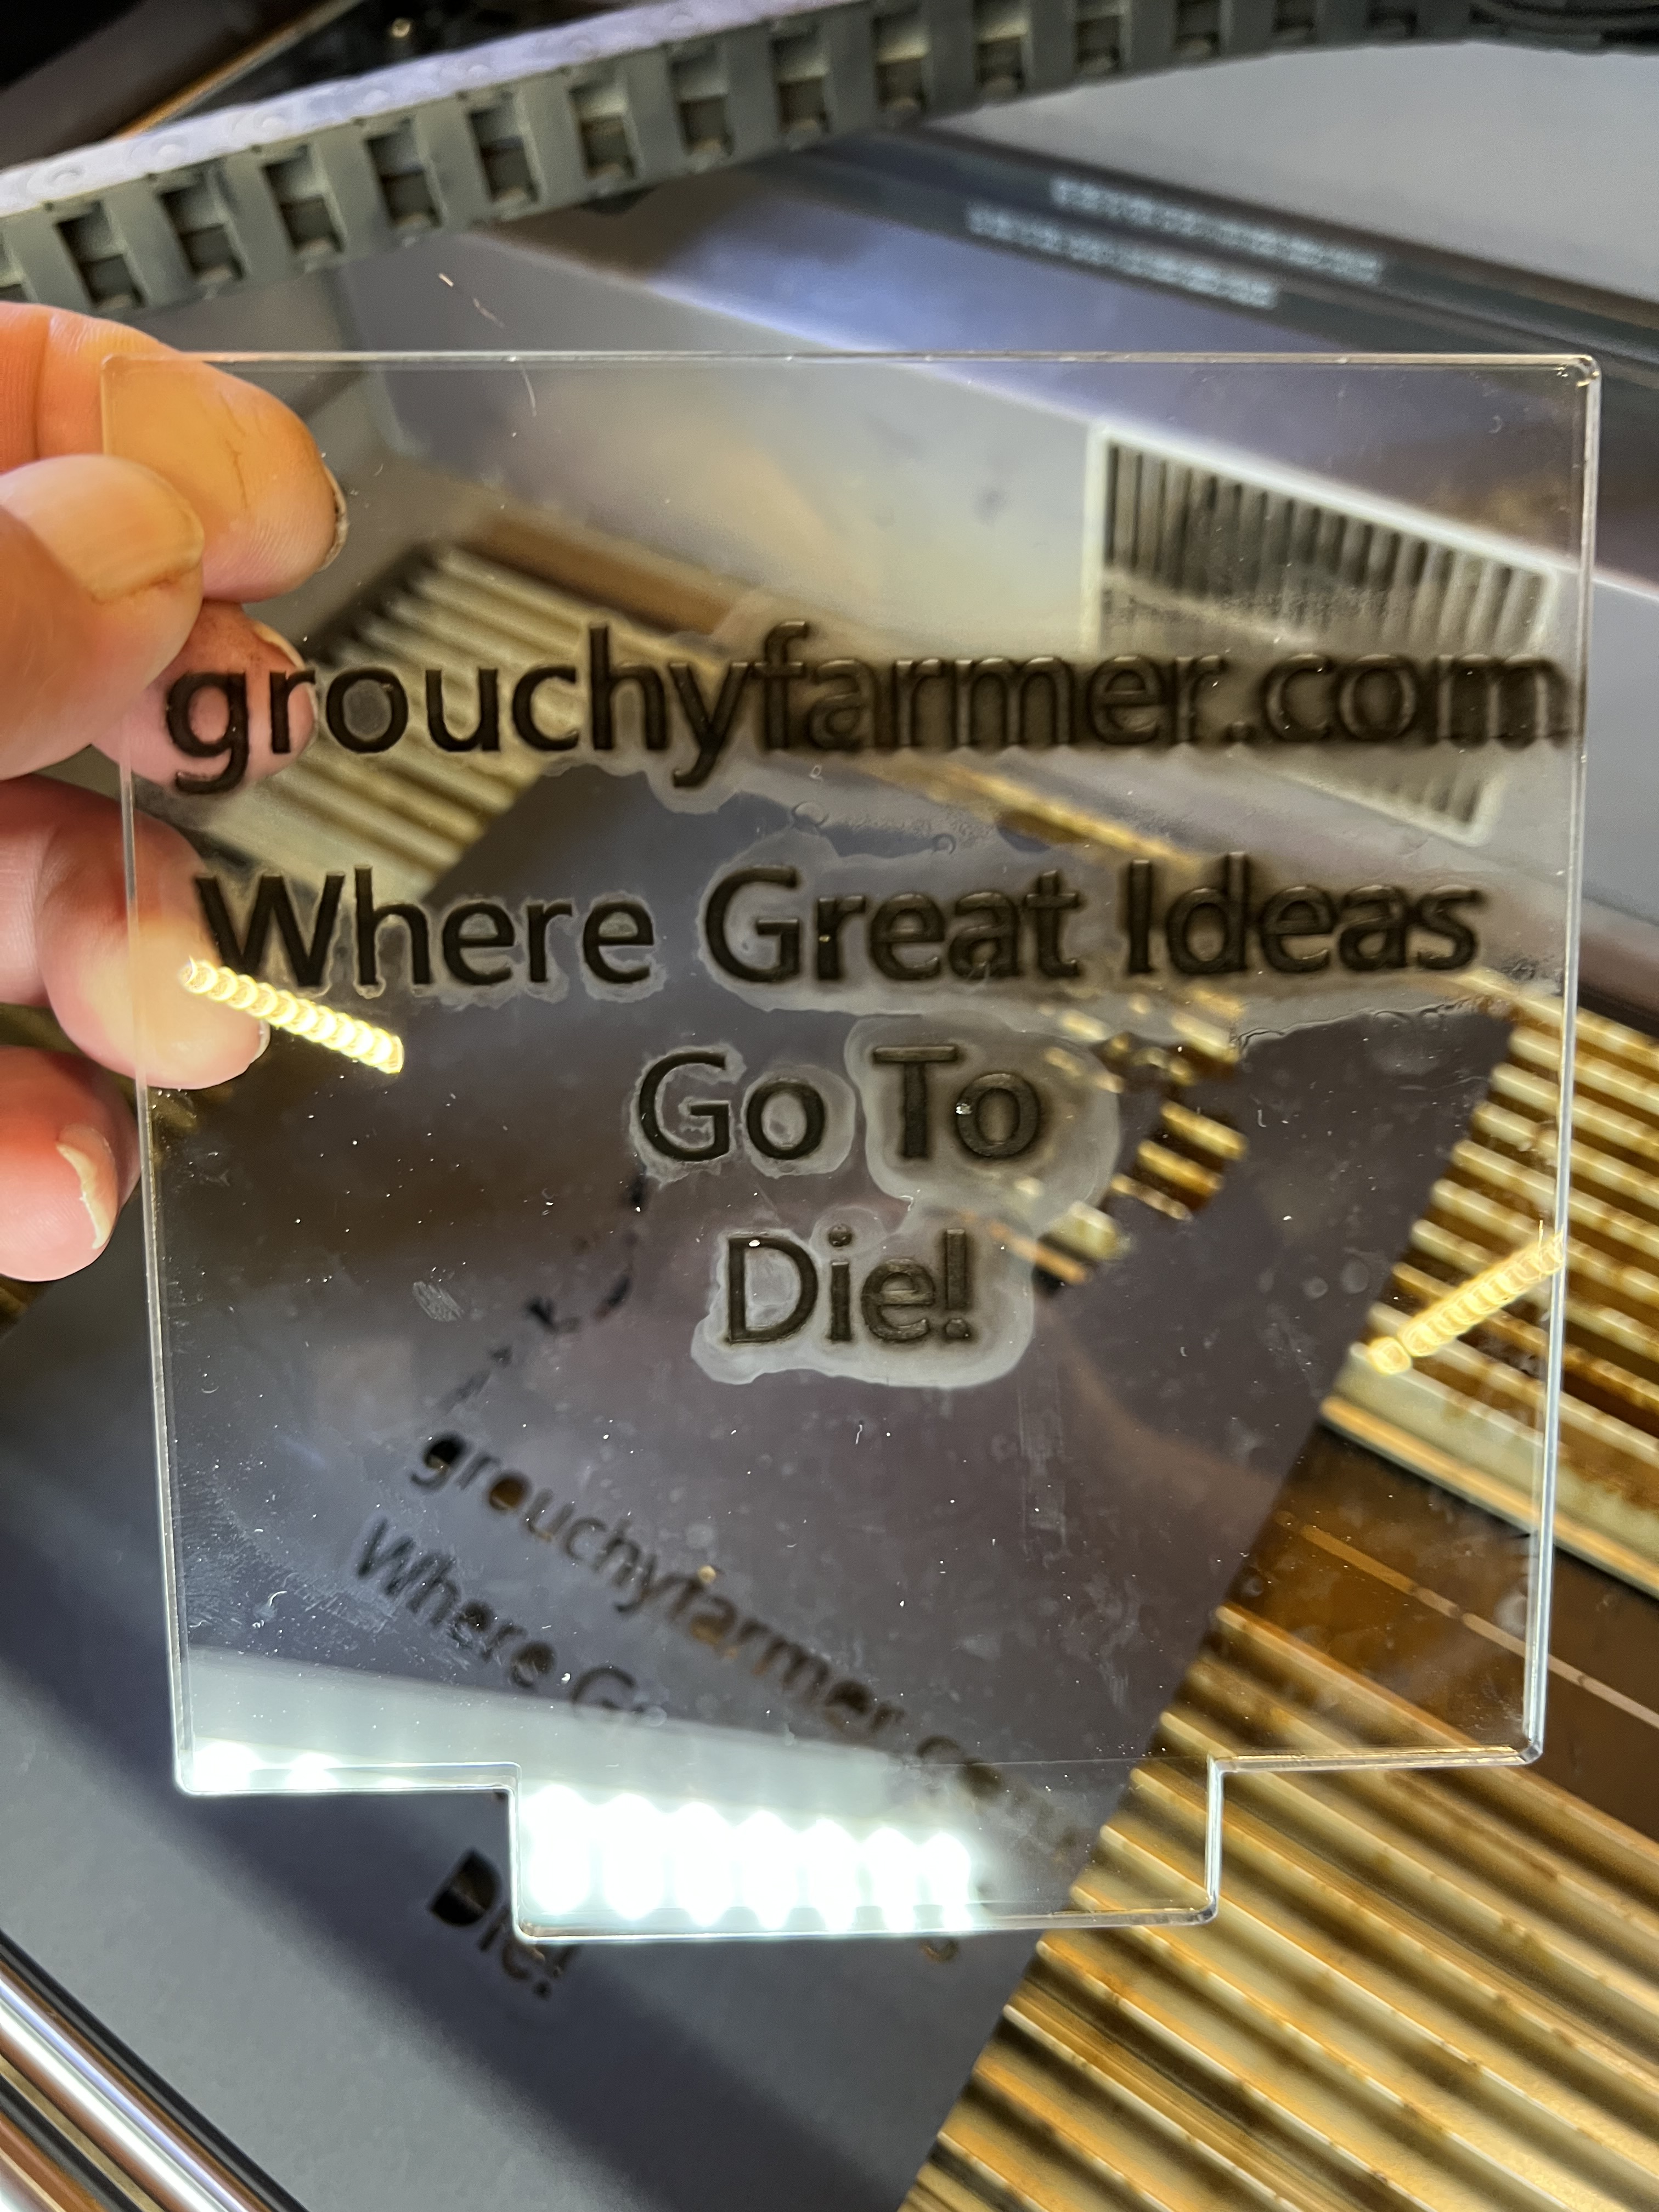
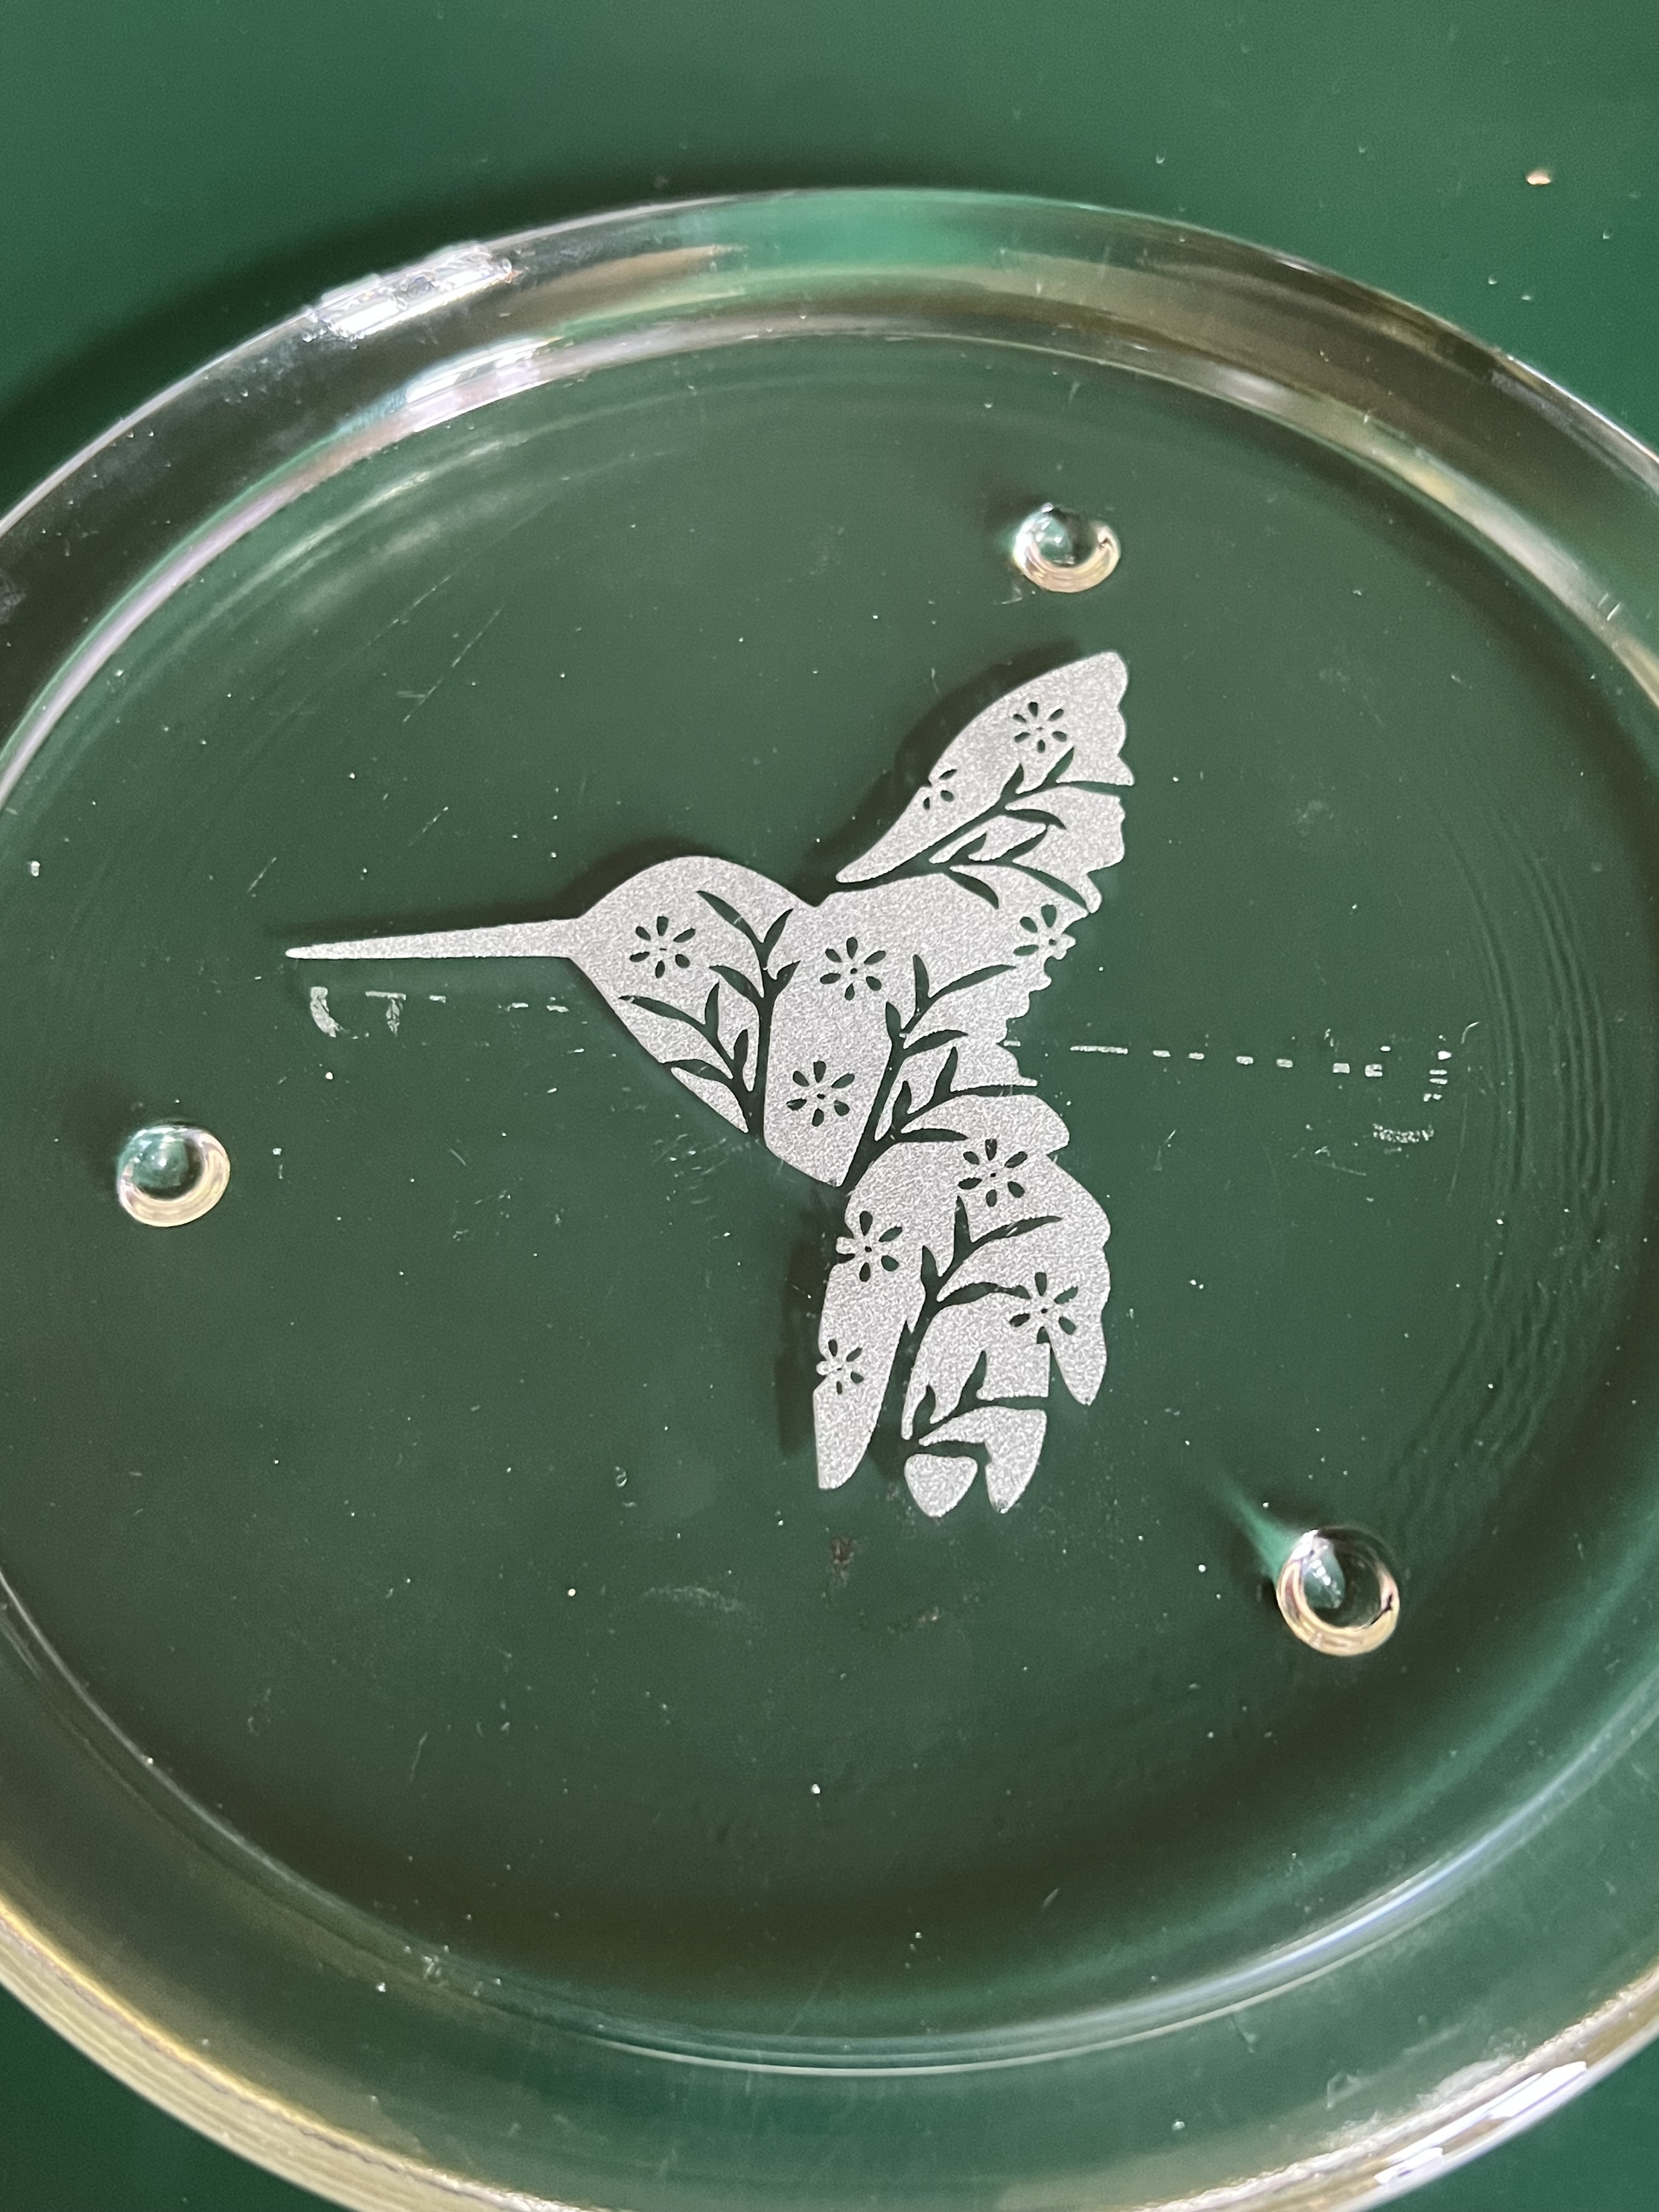
I think I showed you that plate over there on the left before. If not, well, there it is, glass engraved, sort of, with the Falcon A1.

Now I should point out that the laser isn’t actually engraving anything in the sense that it is cutting or gouging out a layer of glass. Nor is it melting anything as it does with acrylic.

What’s happening with glass is something I’ve been told is called micro-fracturing. The trick is to get a very small area of the glass to absorb the energy of the laser and convert it to heat. The intense heat in that tiny spot causes that small area of glass to rapidly expand and fracture causing the glass to basically shatter and fall away from the main body of the object you’re working with.

Now I don’t have video or photos of me actually doing that because this was an early experiment, but I’ll tell you how I did it.

Once again if you go to the (cough cough) experts on Youtube they’ll tell you about all sorts of exotic and ridiculously expensive products you need to buy to do this. And as was the case with using clear acrylic plastic, forget about all of that crap. You don’t need expensive films, special paints or sprays or anything. All you need is this:

That up there is all you need, dirt cheap, 84 cent black tempura paint from Walmart or Hobby Lobby or the dollar store or wherever you buy school supplies. That and one of those disposable foam brushes.

Unlike the case with acrylic where we’re actually working with the backside of the plastic, with glass we’re going to be working with the top surface, so you’d focus your laser on the top of the glass.

Squeeze some of the paint out onto the surface of the glass and smooth it out with the foam brush. You want to get a thin but opaque layer of paint over the entire area where you’re going to be engraving. Try to avoid getting ridges or thick and thin spots. Try to be consistent. If the paint is too thick in places you won’t get that nice frosted effect. If it’s too thin it won’t look good either. If you think it’s too thick after it dries, no problem, just wash it off and try it again.

Once it’s dried chuck it under the laser and go have fun.

Again, you’re going to have to experiment with the settings to get it right. You can get some ball park figures about speed and power by looking up your own particular laser on-line and see what’s recommended. But remember you’re almost certainly going to have to tweak the settings. What I used on the Falcon A1 for this plate was a speed of 800 and a power level of 80%.

Safety First!!!

One very serious word of advice here. When you clean that piece of glass after you’re done, do not rub the etched surface with your fingers!!! It absolutely can shred your fingers! This works by literally shattering the glass and flaking of small pieces, so that surface there is covered with razor sharp pieces of glass. I scrub this vigorously under running water with a Scotchbrite pad to remove any remaining shards of glass and to knock down the sharp edges.

Here’s another thing you might want to think of as well when it comes to safety. As I said this works by fracturing the glass. breaking it away from the surface of the object. That means you’re going to have tiny, even microscopic shards of glass inside of your laser engraver during and after this process. I would very strongly urge you to have one heck of a good extraction fan on your engraver during this process and to vacuum out the interior of the engraver with a vacuum equipped with a HEPA filter. That is perhaps being a bit on the paranoid side, but I personally do not want to be breathing in microscopic shards of glass.

One other thing. The best types of glass to use for this seems to be the cheapest, crappiest glassware you can get your hands on. That’s given me the best results. For just messing around and experimenting I head for the nearest thrift shop. They generally have tons of glassware on the shelves for next to nothing. Avoid crystal, borosilicate glass, thin, delicate glasses, etc. Thin glass absolutely will shatter if you’re not careful.

Can It Engrave Steel?

Um, well, kind of? Maybe?

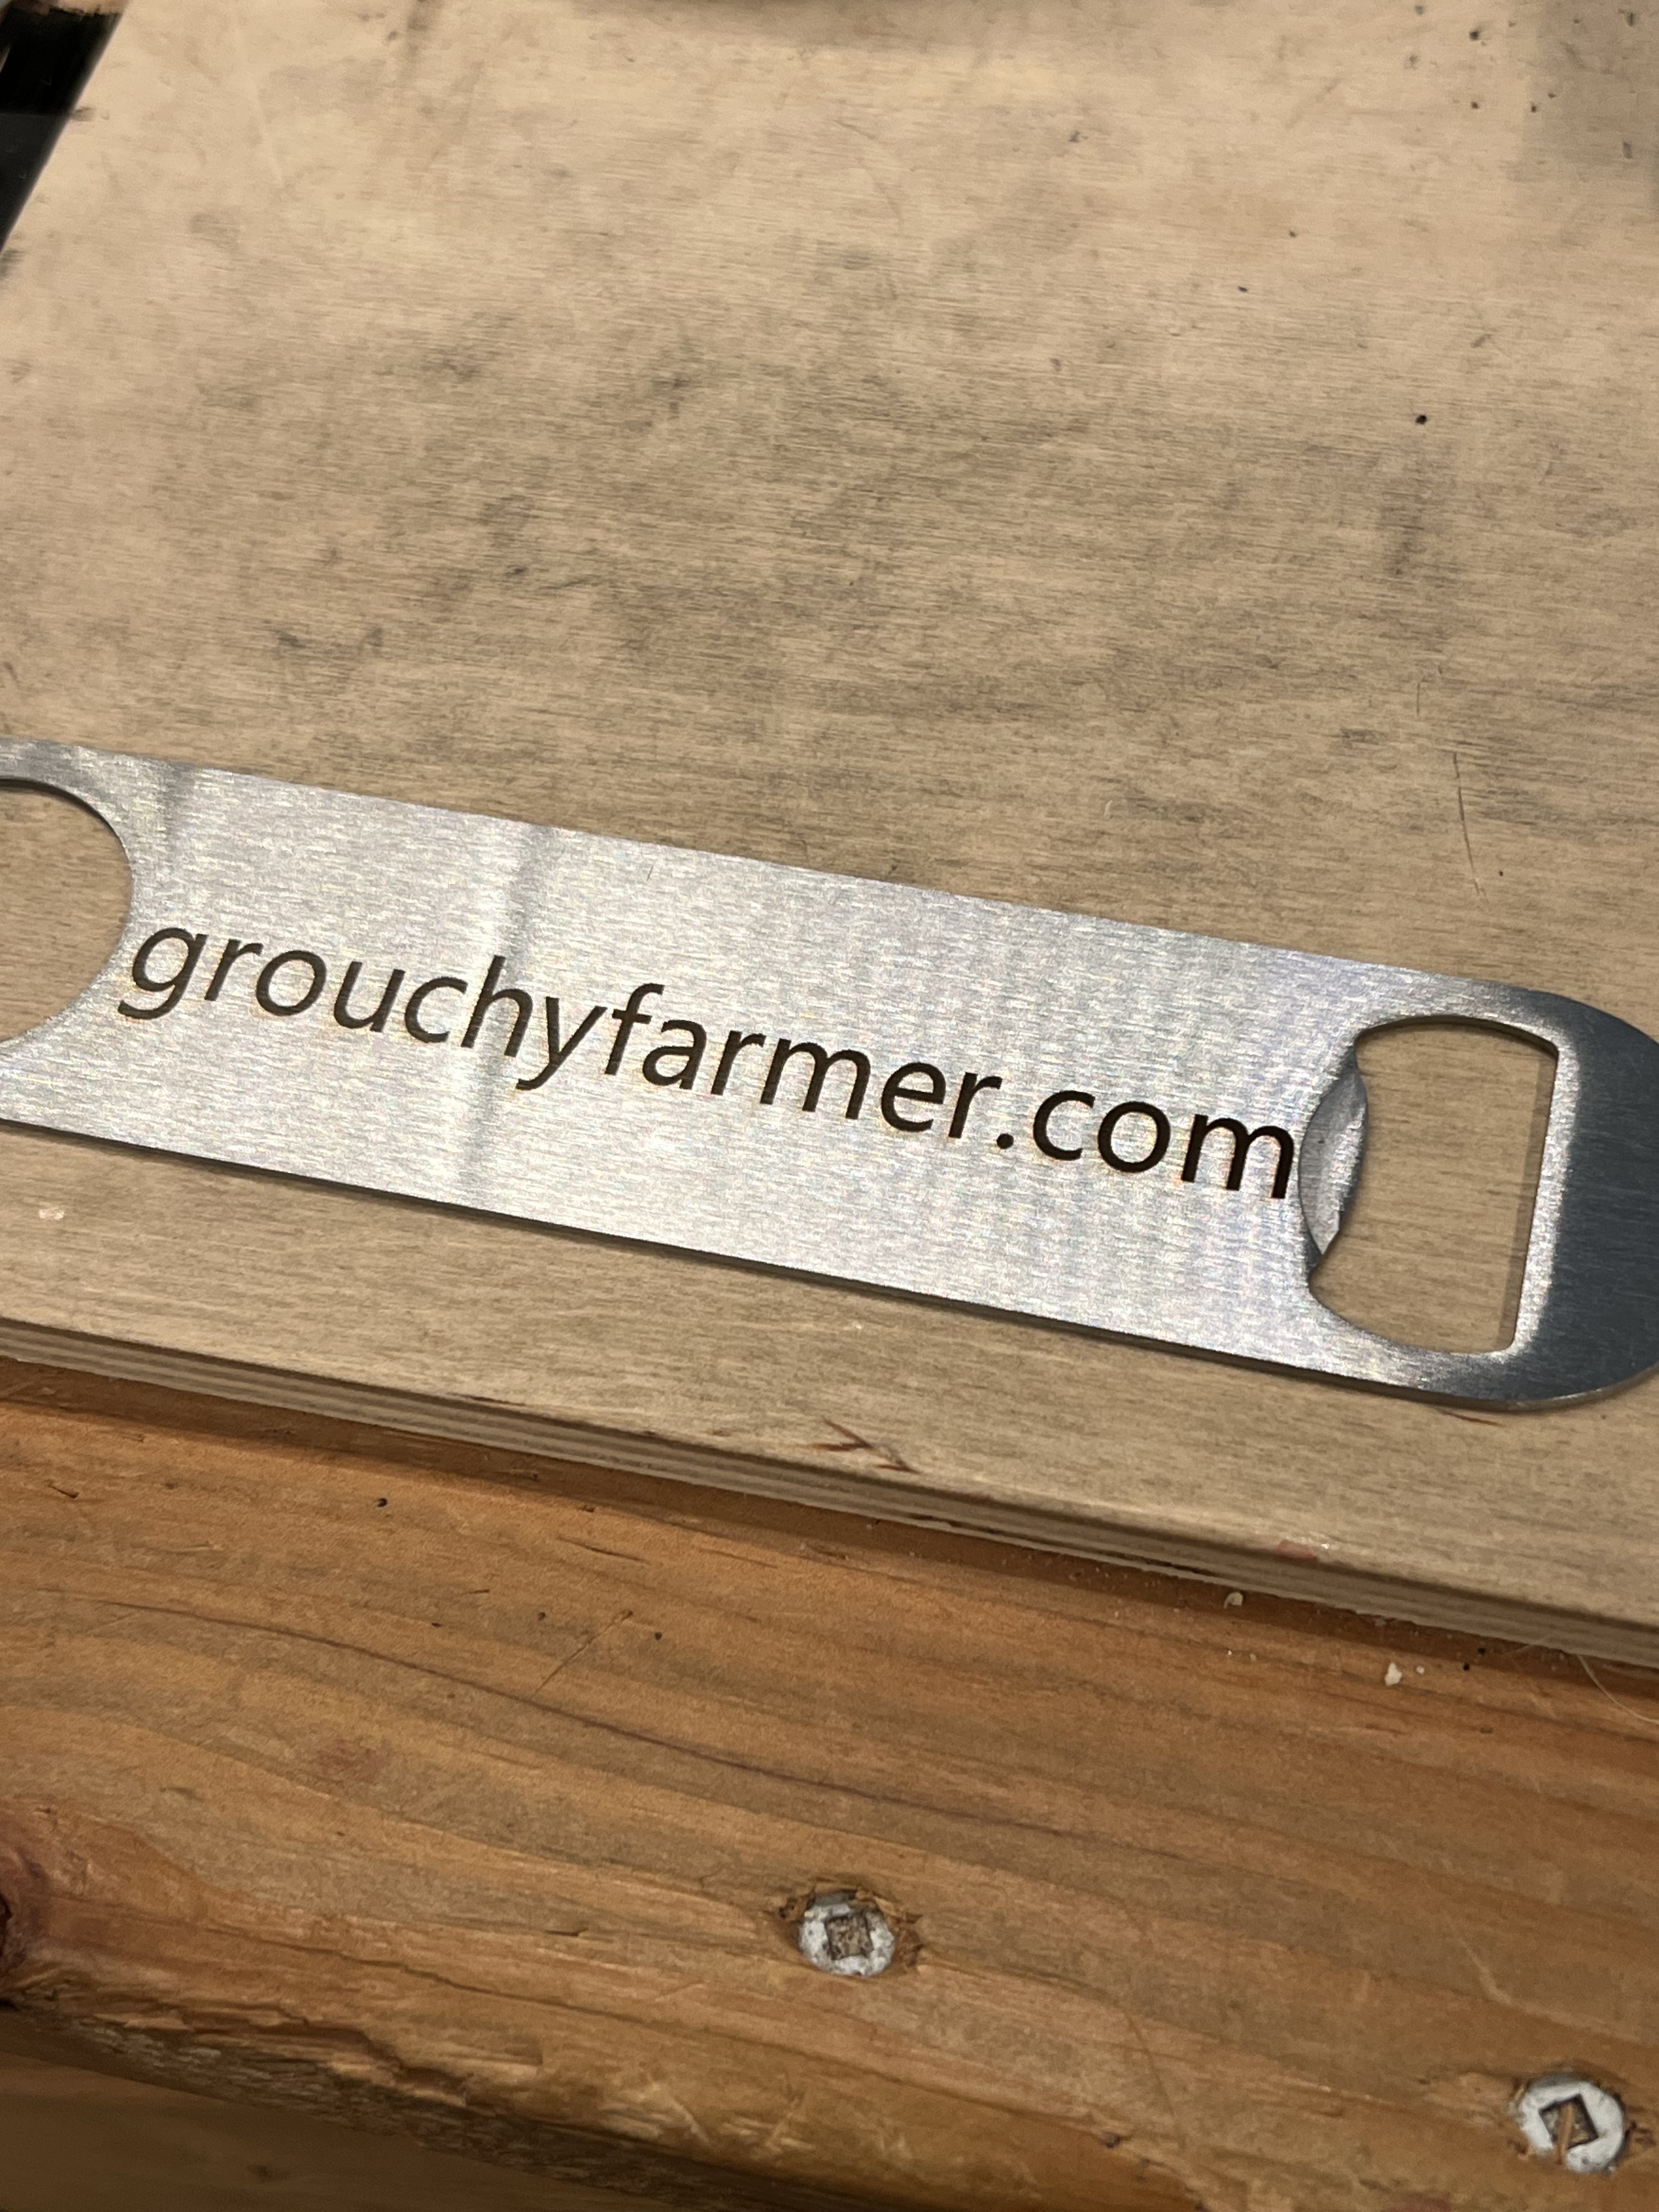
I did a batch of custom stainless steel bottle openers not long after I first got the laser using a type of powder coating that worked extremely well. That’s the result over there on the left. The coating is a sort of spray on powder and when it’s hit with the laser it turns a rich black color and bonds remarkably well to the surface of the metal. Not even scrubbing with a Scotchbrite pad made a dent in it.

But what about just plain, bare steel? Let’s see, shall we? But I already know that it isn’t going to work because there’s no way a 10W diode laser is going to be able to engrave…

Uh, okay, wait a minute. It worked? Seriously? It ended up looking like this:

Remember I said that a 10W diode laser can’t engrave steel. That is absolutely true. It just doesn’t have enough energy to engrave steel. Yes, I got a result, but that’s not engraved. What happened is that the heat from the laser discolored the steel, it didn’t actually engrave it. So it sort of worked, but kind of didn’t, at the same time. And it doesn’t seem to be permanent, either. After vigorous scrubbing with a Scotchbrite pad under running water, the black marking began to fade significantly. So while it will sort of discolor steel, it won’t engrave it and the discoloration fades. So if you want to “engrave” steel and get good, long lasting results, you’re going to need to resort to using the powder coating method I talked about earlier.

Can It Engrave Colored Acrylic?

Oh, yeah. No problem there at all. Remember laser engraving is all about the transfer of energy from the laser beam to the object being engraved. Transparent acyrlic and glass don’t work without resorting to some tricks because the laser will pass right through it. But colored acrylic is is opaque, more or less, and will indeed absorb the energy from the laser.

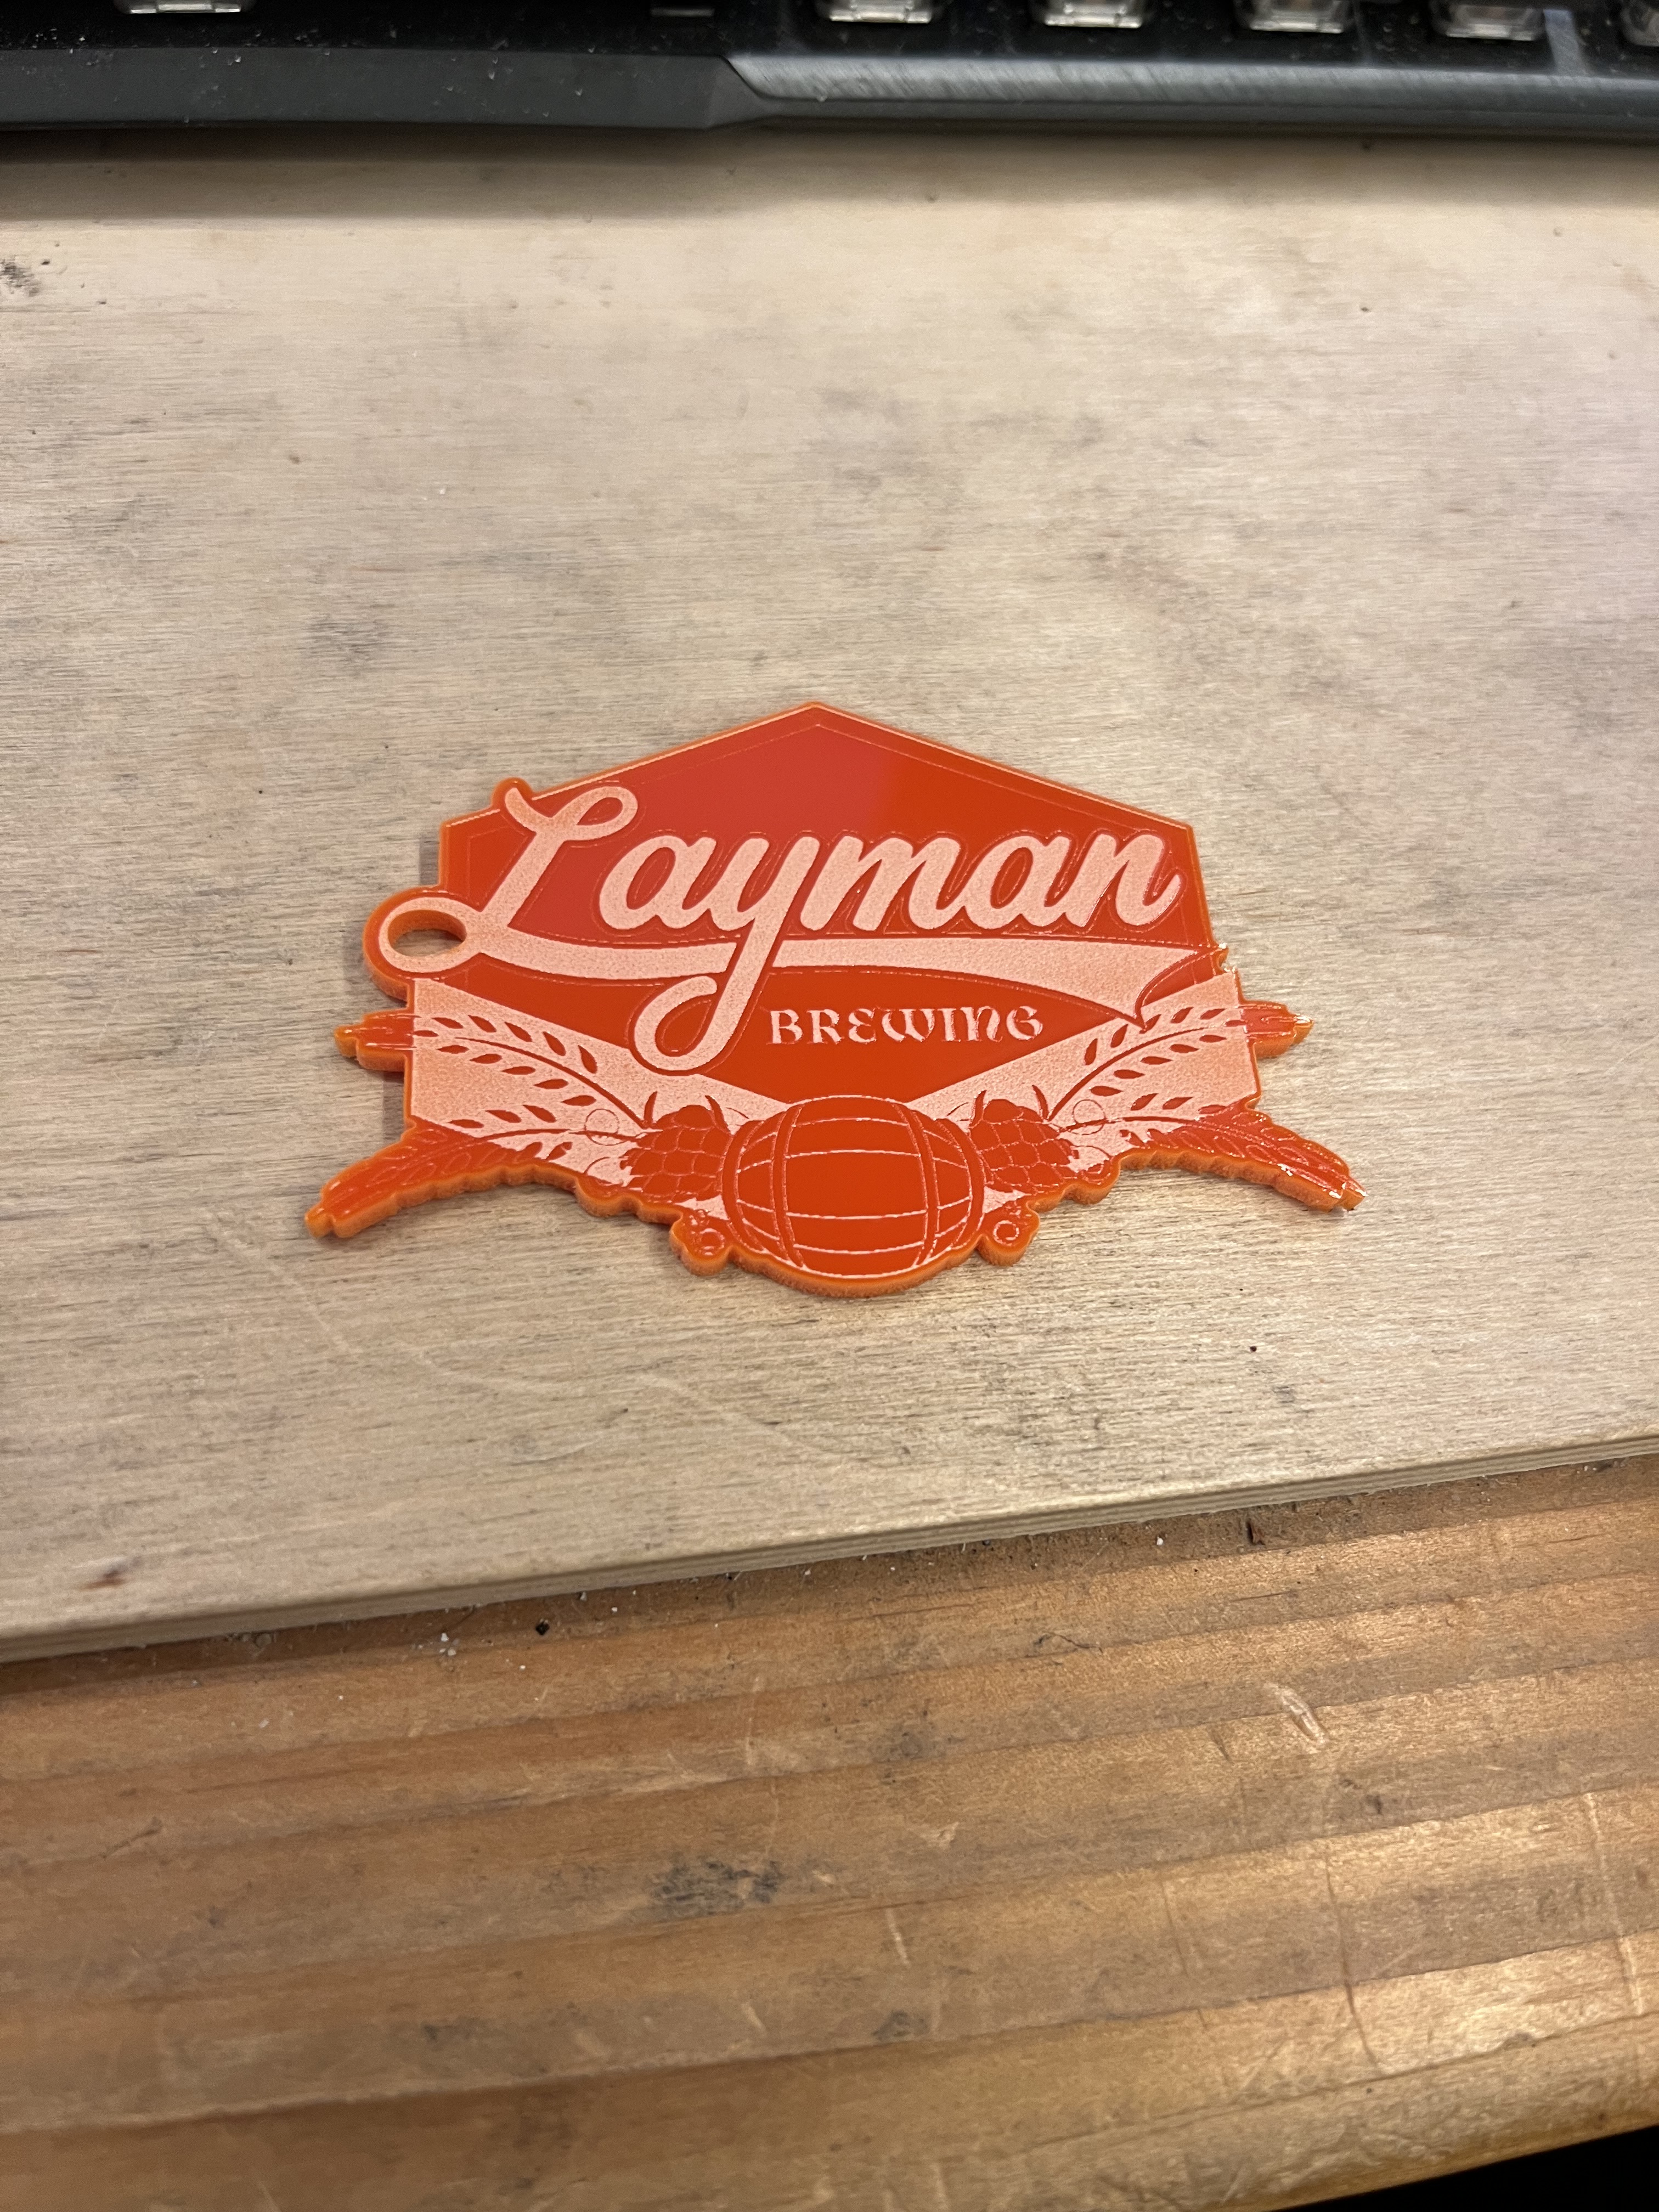
Here I’m using a sheet of orange acrylic.

The laser is going much slower than it really needed to in that video up there but I wa just starting to experiment and I hadn’t figured out the proper feed rates yet. It will cut colored acrylic much, much faster than that.

But basically yes, it works just fine with colored acrylic with no special coatings or prep work needed. Just peel off the protective paper from the plastic and go.

But there are some “gotchas”. Working with colored acrylics can be a bit tricky because different colors will absorb the energy of the laser at different rates. The settings that cut one color just fine may not work well with a different color. You’re going to have to experiment ti figure out the settings for each color you’re working with and for your particular laser.

And that’s it for now.