
I mentioned before that I wanted to move out of the office/library/radio shack area that I currently share with MrsGF, and into a new workshop in the basement. Things have been rather busy here (plus I’m probably one of the laziest people I know, which doesn’t help) but things have been slowly moving along. The goal is to get everything moved and set up before the snow flies.
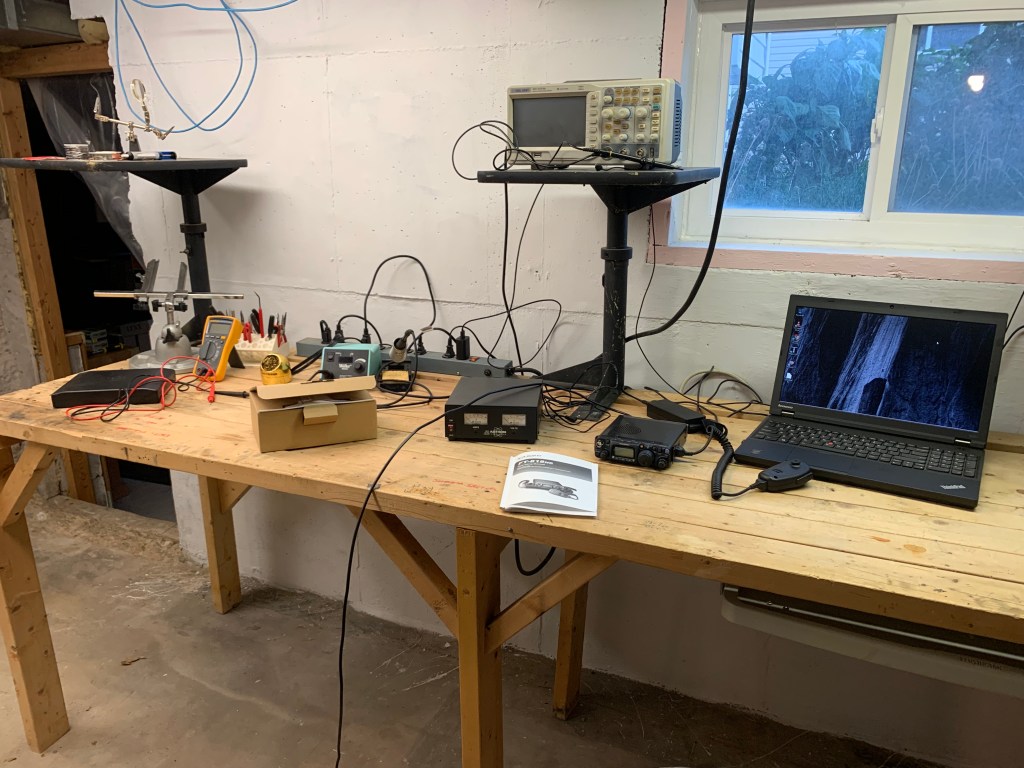
It’s at the point where I can start moving some stuff in there. I have all my tools, most of my test equipment, soldering equipment and some of the electronics moved down there now. I’ll probably start moving some of the radio gear down there too this week but my primary station, the TS-990 and the Yaesu VHF/UHF gear will stay where it is for the time being. The VHF/UHF gear will probably remain up in the office because MrsGF is the one who uses it the most anyway.
It’s still a mess in the basement and I’m still trying to figure out the best way to lay stuff out. There is still a ton of junk out of the frame of that photo that needs to get moved before I can move everything, but it’s getting there. Most of the ‘heavy lifting’, as they say, is done. And I need to add about 3 or 4 electrical outlets on that wall, plus a 240V outlet for the amplifiers before I can get the rest of the radio gear set up.
It’s been taking a long time but, well, hey, it’s still summer (technically anyway) and I have a lot of other stuff going on, but it’ll get done. Maybe. I did get that GAP Titan antenna up, after all. Took me 4 years, true, but it got up finally…
One very inconvenient thing is that I’m at the point where I really, really need to get into my woodworking shop (that’s through the doorway on the far left) so I can build frames, shelving, etc. to make the new electronics/radio shop convenient to use, but the woodworking shop is packed full of computer junk belonging to my son that hasn’t been moved out yet. Oh well, we’ll get it figured out.
The Great QRP Project
(Definition – QRP is amateur radio jargon for low power communications, usually transmitting with 5 watts or less.)
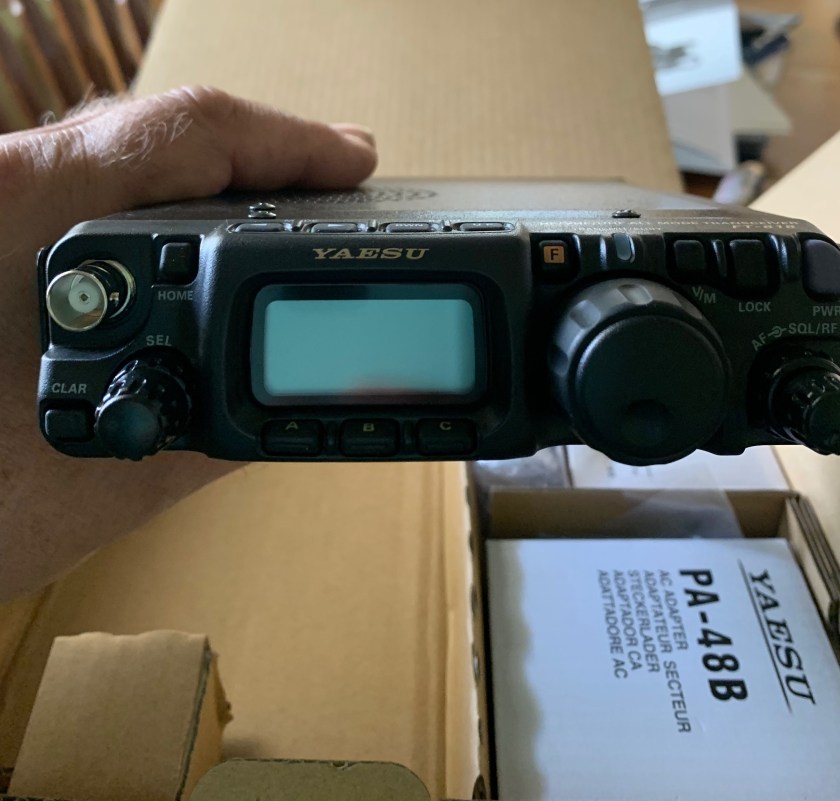
I’ve had the Yaesu 818 and the mag-loop antenna for some time now and they’ve been fun to play with, but the ultimate goal was to put together a QRP (low power) digital communications package that I could throw into the back of the car and take along when I go fishing or out taking photos. My favorite modes of communications are PSK31, FT8 and JS8Call, so I picked up that refurbished Lenovo laptop you see in the photo of the workbench.
I made some changes in the overall configuration. I was going to use a SignaLink interface to connect the laptop to the Yaesu because A) I had one on the shelf, and B) because, well, because I had one. But then I found out I also had a Yaesu SCU-17 USB interface and, well, where the heck did that come from? So I’m going to go with that instead.
(Side note: Where the heck does some of this stuff come from? I swear I sometimes think people are breaking into the house and instead of stealing stuff, they’re leaving things here.)
The SCU-17 comes with about a zillion different cables to hook it up to just about every imaginable radio, computer, etc. Except, of course, the one that I actually needed. That required cable was, of course, an “optional accessory”. Sigh… Nor did I have the connectors I needed to make one myself. Besides, my history of making specialty cables myself is, well, a bit embarrassing and the less said about that, the better. So off I went to the GigaParts website to order one and that should be here today (he said keeping his fingers crossed). (It came!! Hooray!)
Anyway, with any luck I should finally have the whole thing up and running properly by this weekend. Maybe. I doubt it, but hell, one has to be optimistic, doesn’t one?
I wanted to have the whole thing up and running before Sept. 21, which is WIOPTA (Wisconsin Parks On The Air), an event where amateur radio operators lug their radio gear out to parks, endure bad weather (it’ll probably snow), mosquitoes and ticks which will give you several exotic diseases that you can’t pronounce, and probably get you arrested because anyone with all that weird electronic gear must be guilty of something.
But then I found out only state parks qualify for the event and, well, the heck with that. I thought they meant any park in Wisconsin so I’d planned on doing it at the local one here in town. State parks only? Hmph… They charge money just to get into those places. Yeah, sure I get in for free because I’m a “conservation patron”, but still
(Side note: I should point out that being a “conservation patron” in Wisconsin has absolutely nothing to do with actual conservation. Conservation patron is a combined hunting and fishing license. Basically if it is legal to kill some animal in Wisconsin, whether it swims, walks or flies, the Conservation Patron license lets you kill it. This is why we need words like “irony” in the language.)
(Side note: I should also point out that I don’t actually hunt. Or do much fishing. So why do I have the license? Mostly to irritate people.)
(Side note: I really need to stop this side note nonsense.)
Tomato Soup
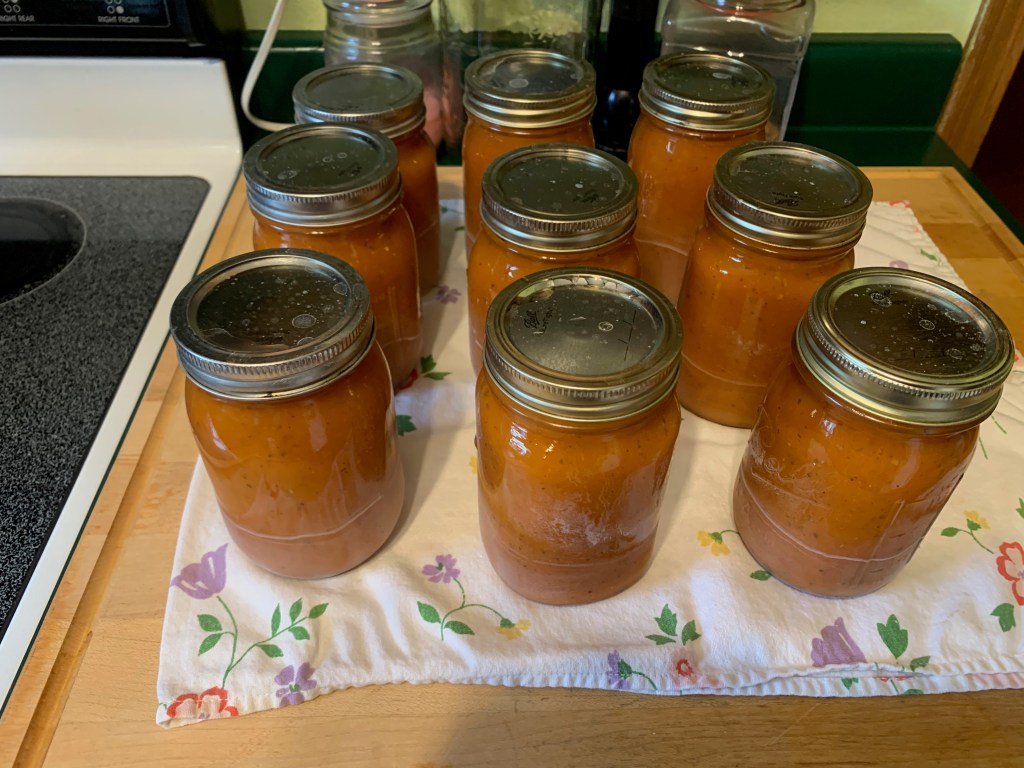
The tomatoes are finally starting to ripen up and even as I write this we’re canning tomato soup. If you’ve never made your own tomato soup with home grown tomatoes, you have no idea what you’re missing. The only problem with this stuff is that once you’ve tasted it you’ll never be able to tolerate the commercial canned stuff again.
So, how do you make the stuff, you ask? Here’s the recipe. Note: This recipe is admittedly huge. This will turn out about 10 quarts of soup. We generally only make a half batch at a time. If you want to do that, just cut all of the quantities in half.
Ingredients
- 14 quarts tomatoes
- 7 medium onions
- 2 stalks celery
- 14 sprigs parsley (dried is OK)
- 3 bay leaves
- 14 tablespoons flour
- 14 tablespoons butter
- 8 tablespoons canning salt
- 12 tablespoons sugar
- 2 teaspoons black pepper
- *Vinegar (to taste but go easy because lemon juice will be added later)
- Lemon juice as needed (see method)
Method
Wash tomatoes. Cut into large chunks. You do not need to peel or seed the tomatoes as it will be processed through a food mill. Peel onions and coarse chop. Dice celery and mince parsley (if fresh). Put in large pot with bay leaves. Cook until celery is tender.

Process everything through a food mill. If you don’t have a food mill, you can force the mixture through a sieve but that’s difficult to do and very time consuming. Food mills are fairly cheap and you can pick them up at any store that carries canning supplies or on line.
You put the food mill over a large pot or bowl. The soup mix is ladled into the mill. Turning the handle causes the mixture to be forced through the strainer in the bottom, leaving seeds, skin, etc behind. It’s a bit of work, yes, but it goes a lot faster than you’d think and the results are worth it. The seeds, skins, etc. that are left behind can be composted.
Put the strained soup back in the pot and bring to a gentle boil.
Take the flour and butter and blend together to make a smooth paste. Add a bit of tomato juice. Add the butter/flour mixture to the soup and whisk vigorously to blend it in thoroughly. Bring to a boil, stirring constantly to prevent scorching. Add salt, sugar and pepper.
Note – the original recipe called for 12 tbl of salt which I think is way too much. I cut that down to 8. and you could go even less if you like. Seasoning can always be adjusted when you heat the soup before serving
Note about vinegar: There are a lot of different varieties of tomatoes with different flavor profiles. Depending on how sweet your tomatoes are, you might want to add a bit of vinegar to give the soup a bit more of a ‘bite’, so to speak. You can also add some red pepper as well. The thing to remember is this is your soup, so you can season it any way you like.
Canning
You can use either quart or pint jars. I prefer pints, but it’s up to you.
We sterilize everything when we get started with this. Jars are not only washed but are rinsed with boiling water and the jar lids are put in boiling water. Is that necessary? Maybe? Why take a chance, though.
Fill jars to within 1/2 inch of the top. Add one teaspoon of lemon juice to each jar. This is not just for flavor, it’s for food safety reasons to make sure the soup has enough acid.
Wipe off rims of the jars. Put on lids and then screw on the rings and tighten snuggly.
Actual canning is going to depend on the type of canner you’re using. I strongly recommend using a pressure canner for this stuff. I know some people say you can just use a water bath, but pressure canning is actually faster and safer, so that’s what we do here, use a pressure canner.

Read the instructions that came with your canner to make sure you are setting it up right.
Put the jars in your canner and start the process. We follow current recommendations which is to process it at 11 pounds pressure for 15 minutes. If the pressure goes a bit higher than that it’s perfectly fine, but it shouldn’t drop below 11 pounds for the entire 15 minutes.
Here’s a batch I just pulled out of the canner a few minutes ago.
I think I’ve been babbling along for too long already here, so I’m off to irritate the cats for a while, fiddling with radios, etc.
