


I use a variety of tools with the lathe, from traditional steel skews and gouges to carbide tools. Carbide tools come in a variety of shapes and sizes, and they can be extremely useful. I do most of my work with traditional bowl gouges, but I use my carbide tools often enough that they’re right there in the rack with my gouges.
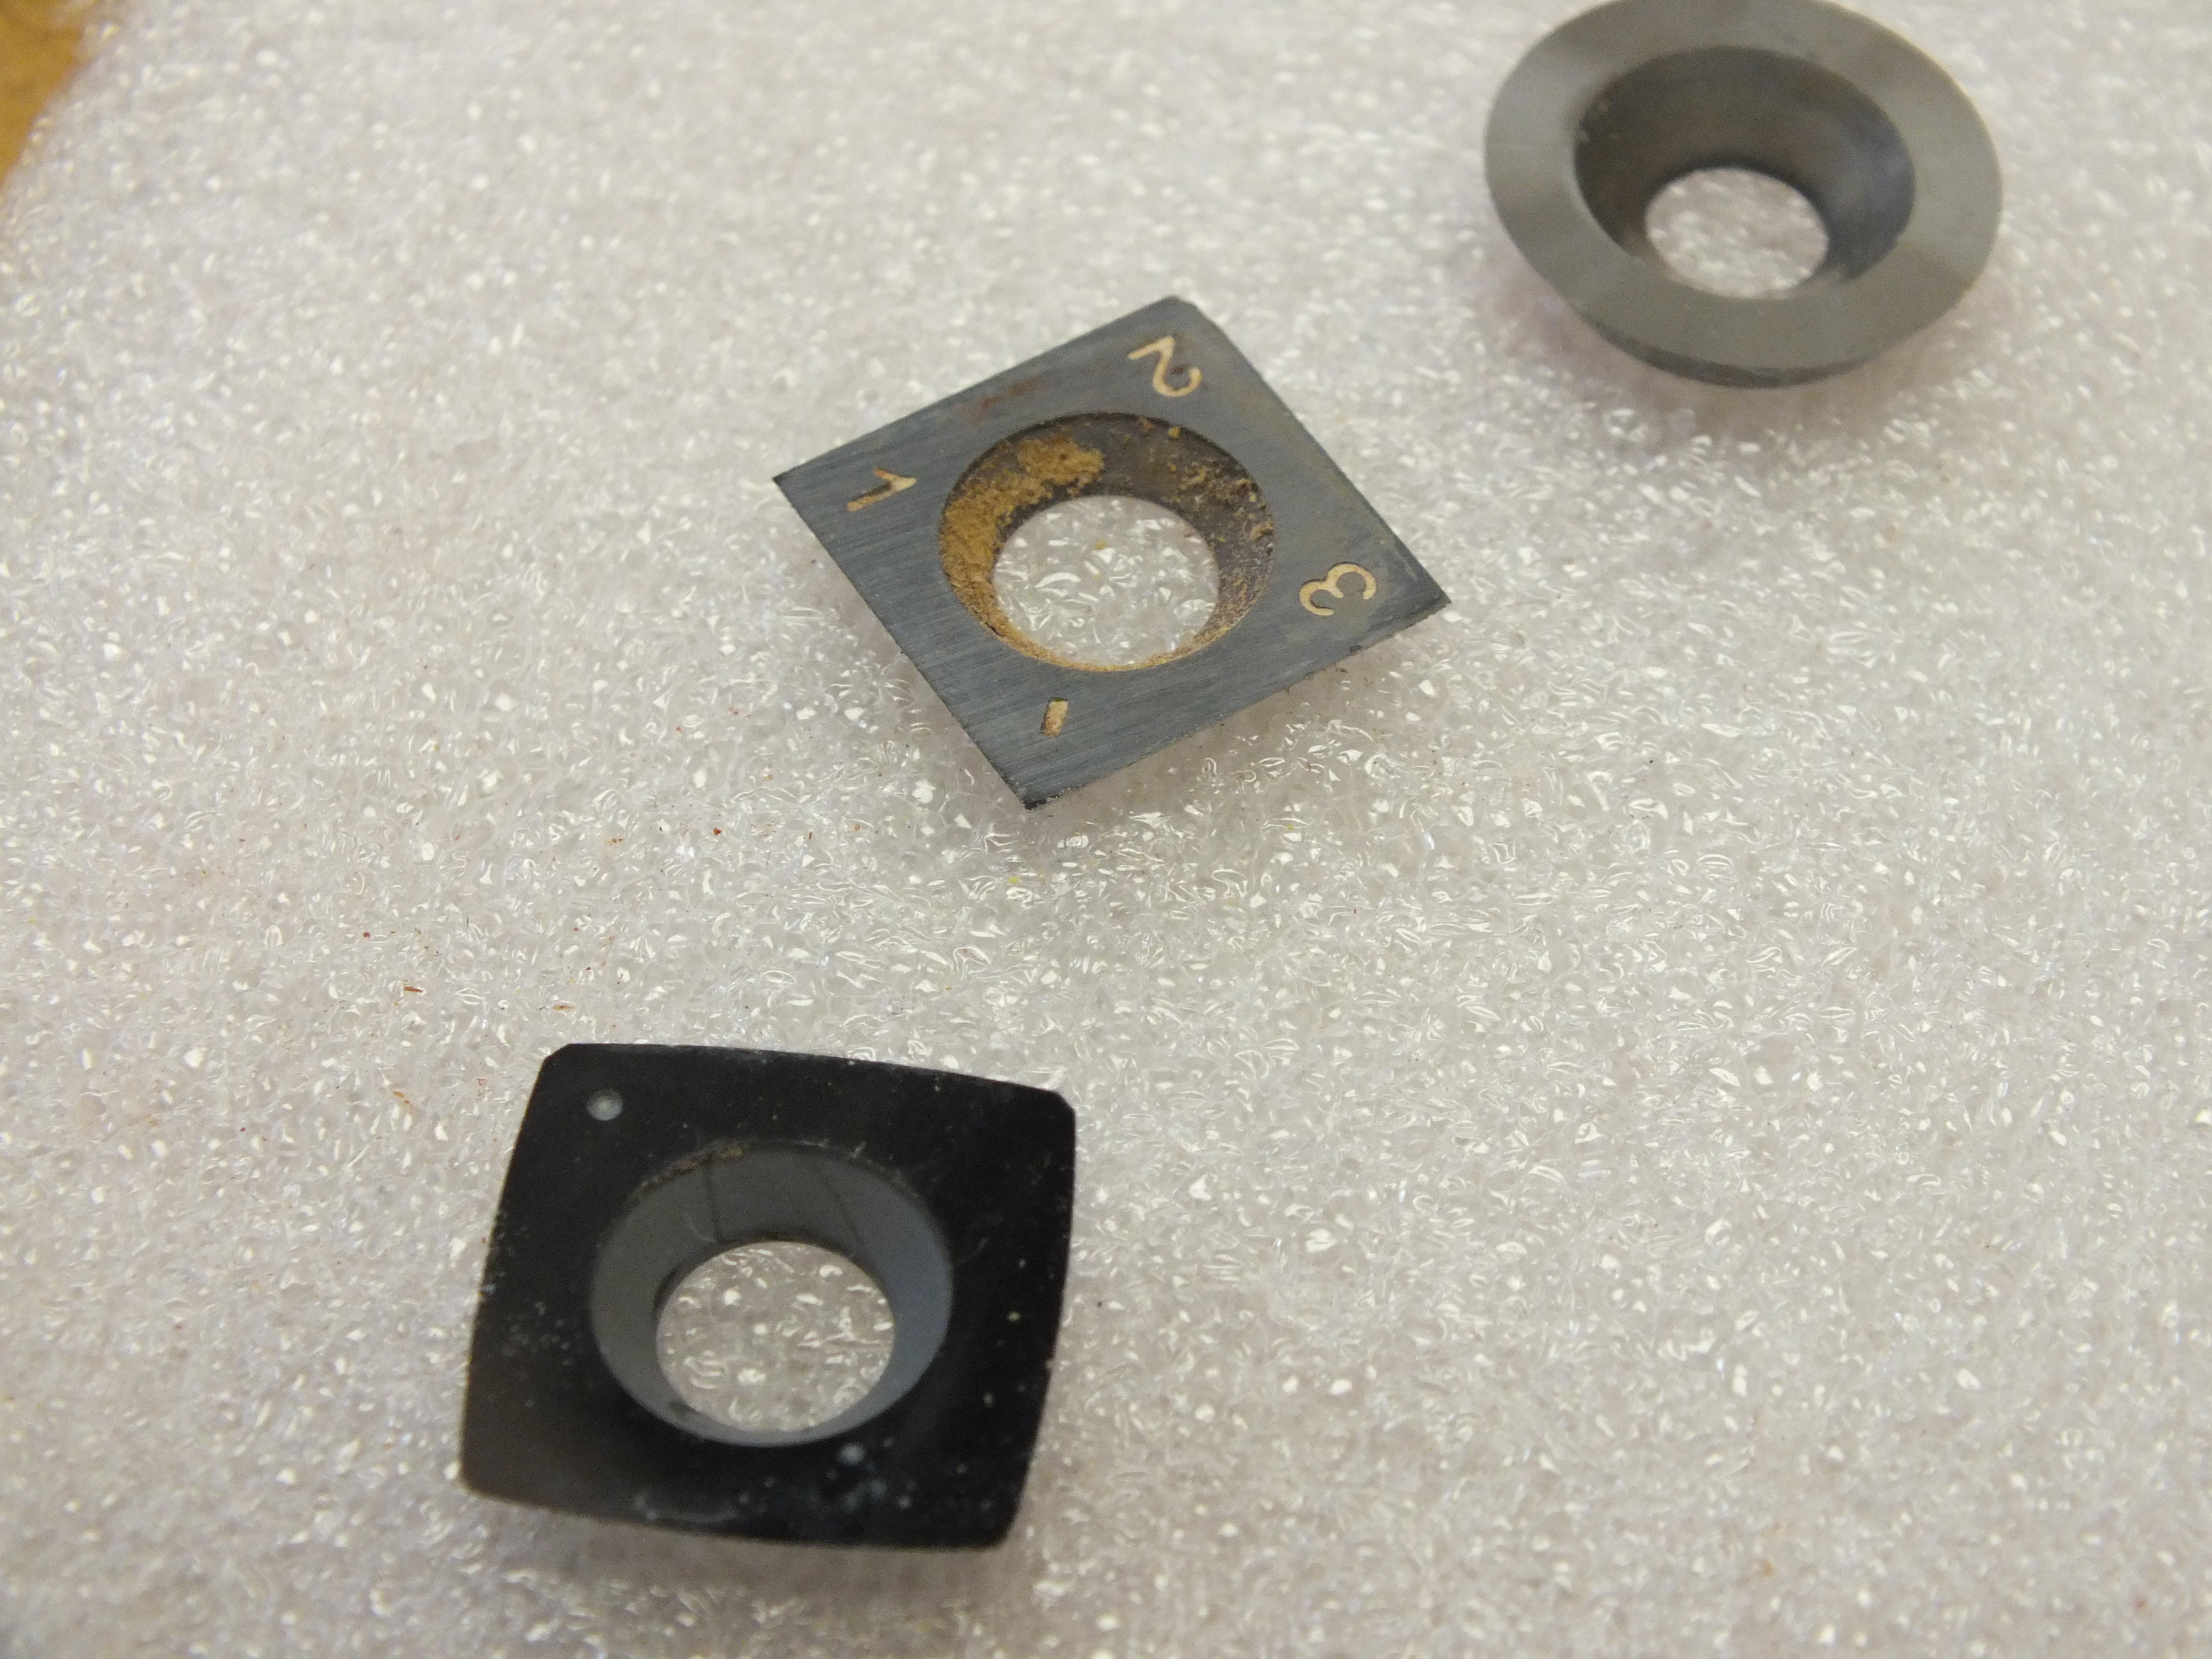
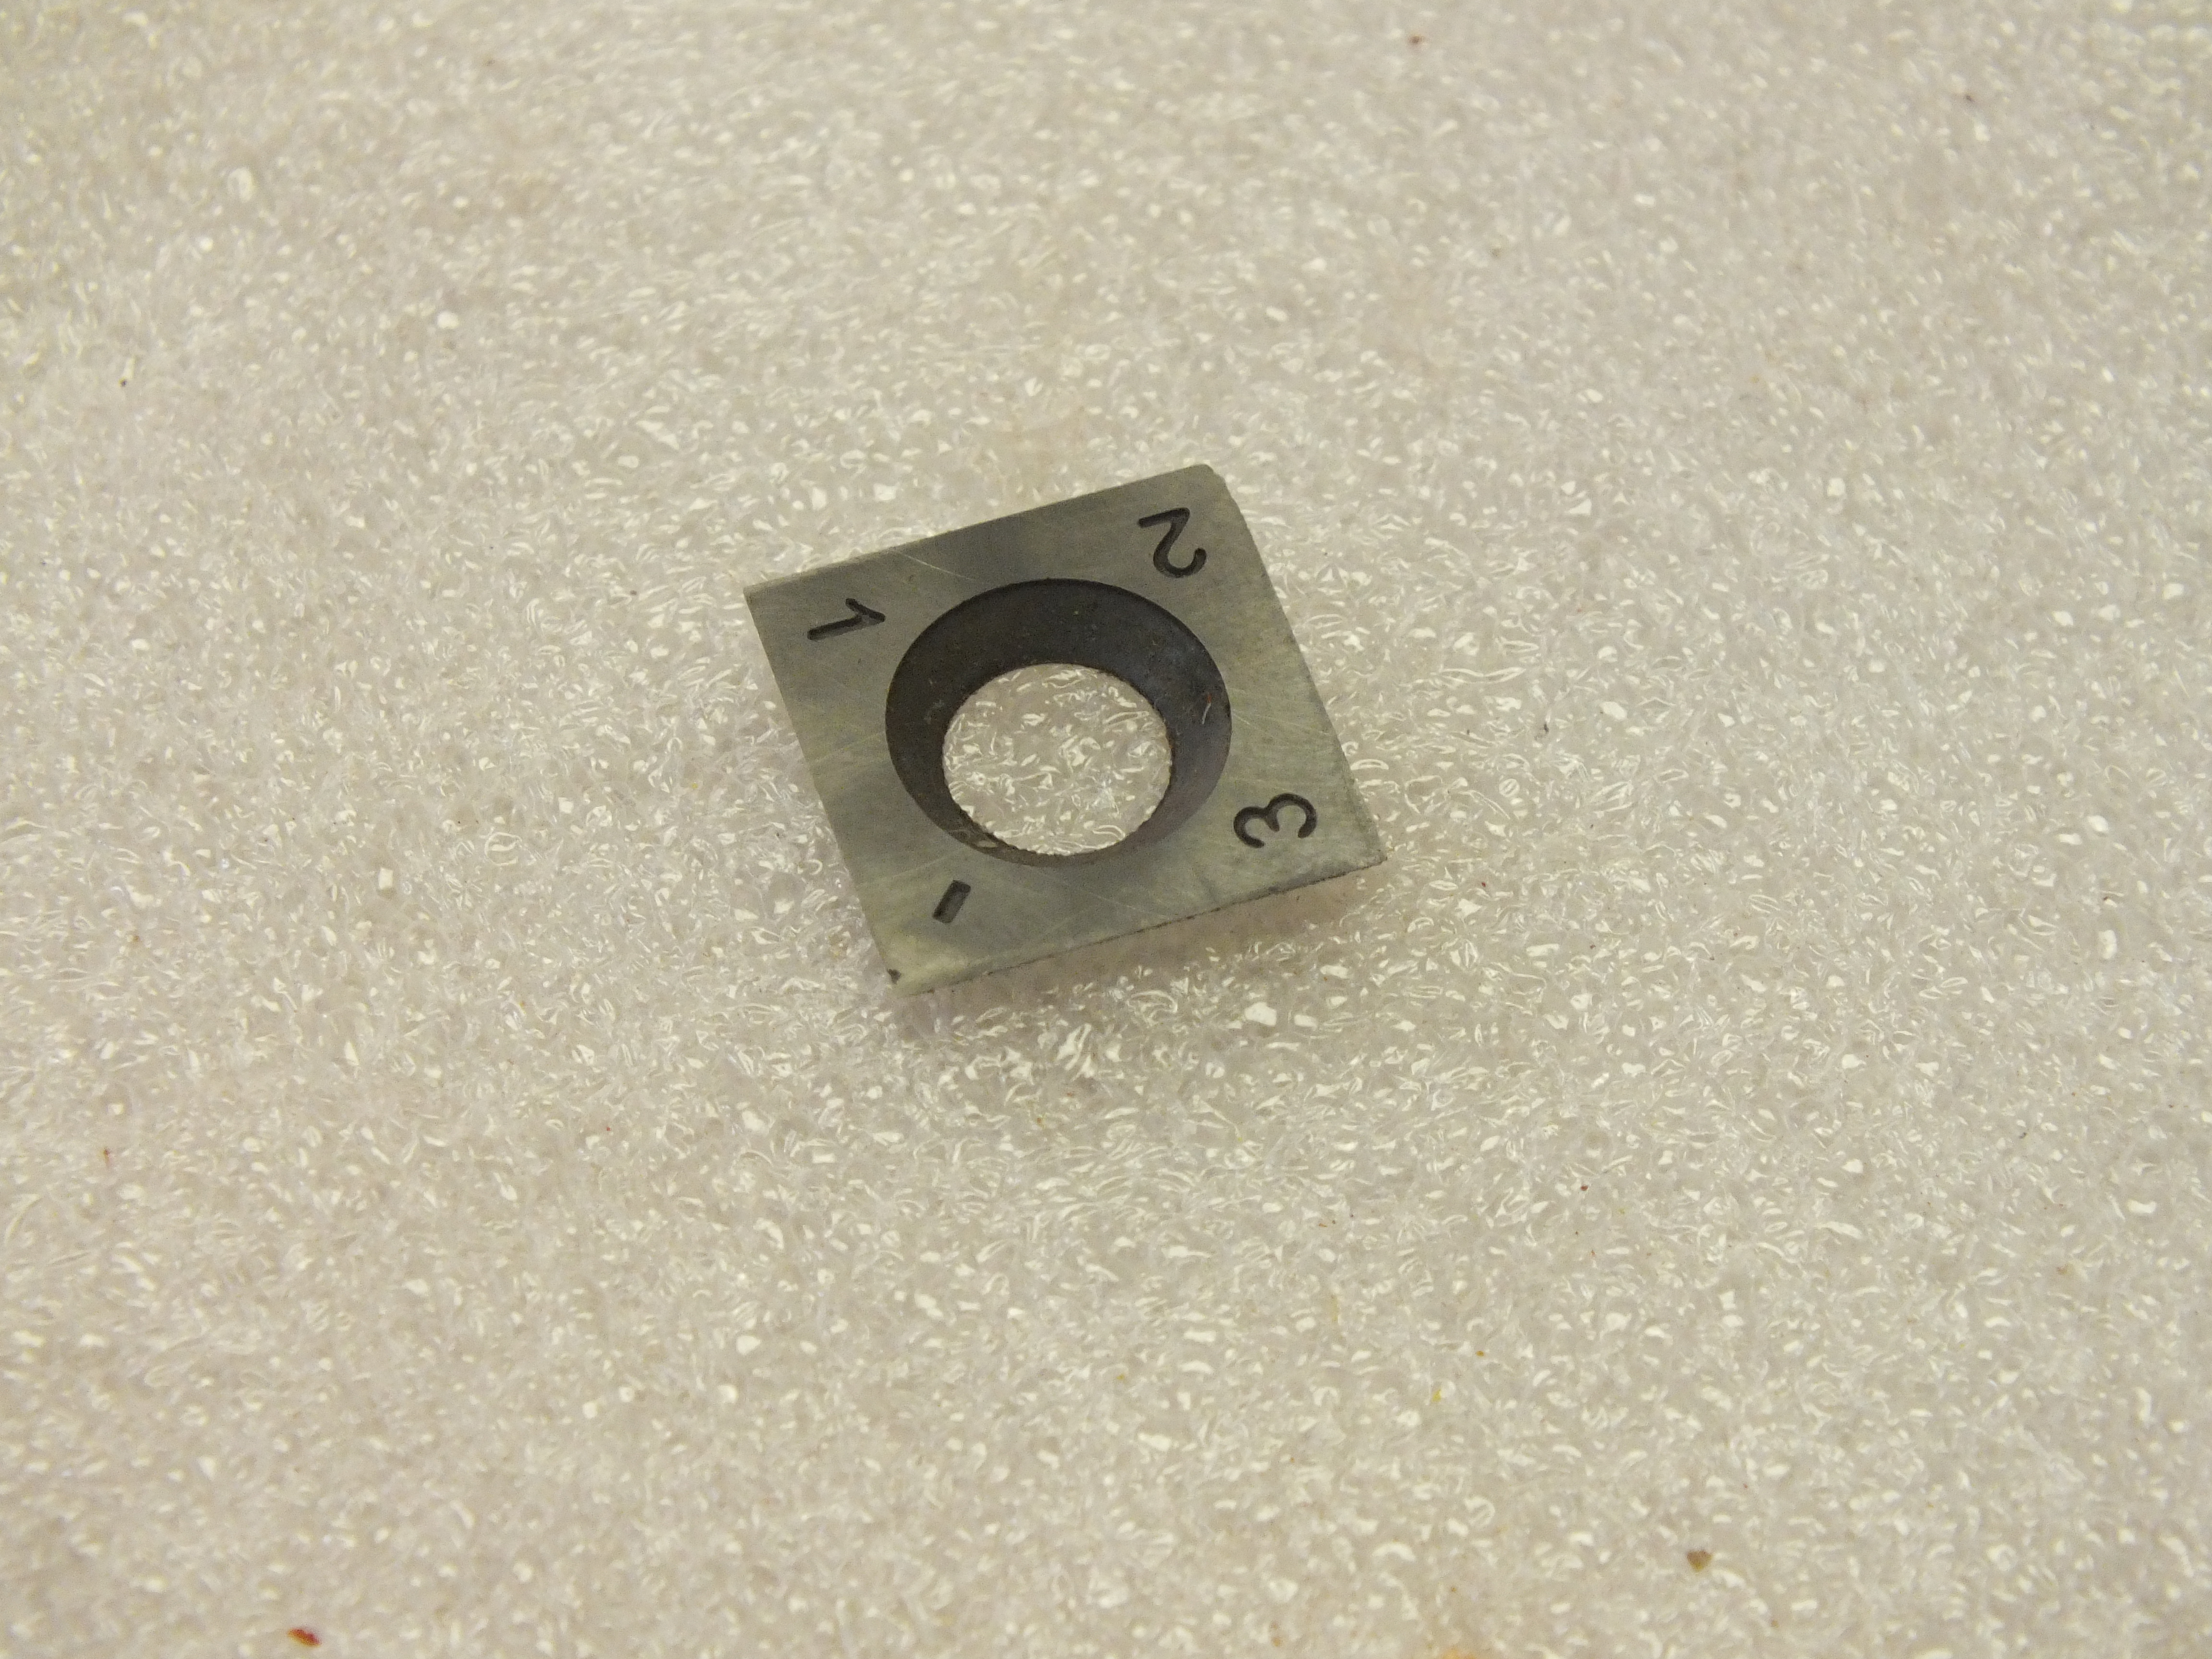
Carbide cutters last a long time but eventually they do get dull, and then you either have to spend a significant amount of money to replace them or you have to sharpen them. Some people think you need special equipment, special jigs, and special sharpening equipment to do it. You don’t. If you have standard carbide cutters like these up above, all you need to sharpen them is a diamond hone.
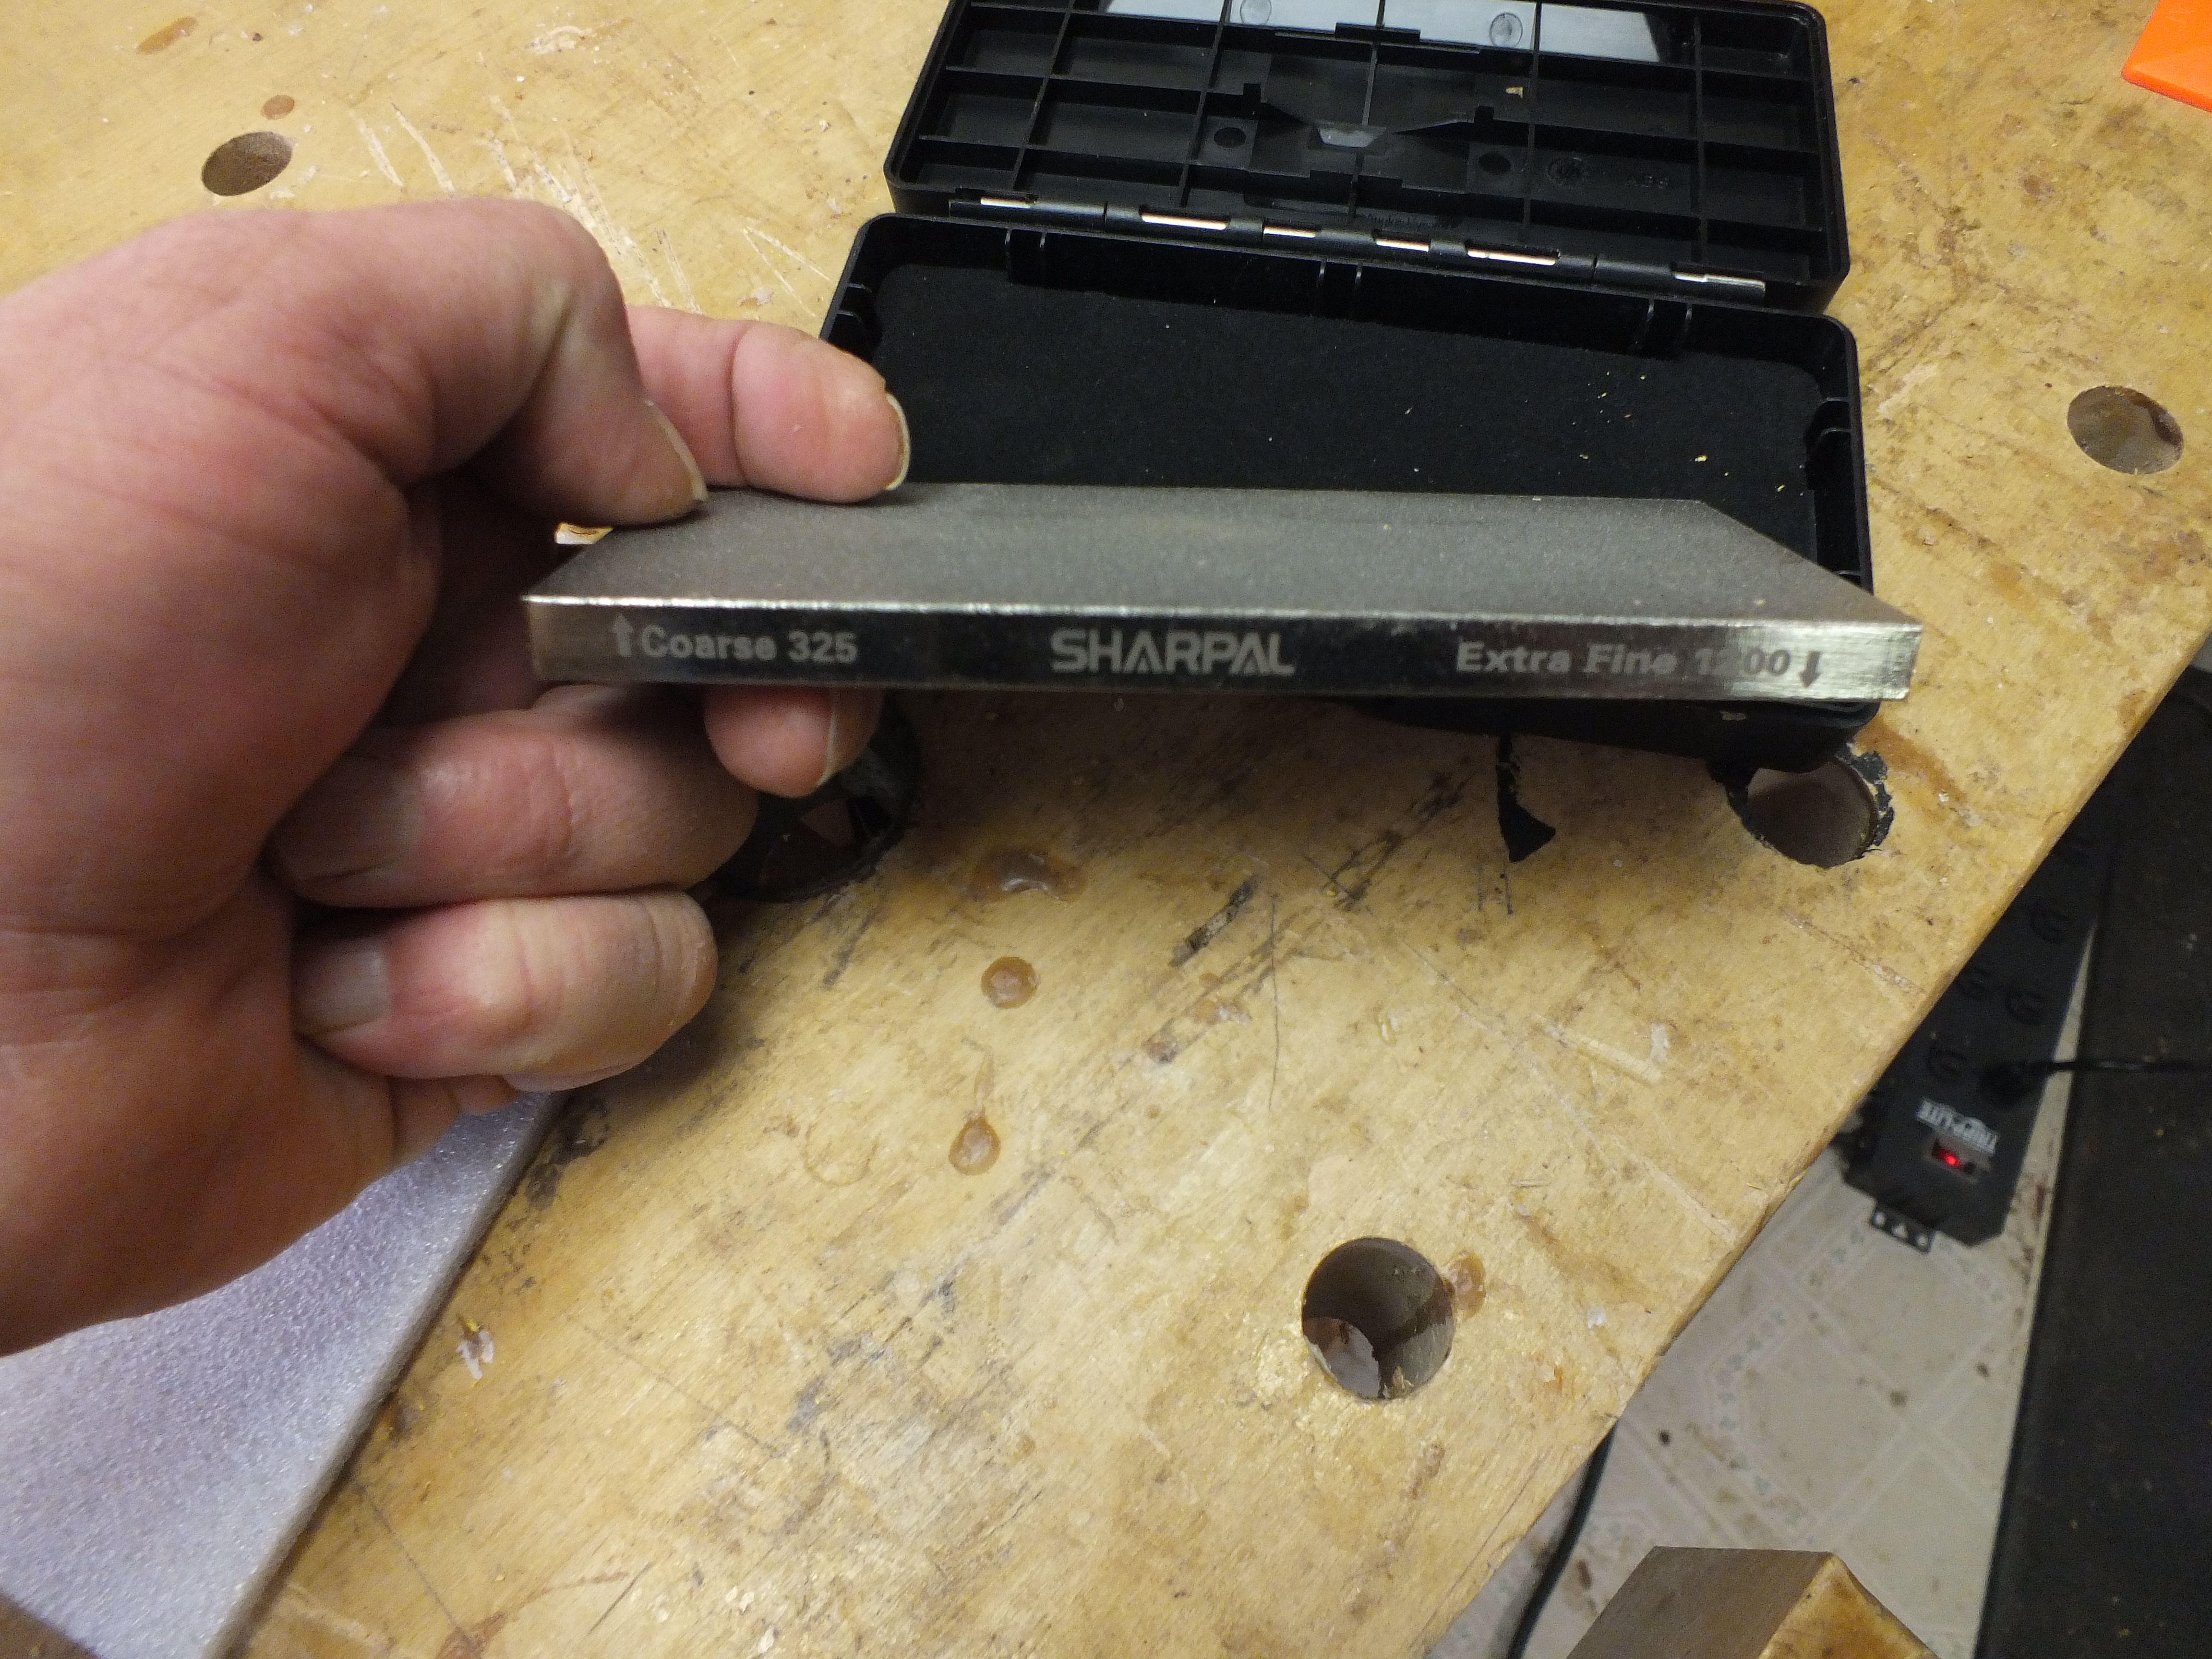
These things aren’t all that expensive. The one in the photo up there cost me $45 and will probably last for many years. We have one in the kitchen we use to sharpen knives and we’ve had that one for over 20 years and it’s still working well. This one is 325 grit on one side and 1200 grit on the other. The 1200 grit side is the only one we’re going to use.
Note that this will only work on standard type cutters like the ones in the photo. If your cutters have a negative rake or any of that other fancy stuff, all bets are off.
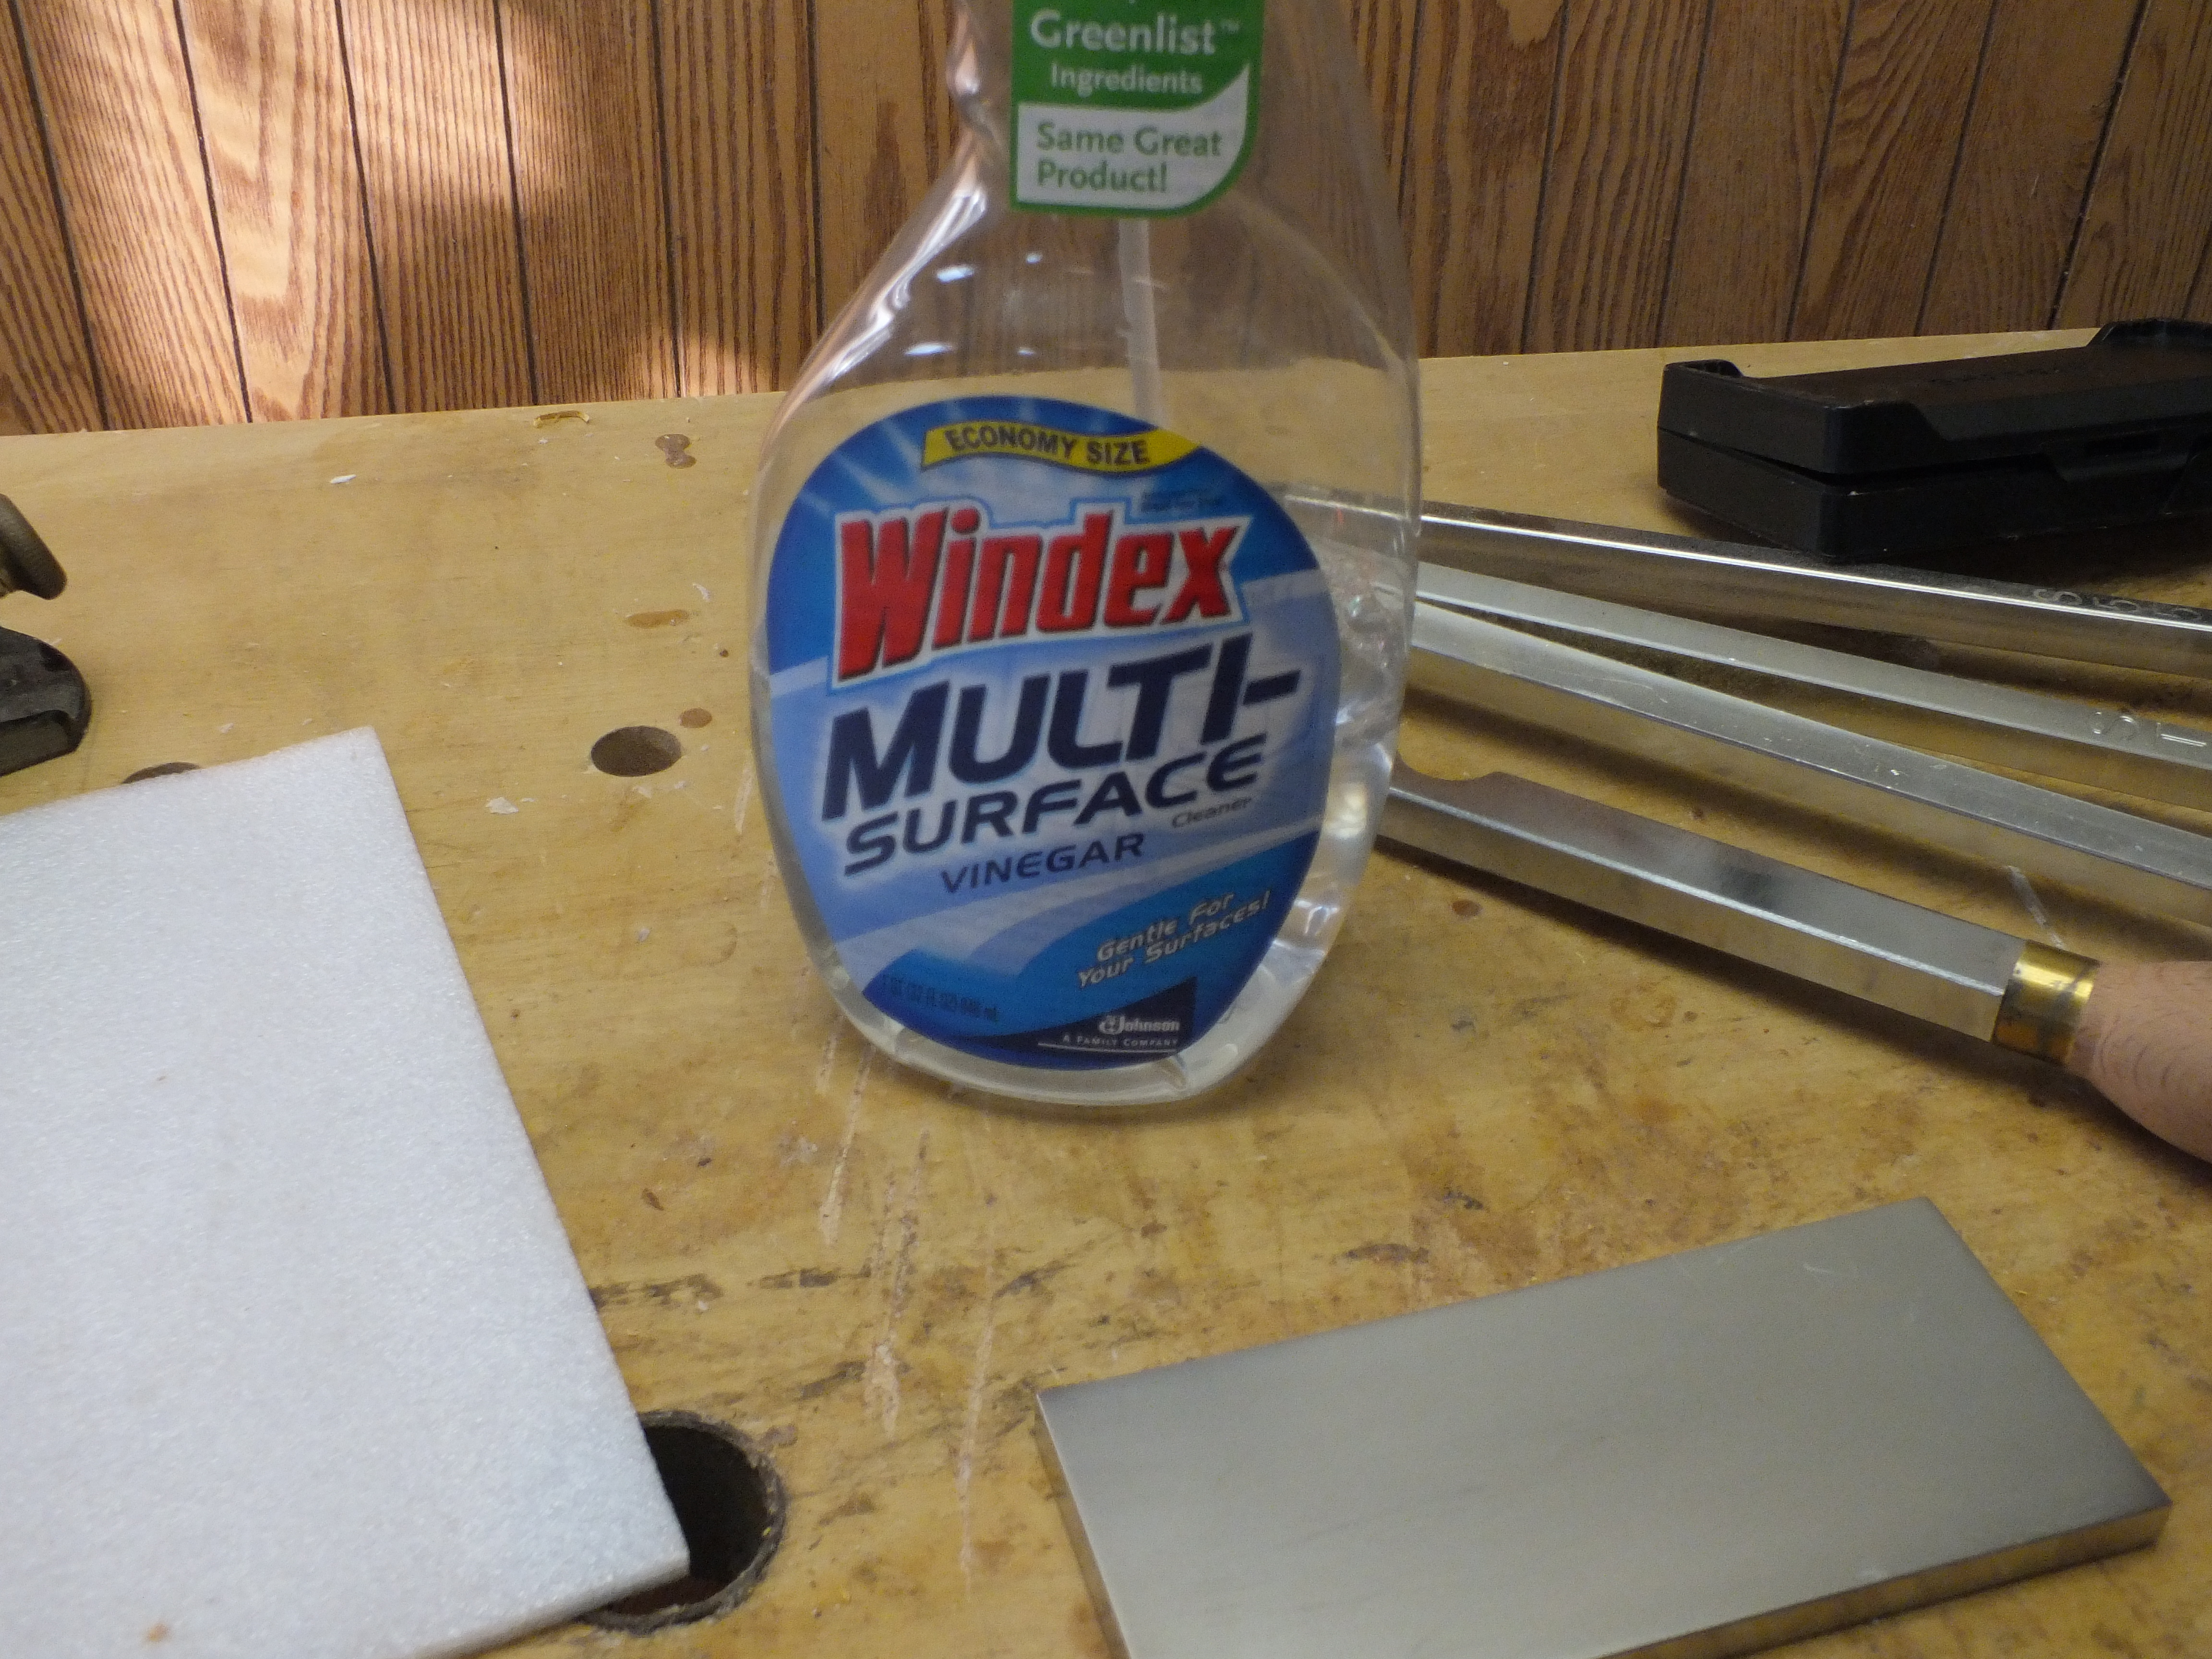
Take the cutter off your tool. Put the diamond hone down on a flat surface. You may want to put a piece of plastic under it because things are going to get wet. You need to use something as a lubricant when you do this. There are fancy honing oils and other stuff out there. I use (drum roll please) glass cleaner. Yeah, seriously. Hey, what can I say? It works for me.
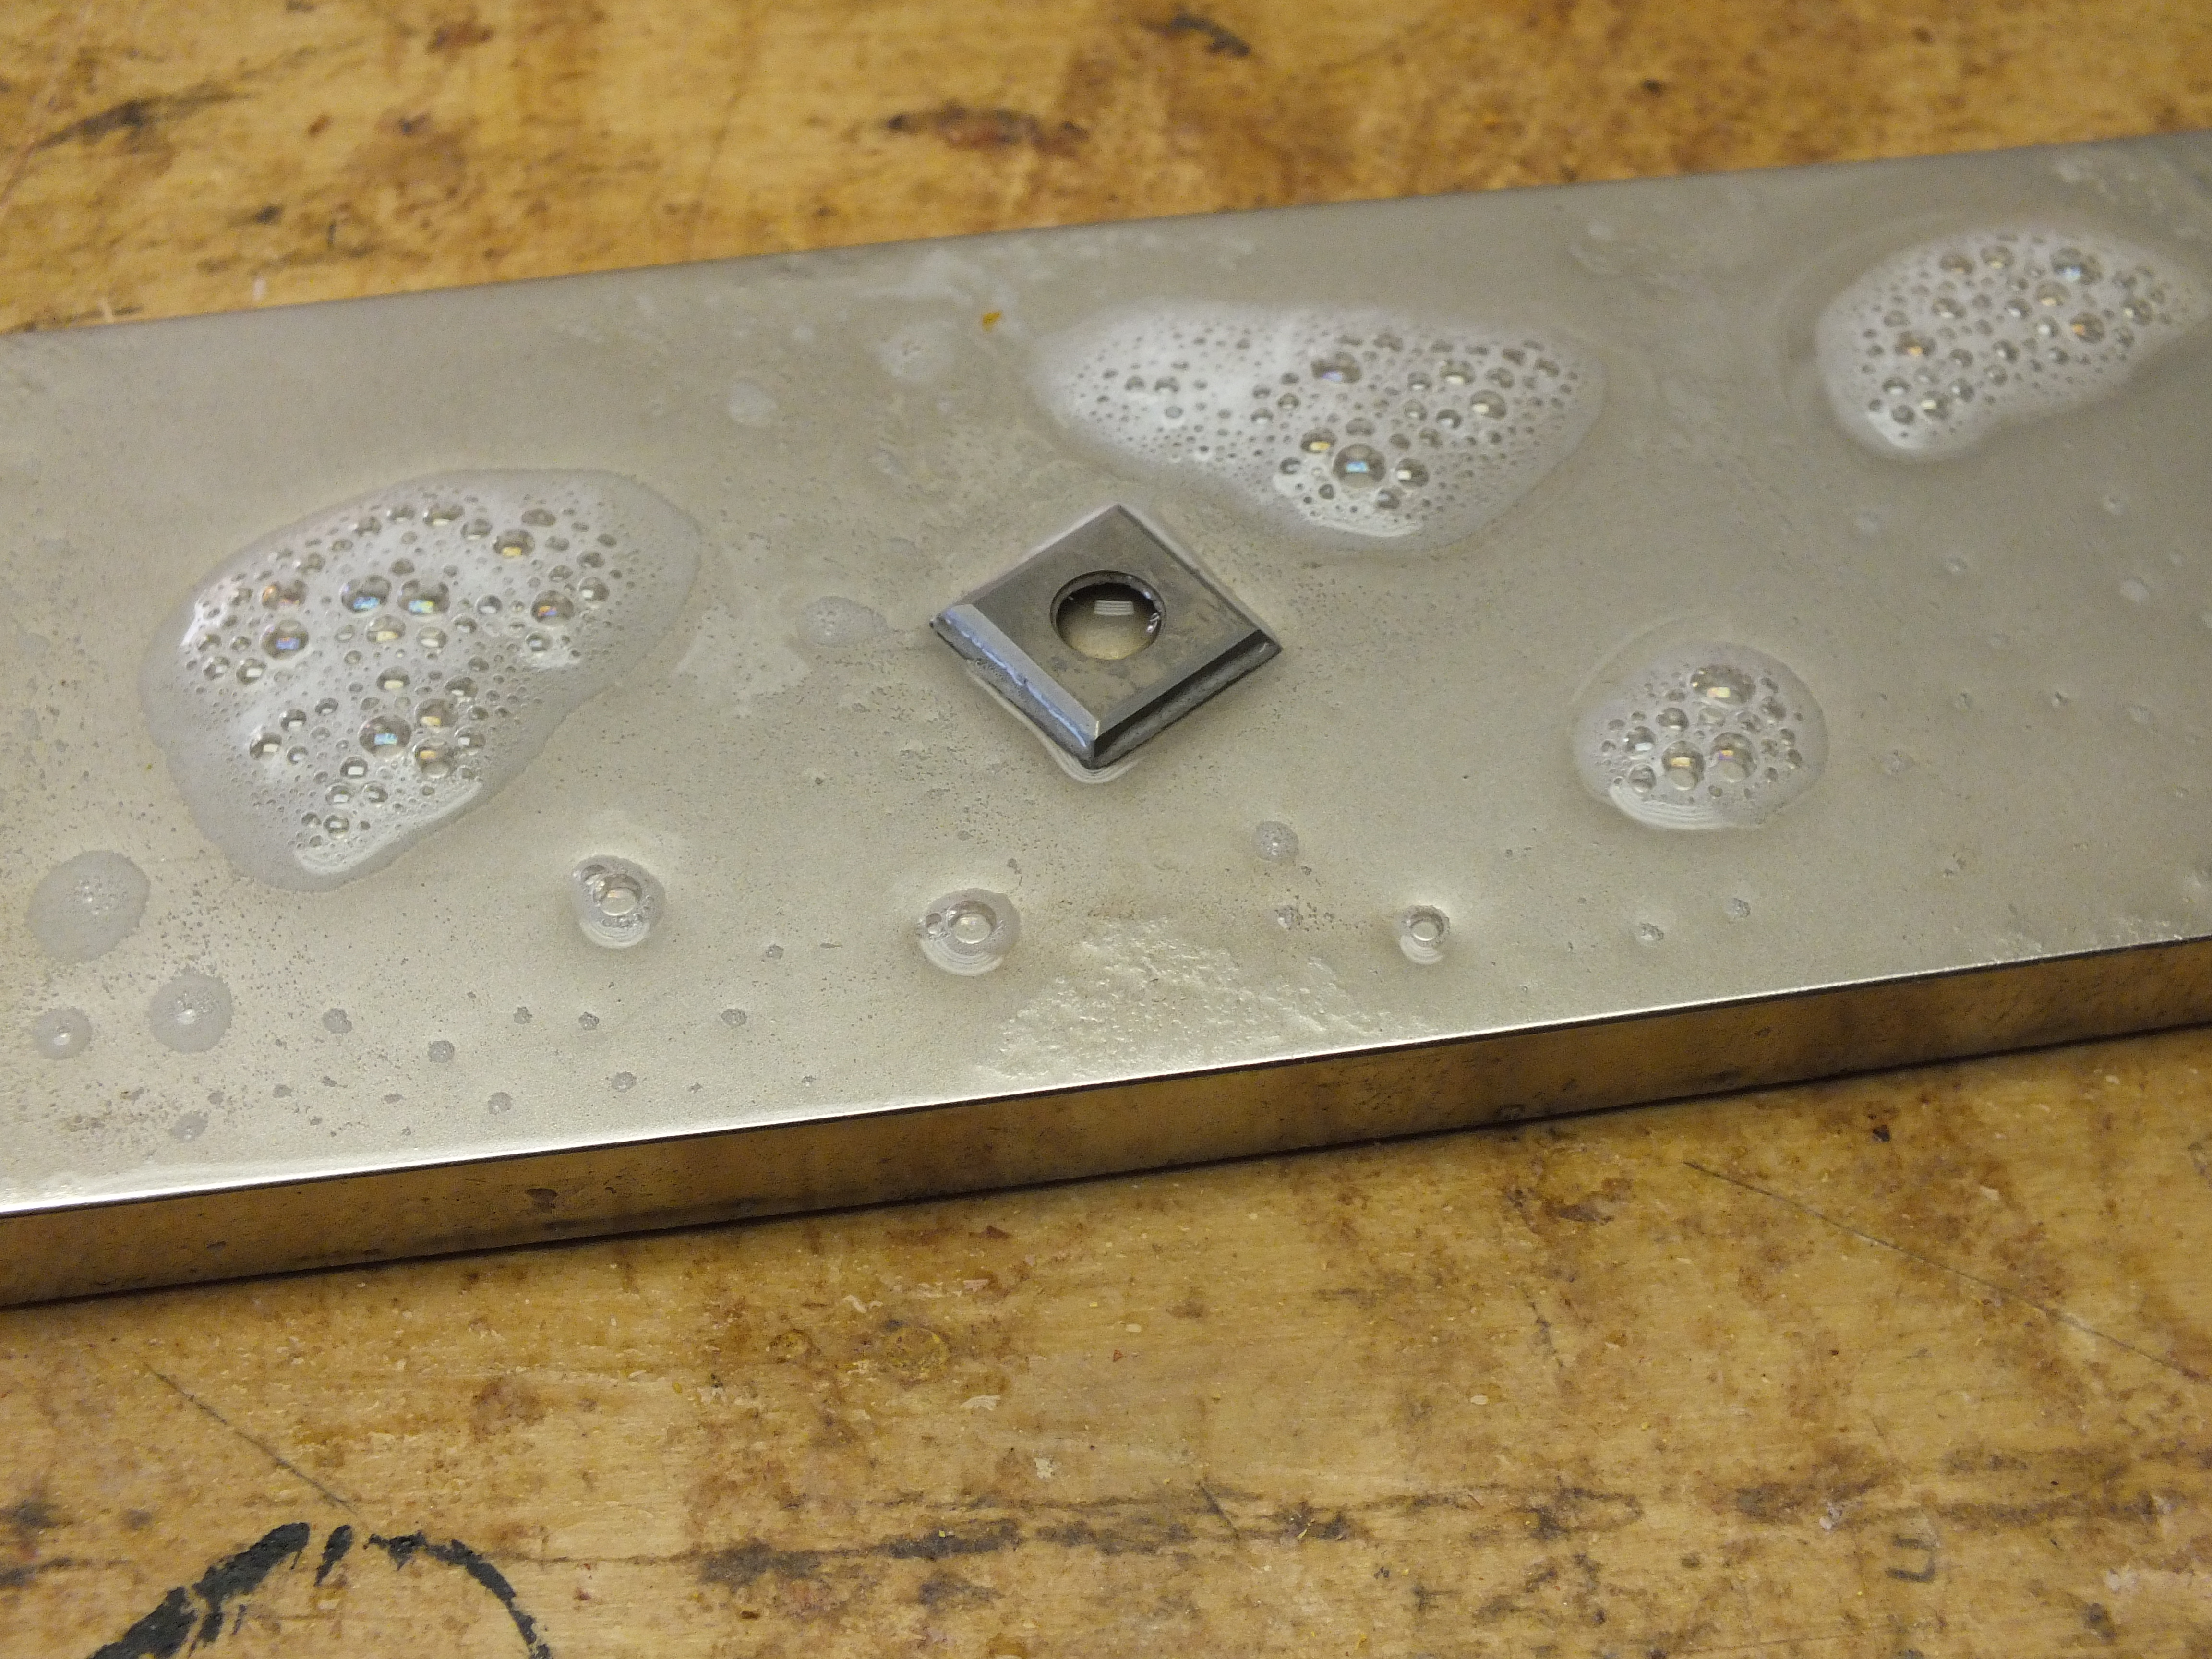
Thoroughly wet the surface of the hone with the stuff. Put your cutter face down on the hone. Then put your finger on top of the cutter and start moving it round in circles using light pressure. Do this for a minute or so, moving all over the surface of the hone so you don’t just wear out one spot.
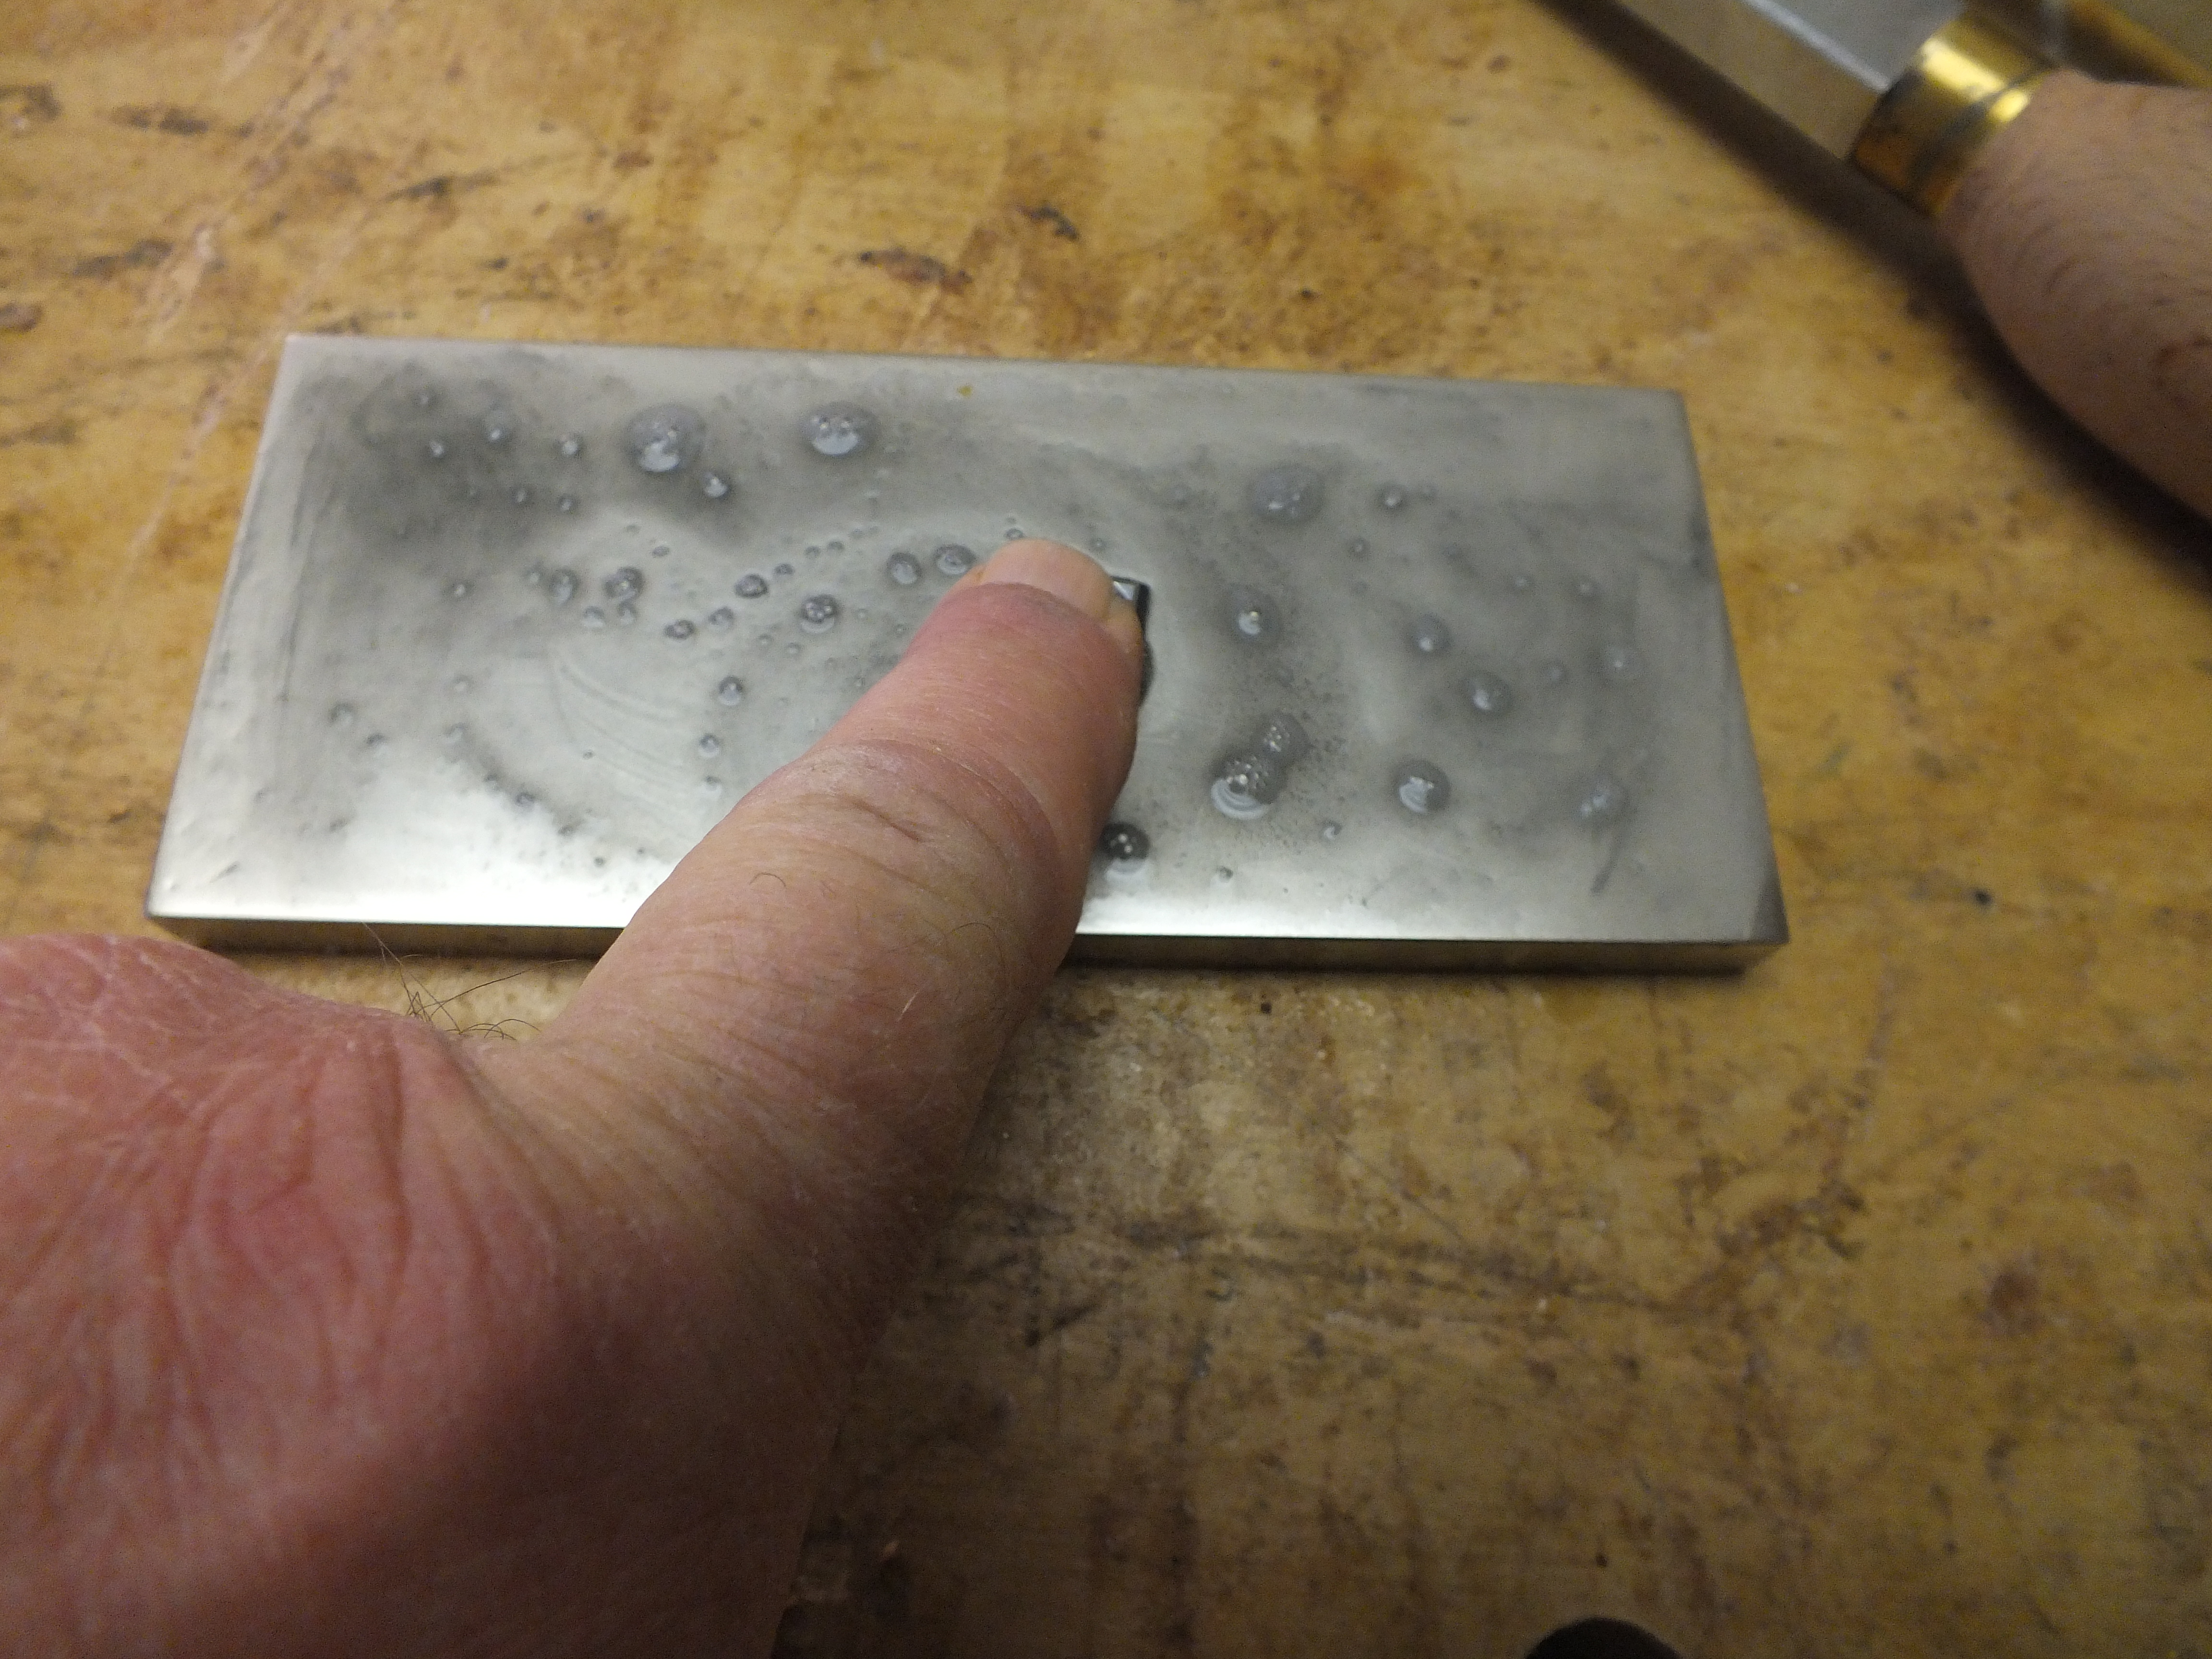
Add more liquid as needed to keep it wet. After doing this for a while you’ll see the liquid starting to get dirty looking. This is the surface of the cutter wearing off as it is moved against the hone. This means it’s working.
It doesn’t take long to do, maybe a minute or two is probably all it will take.
When you’re done the surface of the cutter won’t be shiny any more, but that doesn’t matter. You don’t cut with the surface, you cut with the edge, and that edge is going to be sharp.
Is it as sharp as a brand new cutter? Possibly not. But it’s certainly going to be sharp enough to let you keep working with that tool, and save yourself some money in the process.
Note that this isn’t going to remove chips. You’re honing, not grinding, so you aren’t removing anywhere near enough material to get a chip out.
